
Back
Chats in Communities
Community Chats and Settings
You can allow students to chat inside of a community, making your communities even more engaging.
View Chats from Communities
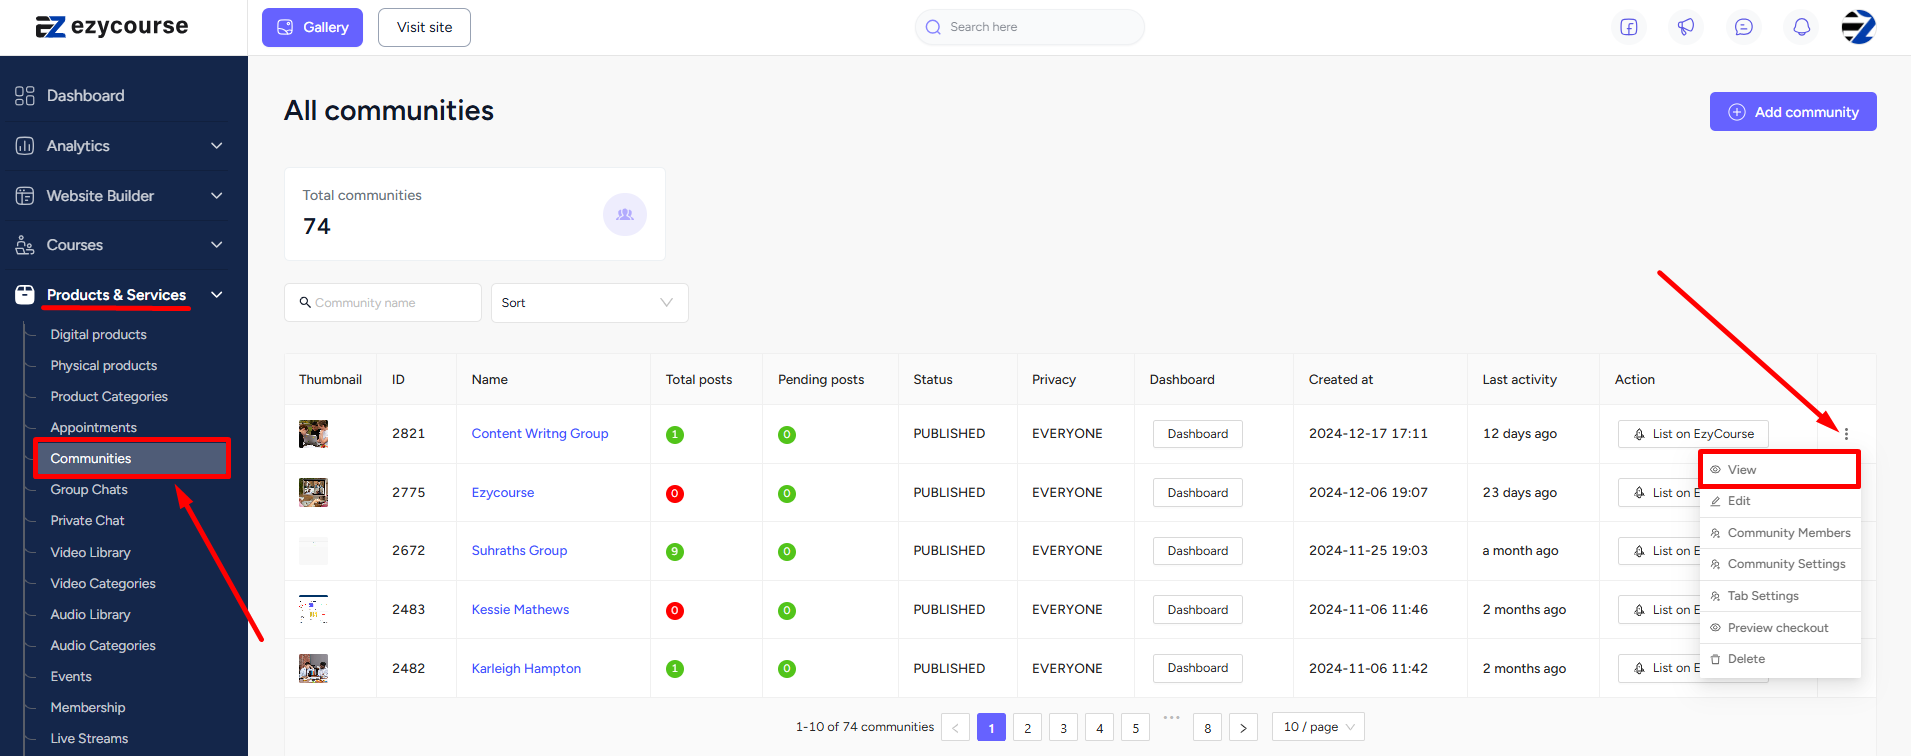
To use the chat option inside a community, go to Products & Services -> Communities. Click the three dots on a community and select the View option.
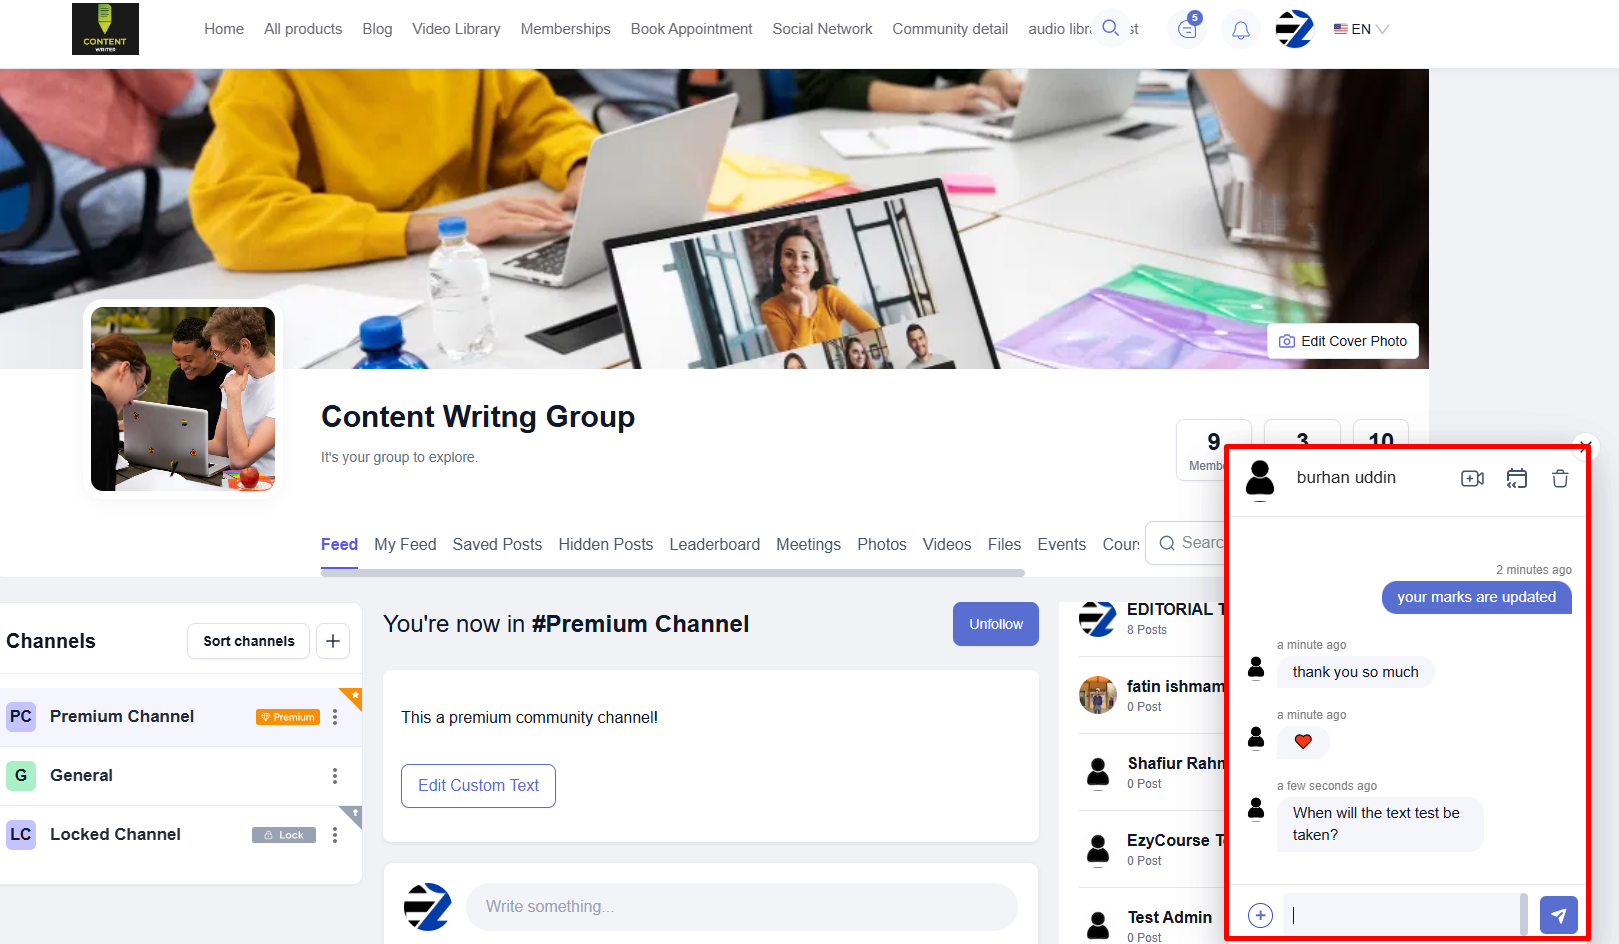
Now, from the community members list, you can click the chat icon to message anybody in the community. On chats, you can send images, videos, gifs, emojis, and more.

[Note: This is only available if you’ve set the settings “show members on the right”. You can still view all chat messages easily right from your dashboard. Simply click the chat icon on the top just left of the notification bell.]
You can also chat with someone from any post they’ve made.

Allow Chats for Everybody
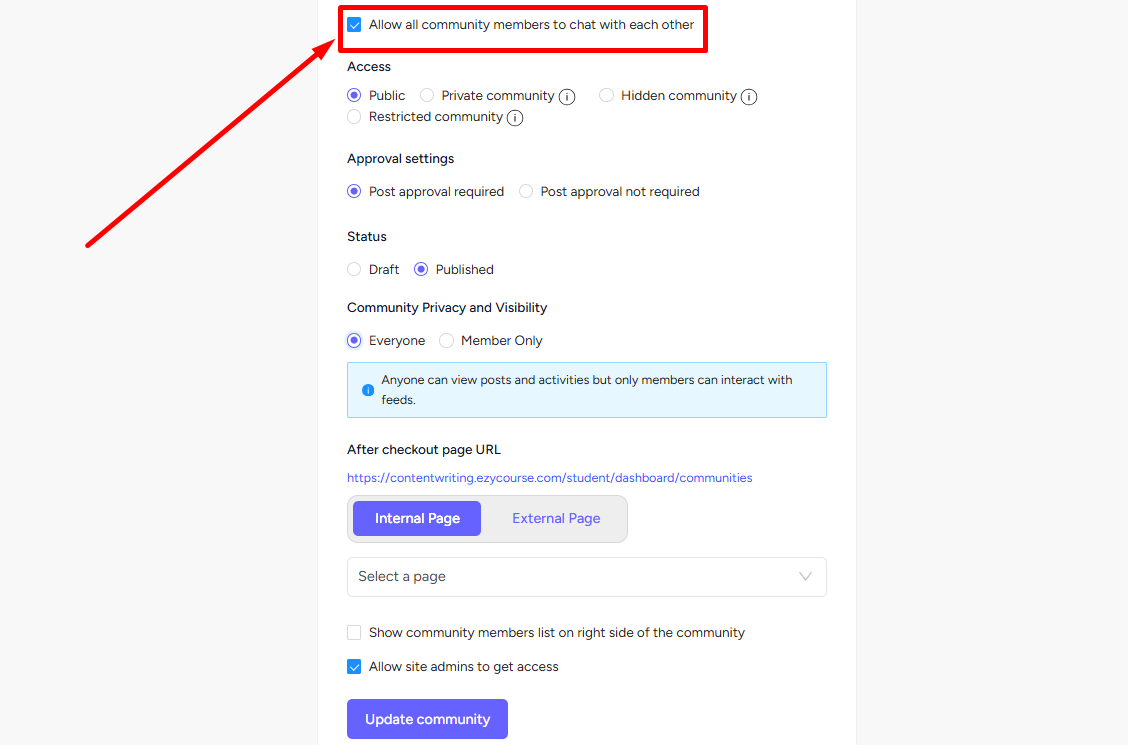
You have to set the settings for students on a community to chat with each other. You can choose the option to allow all community members to chat with each other when creating a community.

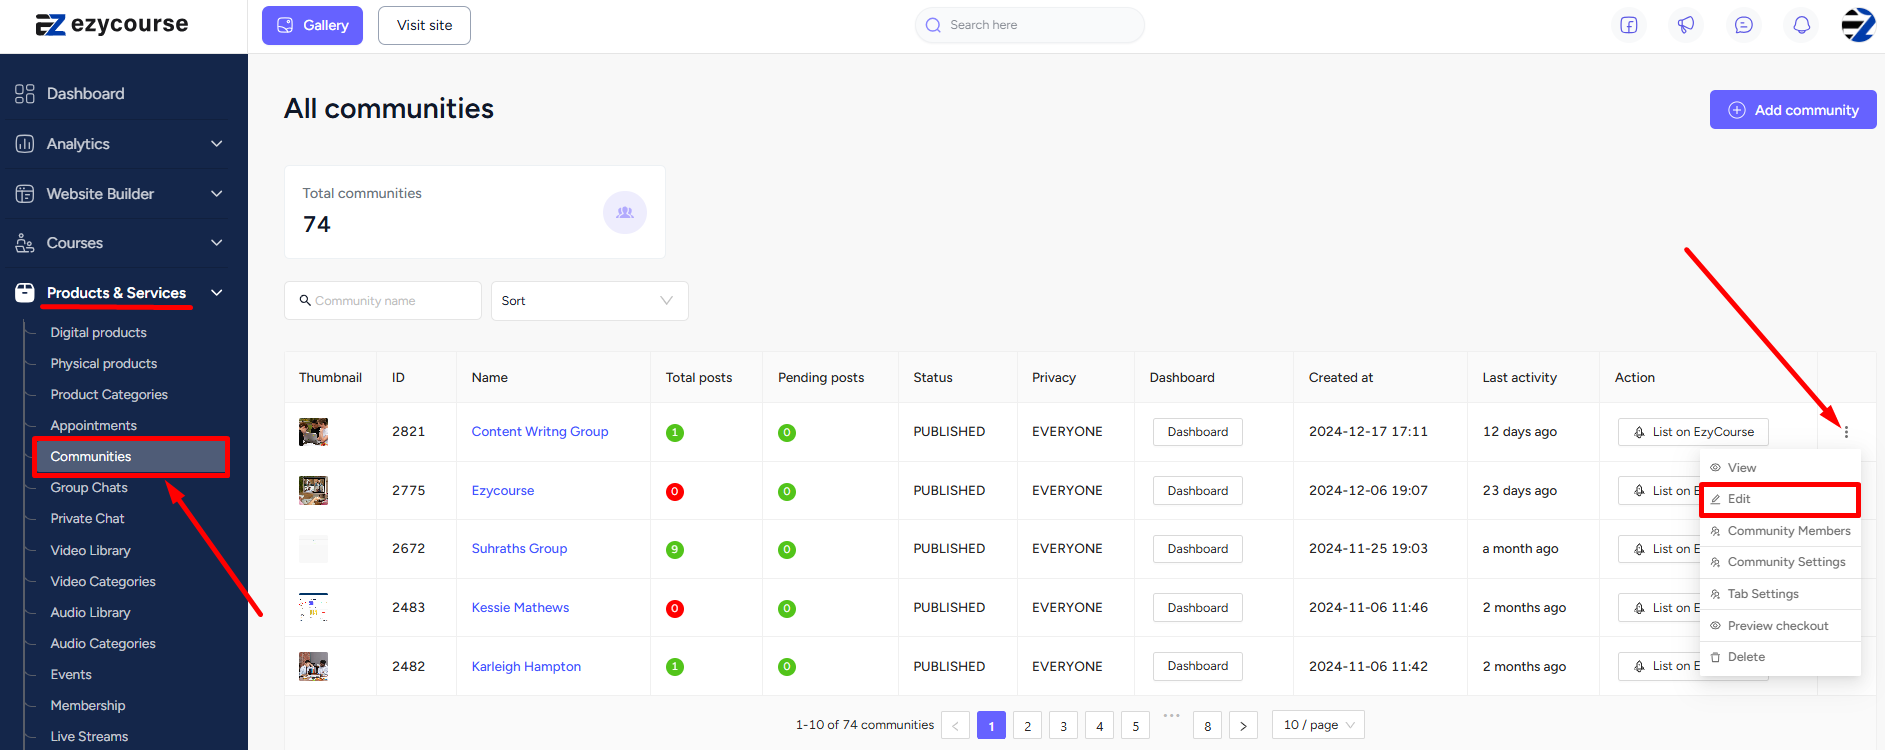
For an existing community, you can go to Products & Services -> Communities -> Edit (on the specific community). Now, scroll down to find the option to allow all members to chat with each other.
[Note: You’d have to purchase the private chat addon to use this option.]
Students can chat just like you from the community. And they also have a chat option on the student dashboard which they can use too.
Also read : EzyCourse Group Chats