Back
Manually Add Members to Communities
Adding members manually to your community is super simple with EzyCourse! Whether you’re welcoming new members or granting special access, you can do it all in just a few clicks.
In this article, you will learn how to manually add members to your communities directly from your dashboard. So, let’s get started!
How to Manually Add Members to Communities
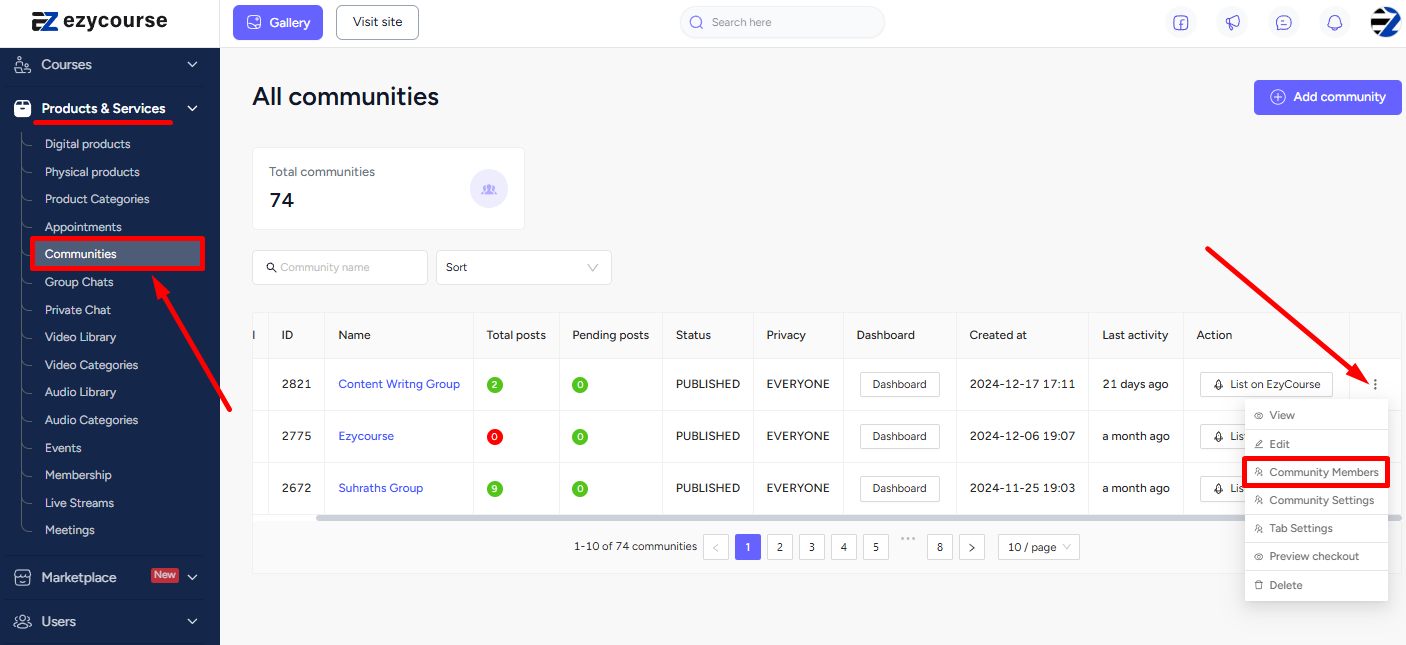
To begin, log in to your EzyCourse dashboard and go to Products & Services -> Communities -> click the three dots option of the community you want to add and select the Community Members option.
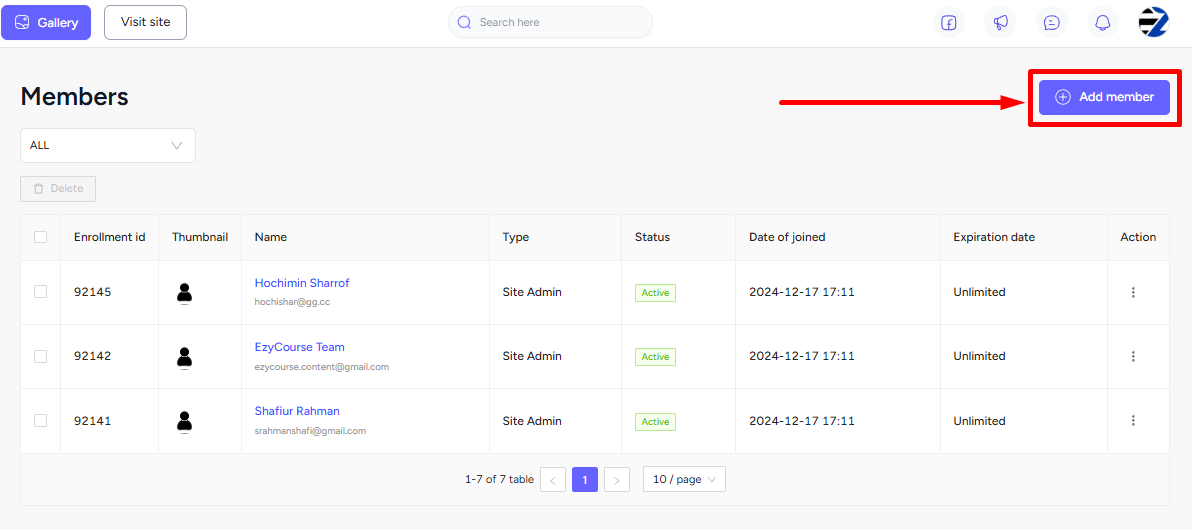
Now, click the Add member button located at the top right of your screen.
Here, you will notice a dropdown menu to filter the types of users - student, teacher, site admin, and marketplace seller. You can add any user to your community. Adding sellers of course depends on whether you have the Marketplace addon.
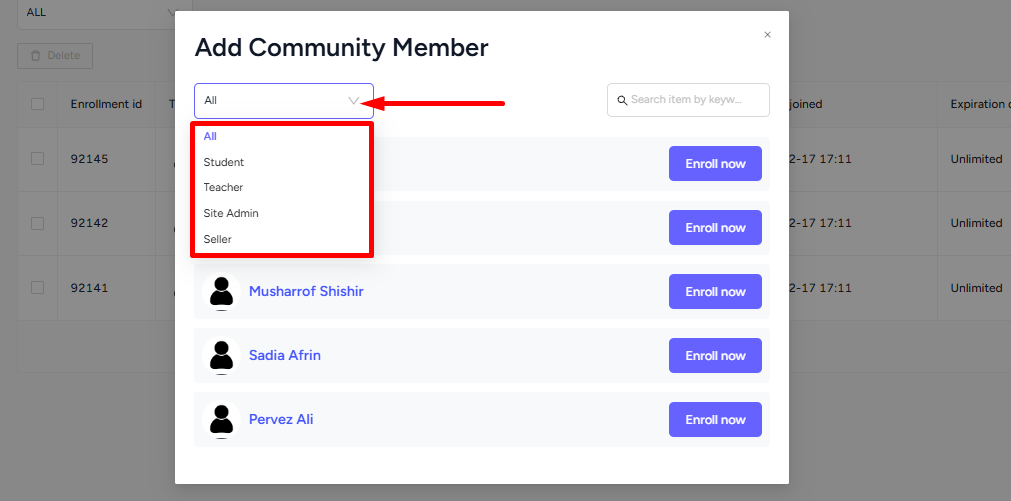
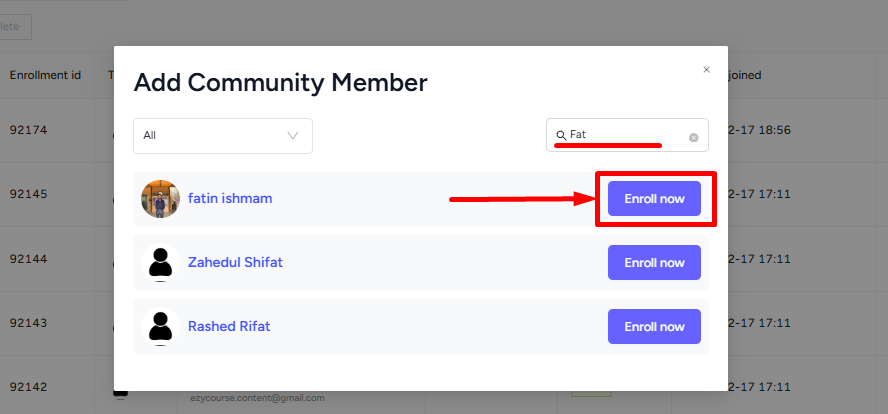
You also have the convenience of a search feature to instantly find any particular user. Simply click the search field option and enter the name of the user you wish to add. Click the Enroll now button to proceed.
[Note: Site admins and other users who are already added to the community will not appear in the search results.]
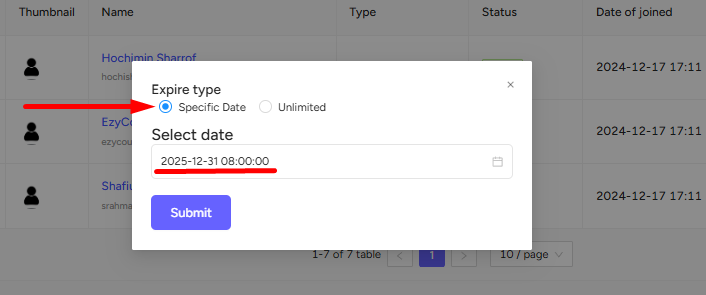
From the popup option, you can either add your user for a specific time by setting the expiry date and time.
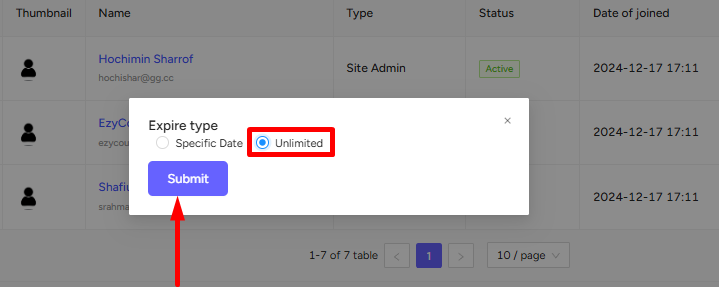
Or, you can select the Unlimited option to add your user without any time restrictions. Be sure to click the Submit button to add the user to your community.
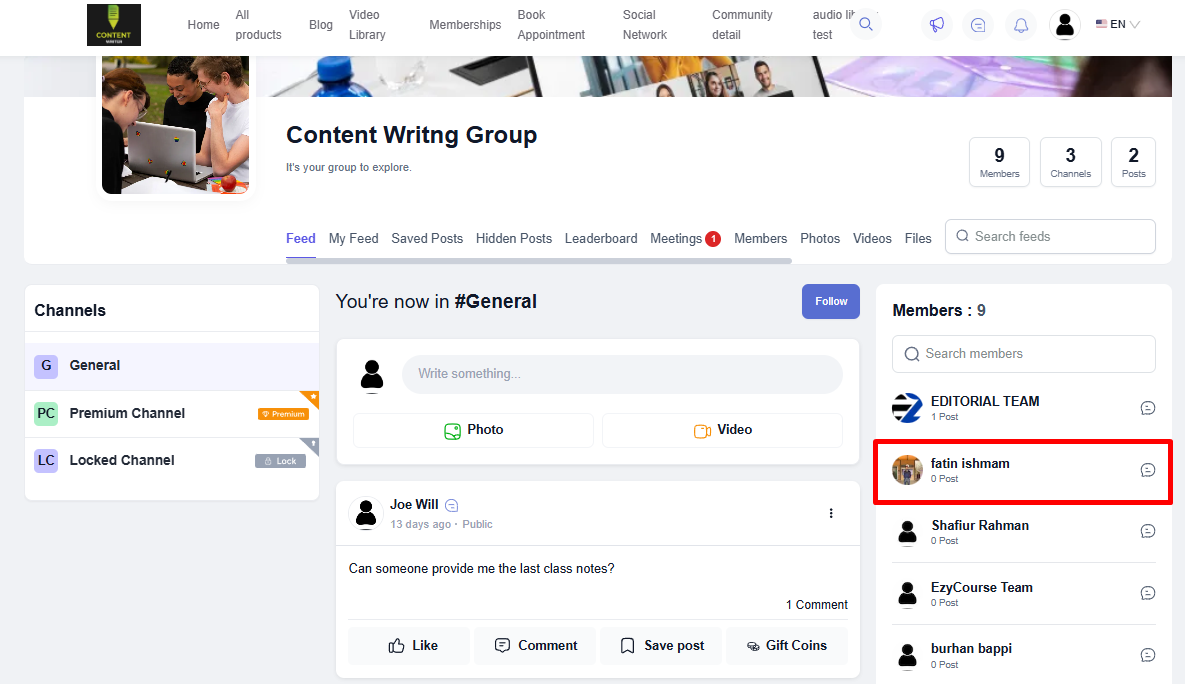
And this is how the user will be added to your community.
