Back
Create an EzyCourse Community
How to Create a Community on EzyCourse
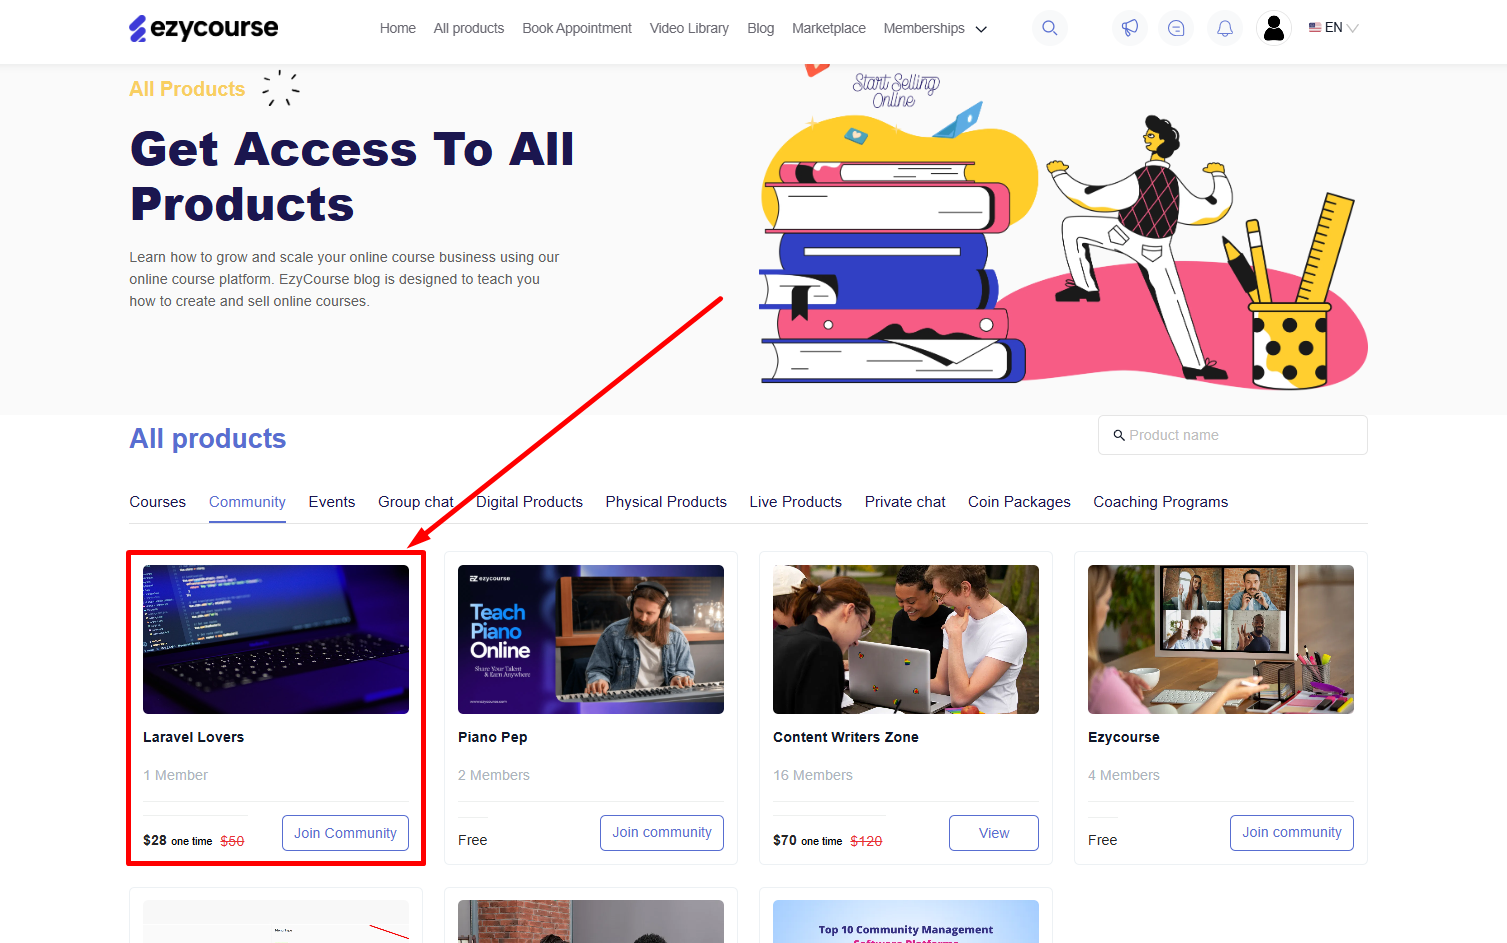
EzyCourse communities are a great way to encourage student engagement. In this article, you’ll learn to create a new community on EzyCourse.
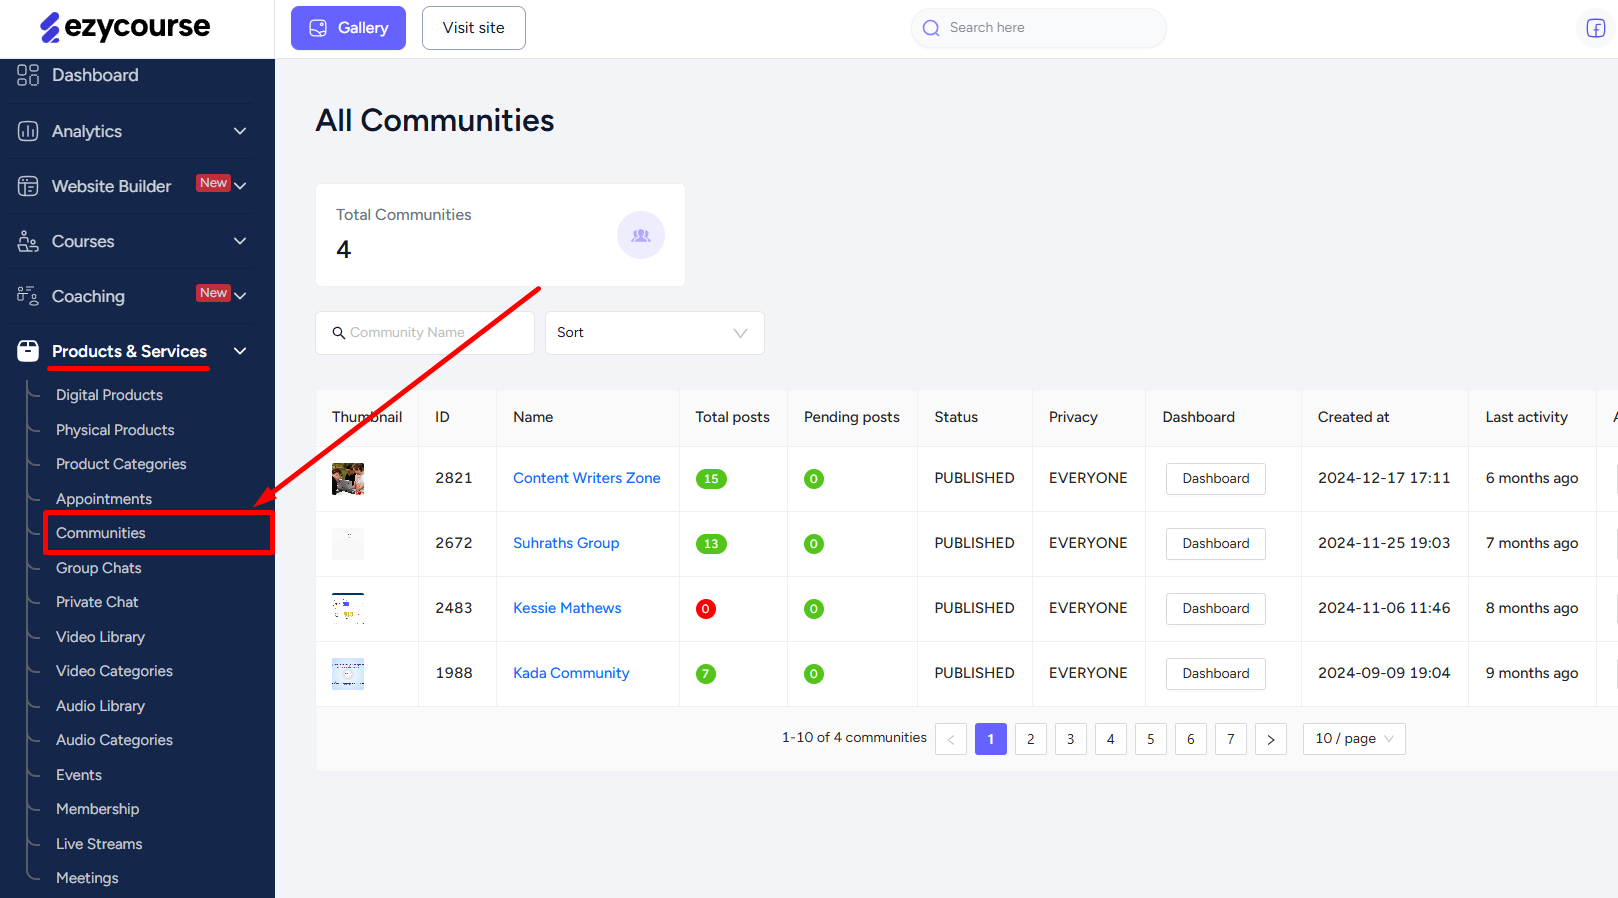
To begin, head over to your dashboard and navigate to Products & Services -> Communities. Here, you’ll see all the communities you’ve created.
Now, click the Add New Community button on the top right corner of the screen.

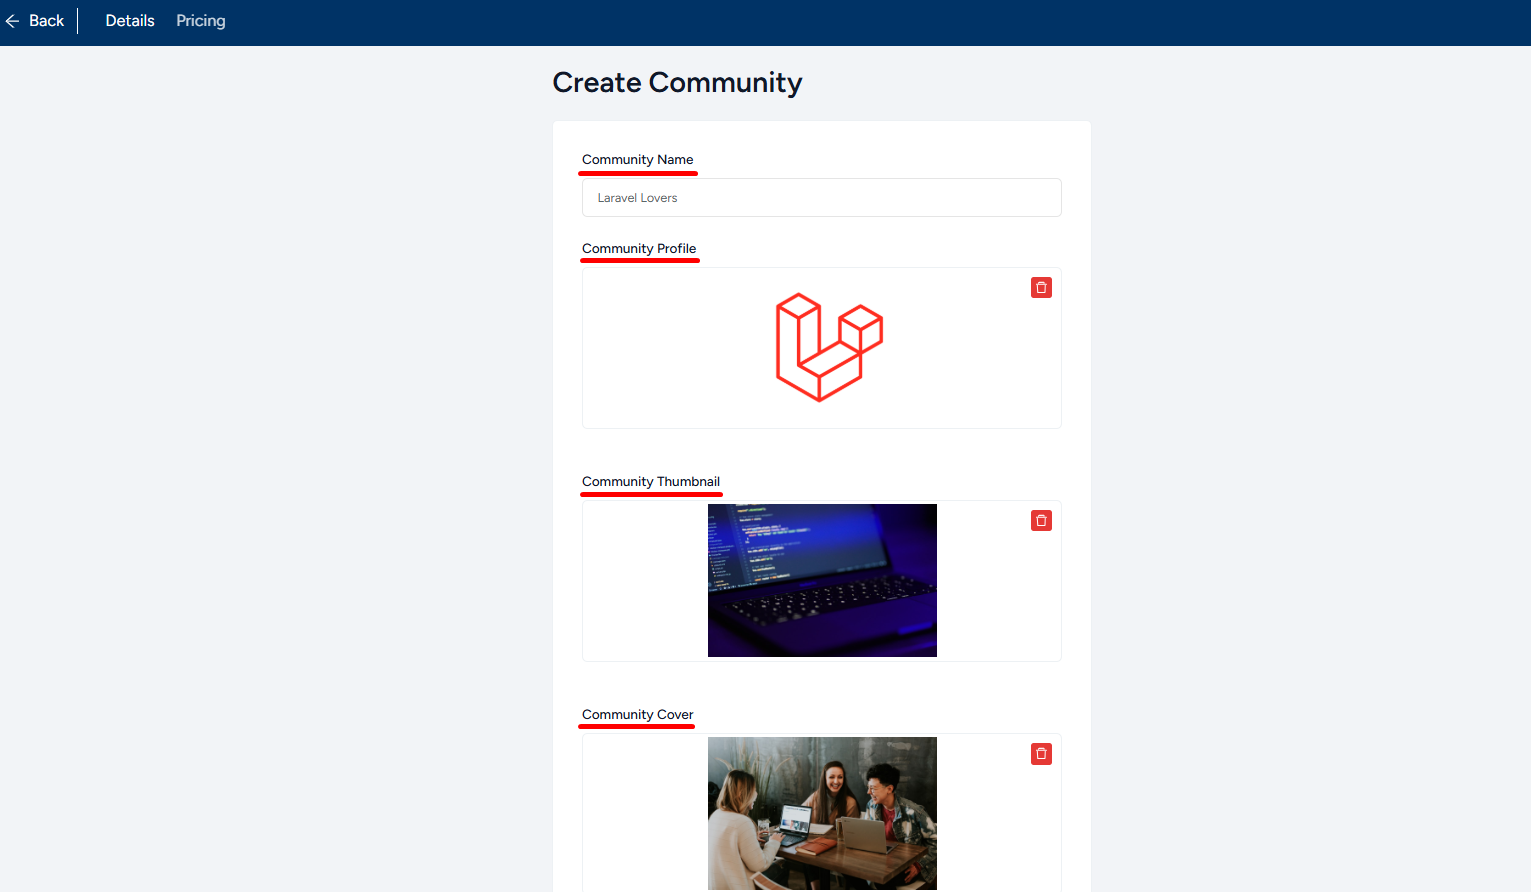
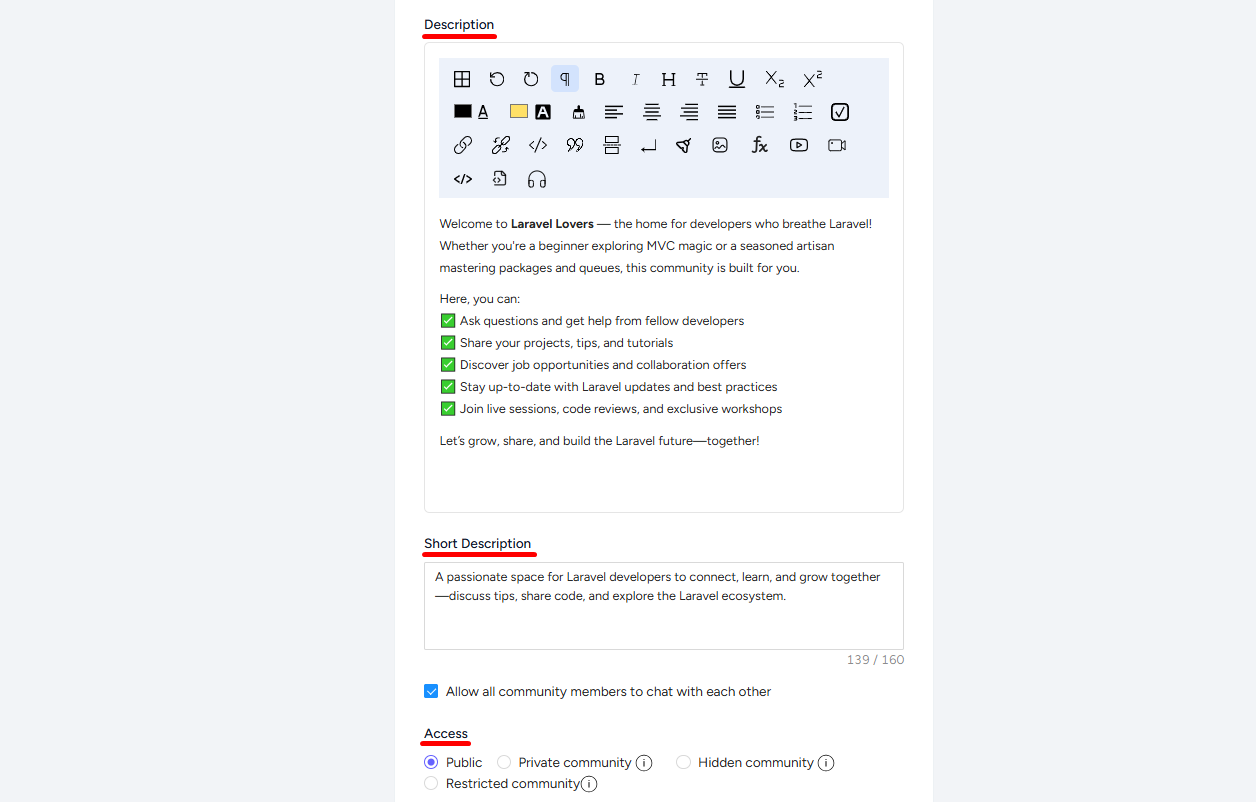
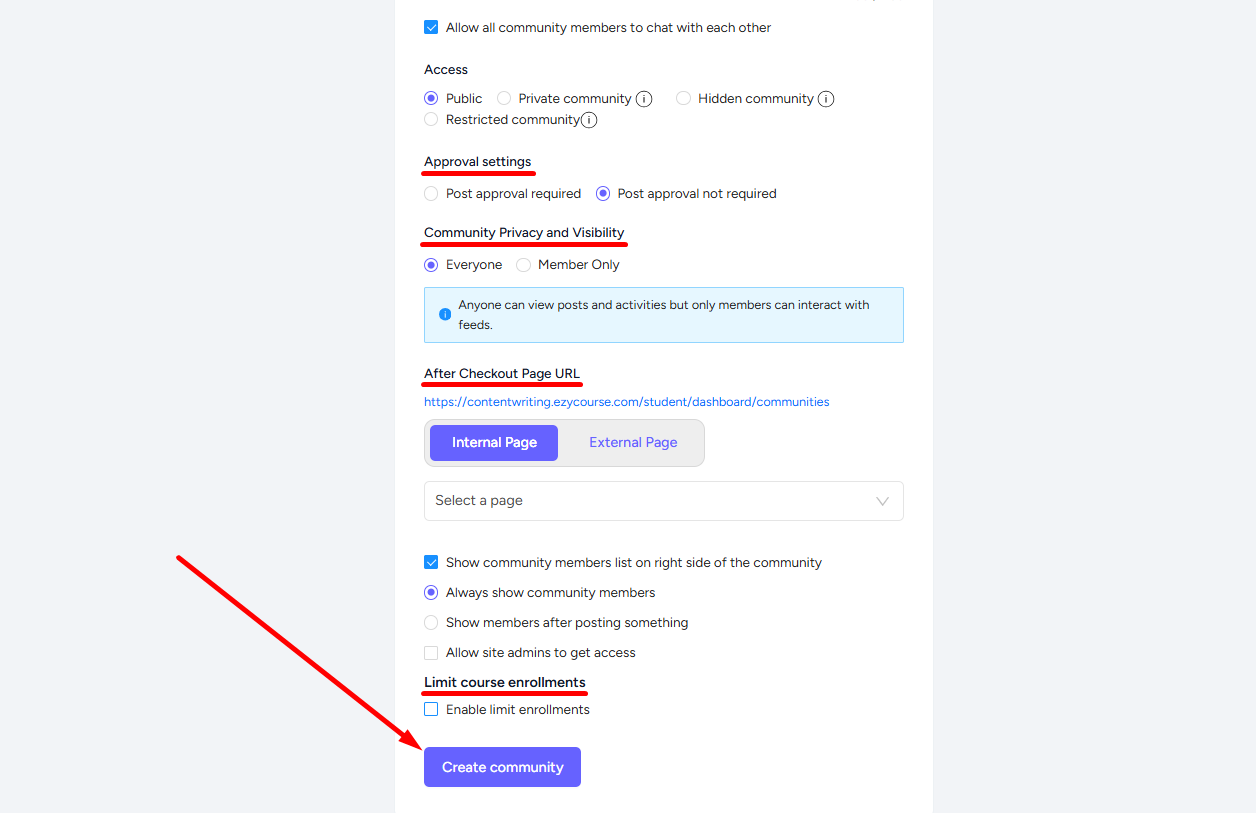
To finish creating, you’ll have to give a name, images, descriptions, access, approval settings, community privacy and visibility, after checkout page, enrollment limit, and other community settings as well. Once done, you can click the Create community button and that’s it. You now have an EzyCourse community at your disposal.
Students/users can purchase the community from your site and get access to all the community features.