Back
Community Post Approval Settings
Set Approval Settings in Communities
Filter community posts and stop unrelated or unnecessary posts from students. On EzyCourse, you can set the option to approve community posts.
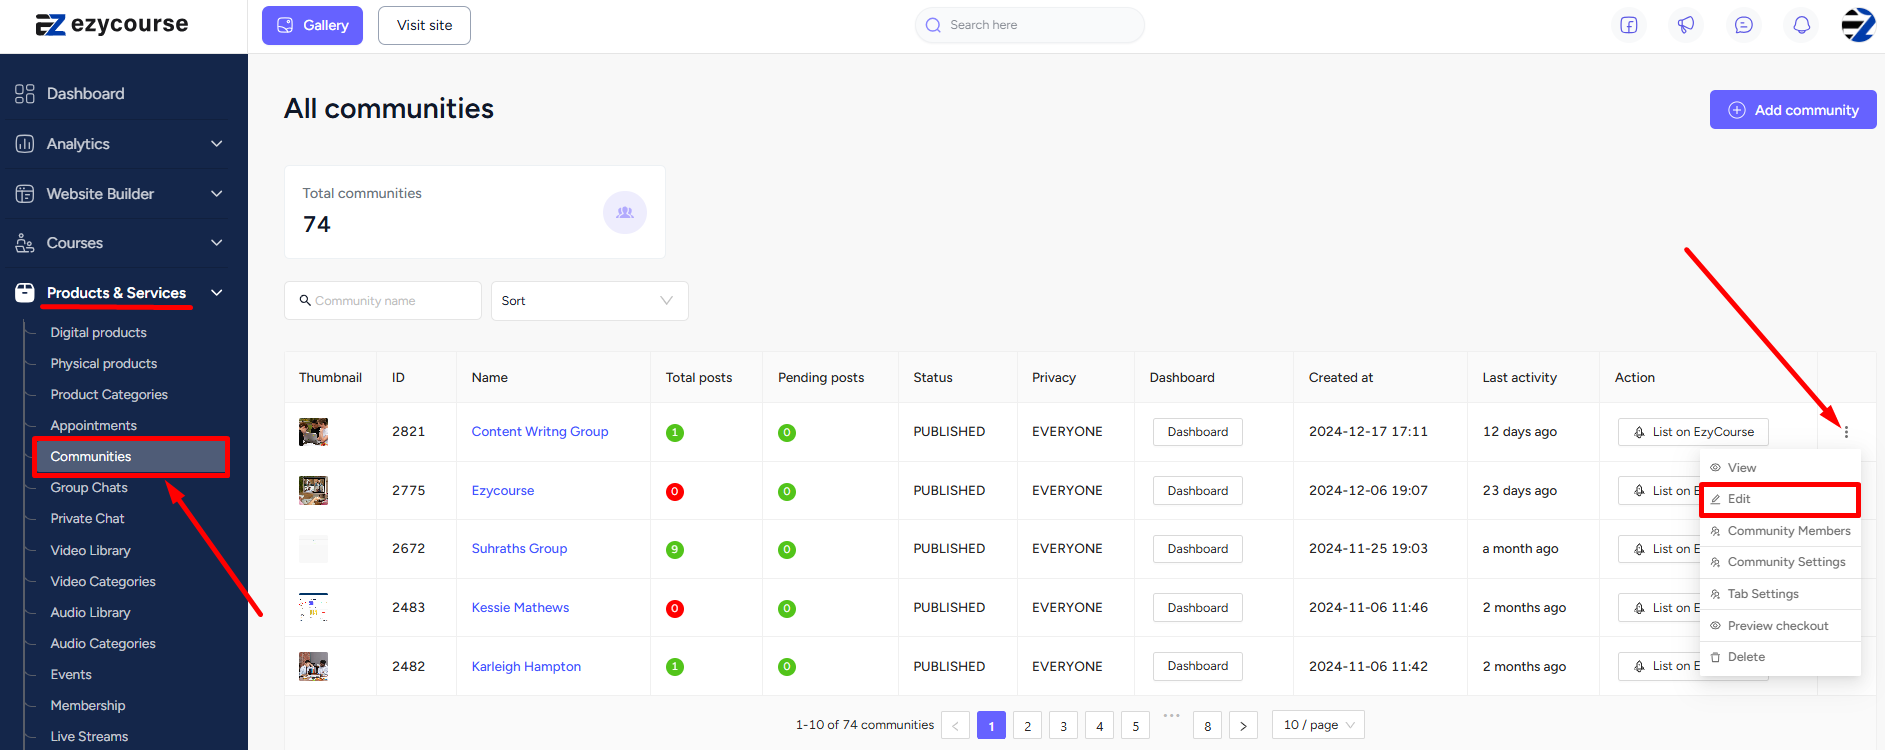
You can set the approval settings when creating a new community. For an existing community, go to Products & Services -> Communities -> click the three dots and select Edit option.
From here, you can choose the approval settings.
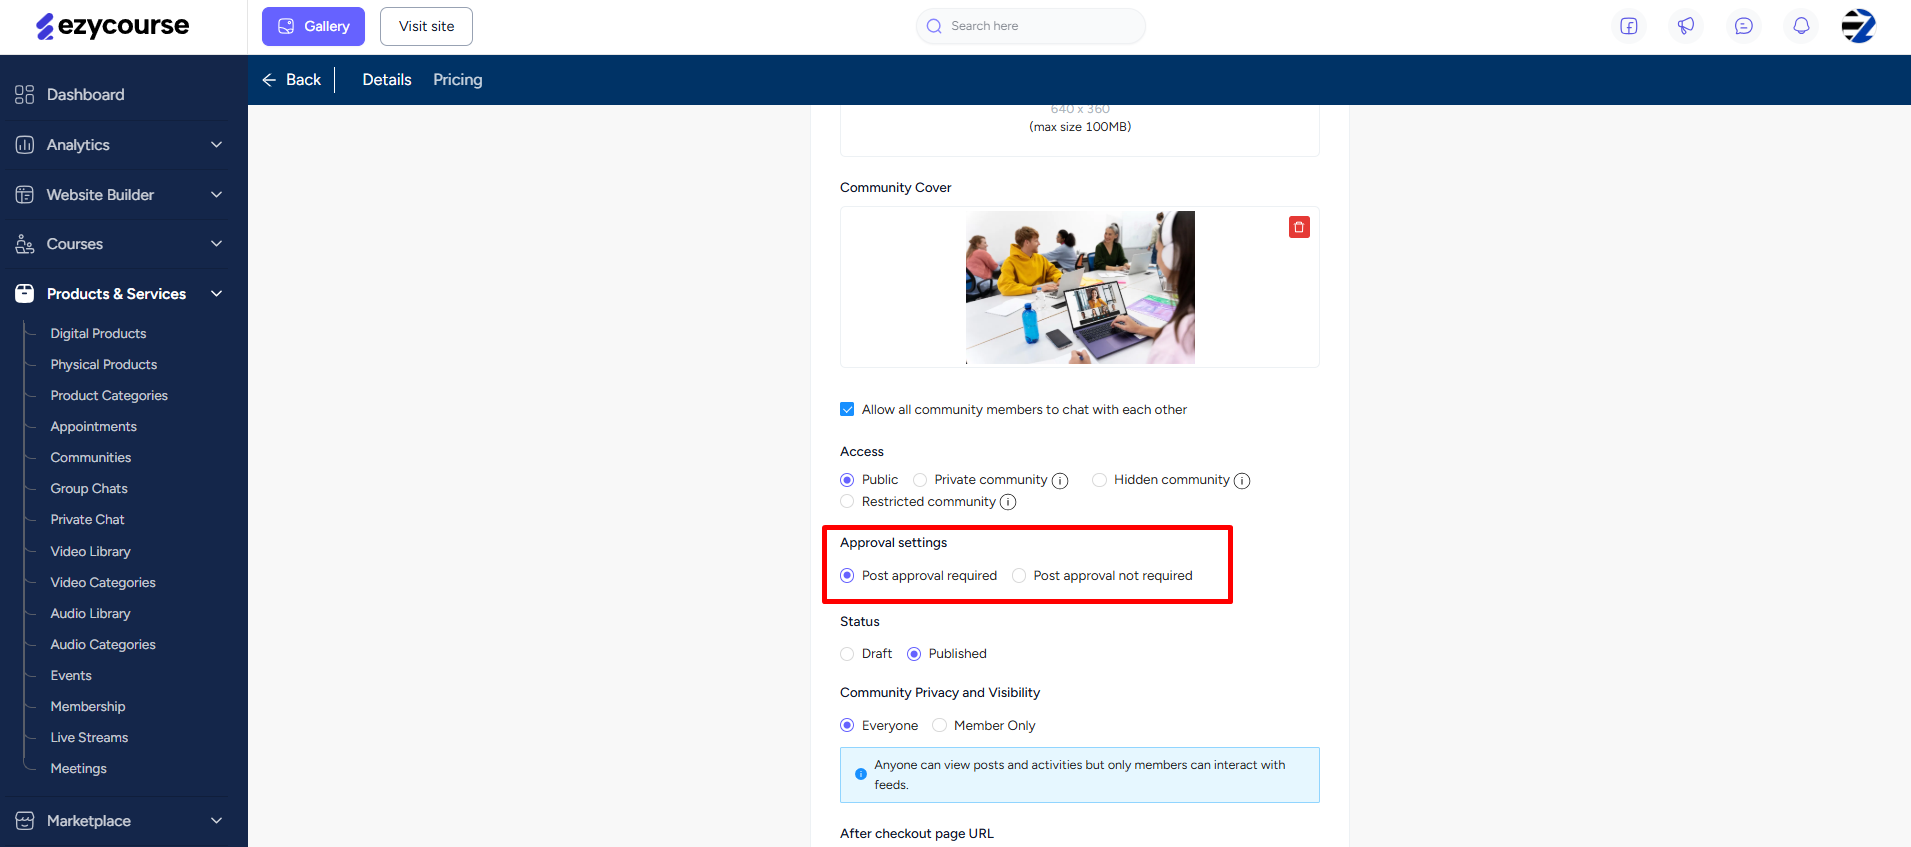
→ Post approval not required: Anyone can post anything in the community without any restrictions.
→ Post approval required: All posts come as a request to you which you have to approve first to be posted in the community.
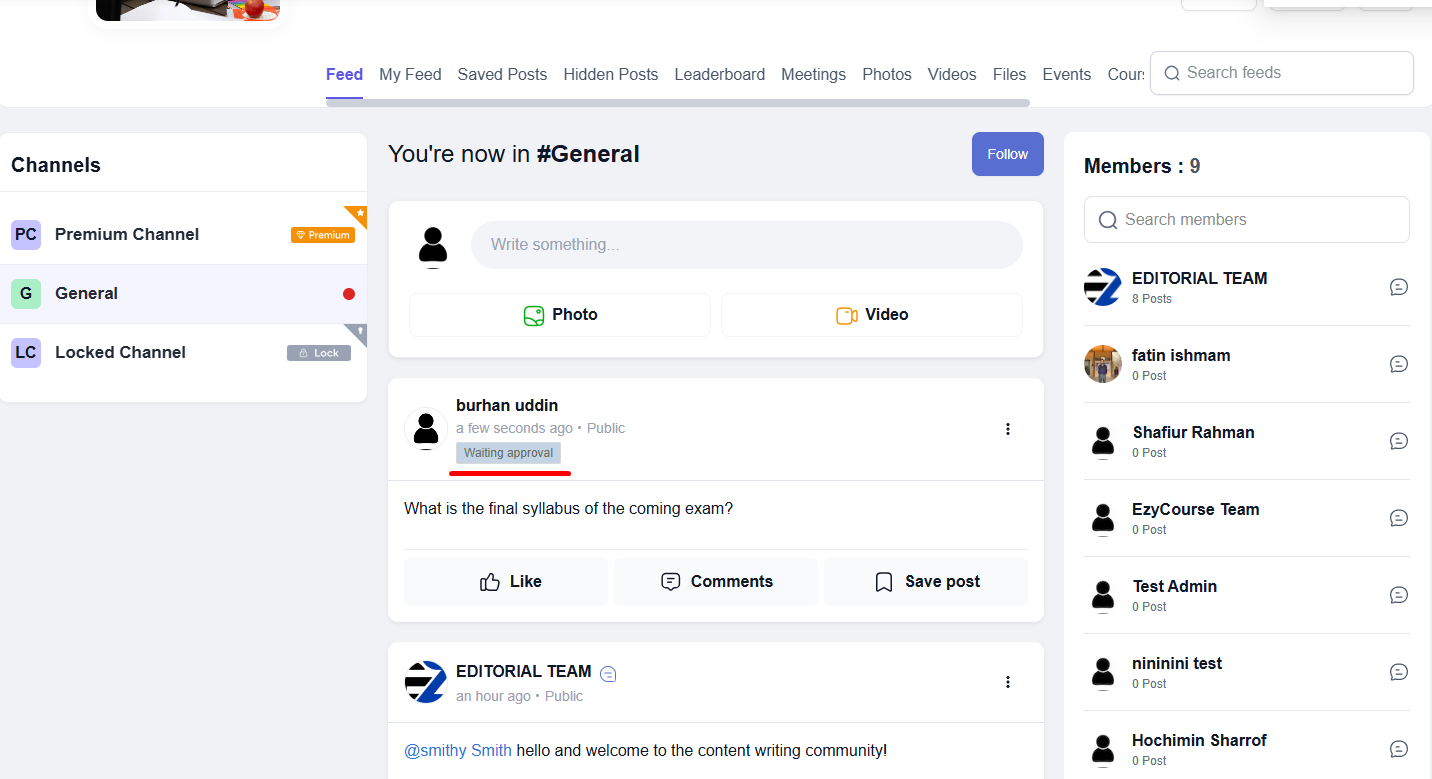
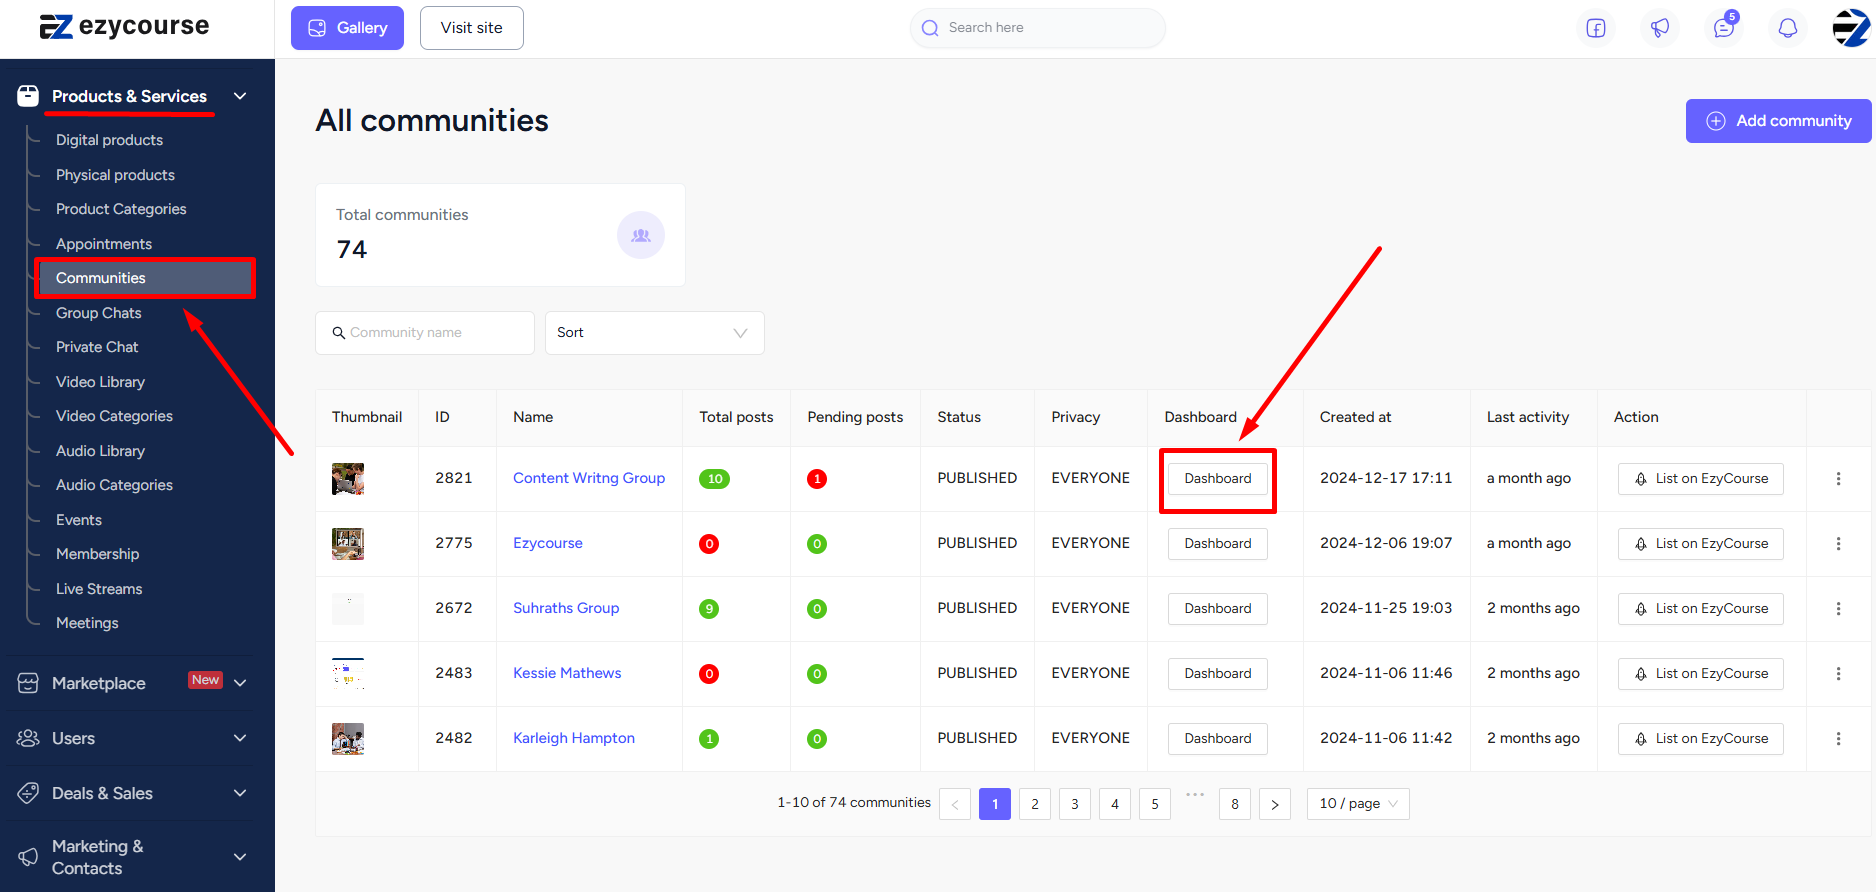
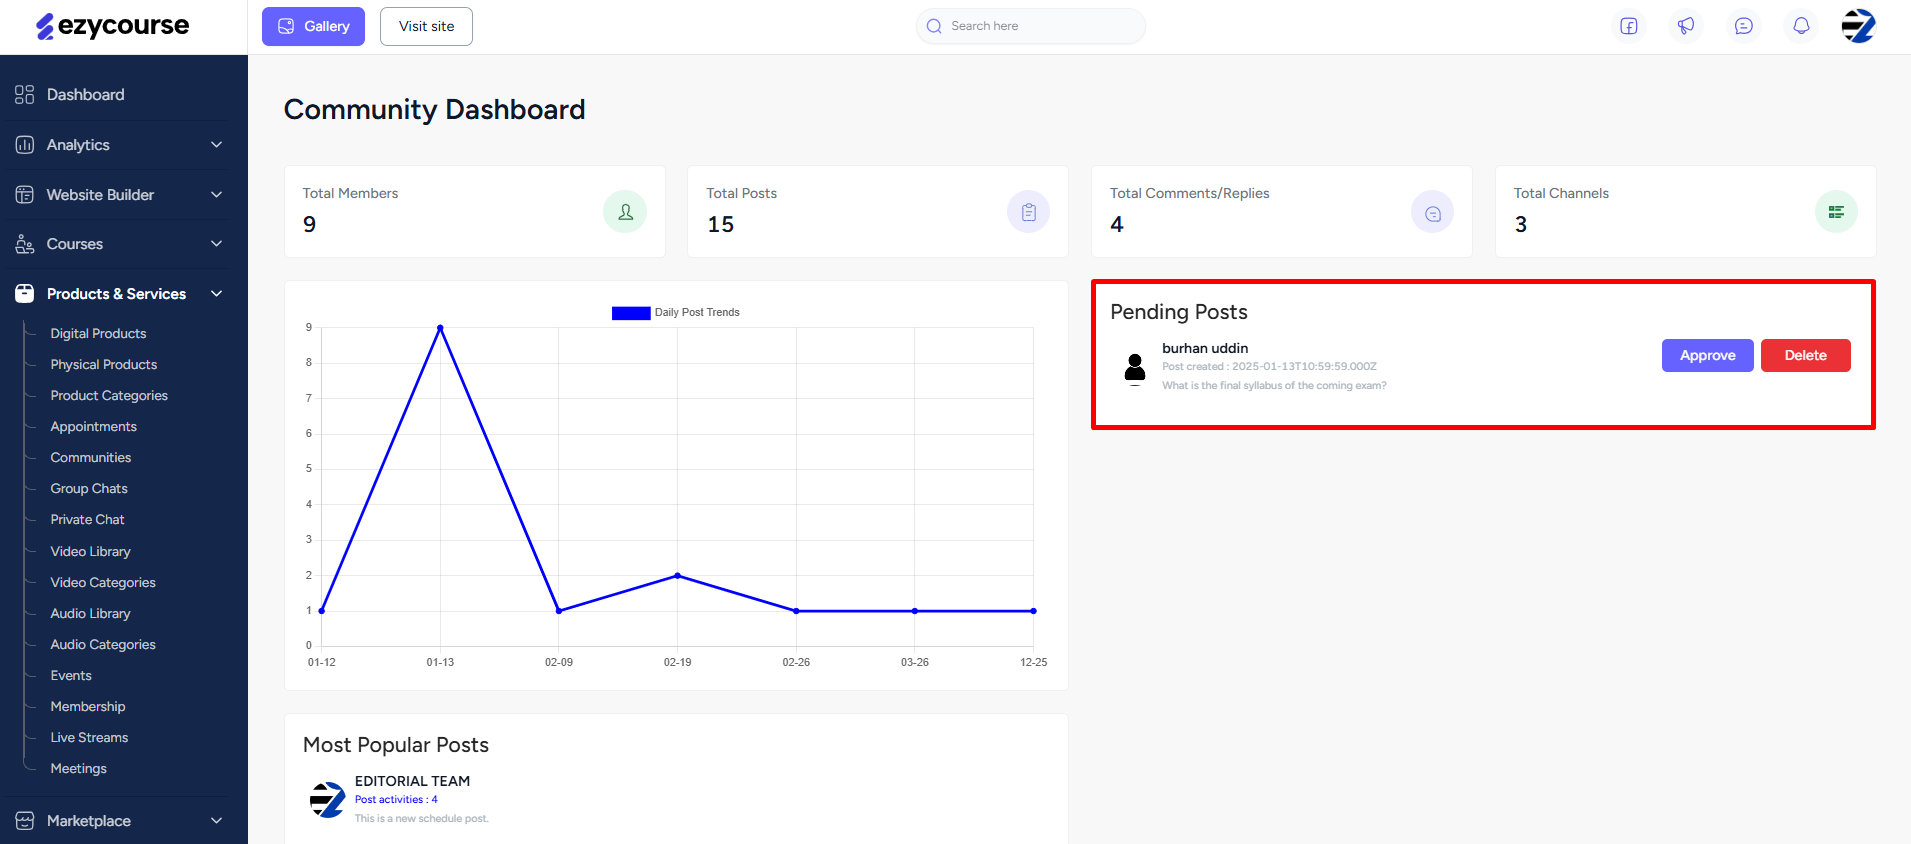
To see and approve posts, go to Products & Services -> Communities -> and click the Dashboard button. On the community dashboard page, you’ll see all the pending posts on the right side of the screen. You have the option to approve or delete the post from here.
