Back
Passwordless Checkout and Other Enhancements
What is it and why you need it
First impressions matter and nothing kills excitement faster than a long, boring checkout process. That’s why we’re pleased to introduce you to our latest Passwordless Checkout feature.
Now, your first-time visitors can buy with ease—no account needed, no extra hassle, less steps and distractions. A smooth experience that makes purchasing feel as easy as it should be. Ultimately, helping you to increase your conversion rates and reduce cart abandonment.
How it works
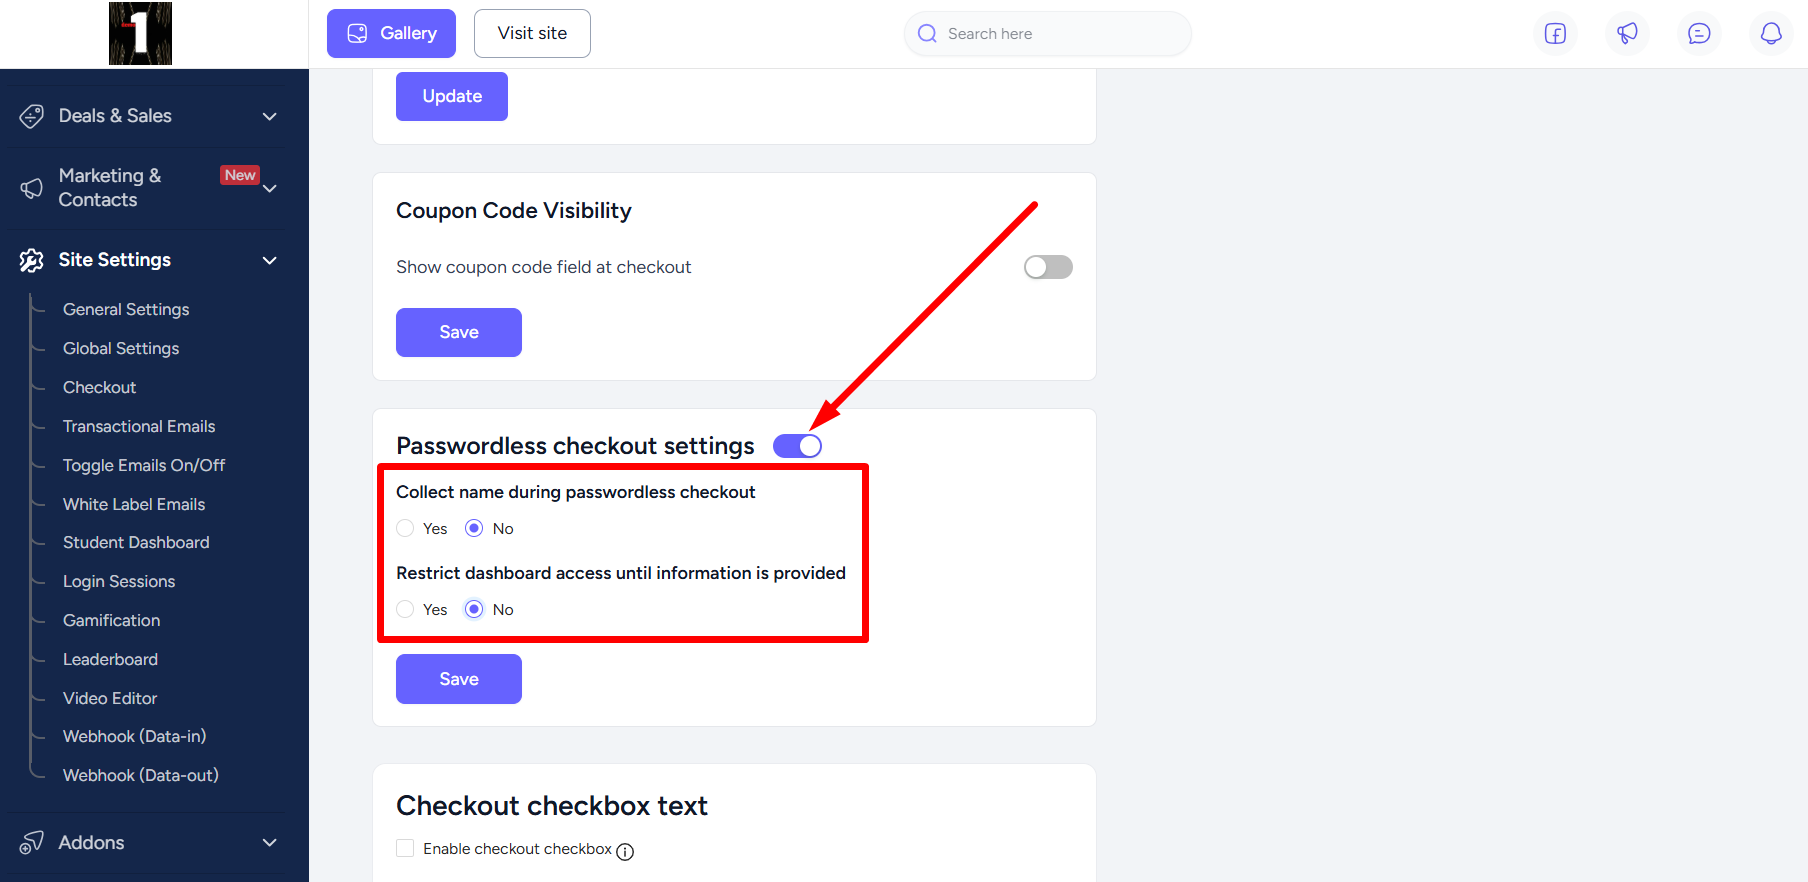
As an admin, enabling Passwordless Checkout is quick and easy from your EzyCourse dashboard. Once enabled, you can configure two settings:
• Collect name during password checkout
• Restrict dashboard access until information is provided
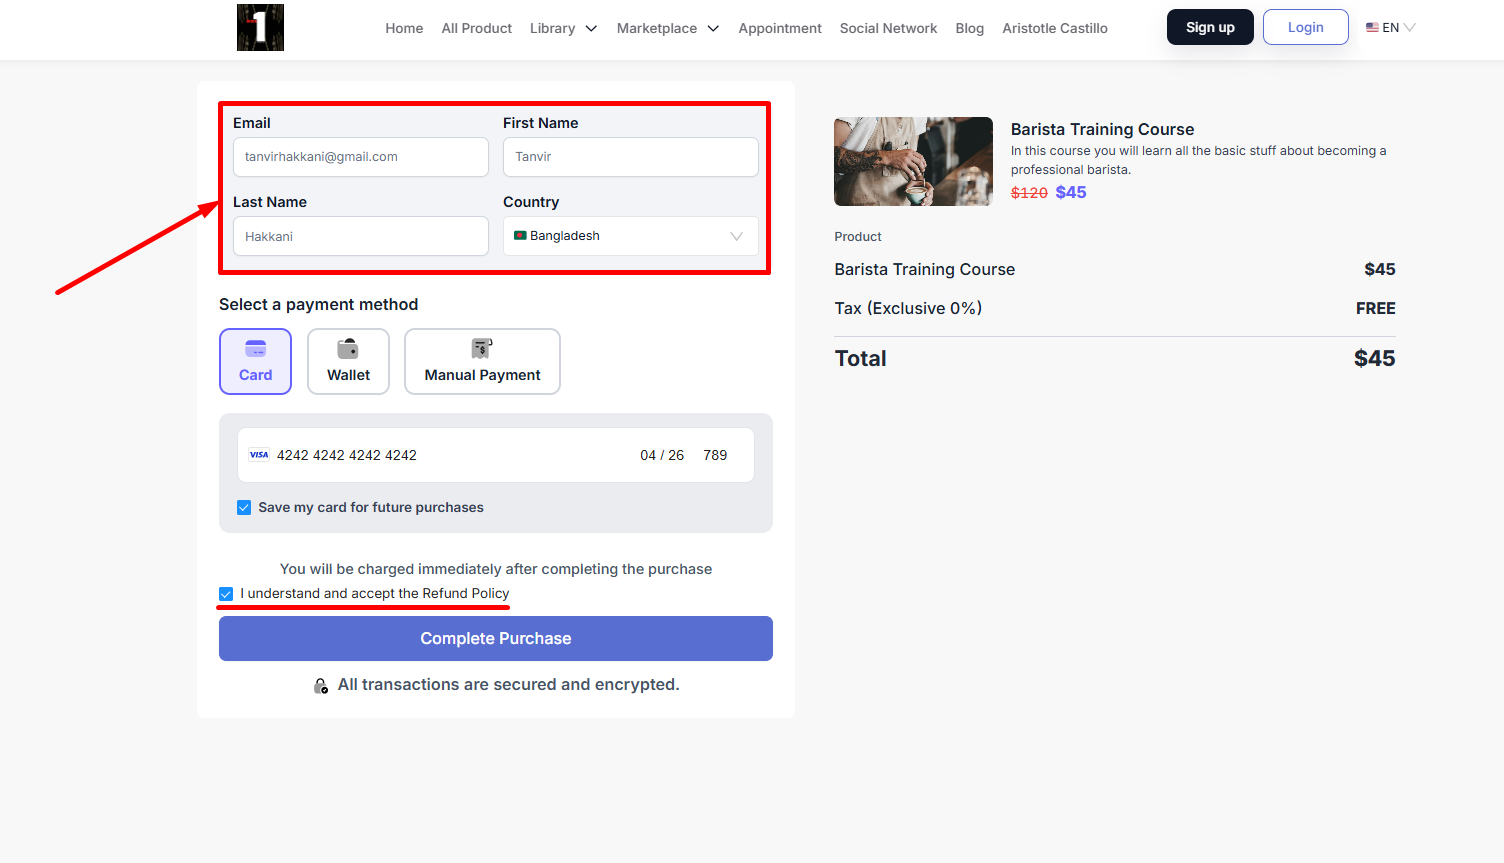
If both are turned on, visitors will be required to enter their first name, last name, and email address when checking out. That’s it—no login required.
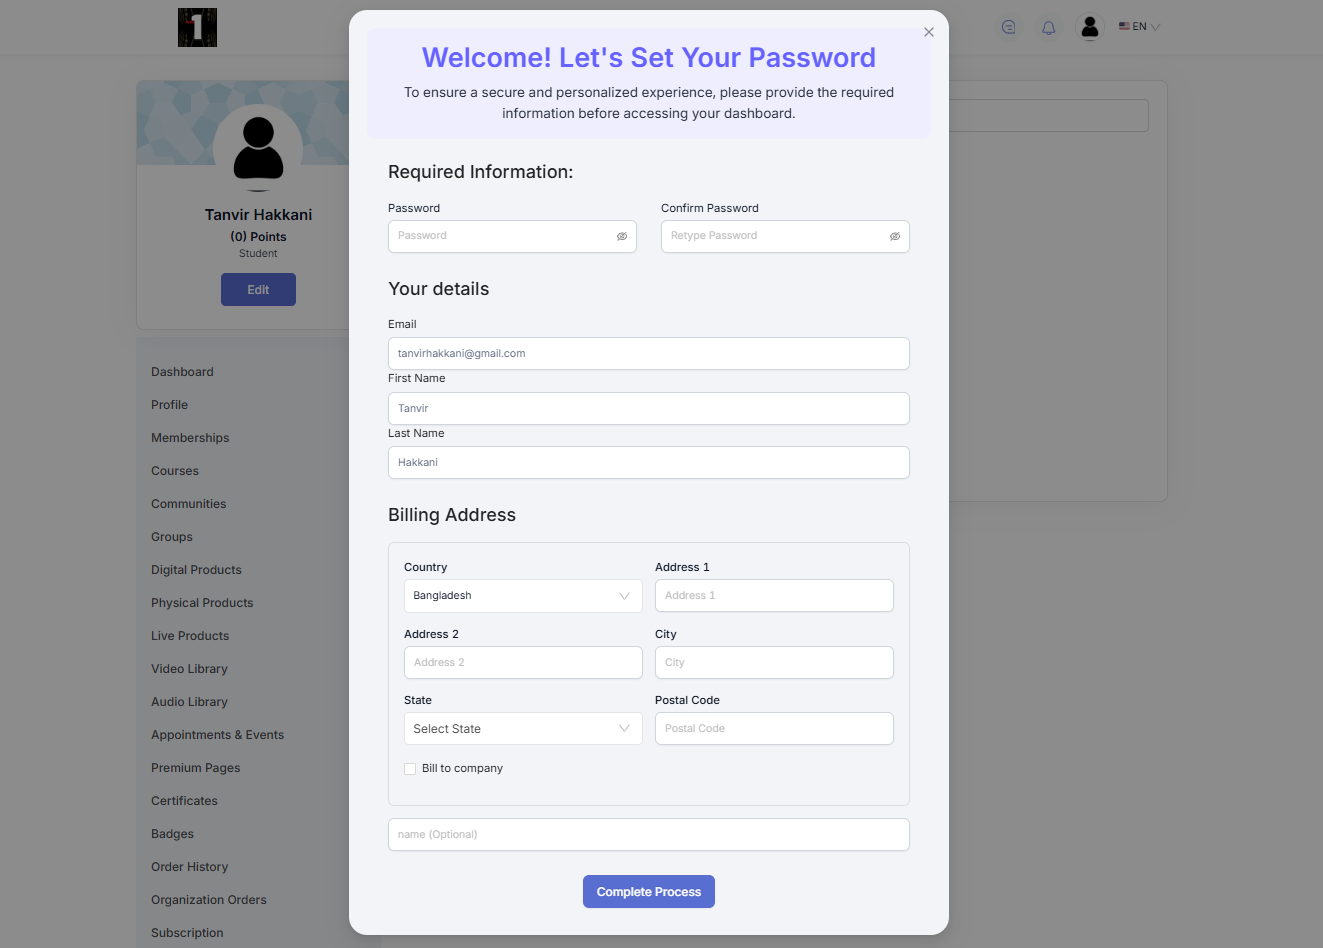
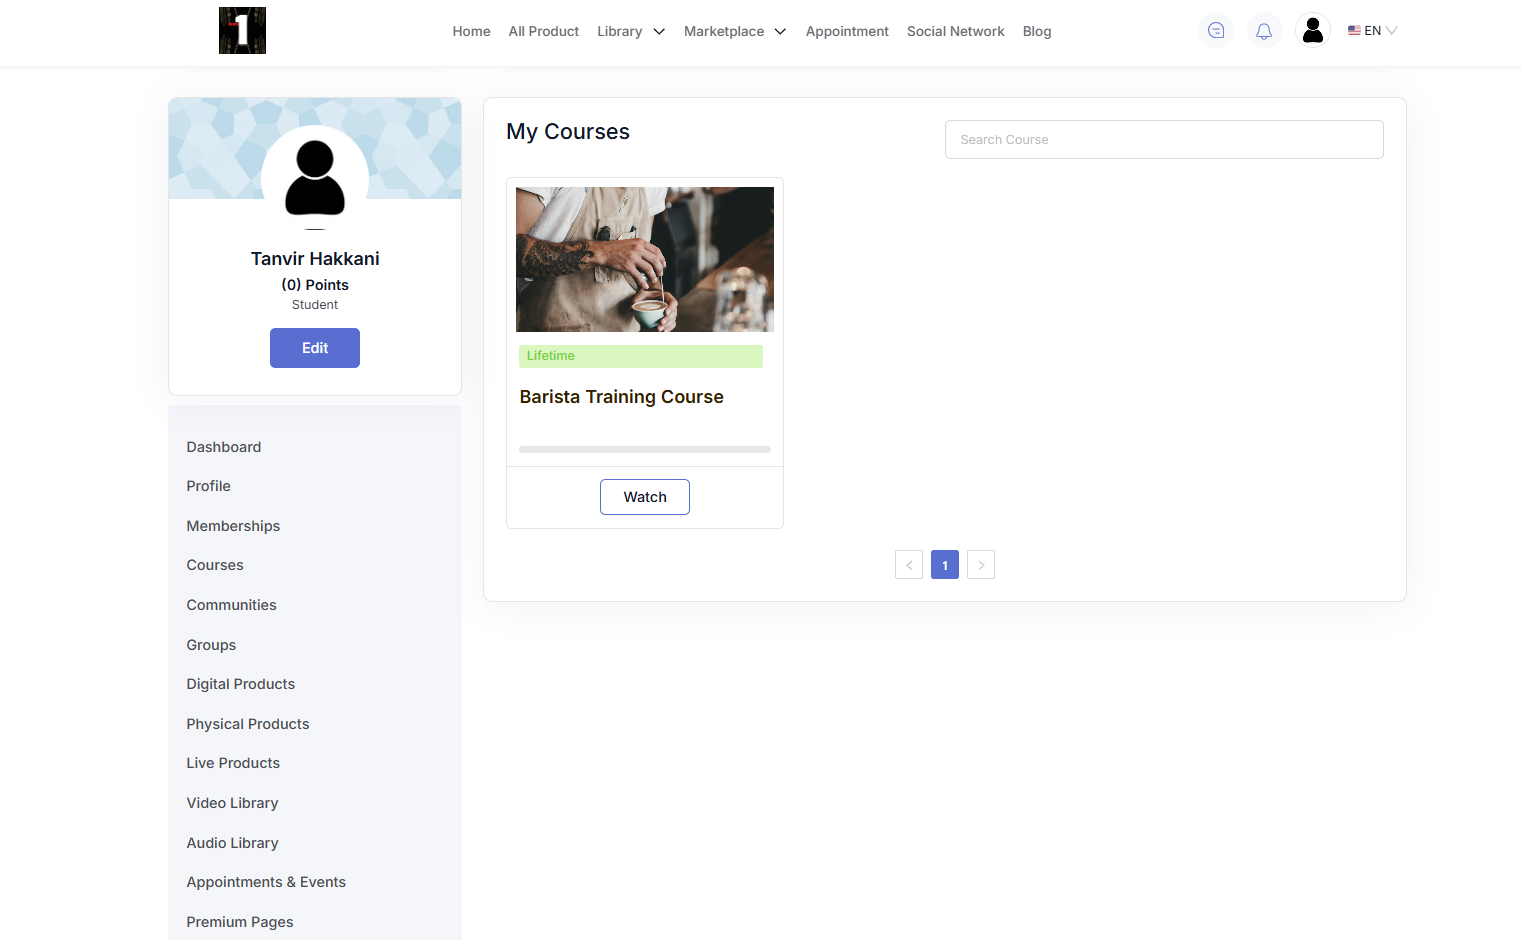
After purchase, the user is redirected to their student dashboard, where a locked popup modal will appear prompting them to complete the additional required fields you’ve set.
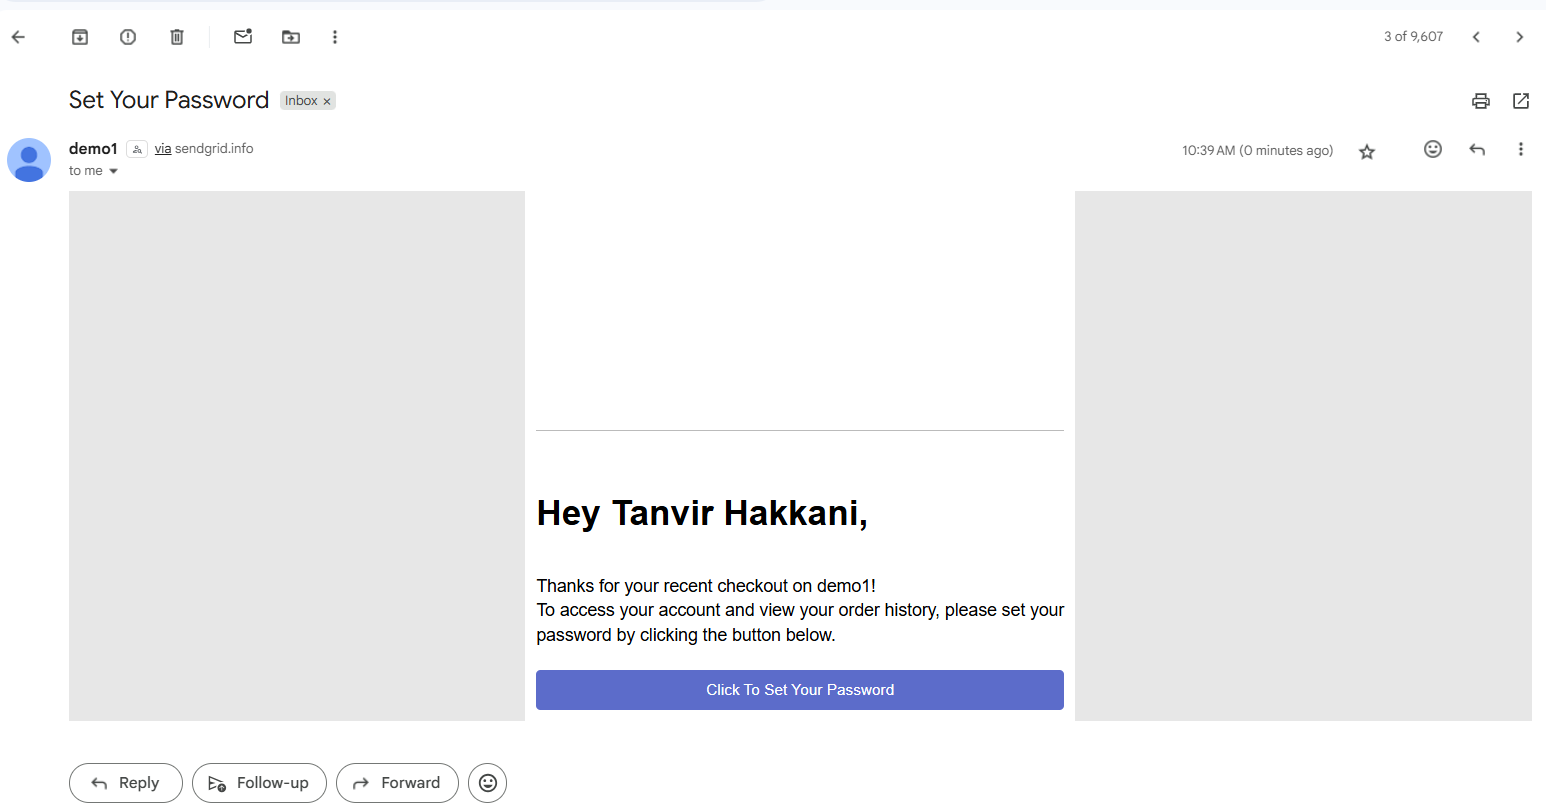
They won’t be able to access the dashboard fully until they submit the required fields. It is important to note that your users can also set their account password from the welcome and set password email sent by the system.
How to get started using it
To begin, head over to your EzyCourse dashboard and go to Site Settings -> Checkout -> scroll down a bit, and here you will find the new Password-less checkout settings.
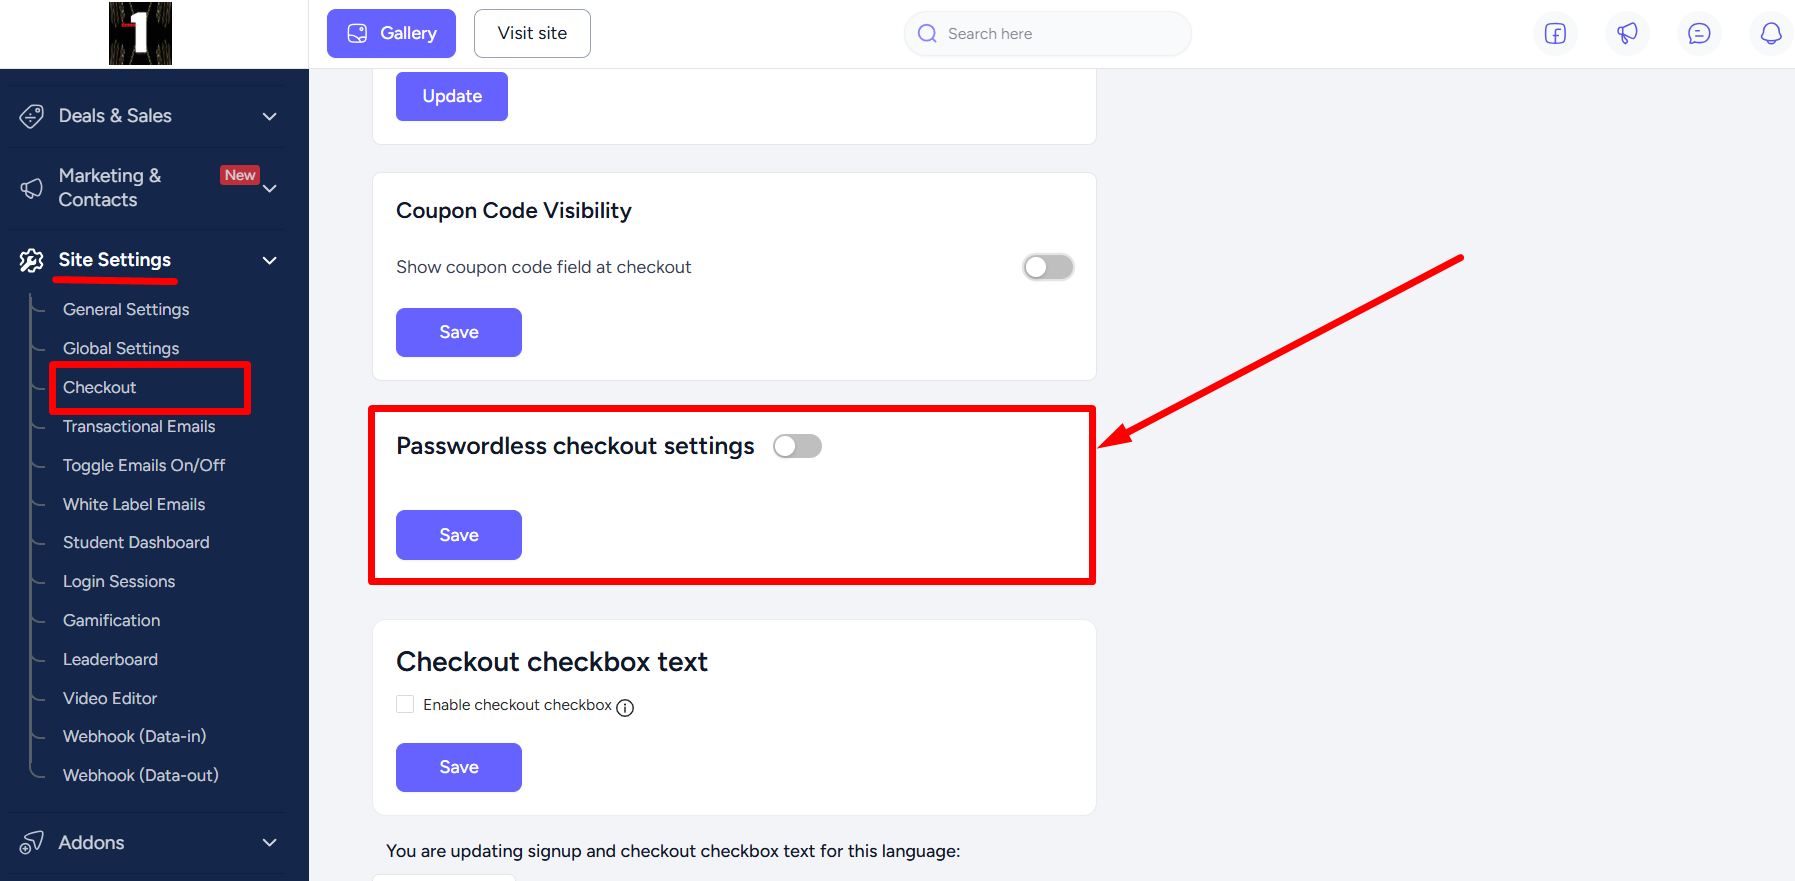
Enable the toggler and notice that two new settings will appear regarding name collect during passwordless checkout and restrict dashboard access until information provided.
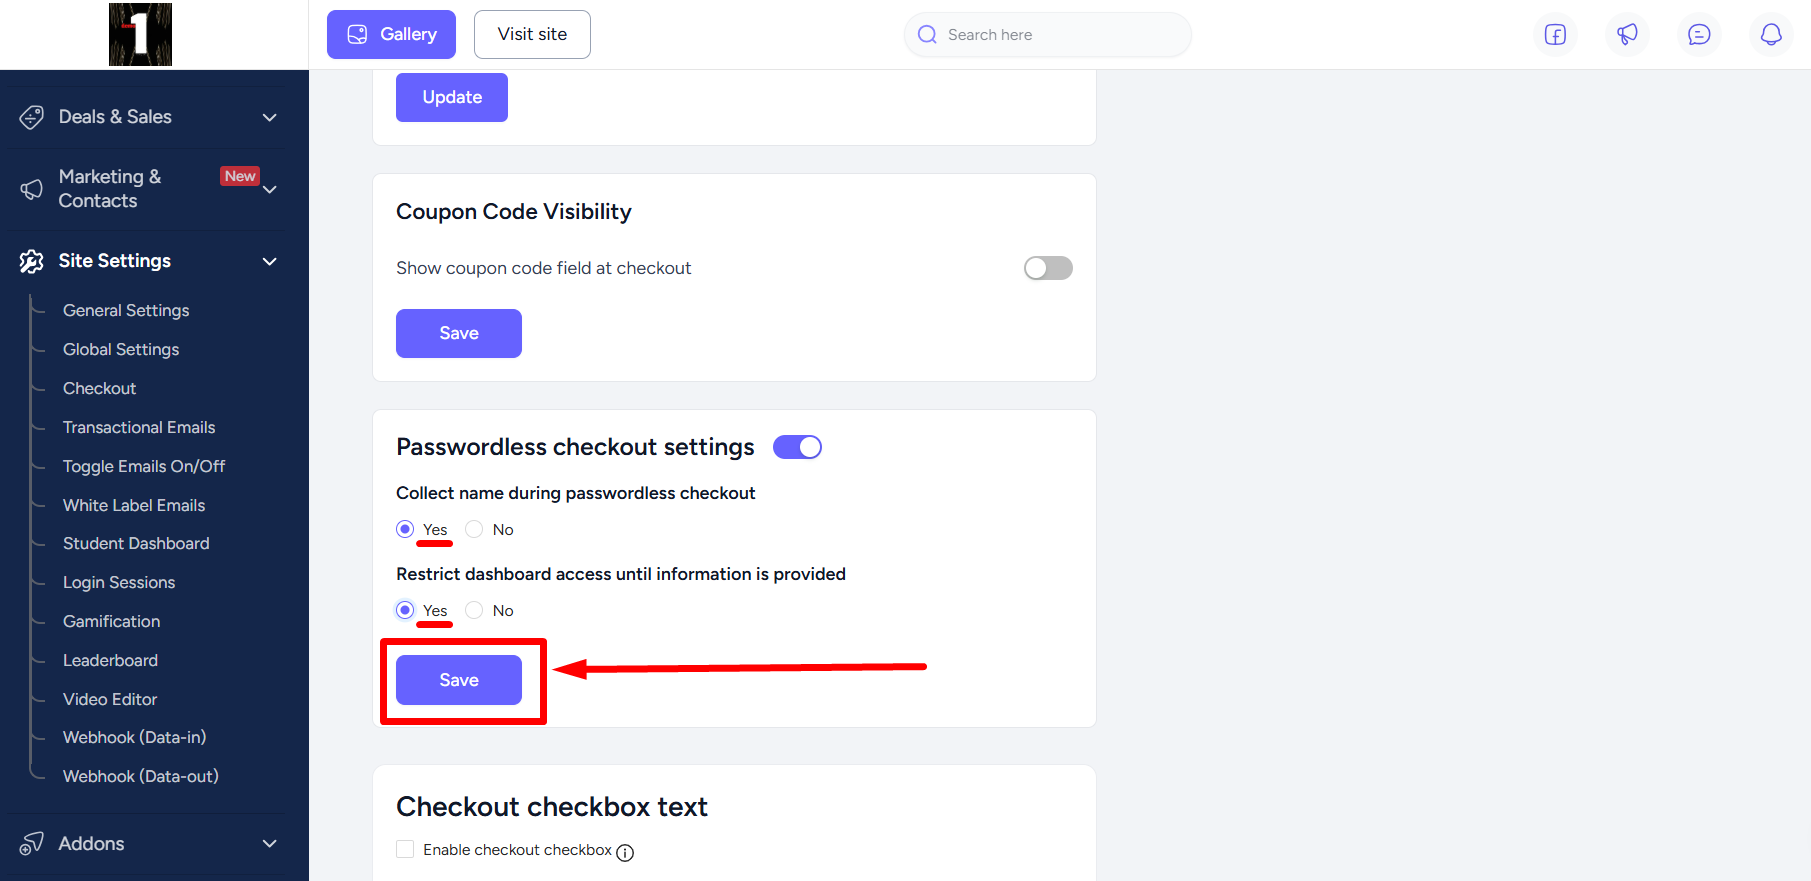
Here, we set both permissions to Yes and then click the Update button to apply the changes made.
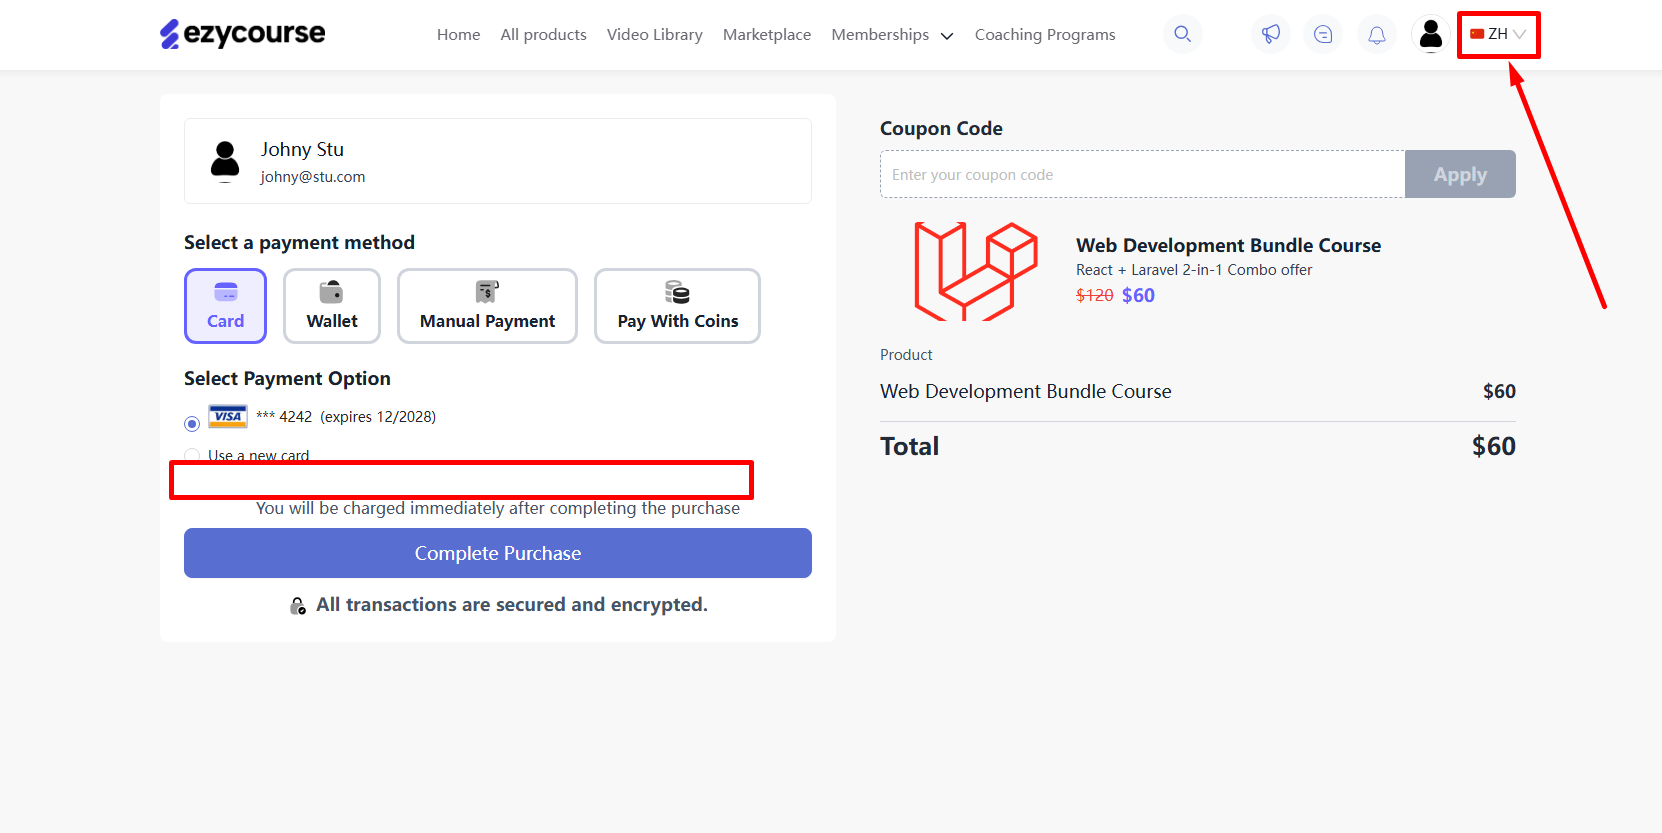
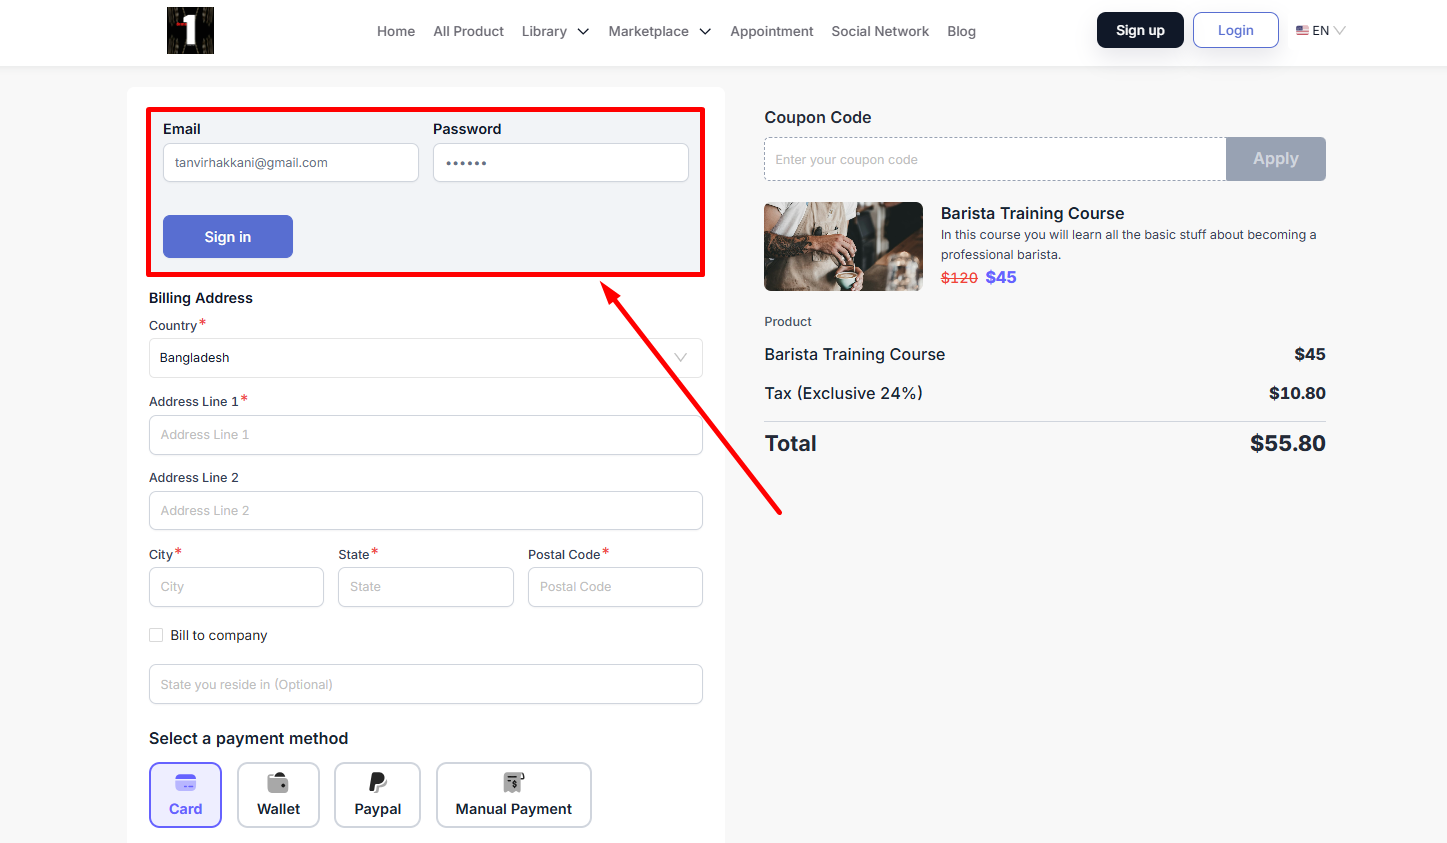
So, now when any visitor proceeds to the checkout to purchase any product, they need to enter their email address first and then enter their first and last names (based on the permission you’ve set).
Right after completing the purchase, the user will be redirected to the student dashboard. Showing a popup modal with all the required fields you’ve enabled, along with the option to set a new password. They can also view the information provided while completing their purchase at checkout.
[Note: Users can close the popup modal if the restricted dashboard access is disabled.]
You can configure the password strength settings from Site Settings -> Global Settings which will be applied to the popup modal.

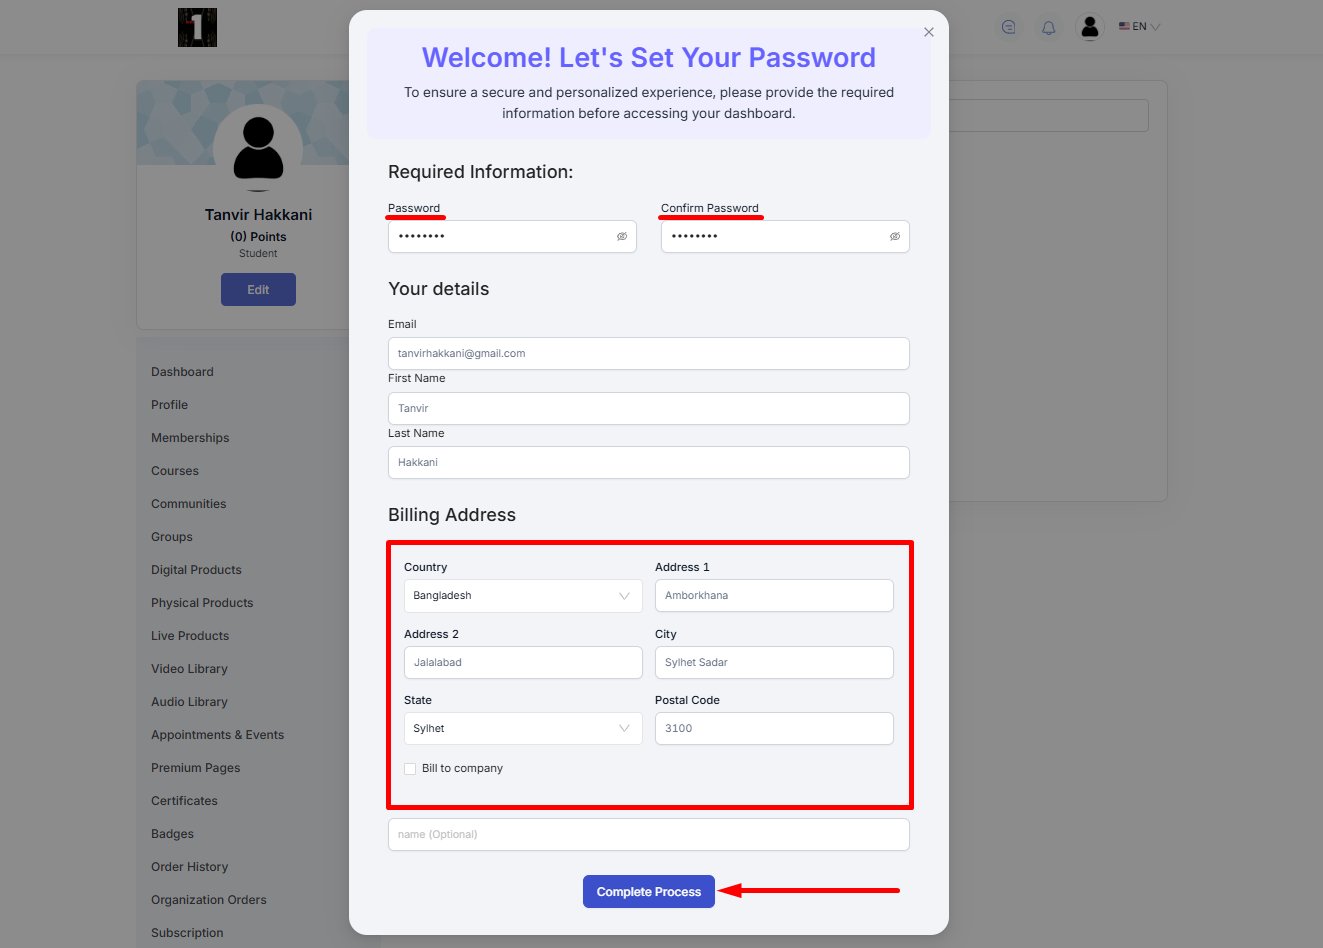
On the popup modal, they need to fill in all the required empty fields and then click the Complete Process button.
They can also set their account password with the set password link sent to their provided email address. The link will be valid for 24 hours; after that the link will expire and won’t be of any use.
[Note: If users have previously set their password via the set password email link, then the password field won’t show again on the popup modal.]
They can get access to the dashboard once they submit the required information.
In case an existing user proceeds to the checkout page without signing in, they need to first sign in to their account from there and then complete the purchase.
Other Enhancements
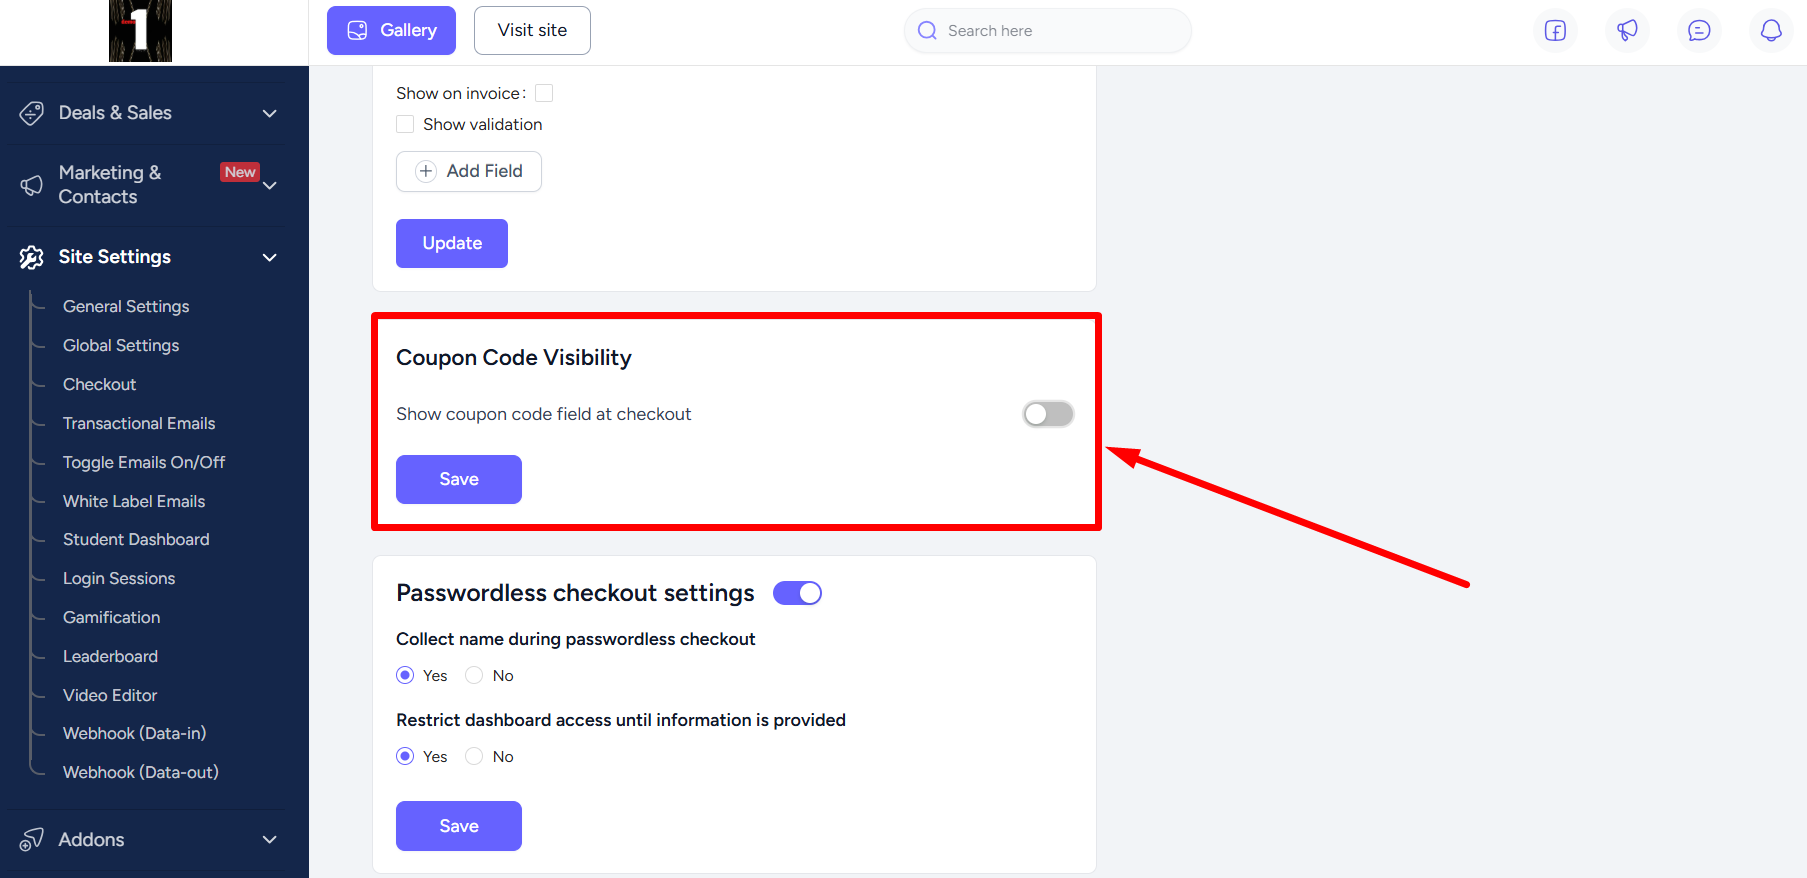
You now have the luxury to show/hide the coupon field at the product checkout page.
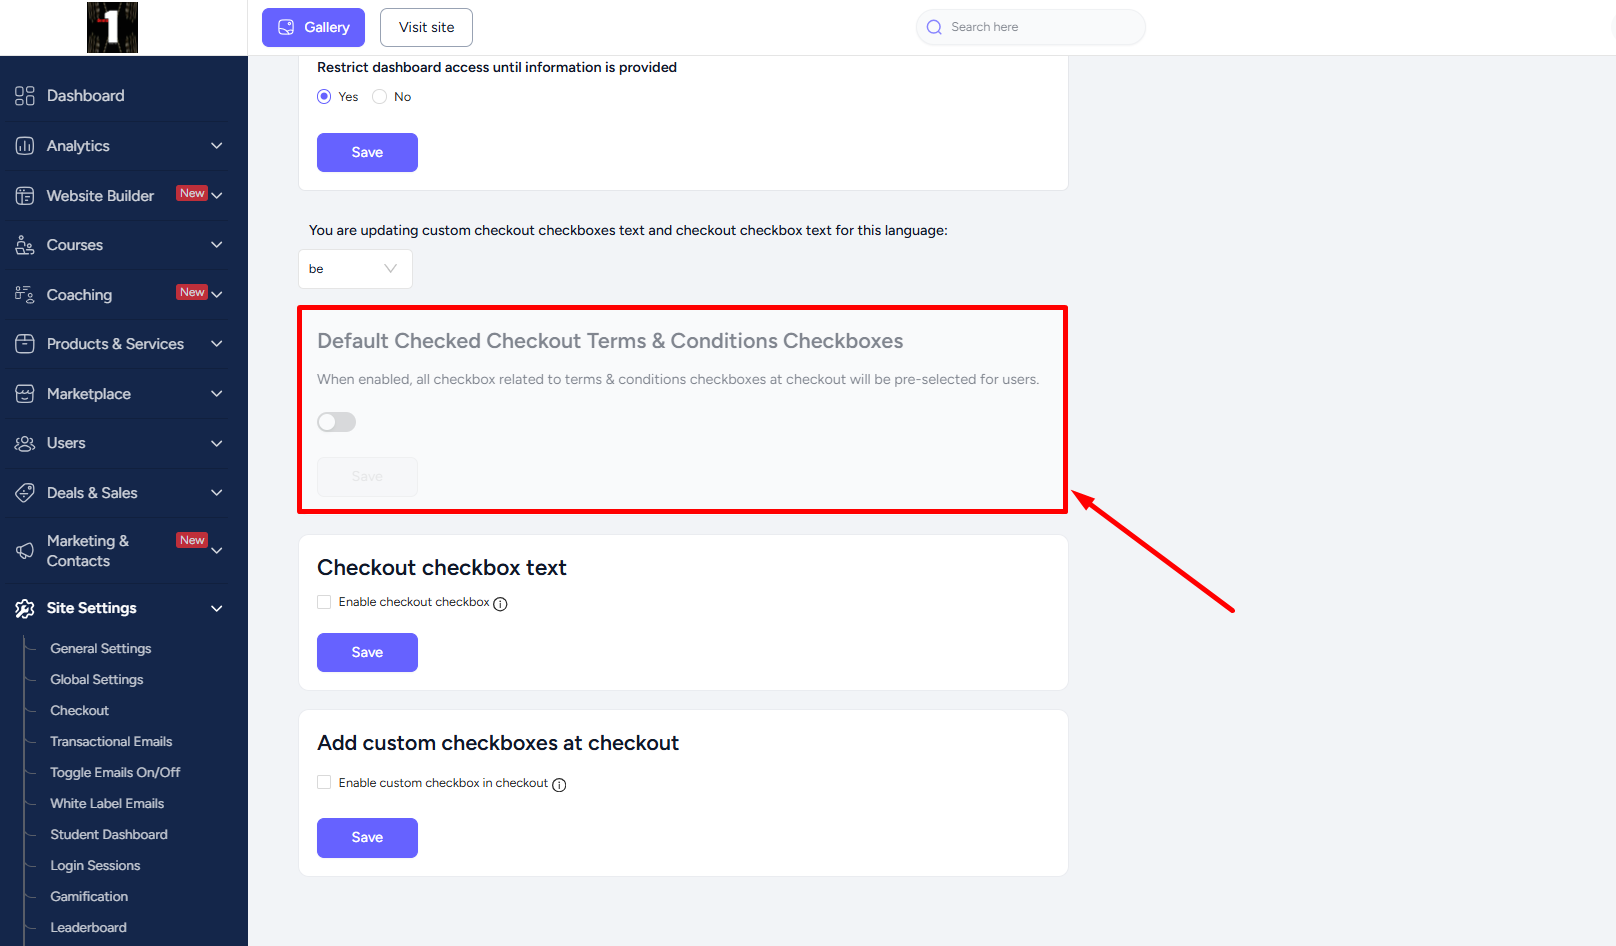
Moreover, you can allow all checkboxes associated with terms & conditions at checkout to be pre-selected for your users. Simply, enable the Default Checked Checkout Terms & Conditions Checkboxes toggle and then click the Save button.
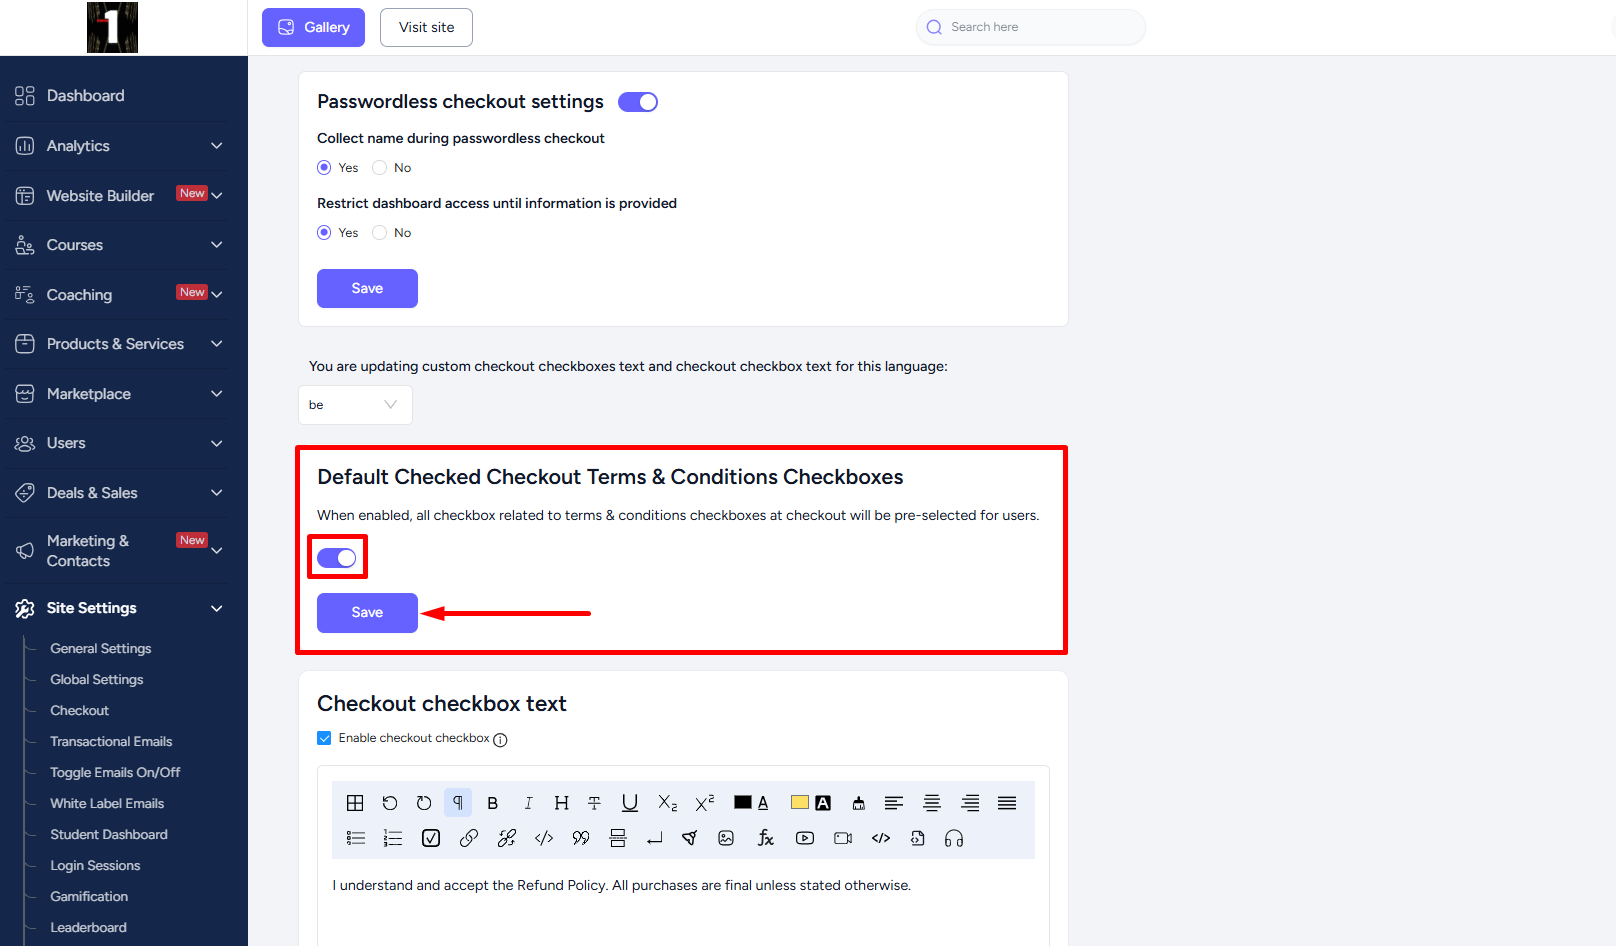
Note that when both the “Checkout checkbox text” and “Add custom checkboxes at checkout” is disabled, then the Default Checked Checkout Terms & Conditions Checkboxes option won’t be accessible. At least one option needs to be enabled.
And that’s not all! You can choose the language for which the checkout checkbox text or custom checkout checkboxes will be visible on the checkout page. The checkboxes will only show at checkout for the language you select here.
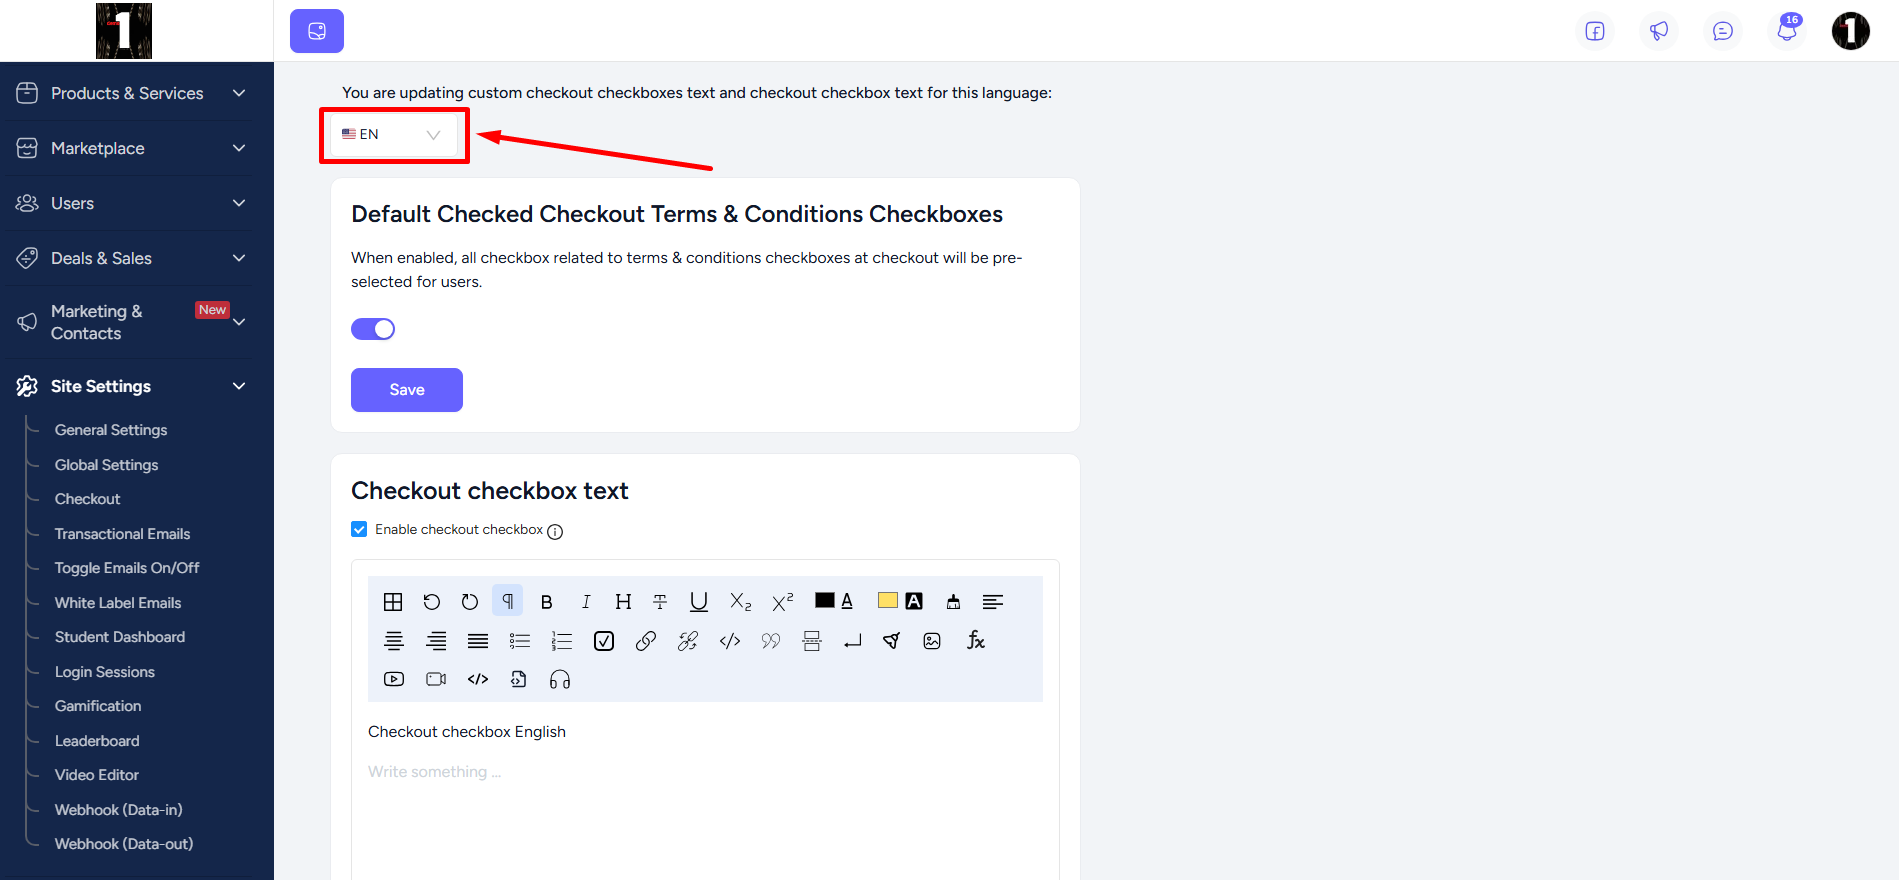
For example, if a user selects any other language on the website, the checkboxes you’ve set won’t be visible to them.