Back
How to Sell Your EzyCourse Products
There’s plenty of products to sell on EzyCourse, but how do you start selling them? In this article, you will learn how to go about selling a product on the platform.
Step 1: Create Your Product
Before you start selling, you need to make sure that your product actually exists on the platform. You can easily create a Course, Community, digital/physical product, or any other product from your EzyCourse dashboard.
When you are creating a product, ensure you set the right accessibility settings. Otherwise, the products might stay hidden from your website.
Step 2: Showcase Product on Your Website
The next step is to put your product on the website, where it will be accessible to the visitors and your users. EzyCourse makes it easy and effortless to showcase your products on the website. In fact, depending on the product type, you might not even have to do anything to put the product on display.
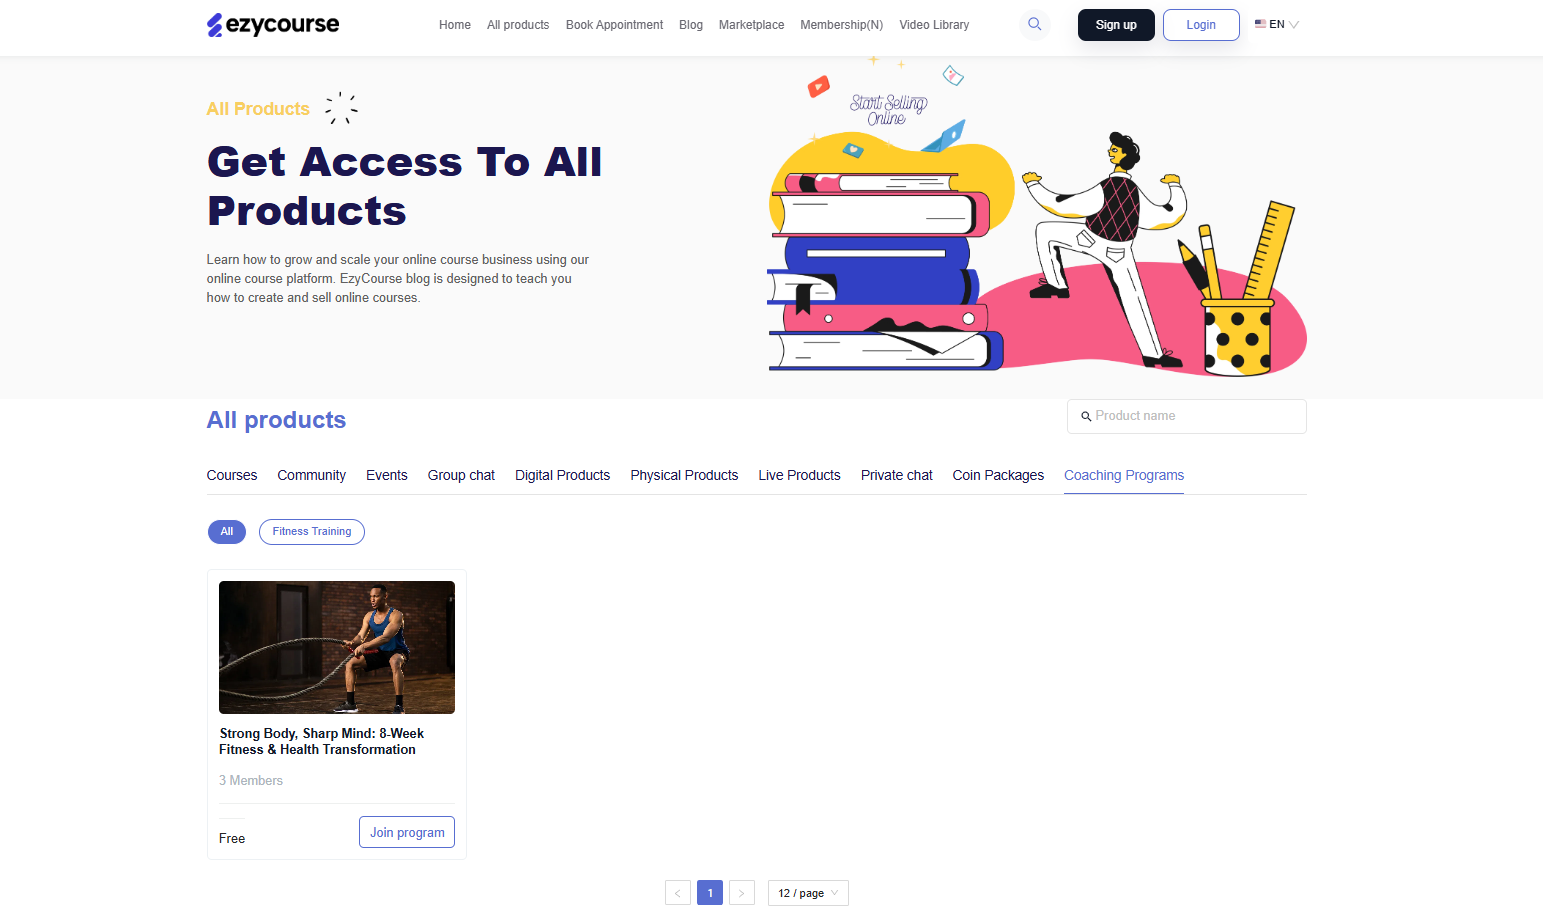
This is because there will already be a default page called All products when you first create your EzyCourse account. Every product you create will show on the All products page by default, without having to do anything else.

The products that usually show on the All products default page include -
• Courses
• Communities
• Events
• Group chat
• Digital products
• Physical products
• Live Streams
• Private Chat
• Coin Packages
• Coaching Programs
[Note: These could vary depending on your requirements.]
But, you might have to use the website builder to show other products like Appointments on your website.
Step 3: Sell & Start Earning
Any visitor or user in your platform can view the products on your website, along with product details including the price. Once you put up products on your website, you could use different ways to make your products more attractive and “sellable” to customers such as donation pricing, coupons, etc.
But, there’s no point in simply waiting for sales to happen because there’s so much more you can do using EzyCourse.