
Back
Create a Course
How to Create Courses on EzyCourse
EzyCourse makes it extremely easy to make your own online course. You can use the AI course builder to create courses with AI, or do it all by yourself from scratch. In this article, you will learn how to create a course manually on EzyCourse. To get started, go to Courses -> All courses -> Add course button on the top right corner.

Now, clicking Single course takes you to a form which contains basic information about the course you are about to build.

Give a nice name, and add the respective short description.
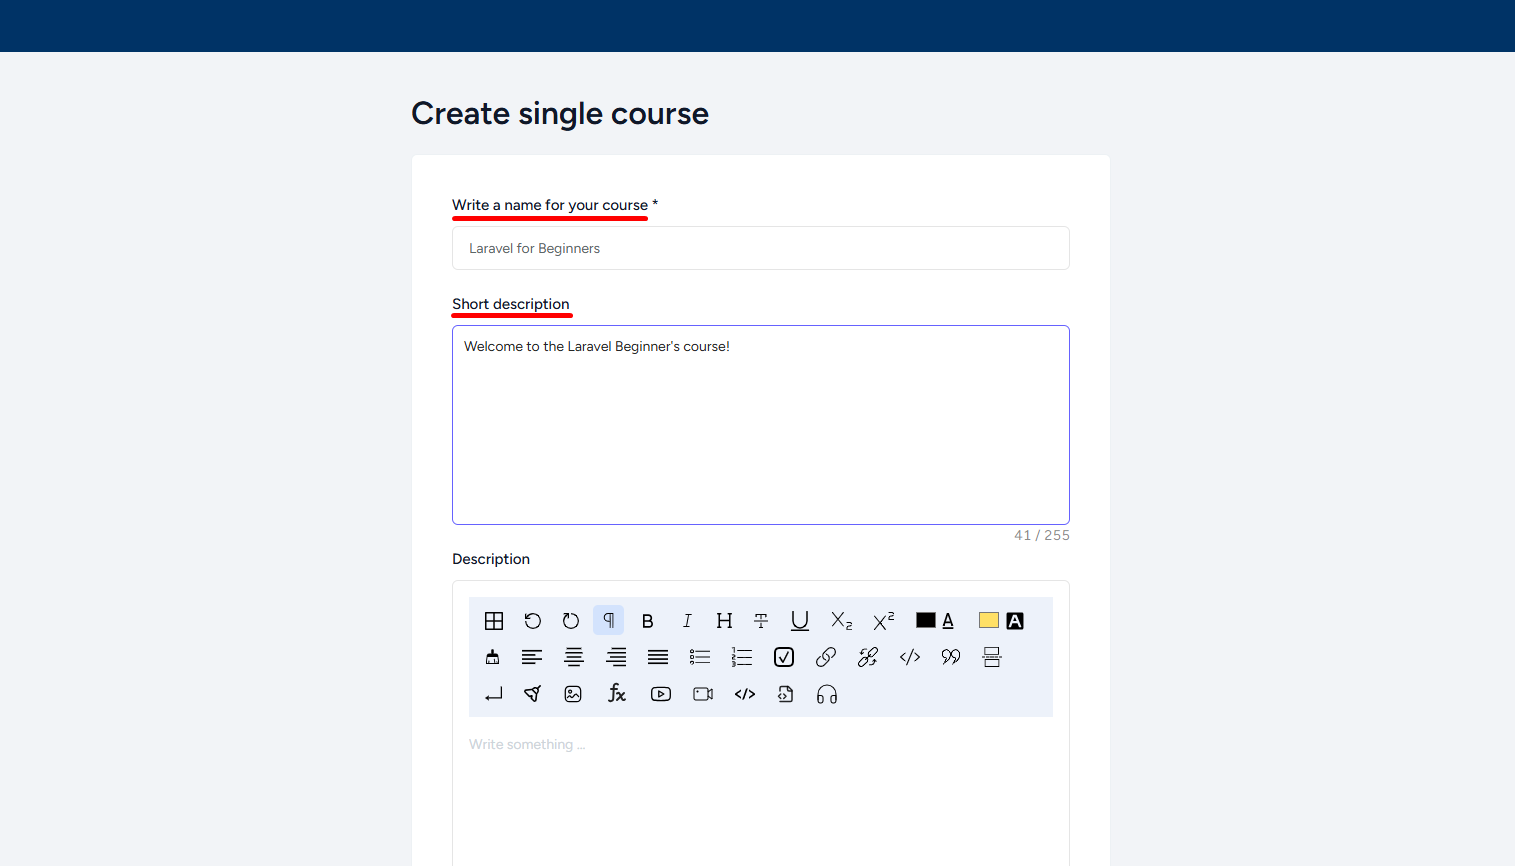
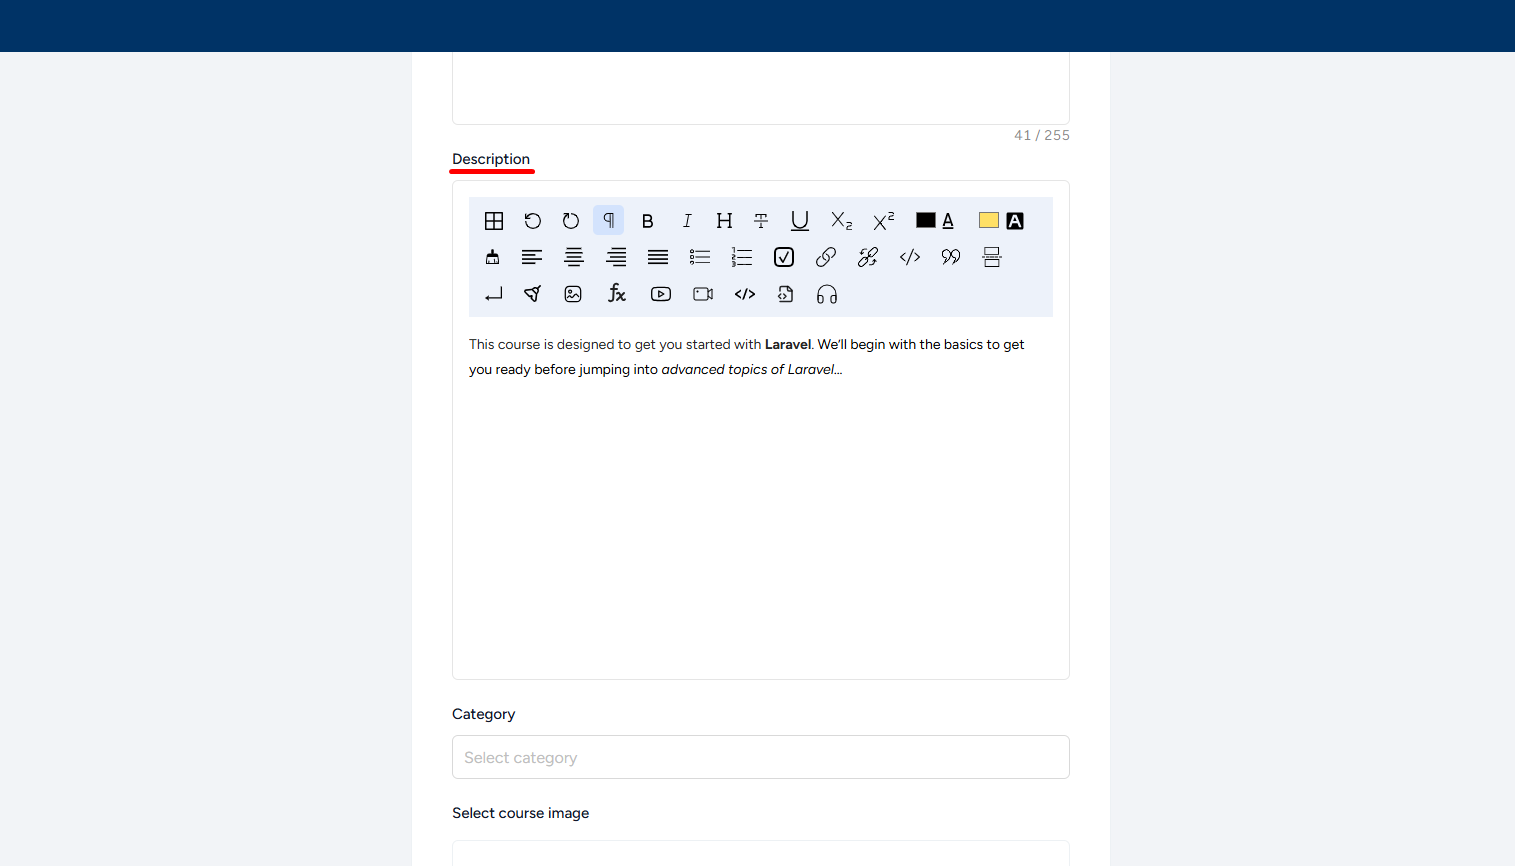
In the second Description field, you can do stuff like add text color, text background color, make lists, add links, images, videos, and more using the richtext editor. You can use it to entice students about what’s to come in this course. Remember that these descriptions are going to be visible to users before enrollment.
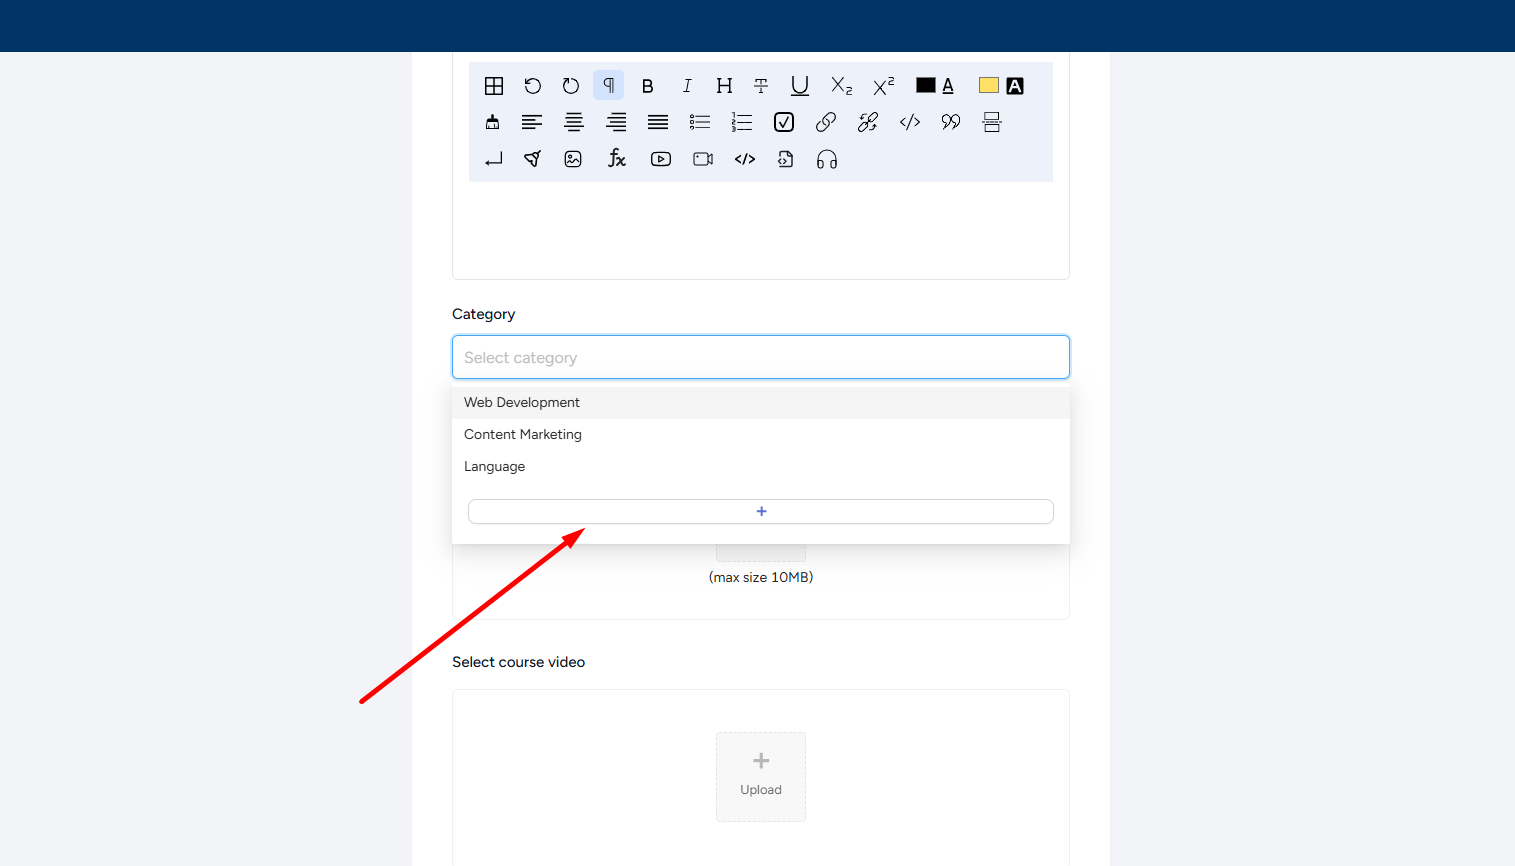
You can also add your course to an existing category, or even create a new category from here and add under it.
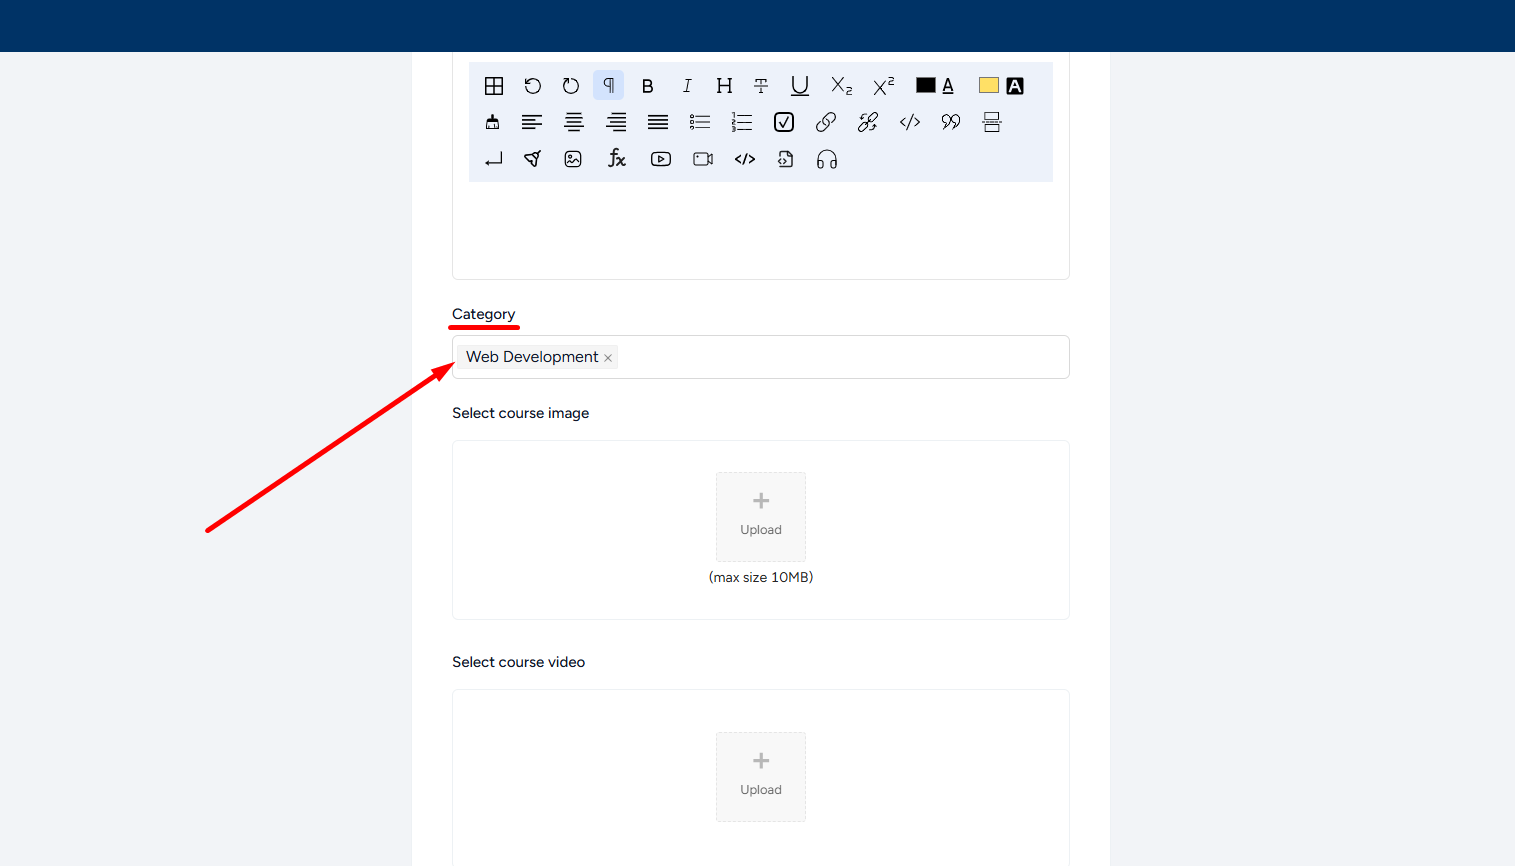
Attach a relevant image/video, which will be shown in your course as a preview.
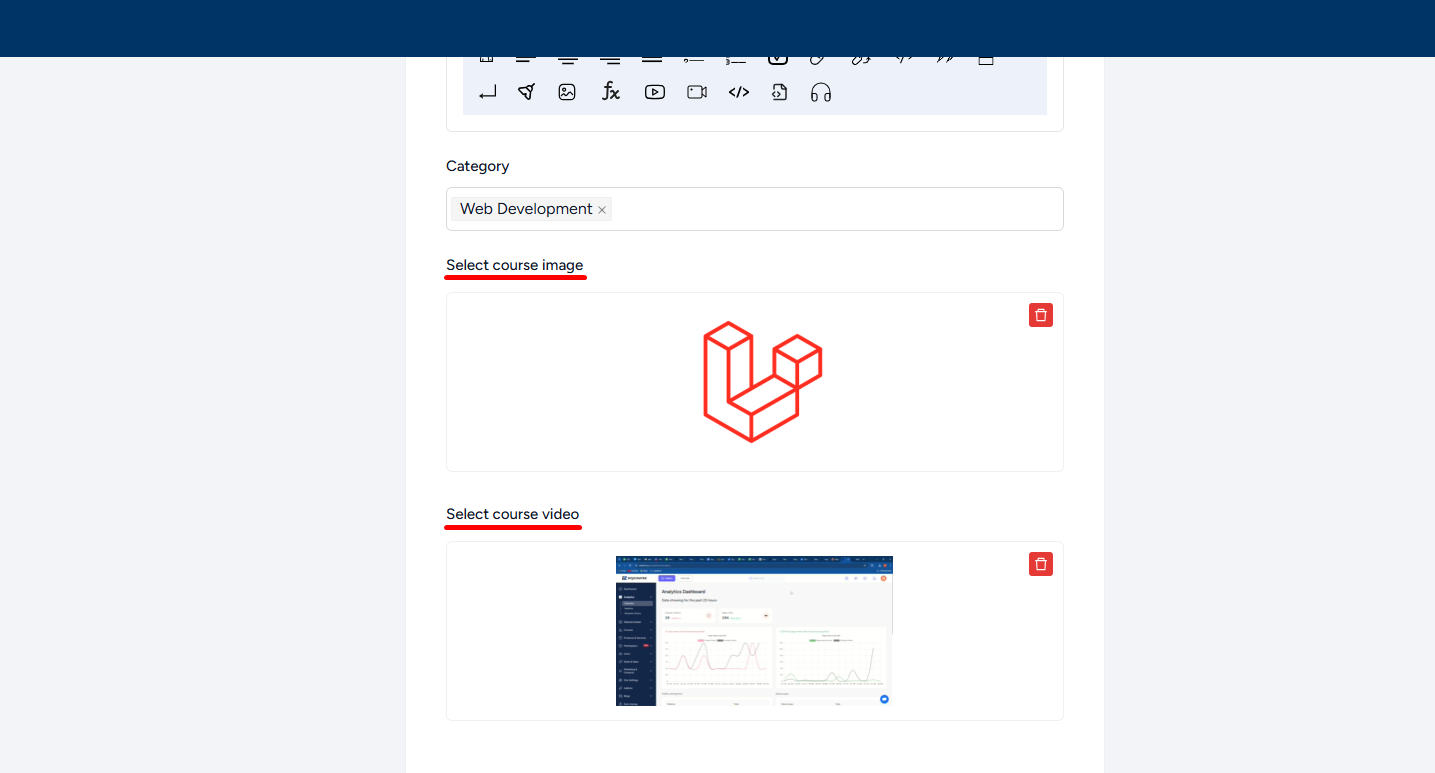
Next, you have to choose whether you want to show the image or video as your “Course Preview Type”.
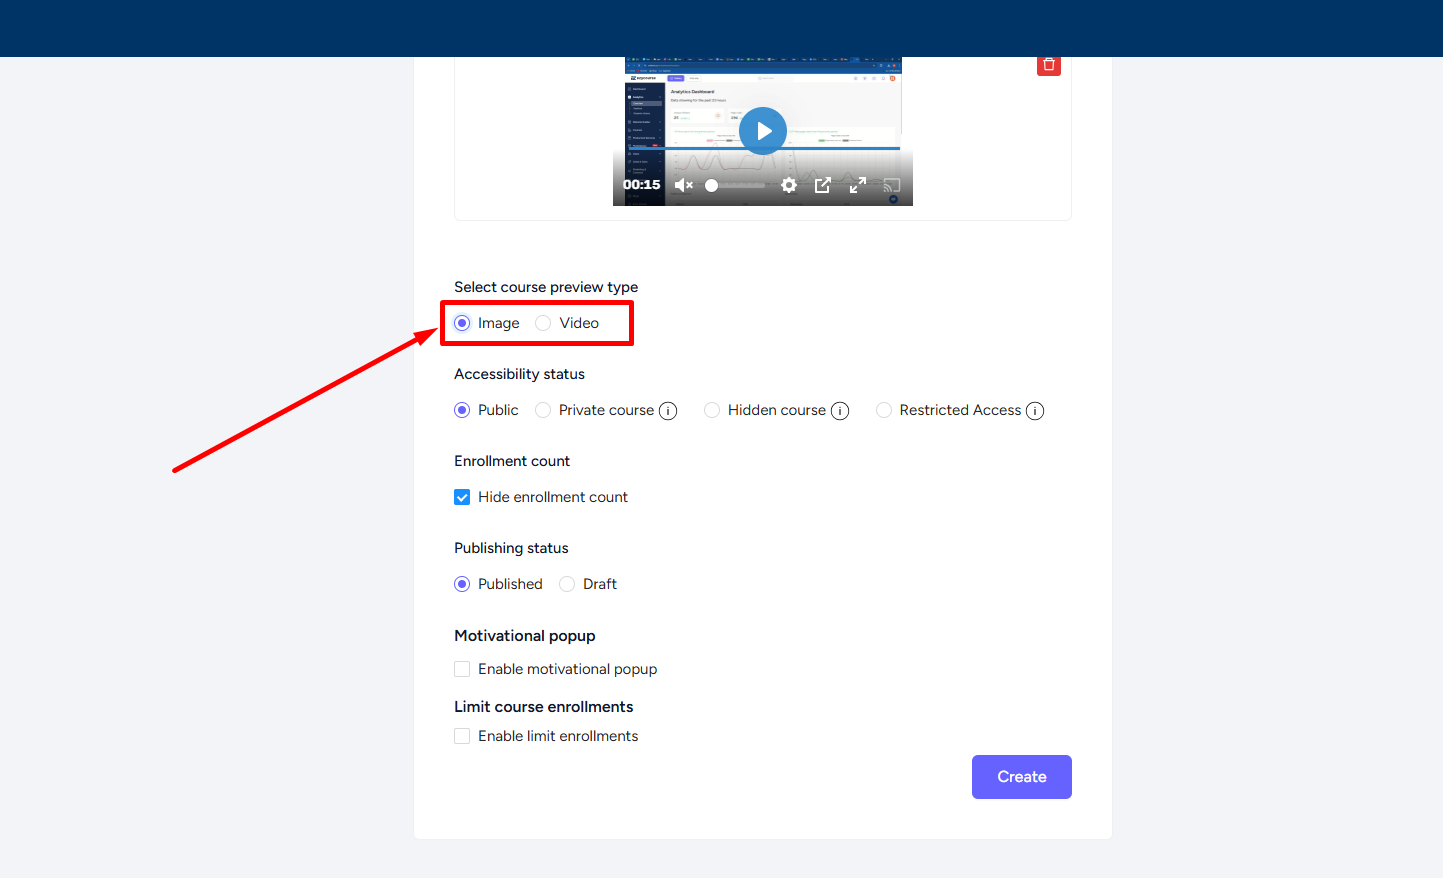
Now there are a few important accessibility options that you can select. So, let’s get a little familiar with those.
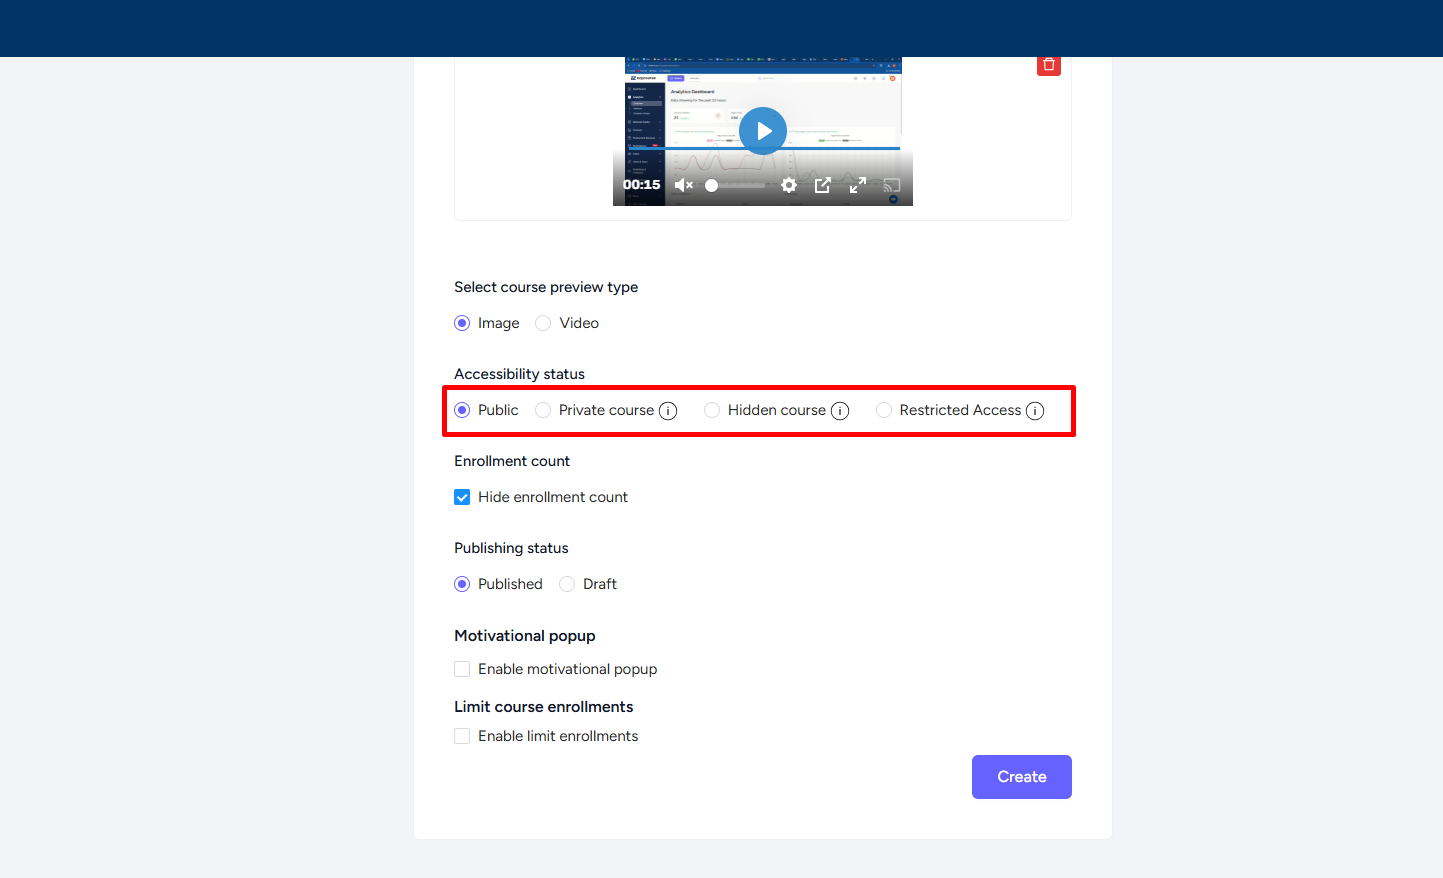
Public: Visible to all users whether registered or not.
Private: Visible to all users but when they purchase the course, you have to approve for enrollment.
Hidden: Not visible to anyone and you have to send the course landing page link for users to enroll.
Restricted: Visible to everyone but no user can purchase the course or enroll.
Other options include publish, draft, motivational popup, and enrollment counts.
When you are done with the form, simply click the Create button and you are all set to add chapters and lessons to your online learning course.

And this is how the course card will appear on your website once you’ve published the course.

[Note: By the way, if you’ve made it Published then the course will be visible on your website now, considering you have a course list section on your site, even though you haven’t added any lesson.]