
Back
Set up & Accept Payments with RazorPay
How to set up RazorPay Payment Gateway
EzyCourse comes with built-in support for accepting payments from your customers using various payment gateways. In this article, you will learn how to integrate the RazorPay payment system to collect one-time and subscription payments.
To set up RazorPay, you have to first create a RazorPay account and login to the dashboard. From there, click Account & Settings on the left sidebar.

Now, look for the API keys option which should usually be under the Website & app settings section. Please ensure you are using the live mode. To do that, simply select it from the dropdown on the top right corner of your screen.
[Note: Remember that you need to activate your account for using the live mode. Ensure you verify the KYC details to start receiving payments from your customers.]

Click the API keys option. And then click the Generate Keys button.

Once you generate the keys, you should note them down somewhere as you might not be able to view the same keys again.

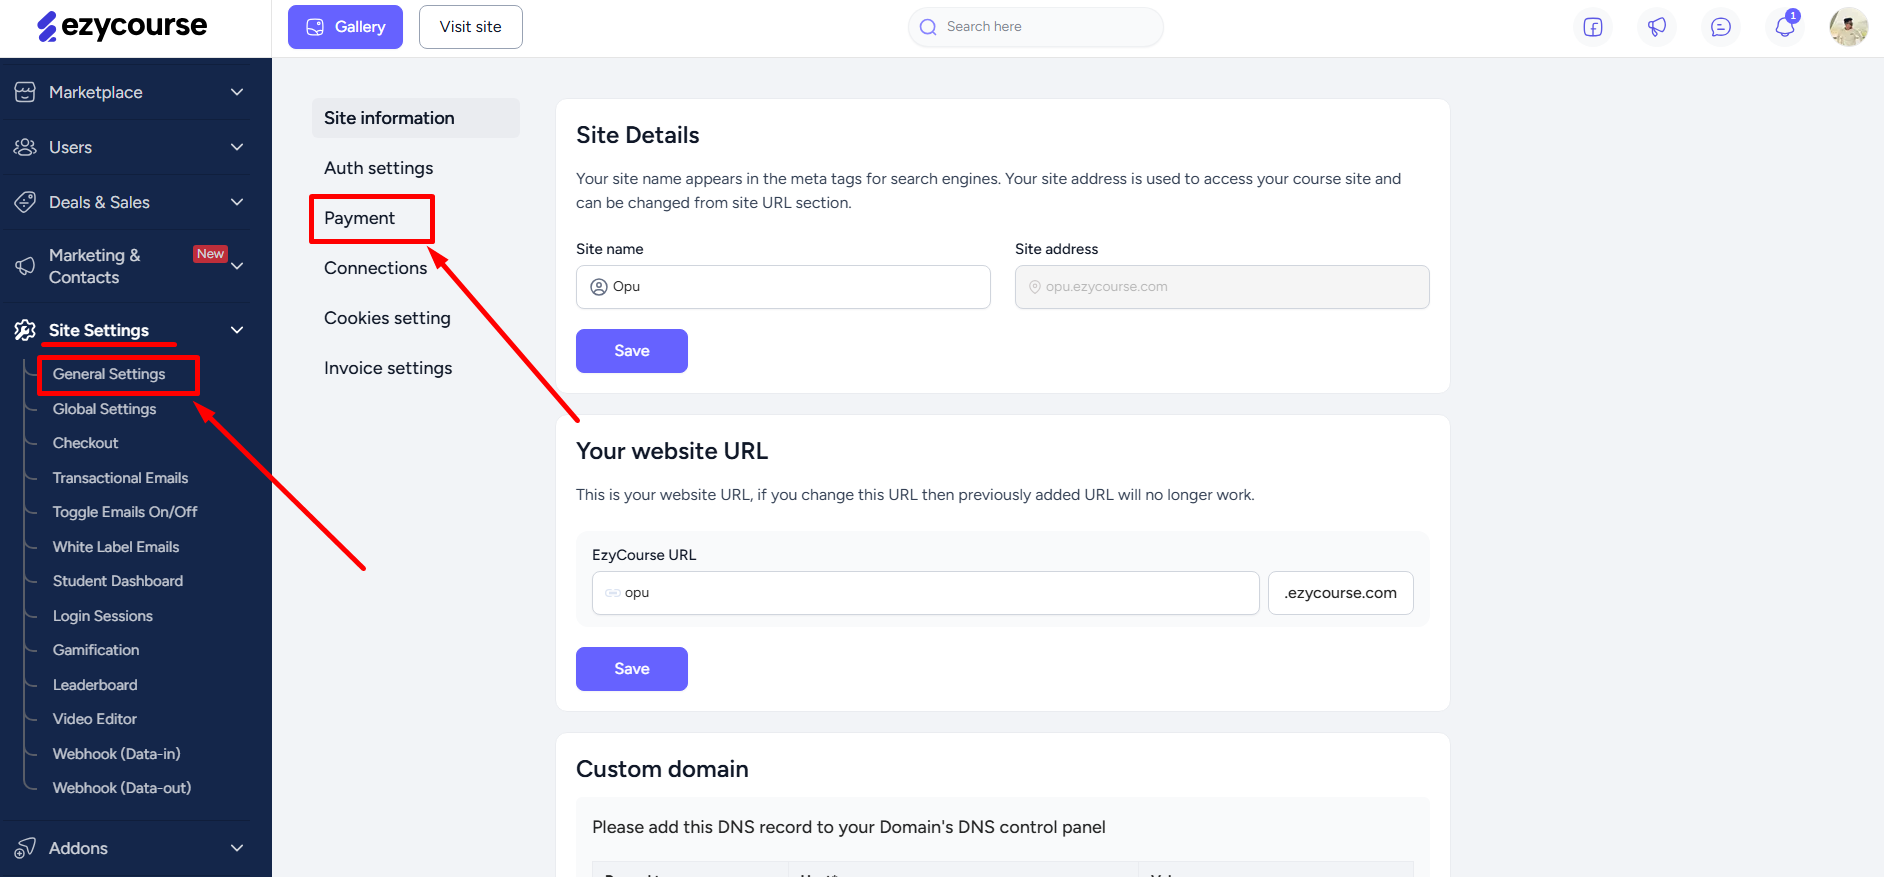
Now, head over to your EzyCourse dashboard and go to Site Settings -> General Settings -> Payment tab.
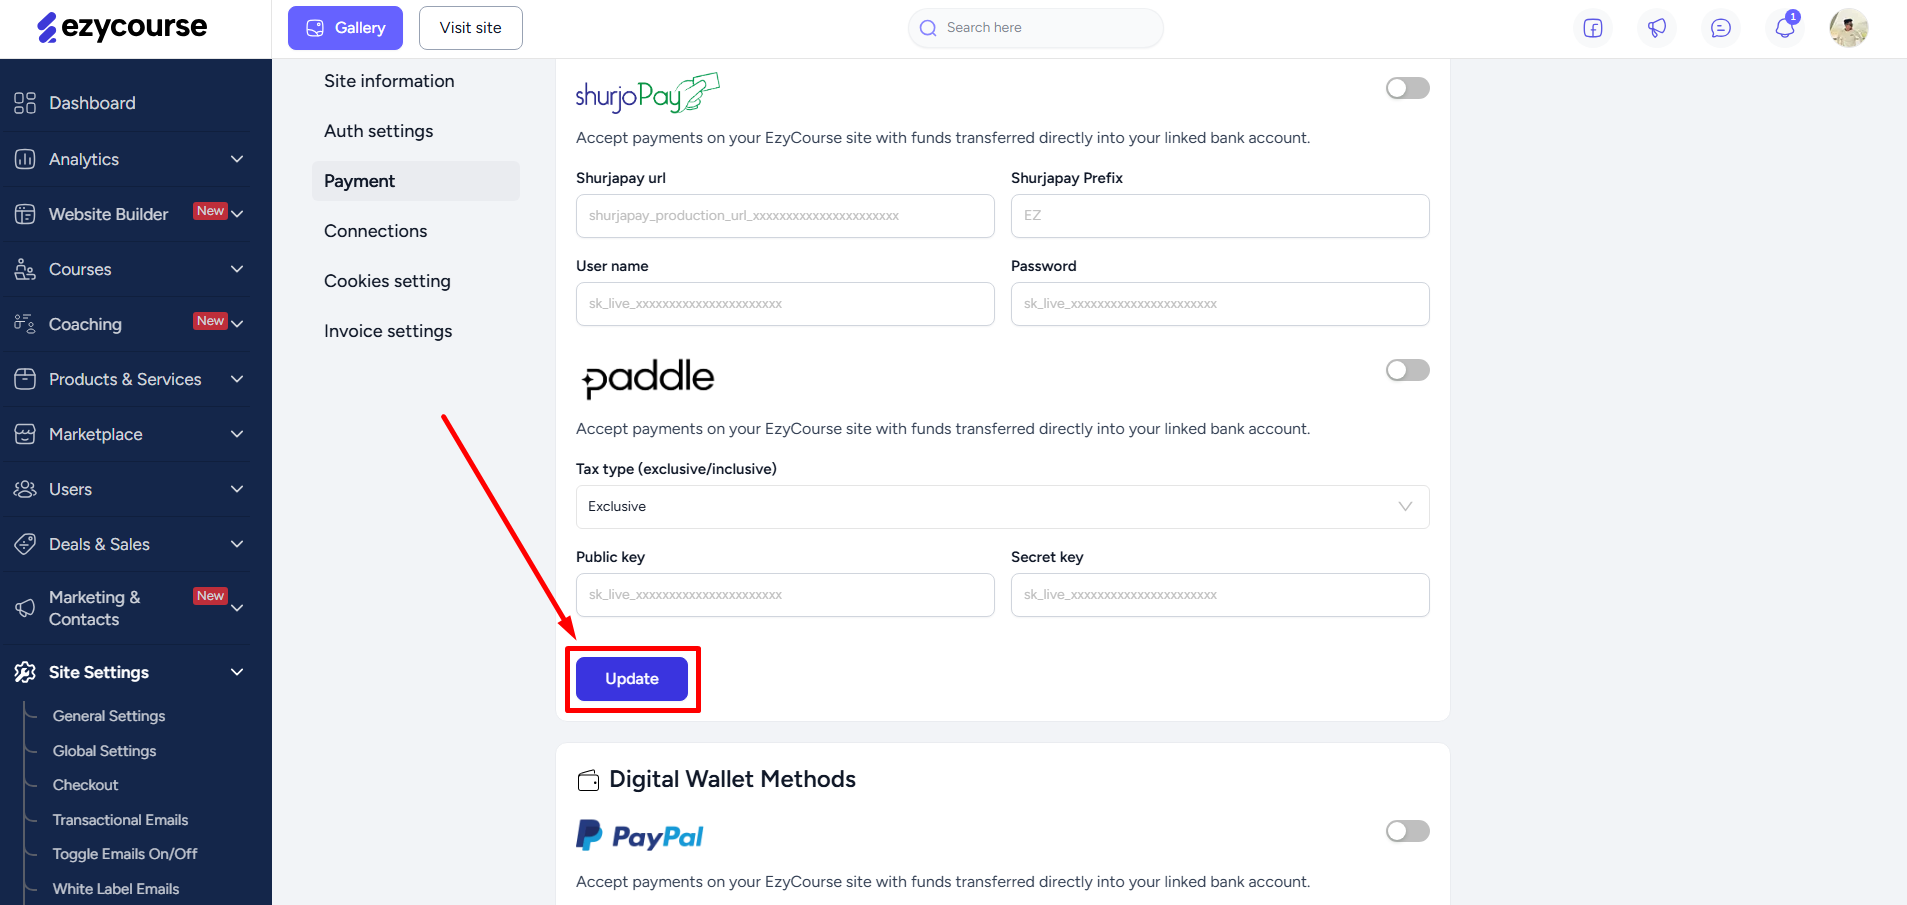
Scroll down to find the RazorPay section. Paste the Key Id on the Public Key field and the Key Secret on the Secret Key field. Don’t forget to turn the toggle on.

Then scroll down and click the Update button.
And now on the checkout page of any product, your students will be able to make payments using RazorPay.

And that’s all the settings related to the RazorPay payment gateway. Easy and effortless setup, but extremely useful and effective system to manage all your online transactions faster and more securely.