
Back
How to Create a 1:1 Coaching Program
You can create an individual or 1:1 coaching program on EzyCourse in two different ways to offer more focused and personalized sessions for your specific clients.
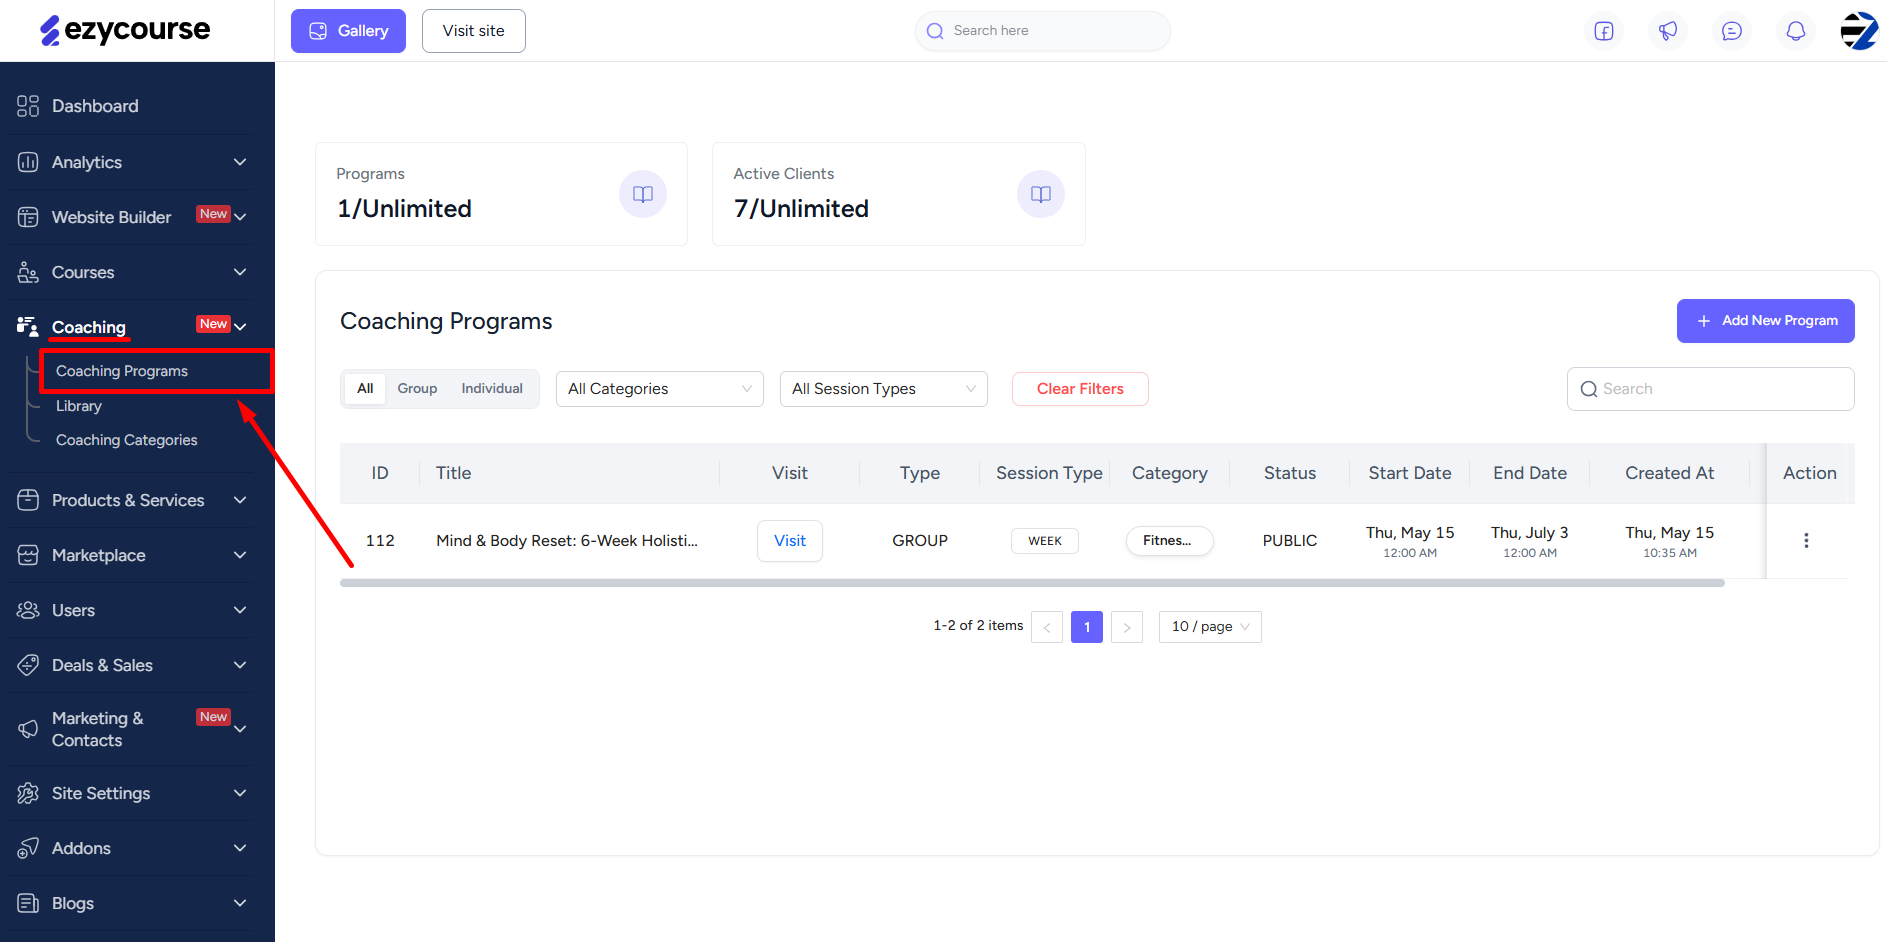
The first method is the usual way to create a coaching program. Simply head over to your EzyCourse dashboard. Go to Coaching -> Coaching Programs.
Here, you will find all the coaching programs you’ve created. You can also filter your programs easily using various types of filters.
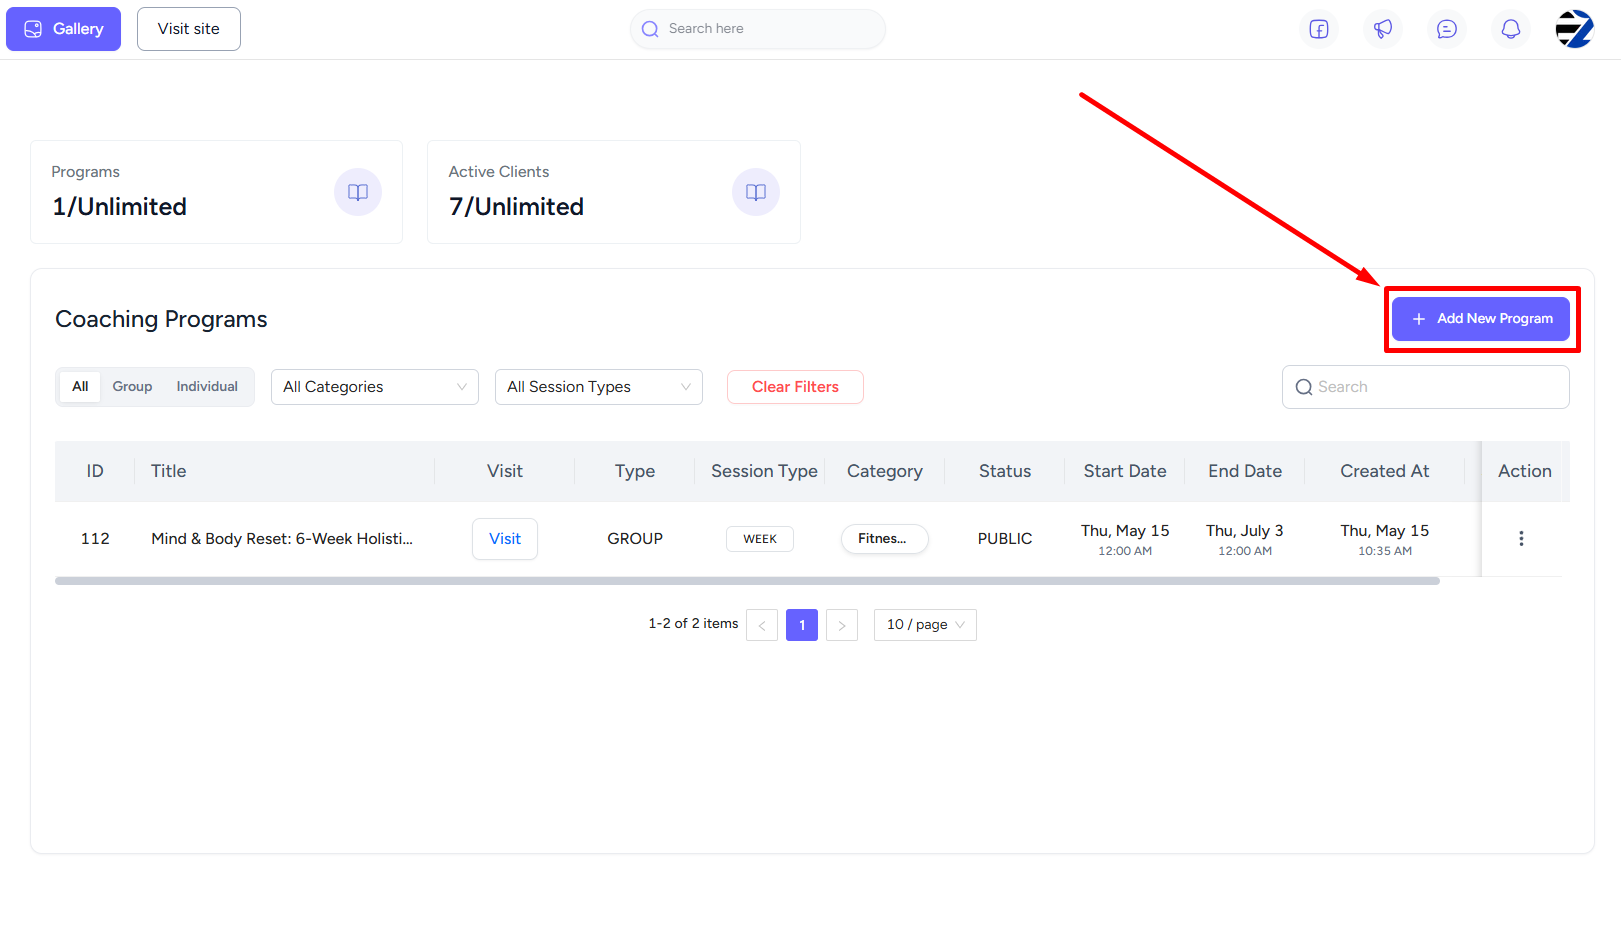
Now, click the Add New Program button to create a new coaching program.
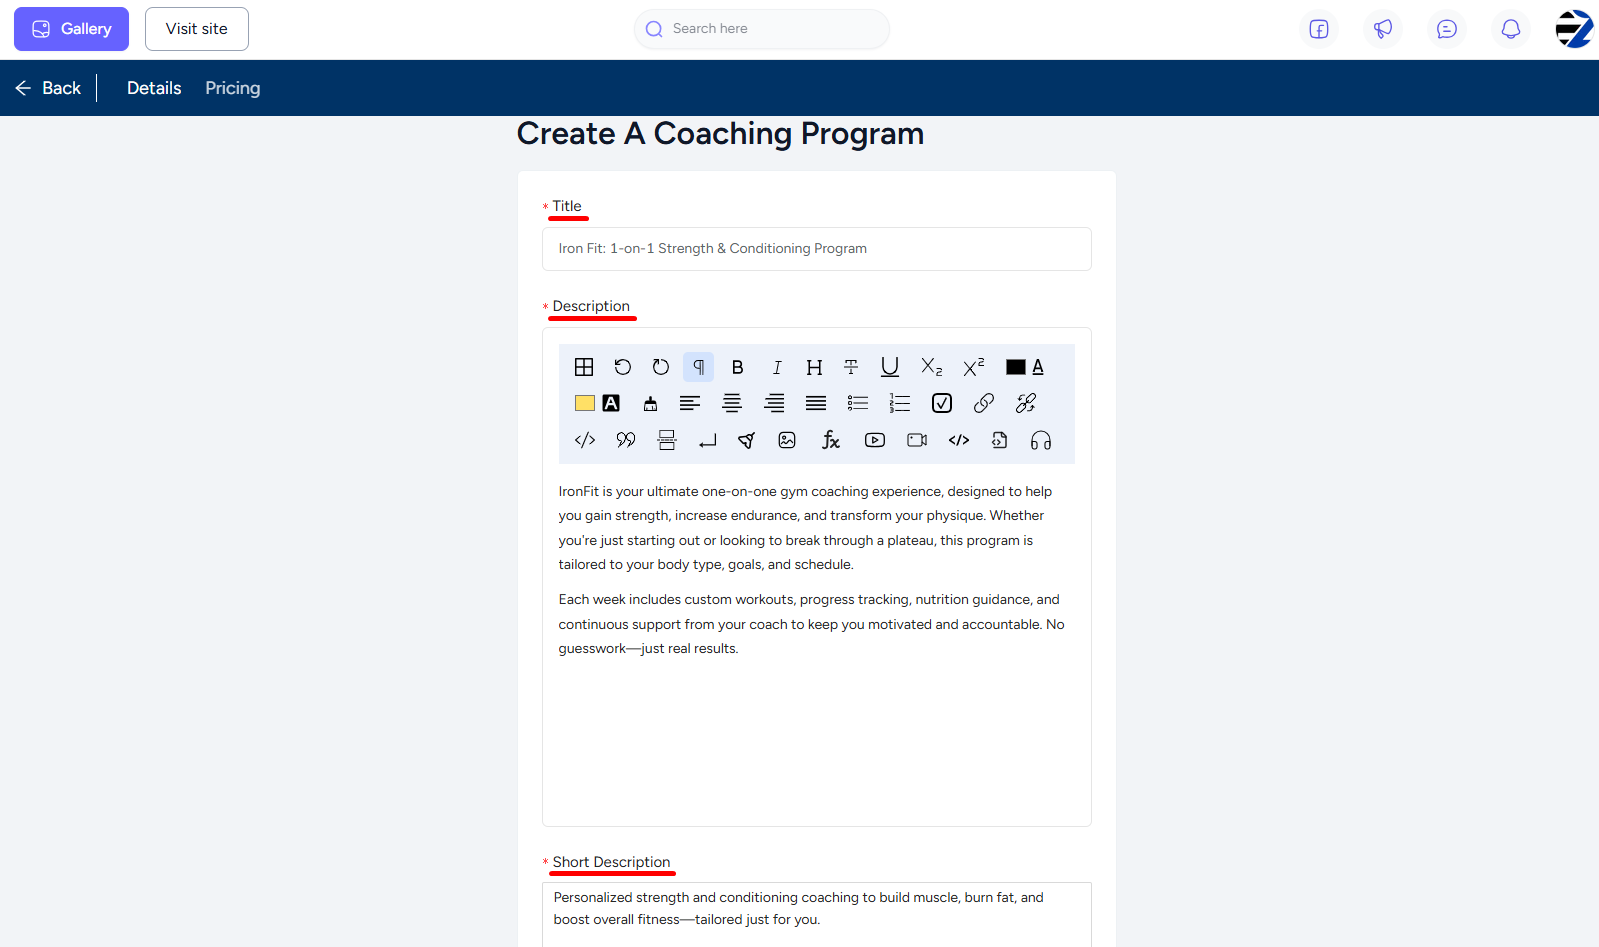
Here, you will need to provide a title, description, and select a category from the existing list. Or you can create a new category by clicking the + icon in the dropdown.
‘Read more’ : Create coaching categories

Next, configure the accessibility settings, which work similarly with any other EzyCourse product. You can also set a limit on the number of clients allowed to join the program.

Select the submission visibility as either All or Own. Selecting ‘Own’ lets only you and the client view their own work submissions. You also have the option to turn on the habit tracking system from here. This lets you assign daily or weekly habits to your clients.

Now, pick any one from the available session types for the Coaching Program. In this case, select Week based session. If you want, you can enable the Allow Submission on Previous Sessions toggle to allow your clients to submit tasks for previous sessions. If disabled, students can only submit for the current session.
[Note: This option is supported with week-based and continuous session types.]

Upload your program’s feature & banner images. If needed, you can also set an after-checkout page for your program. If not set, then the default page will be in action. Click Create to finalize creating your program.

Add weeks to your coaching program by clicking the Add New Week (s) button inside the coaching feed.

Set start & end date, select week days, and the starting day of the week. When done, click the Add button.
[Note: For week-based sessions, you can set the program duration max up to 550 days.]

You can assign lessons/items to any of your coaching program clients using the Add Lesson or Add Item buttons.

Select any item and then click the Assign Item button.

Select client from the list and click the Submit button to assign the task to your client successfully.

‘Also read’ : Set Pricing for Coaching Program | Add Coaching Program on Your Site
The other way you can offer an appointment based modern one to one coaching experience to your clients. To do that, turn on the One to one option while creating a coaching program.

Enable Booking to allow students to book appointments for this coaching program.
Set Allowed Free Slots (credits) and Free Slots Renewal Cycle to determine how frequently your students will receive the allocated free slots.
[Note: Picking the one-time option will block students from getting free allocated slots every week/month/year.]

You can also enable the Allow Additional Sessions option to allow students to purchase extra sessions beyond their allocated free slots.

Read: Appointment articles
Now, select an existing appointment for this coaching. Note that all related settings, such as pricing, duration, availability, and time slots are automatically applied to the coaching meeting.

Inside the coaching feed, you can start conversations using ‘Threads’. You can add multiple threads one by one, including rich text, documents, voice notes, audio chats, video messages, files, or images.
Once done, hit the Send button.

Assign Tasks easily with trackers included for each student directly inside a thread.

Select a predefined task from your coaching library, or you can even create a new one from here. Once done, click the Assign Task button.

In addition, you can add both normal and advanced forms as well. Advanced forms require the Advanced Form Addon to be active.

If needed, you can also assign extra credits for each student. Simply click the Assign Credits button at the top.


All booked Upcoming and Past sessions appear in the ‘Live Session’ tab. You can view appointment session details and join directly from the list.


You can find all the shared files between you and your client from the Shared Files panel.
