
Back
EzyCourse Audio Lessons
How to Create Audio Lessons on EzyCourse
In this article, we will show how you can create audio lessons and maneuver the different settings related to the lesson. In addition, you’ll also see how your students interact with audio lessons in your course.
Create a New Audio Lesson
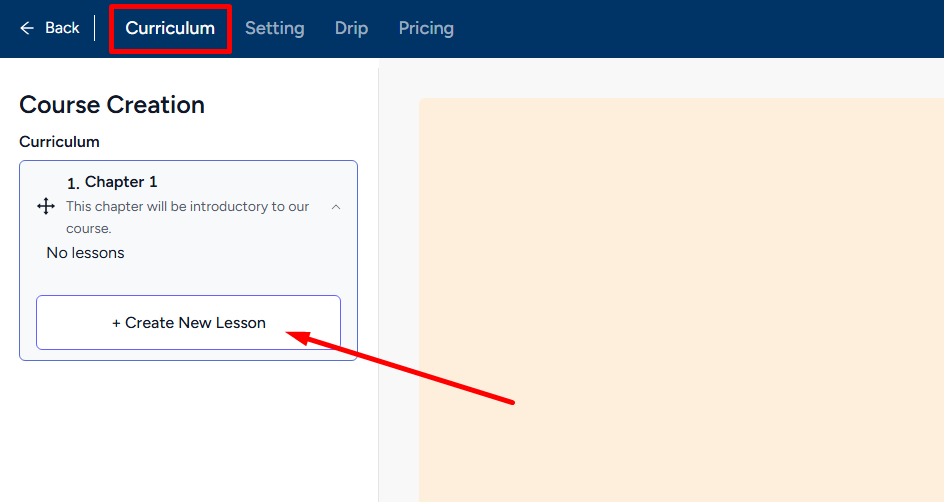
Go to the Curriculum tab inside your course, select the chapter you want to add a new lesson to, and click the Create New Lesson button. Now, click the Audio card to get started.

Once you click the audio lesson card, you’ll see a form section in the middle of the screen. In the Form section, you have to enter the lesson title, description, and audio file (mp3, ogg, m4a, wav, aac, amr).

In the right Lesson Settings section, you can enable draft mode, make it a free preview, make it a prerequisite to next lessons, make the audio file downloadable for (web & app), allow discussions, and enable student watch time analytics (addon).

You can also include a downloadable zip file and motivational popup if necessary. When done, click the Create button to create an Audio lesson.

Student Perspective

In an audio lesson, students see the audio player, which features a play/pause button, looping, mute and volume adjustments, accessibility settings, and 10-second forward/rewind. It also has the download button if the settings are enabled.