
Back
Embedded Lessons
How to Create Embedded Lessons on EzyCourse
With EzyCourse, you can provide students with opportunities to apply their knowledge and skills with Embedded lessons.
In this article, you will learn how to create embedded lessons and use the different settings related to the lesson. In addition, you’ll also see how your students interact with embedded lessons in your course.
Create a New Embedded Lesson
To create an embedded lesson, first log in to your dashboard and navigate to Courses → All Courses → and click the Edit option on the specific course you want to add the lesson to.

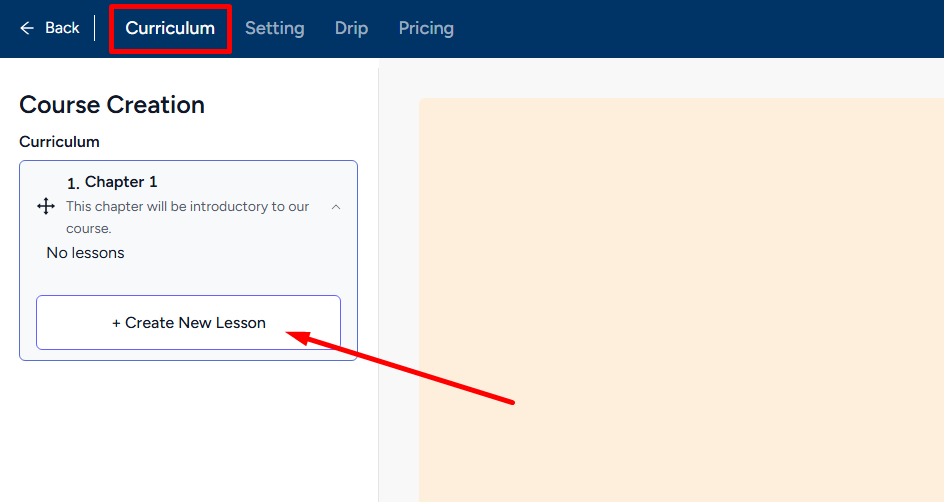
On the Curriculum tab inside your course, select the chapter you want to add a new lesson to, and click the Create New Lesson button.
Now, click the Embedded card to get started.

Once you click the Embedded lesson card, you’ll see a form section in the middle of the screen and on the right section, lesson settings.
You can select either iFrame, HTML, or internal Page embed type from the Form section. Enter name, description, downloadable zip file, and motivational popup.

Selecting the Iframe option will require you to paste the iframe link that you want to embed in your lesson.

Selecting HTML type will allow you to write HTML, CSS, or JS code.

The last option is Internal Page and enabling it allows you to embed custom page as a lesson inside your lesson.

You can find 5 settings available in the Lesson Settings panel. Draft, free preview, prerequisite, discussions, and student watch time analytics and AI (addon).

Click the Create button to add an Embedded lesson.

Also read : SCORM/HTML Lessons
Student Perspective
Your students get a view of the iFrame element whether it is a YouTube video or otherwise. If you’ve used the HTML type and given CSS/JS code, then the output of the code will be visible to the students.
