
Back
Enrollment Limit For Courses, Communities, and Group Chats
What is it and why you need it
You can now set an enrollment limit for your courses, communities, and group chats with the new Enrollment Limit feature. Once the limit (you’ve set) is reached, no more new users can join unless you increase the cap.
This gives you full control over how many members can access a product at any given time. It’s especially helpful if you're offering exclusive courses, running cohort-based live sessions, or want to create urgency and scarcity in your offers for getting better enrollments.
For students, it creates a sense of exclusivity and encourages them to take faster action to secure their spot before the product fills up. While also making their way to a more personalized learning experience in a smaller, focused group.
How it works
As an admin, you can set the enrollment limit number to any course, community, or group chat. Once the limit is reached, users will see a message indicating that enrollment is closed because the product has reached its maximum capacity. However, you can update the enrollment limit at any time to allow more users to join.
When enabling this setting for Group Chats, make sure to set the enrollment limit after excluding the existing group members. This is because site admins are automatically added to any newly created group, and they are counted in the total member limit. To avoid blocking new enrollments, you have to adjust the limit accordingly.
For communities, there's a slight difference. If the "Allow site admins to get access" option is enabled, then admins will be counted toward the enrollment limit. If it's not enabled, they won’t be counted. Be sure to take this into account when setting your enrollment limit.
[Note: The Enrollment Limit feature works with all pricing types (including free) for Courses, Communities, and Group Chats.]
How to get started using it
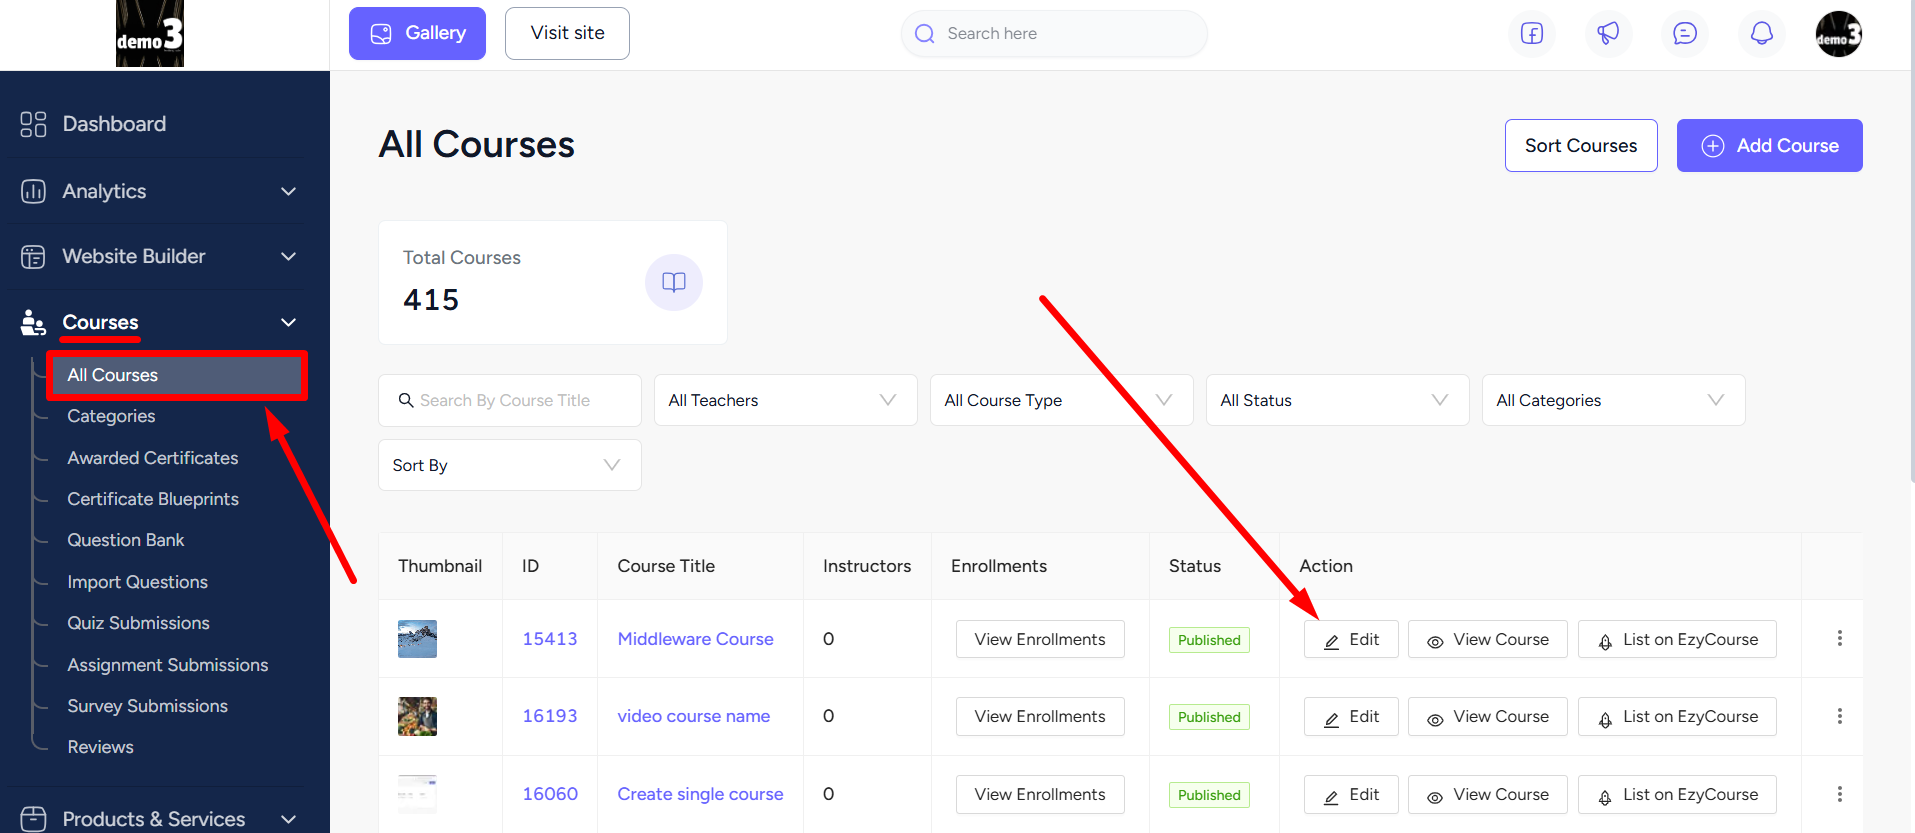
You can enable the Enrollment Limit while creating a new course, community, or group chat. You can also apply it to an existing one. For example, to update a course, simply go to Courses -> All Courses, and click the Edit button on a specific course.
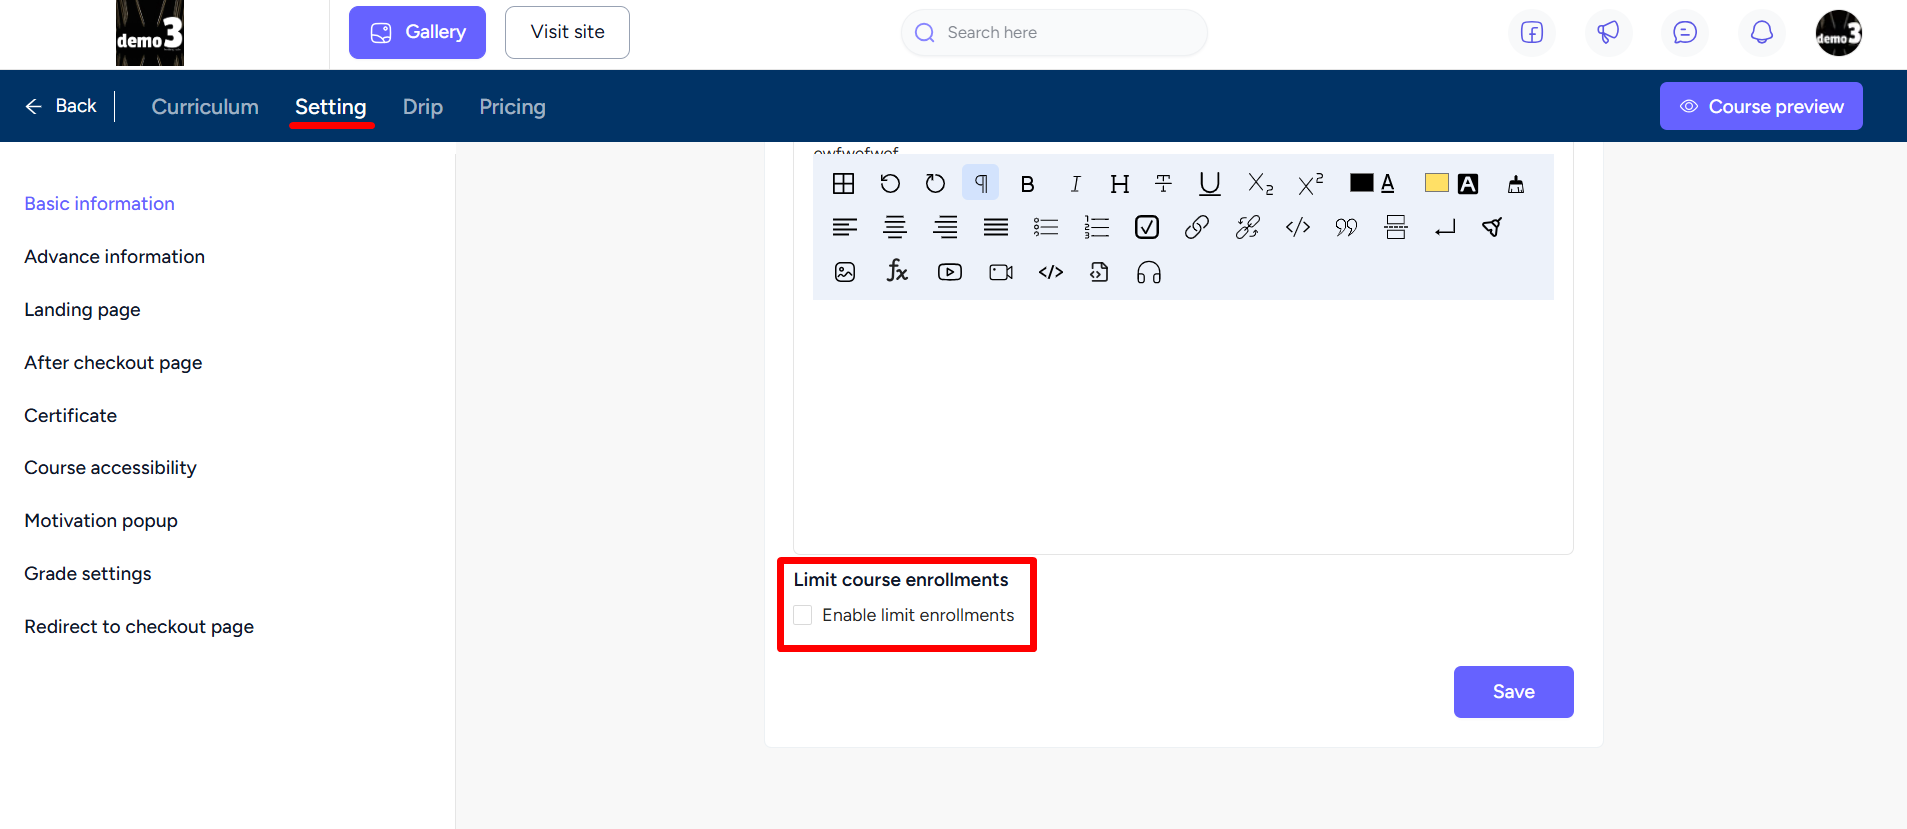
Head over to the Settings tab and scroll down to the bottom of the page. Here you will find a new checkbox labeled “Enable limit enrollments”.
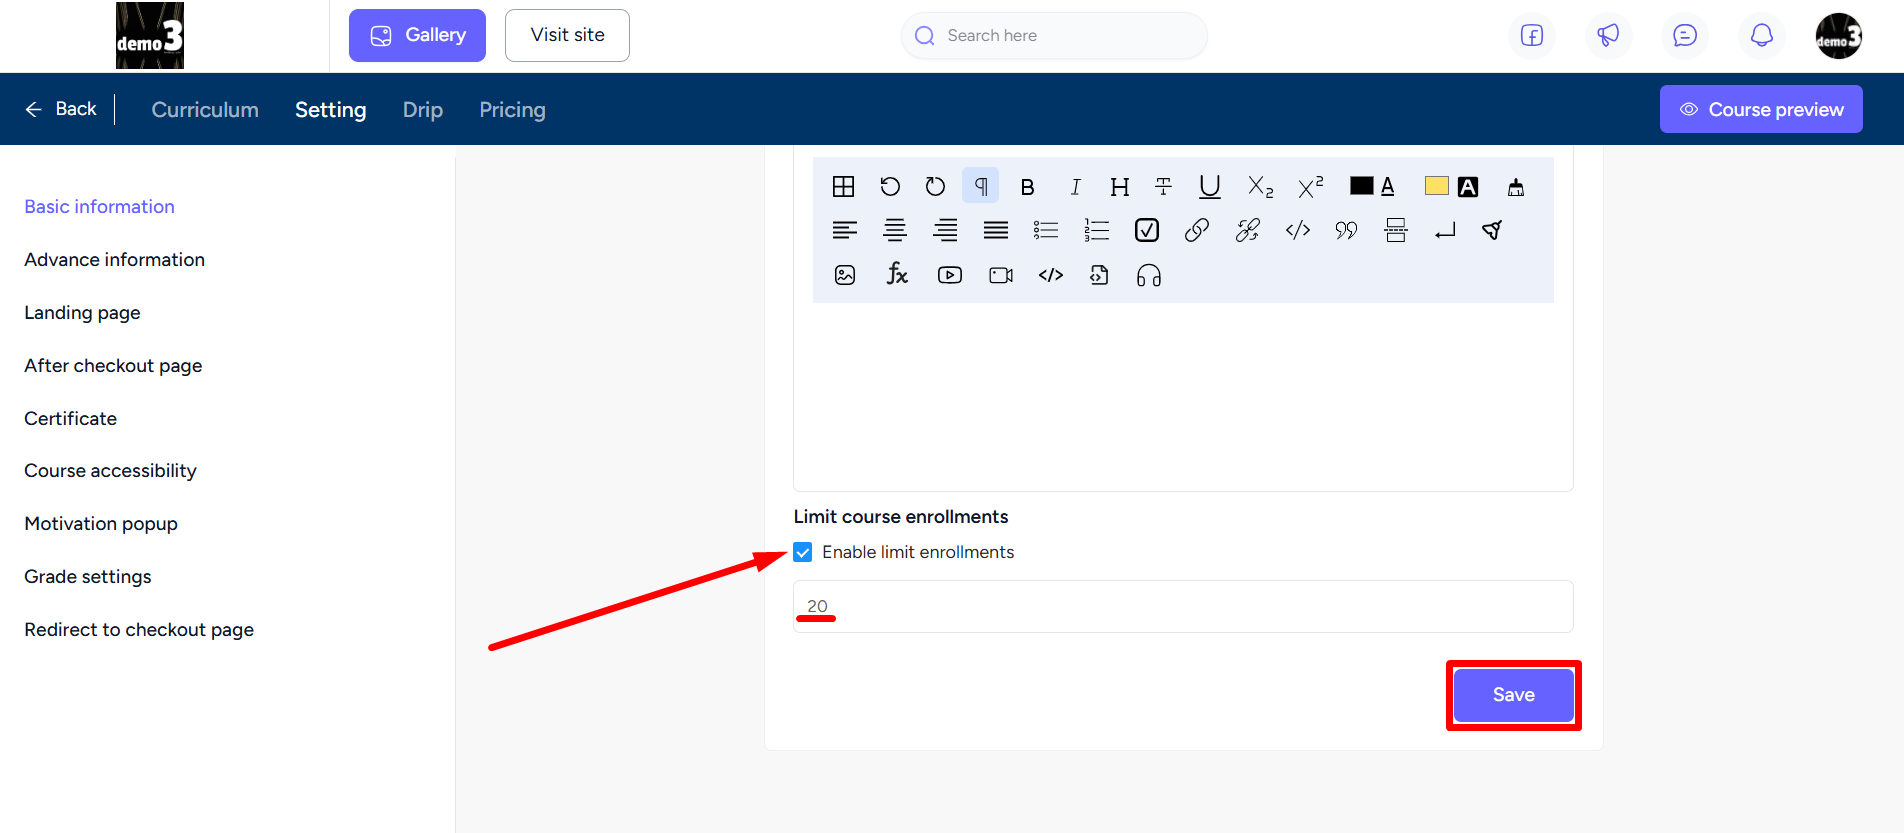
Tick the checkbox option and then enter the maximum enrollment number you’d like to allow. Once you’ve set your desired limit, click the Save button to apply the changes.
[Note: The maximum enrollment number must be 1 or higher. You cannot set it to less than 1.]
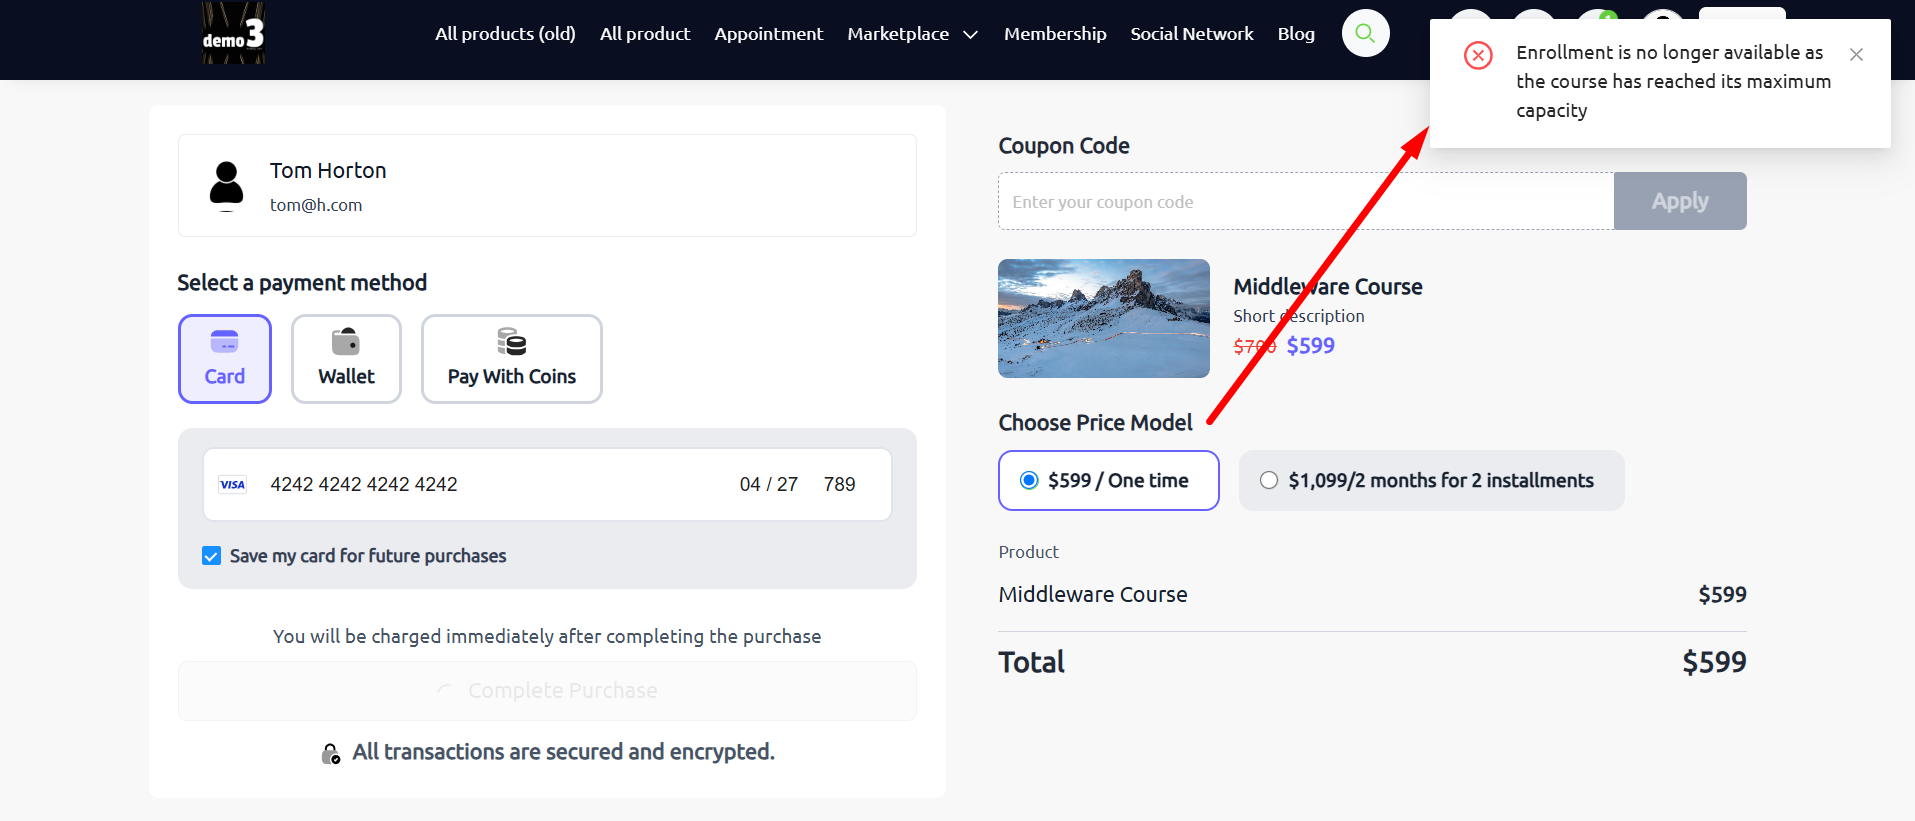
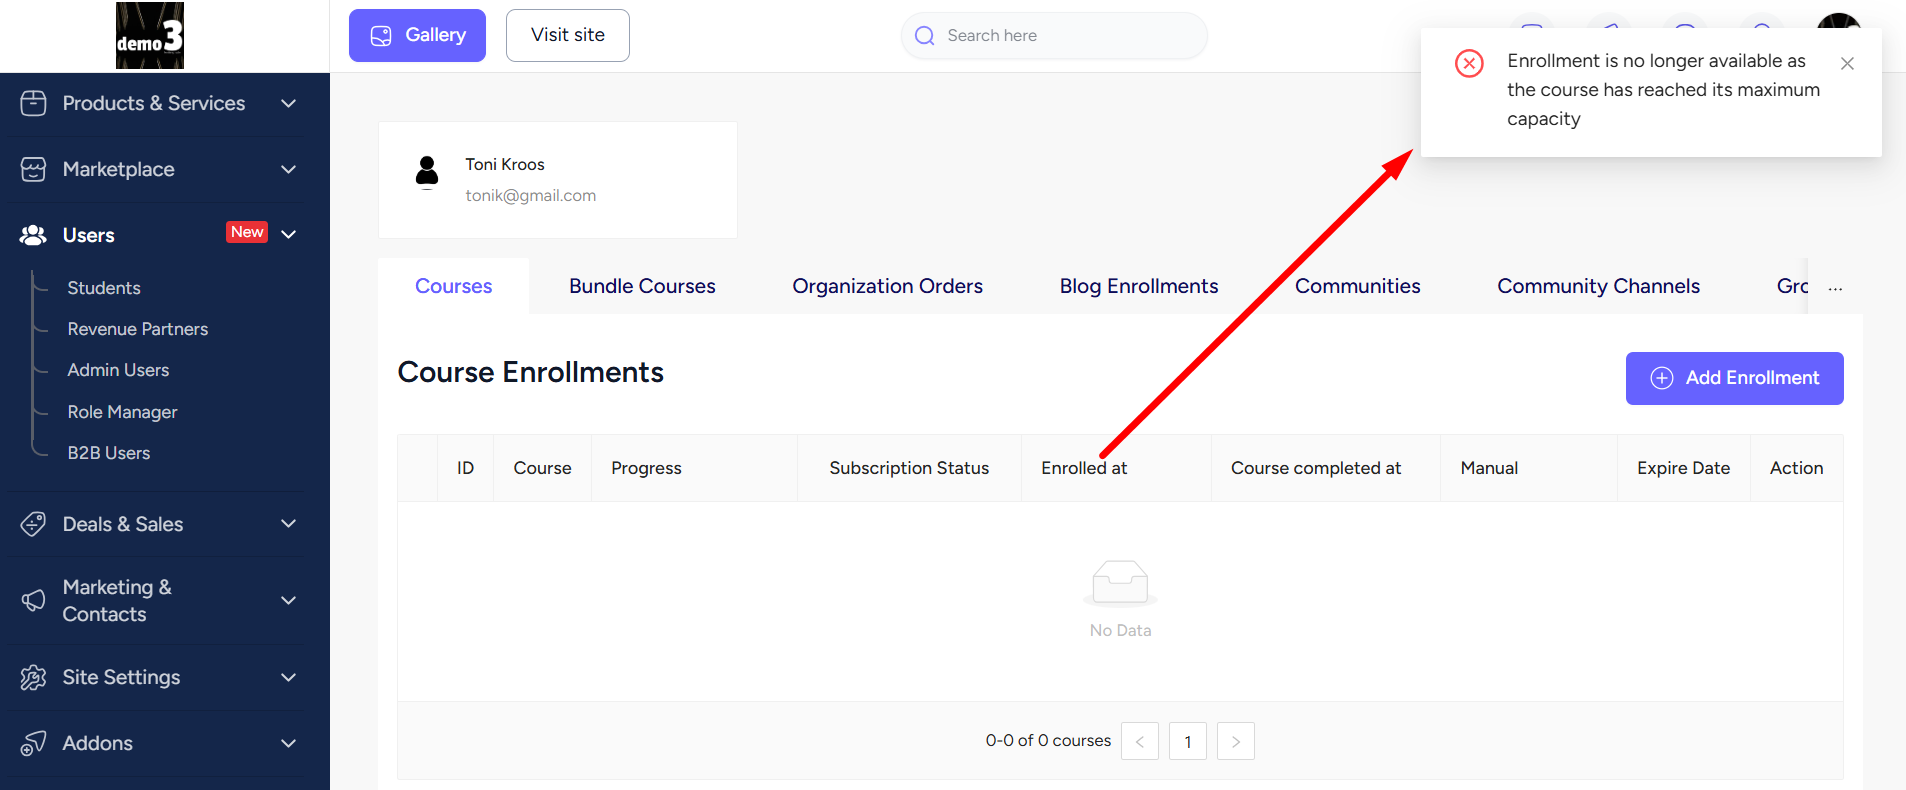
Once the limit is reached, anyone trying to enroll in the course will see a toast message on the checkout page saying “Enrollment is no longer available as the course has reached its maximum capacity.”
Similarly, if you try to manually enroll a user after the limit is reached, you’ll also see the same toast message.
You can follow the exact same steps to apply enrollment limits to Communities and Group Chats as well.