
Back
EzyCourse Certificates
How to Create & Add a Certificate on Courses
EzyCourse lets you create and customize your own certificates. And then provide them to students at the end of course completion. In this article, we walk you through how easy it is to create your own certificates and add them to any of your courses.
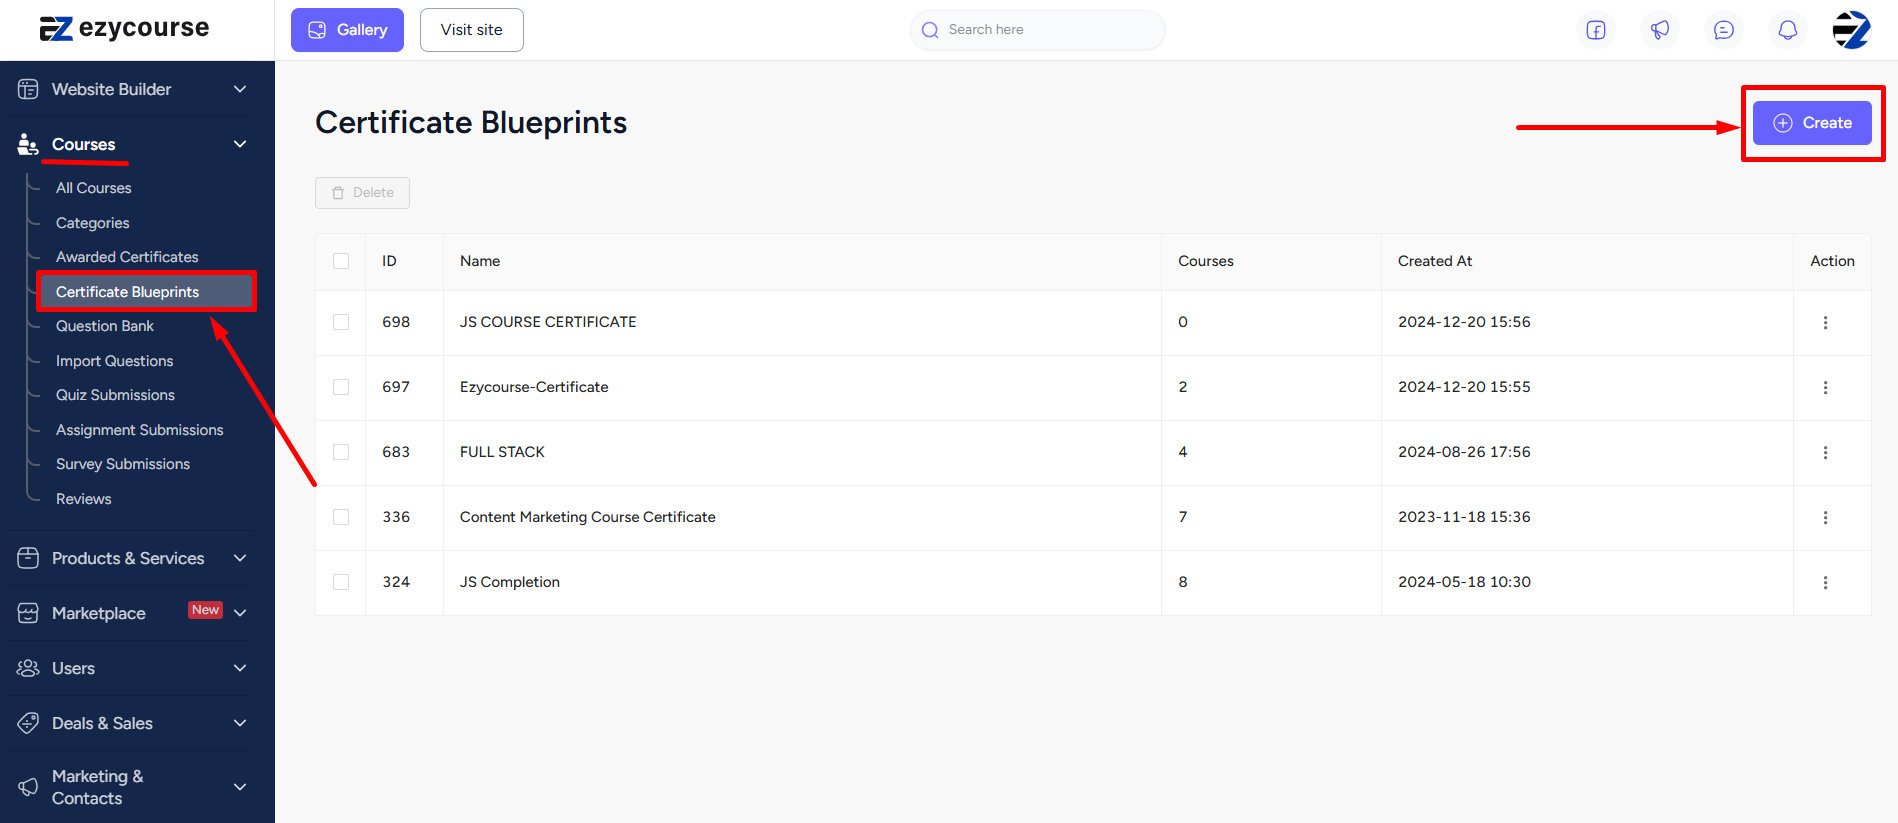
→ To begin, log in to your dashboard and select Courses -> Certificate Blueprints from the sidebar. This is where you see all the certificates you’ve created.
→ Click the Create button on the top right corner of your screen to add a new certificate
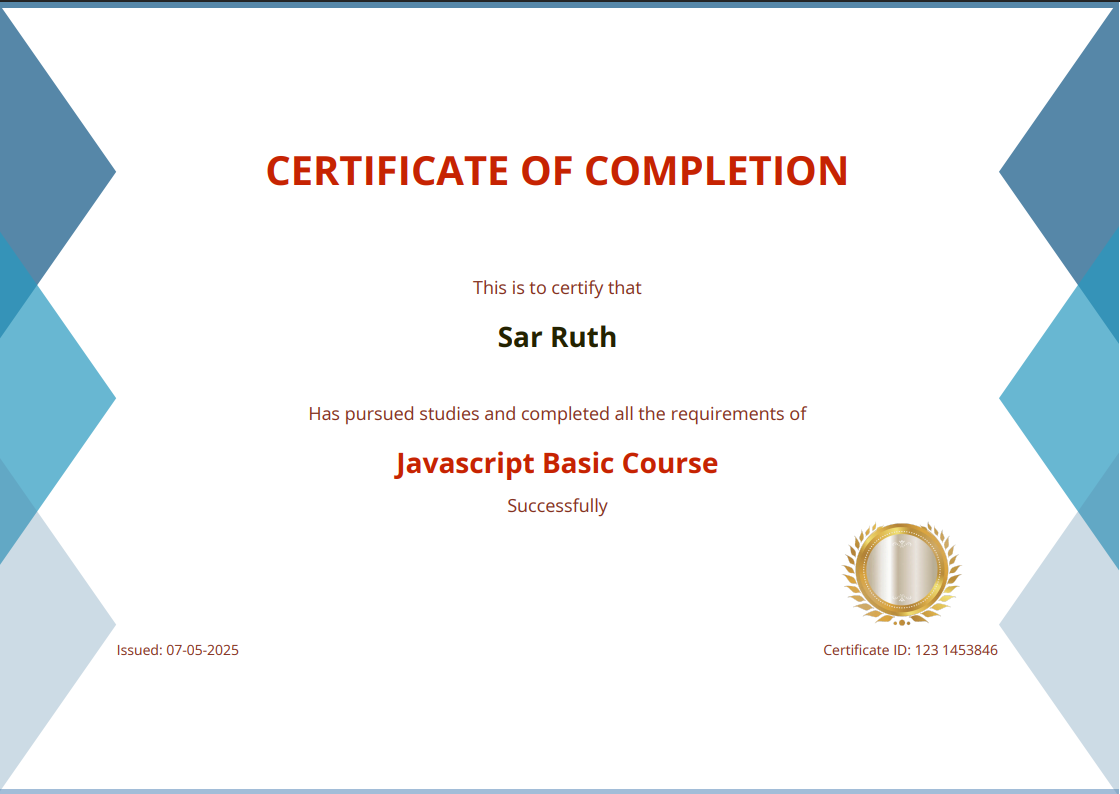
Now, give a name to your certificate and choose a suitable template. At the moment, we have three different templates for you.

Start editing the fields under the Content section and have the Style to your liking. It’s all customizable on the EzyCourse platform. Don’t worry about manually typing in student names and courses for each and everyone. Our EzyCourse platform will dynamically fetch them for you.
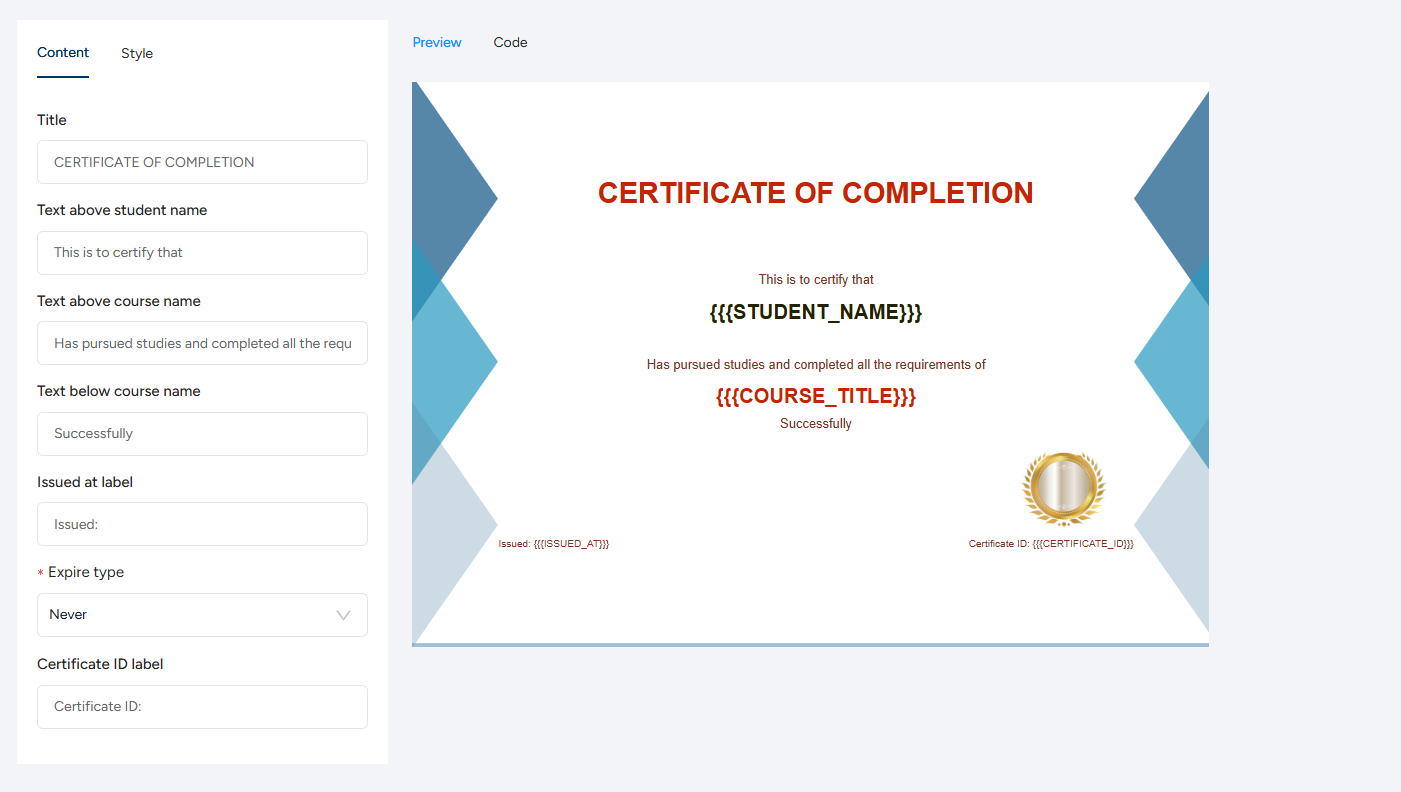
It is worth mentioning that you can include your own background image and add a logo from the Style section. You can also change alignments, paddings, margins, etc. from the Code tab using html-css. Save to create the certificate.
And now you can use this in any of your courses. Remember, to add a certificate to a course, simply go to the course Setting tab -> Certificate and then tickmark the checkbox to ‘provide a certificate at the end of this course’.
You also have the option to allow students to receive certificate without completing the entire course. Besides, you can display the course completion time on the certificate.

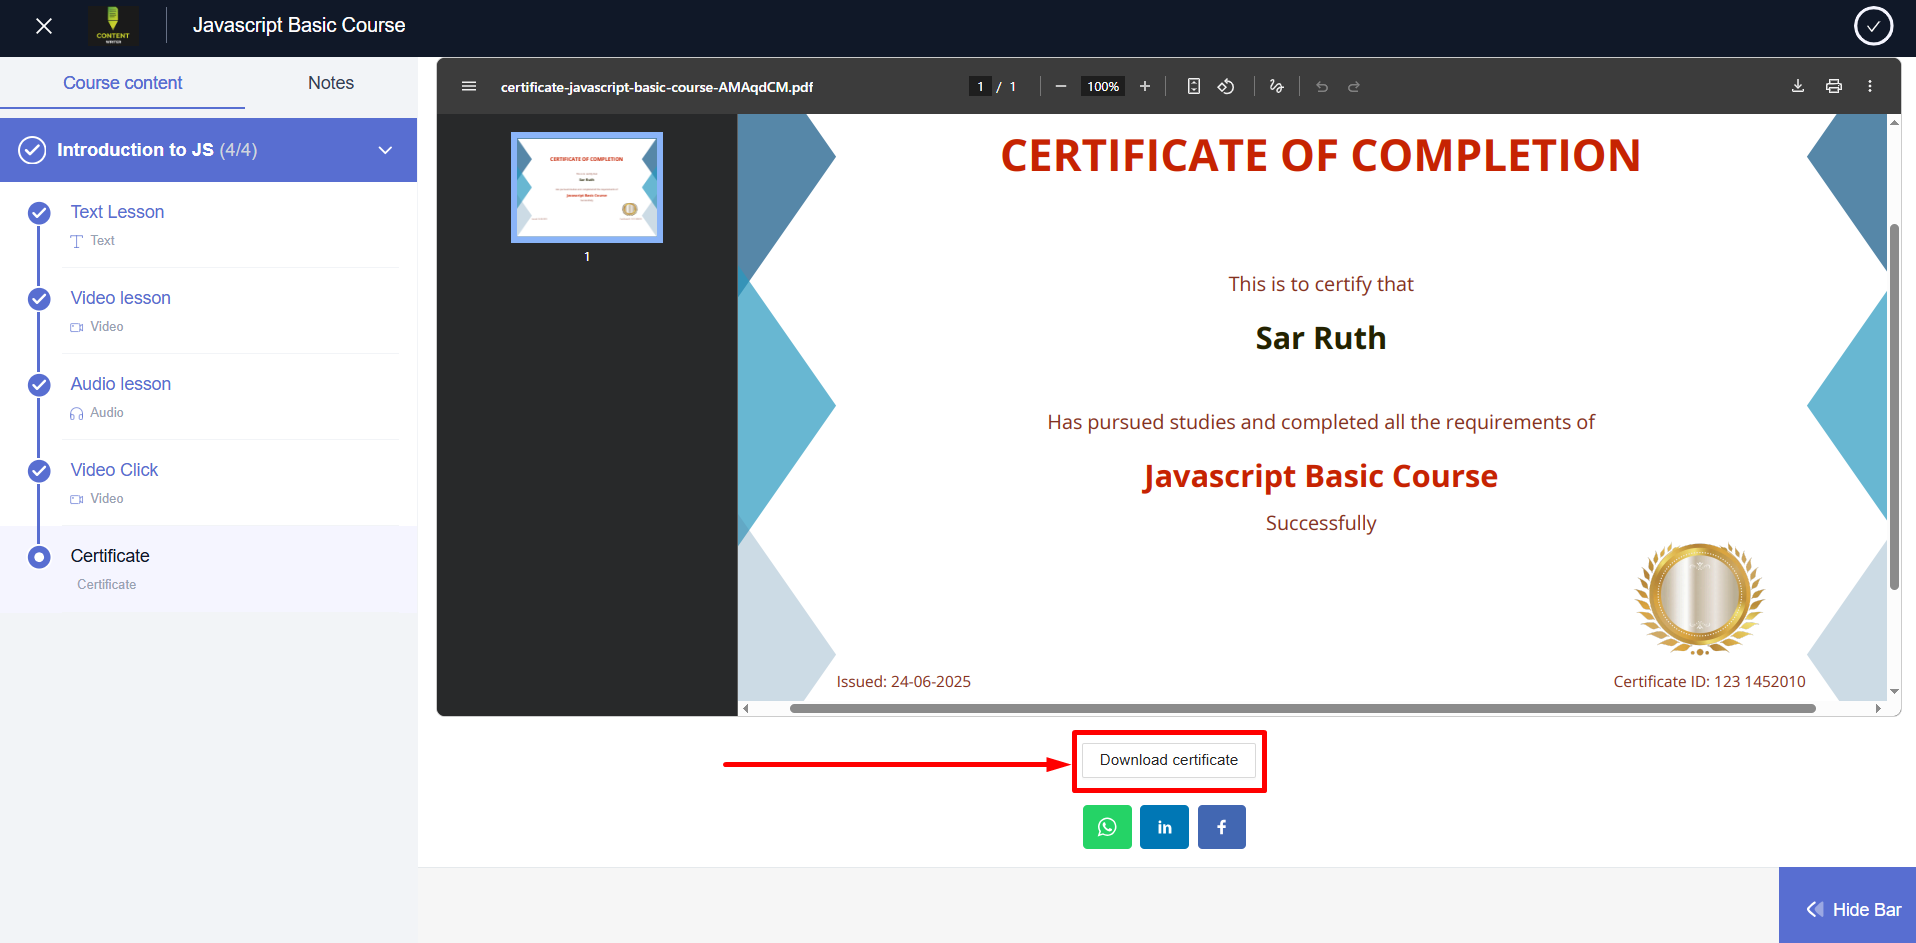
Upon completing the course (with/without all course contents), students will receive their certificates. They will see a button to download the certificate. It will be available in the last chapter of the course.
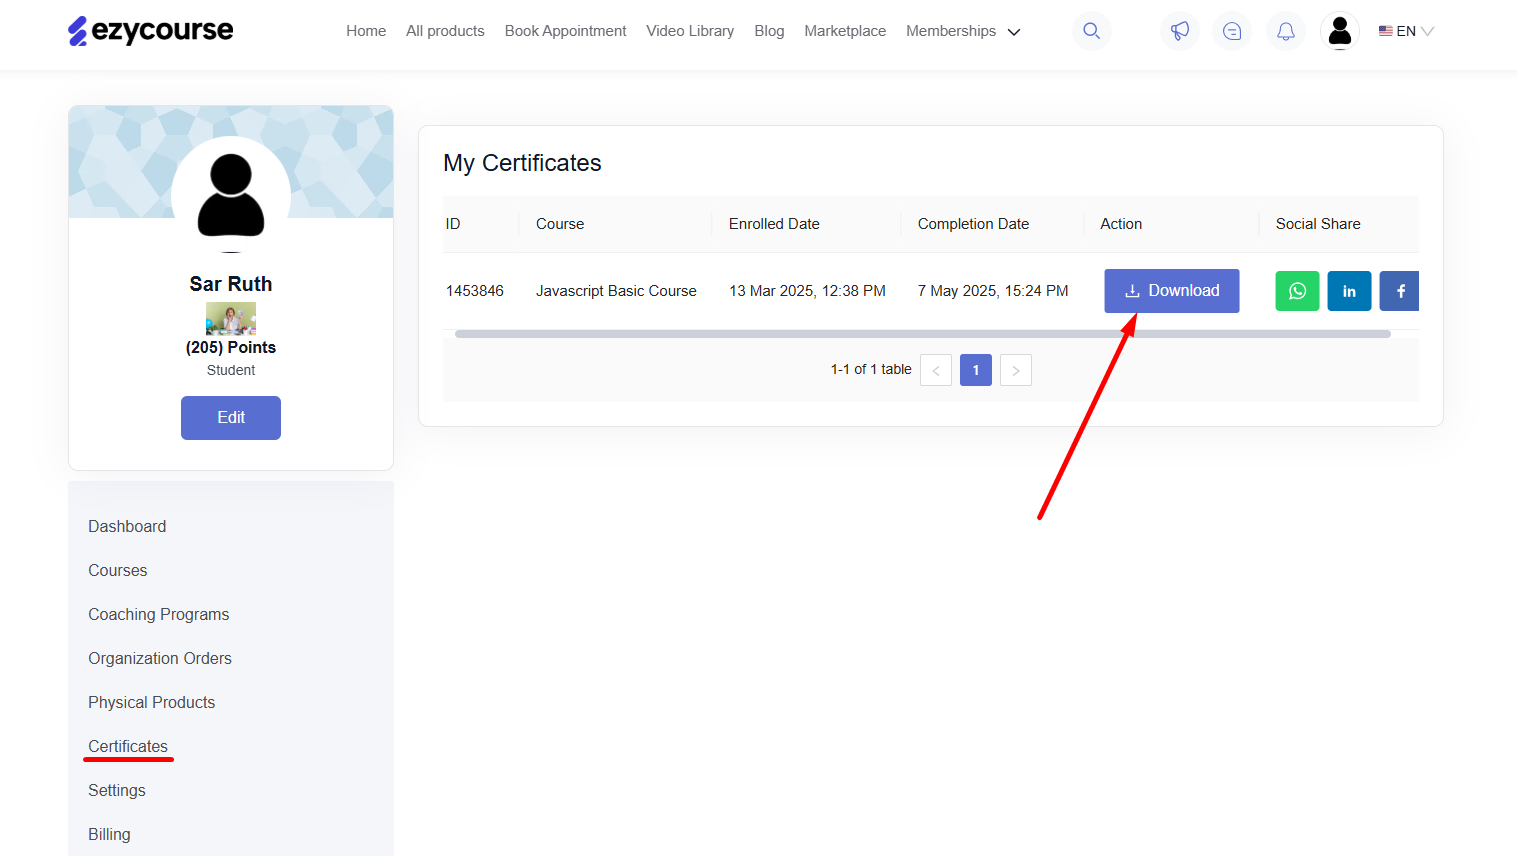
They can also download the certificates directly from their student dashboard under the Certificates menu.
Related Article : Issue a Certificate | Add certificate verification on your website