Back
Webhook Integration w/ Zapier
You can use webhook and transfer data between any other platform and your EzyCourse school. With webhook, you can automate tasks such as new student sign up, enrollment into products, and more.
In this article, you’ll learn how to integrate webhook using Zapier, and automate data transfer between your EzyCourse platform and any other platform.
How to use Zapier
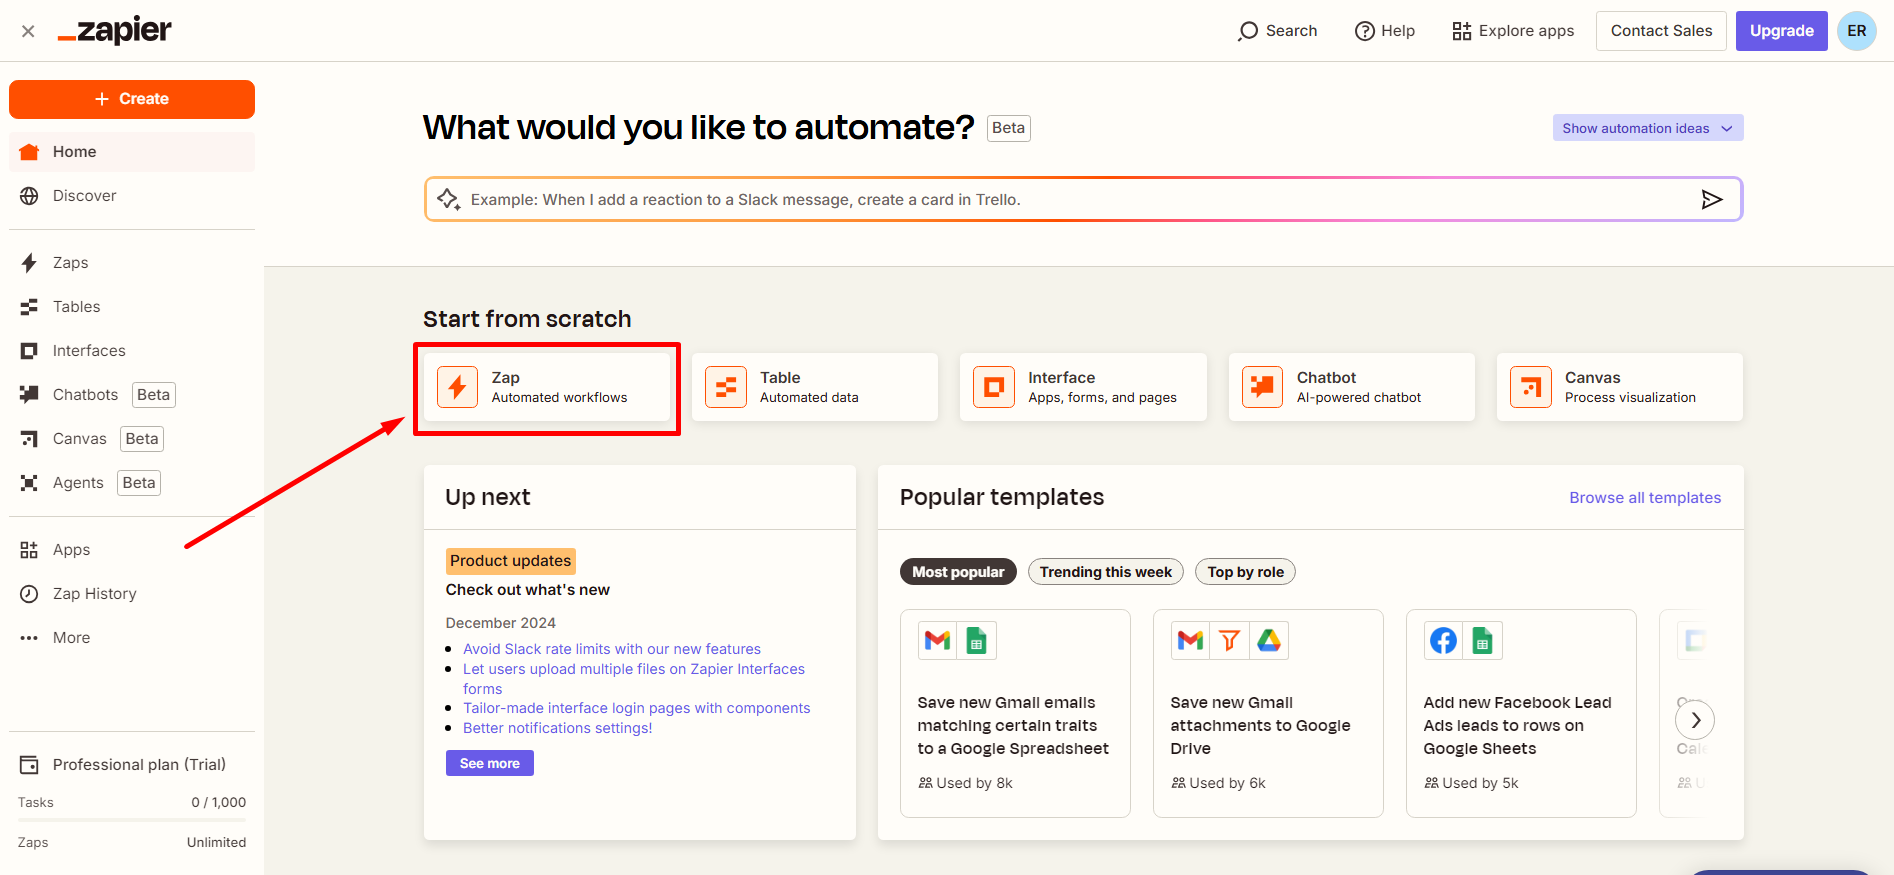
First, log in to your Zapier dashboard and create a “Zap”. “Zap” refers to a request or an automation created using the Zapier tool. To create a “Zap”, click the Zap card on the middle part of the dashboard interface.
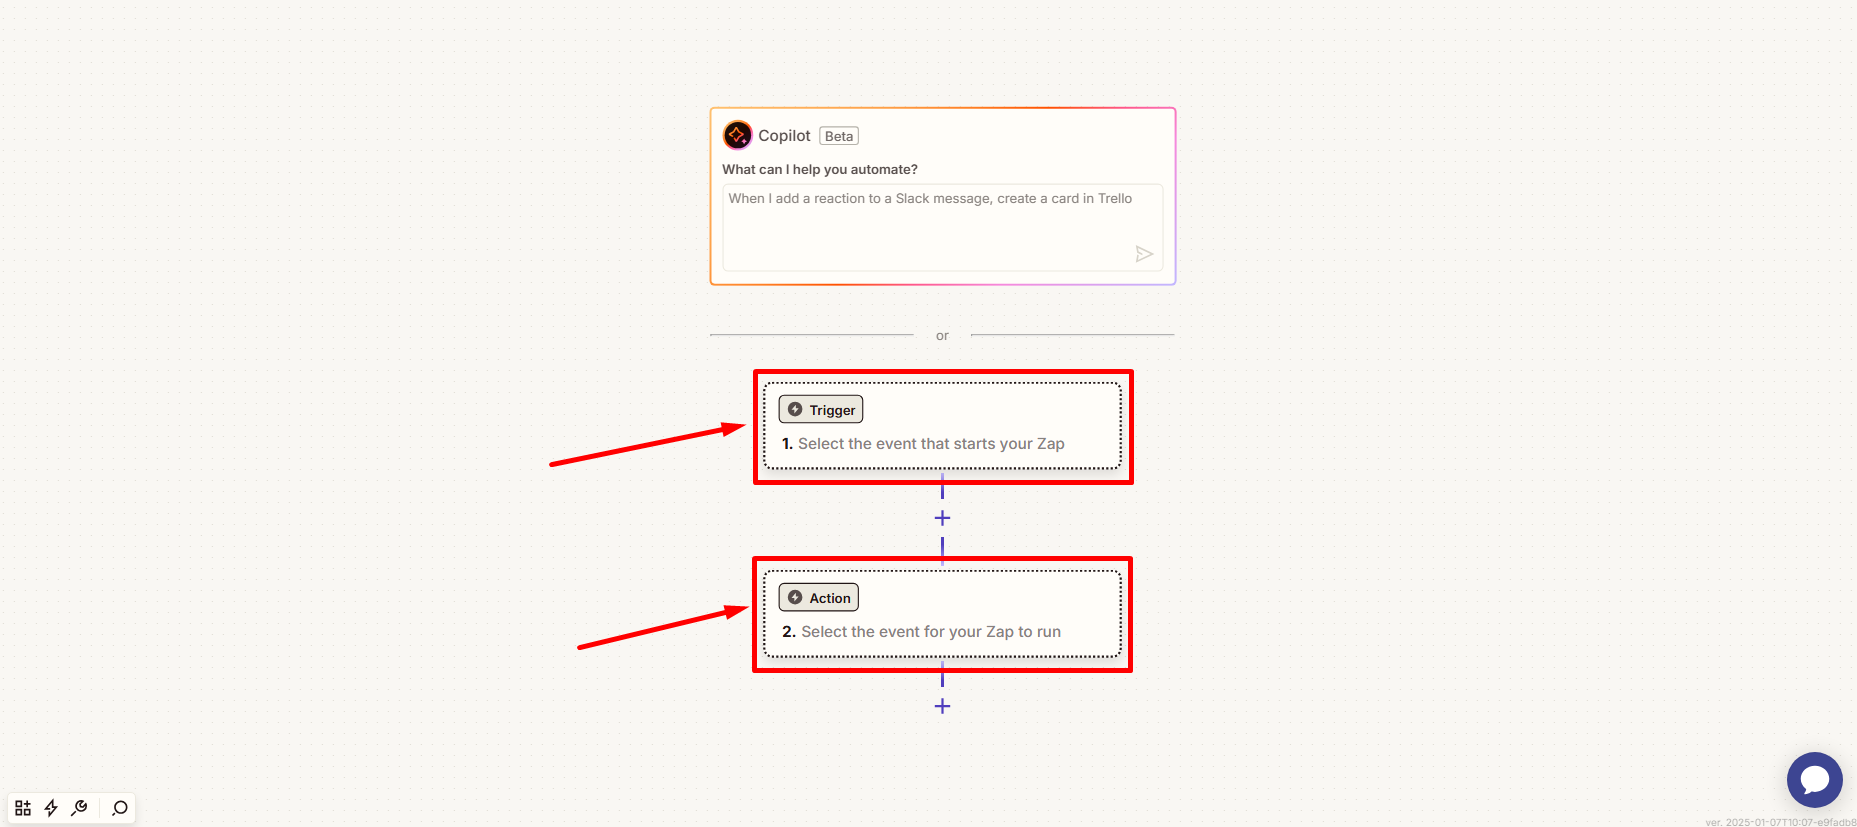
Notice that there are two sections inside the “Zap”. One is for triggers and another for action. Trigger is for capturing the responses from an app (Data Out), and Action is for sending the captured data to another app (Data in).
Data Out
Unlike Pabbly, EzyCourse does not have a direct integration with Zapier. That is why you’d have to use webhook and provide the correct URL on the trigger section for transferring data out from your EzyCourse platform.
[Note: The URL you use depends on the action you wish to perform. You’ll find them on your EzyCourse dashboard.]
So, click the Trigger card.
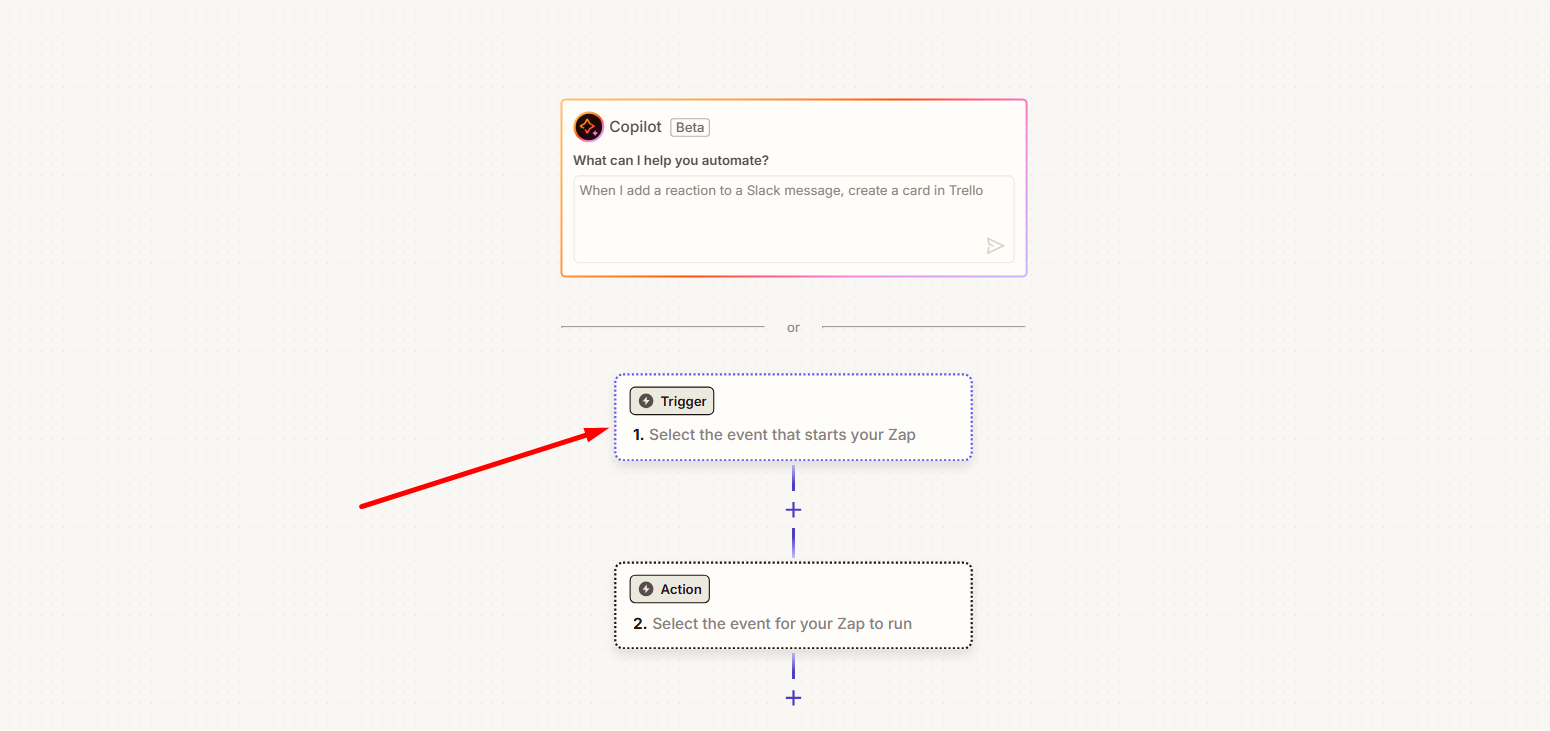
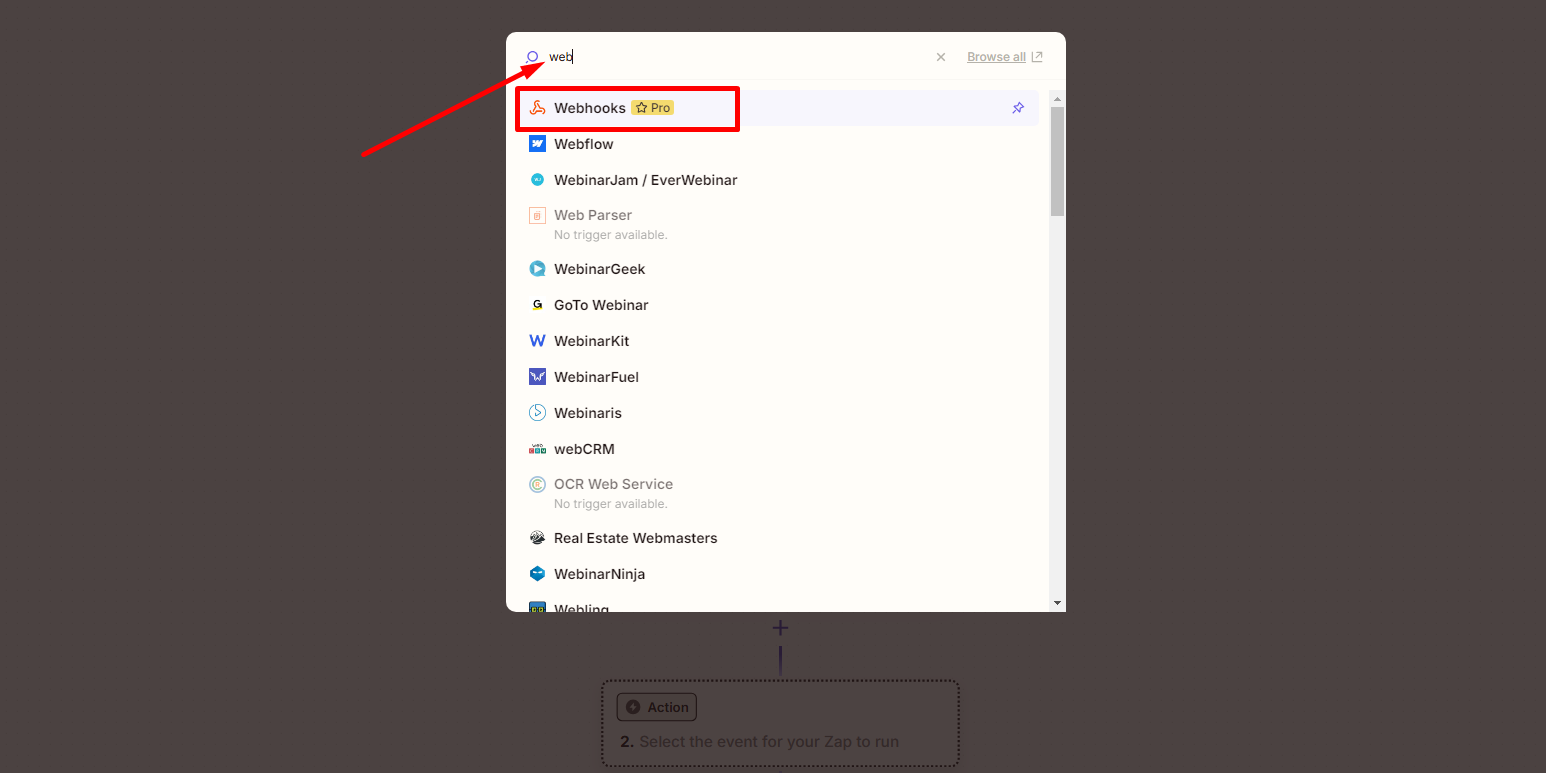
And then search and select Webhooks.
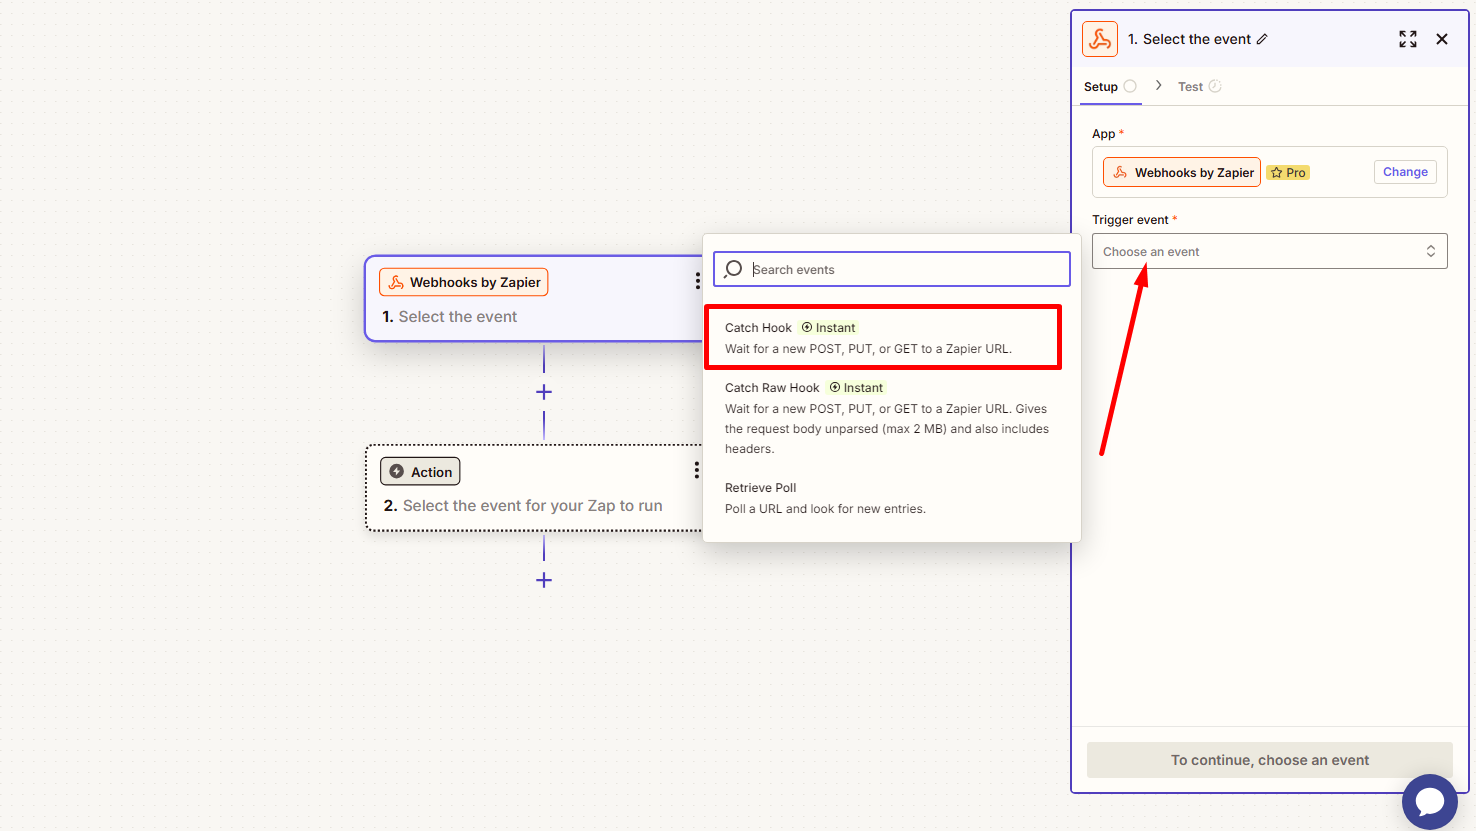
This will open a panel on the right side of your screen. From here, select the event trigger to be Catch Hook. This will allow you to handle incoming webhook data, including JSON.
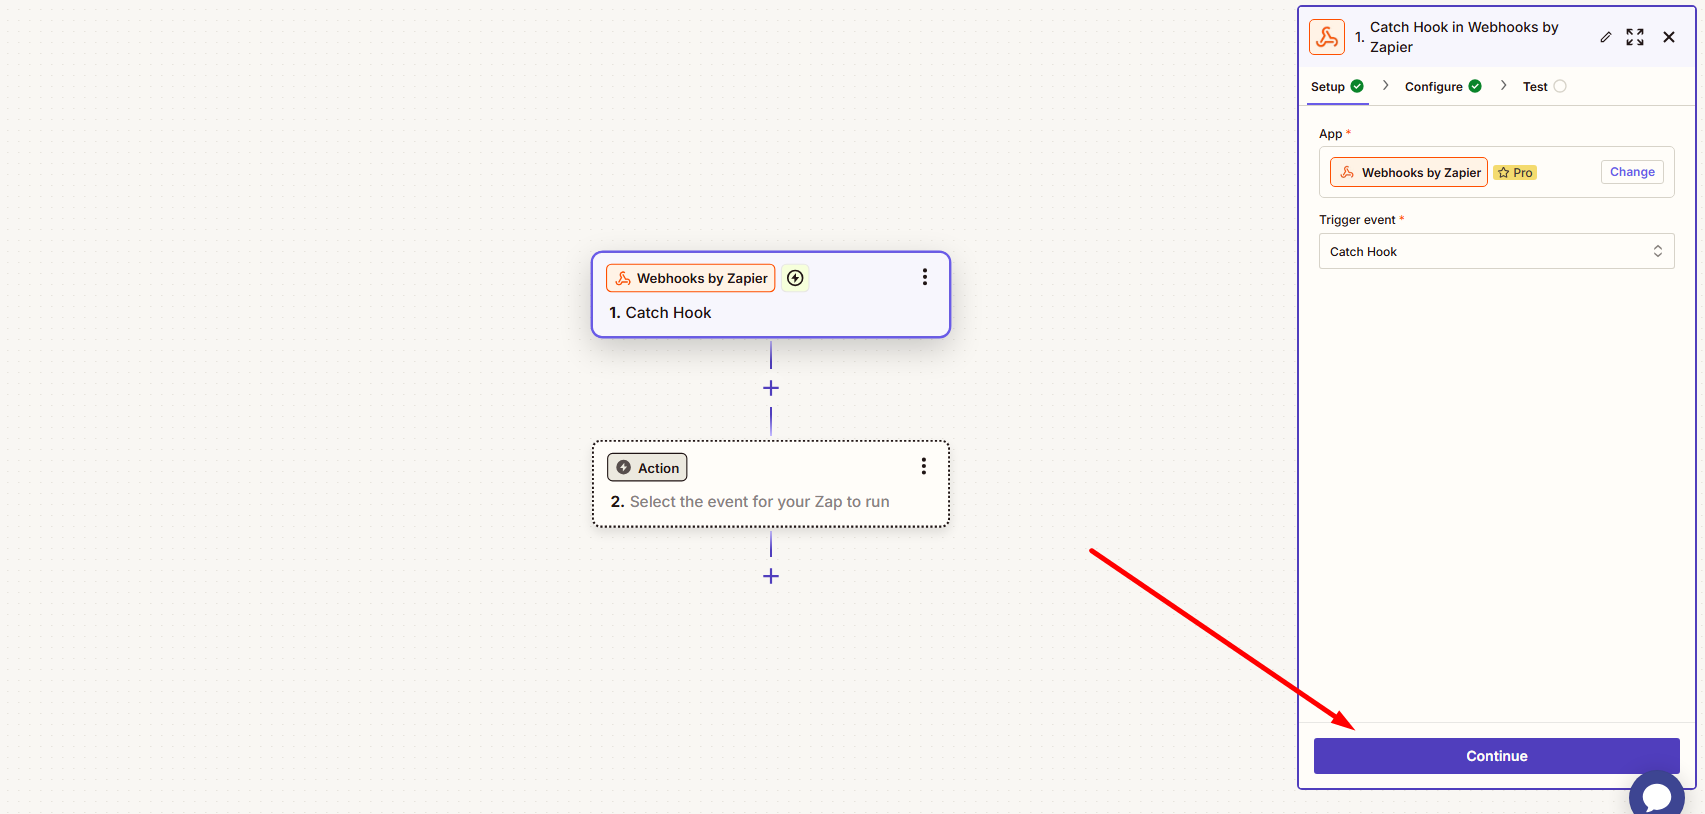
Click the Continue button to move forward.
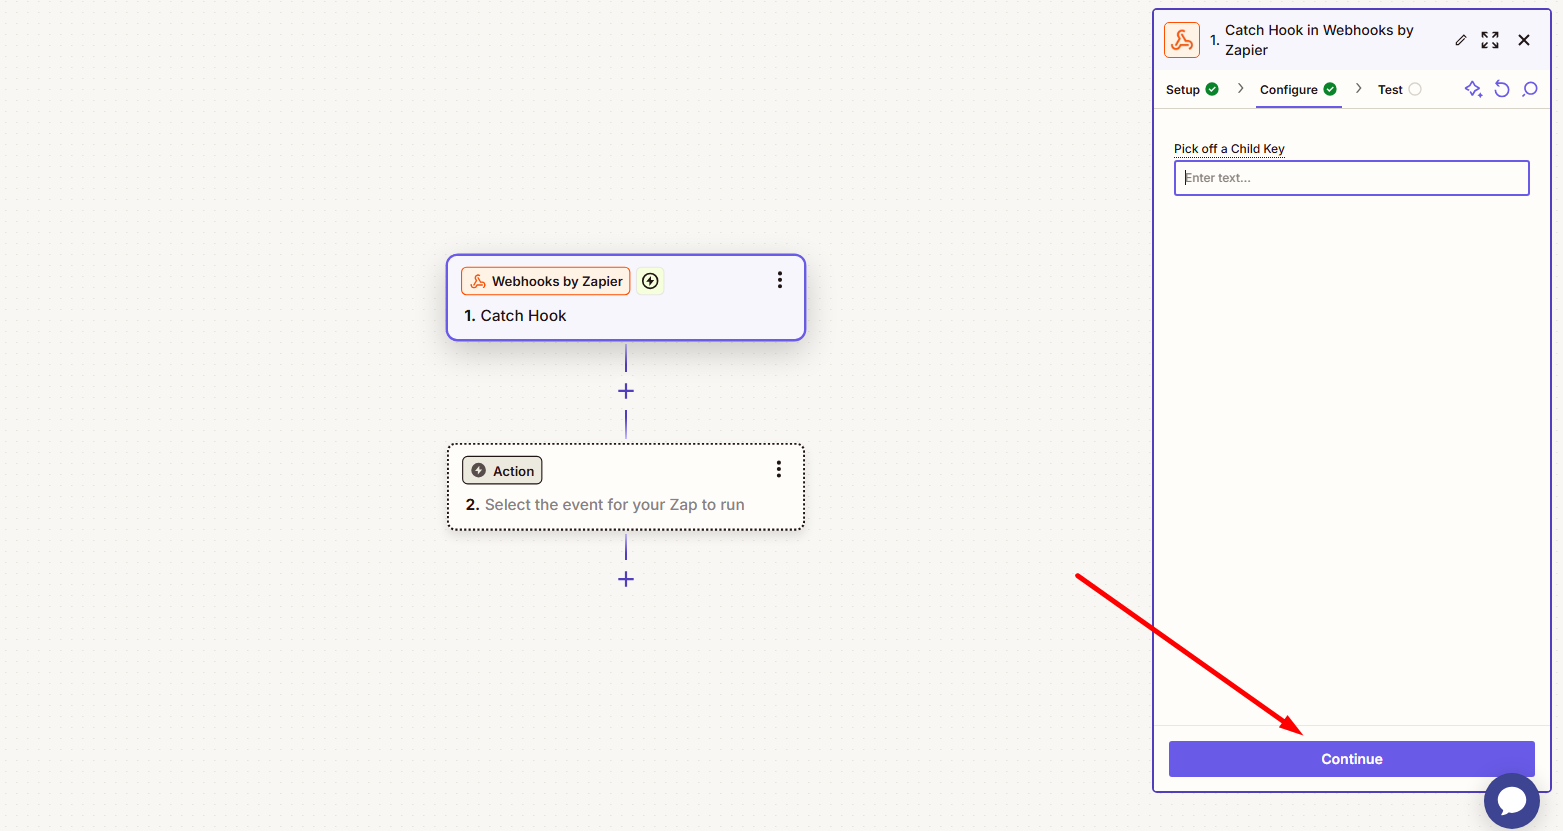
And then continue again.
Now, copy the Zapier-generated webhook URL.
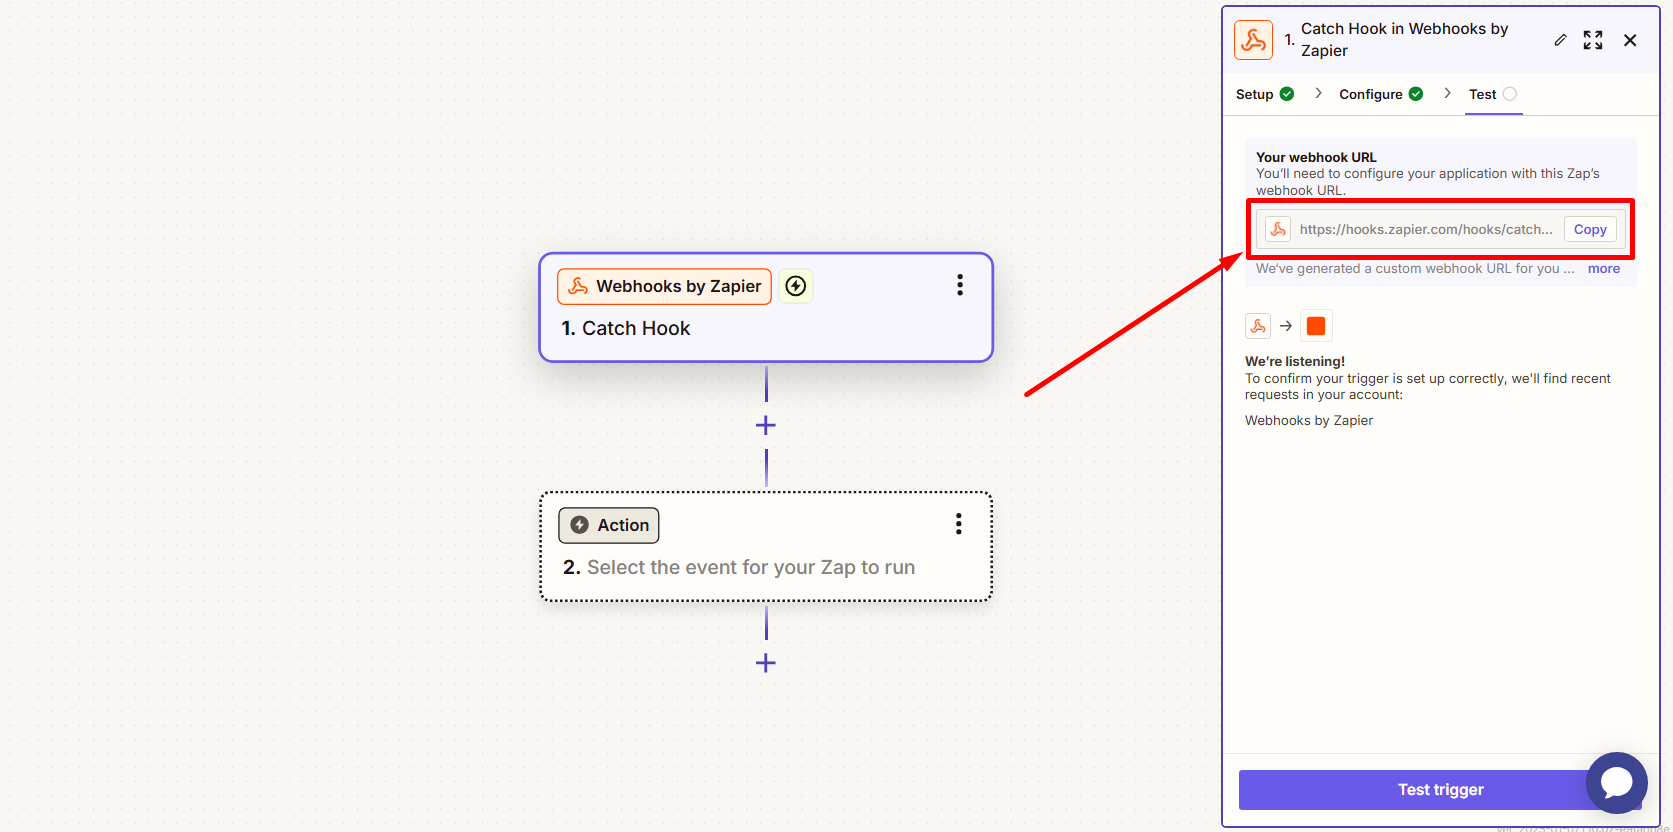
With the webhook URL copied, head over to your EzyCourse dashboard and navigate to Site Settings -> Webhook (Data-out). Here, you’ll see all the triggers.
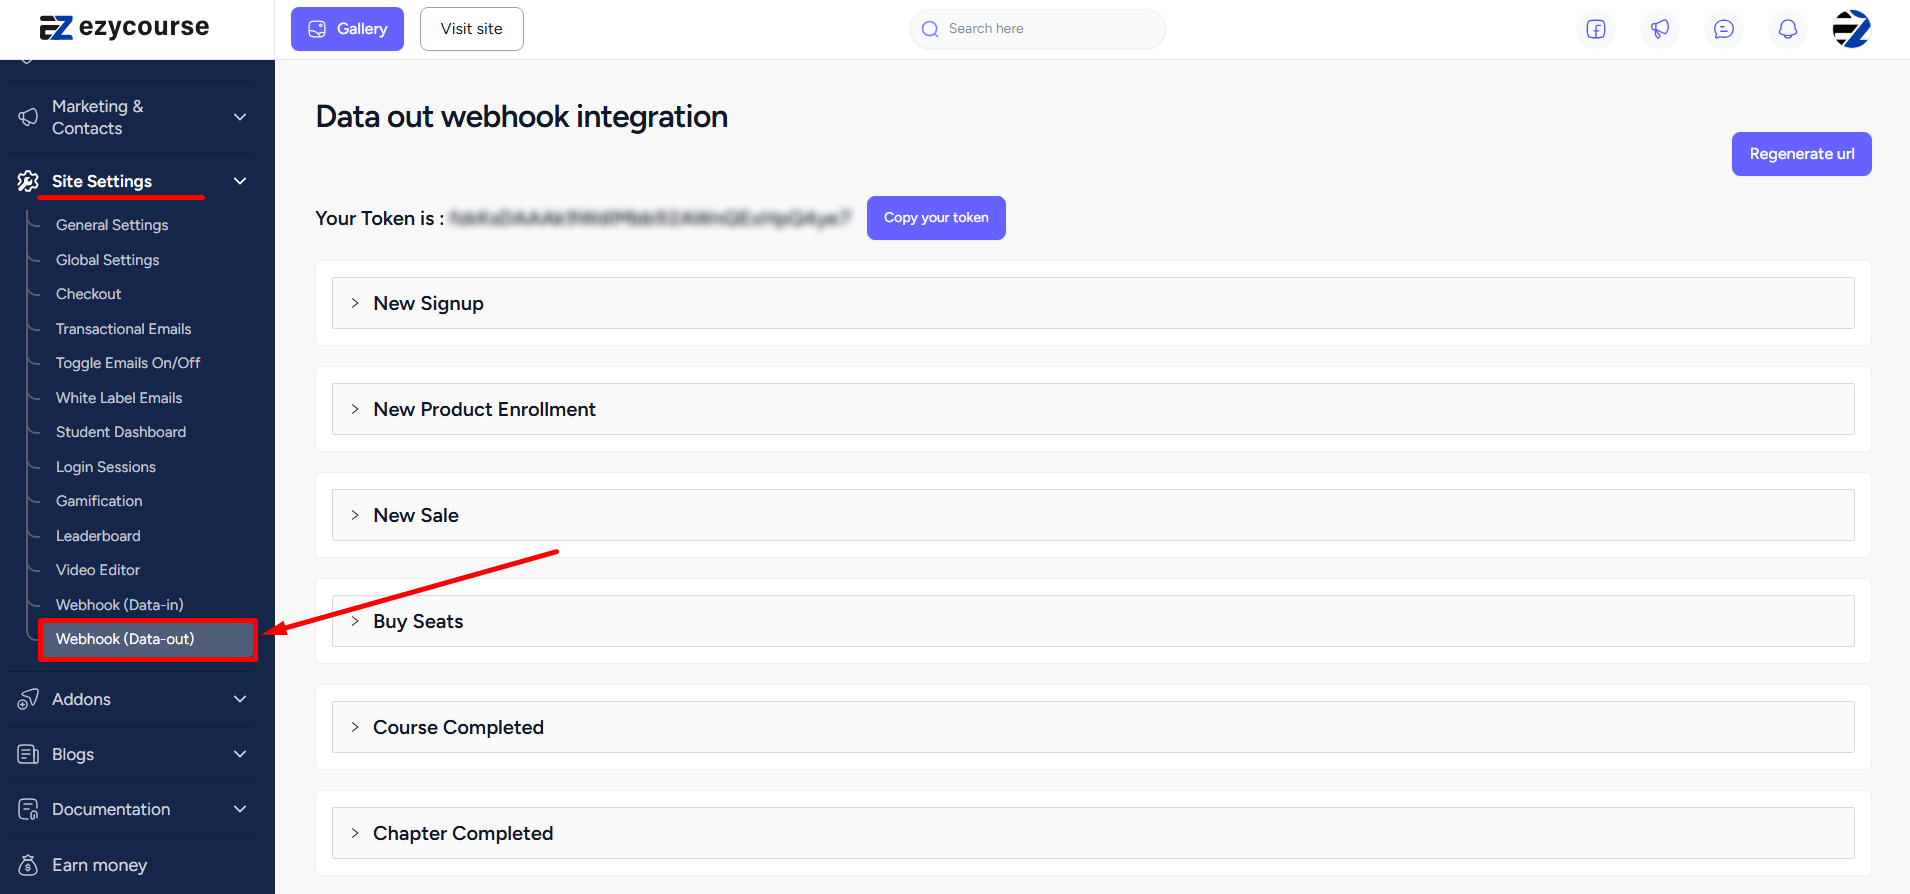
Expand the trigger you want to set. For the purpose of this tutorial, we’ll select New Signup. Paste the Zapier-generated URL and click Save.
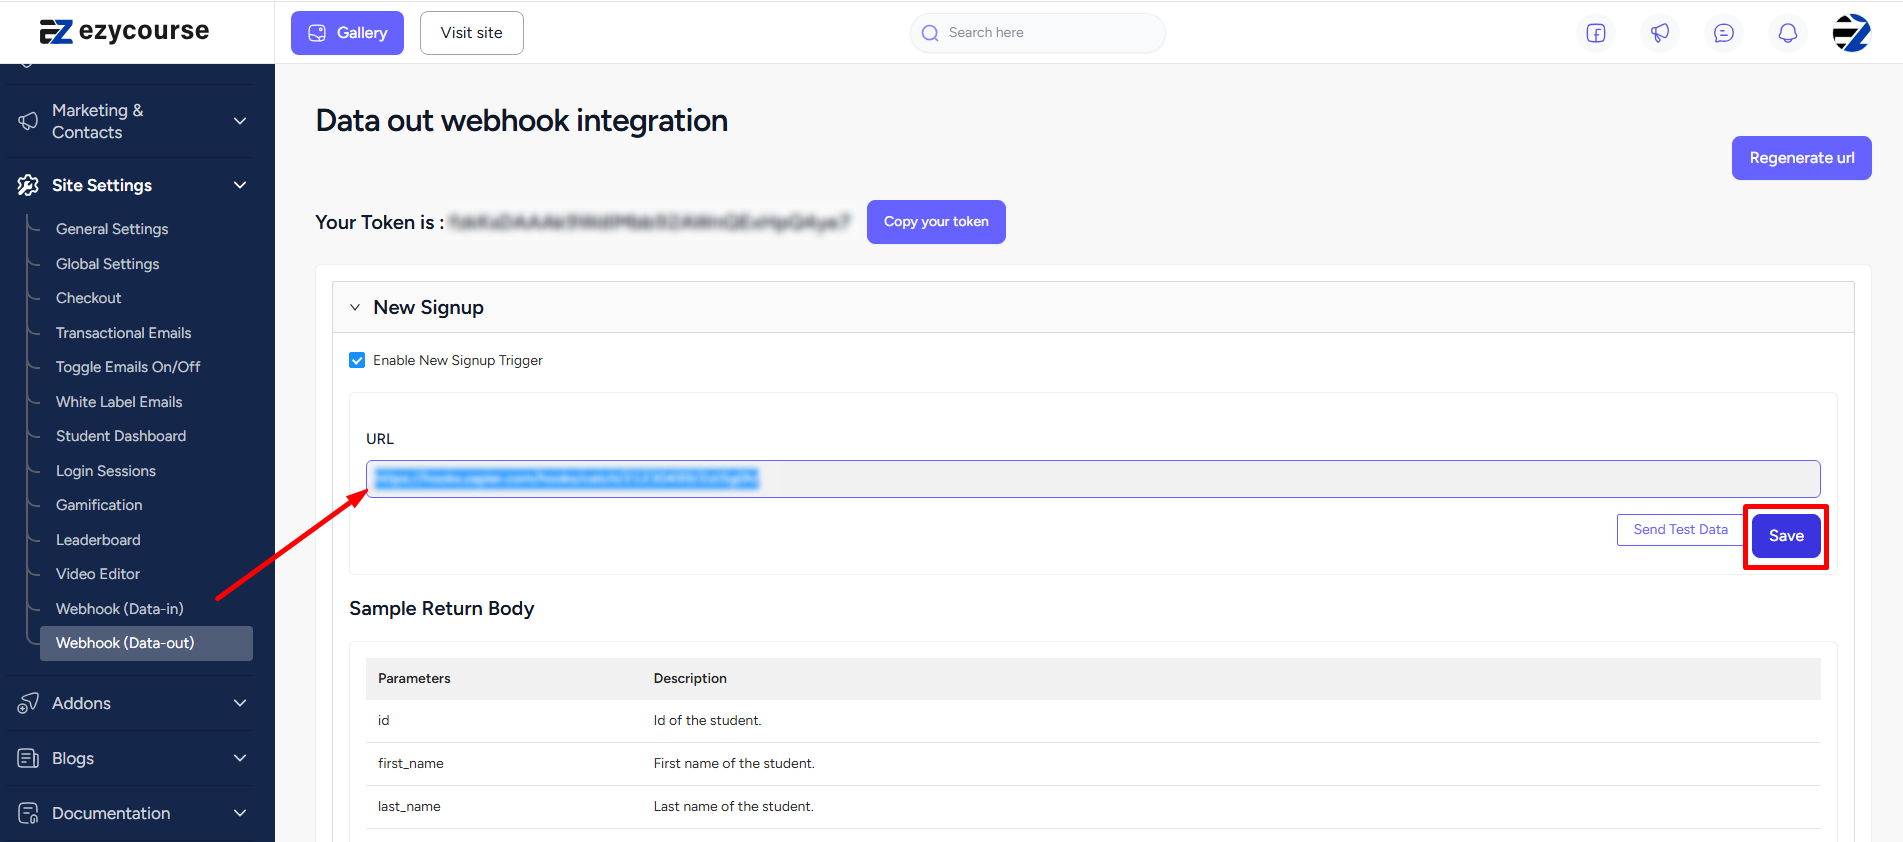
You can click the Send Test Data button to send a sample data to Zapier.
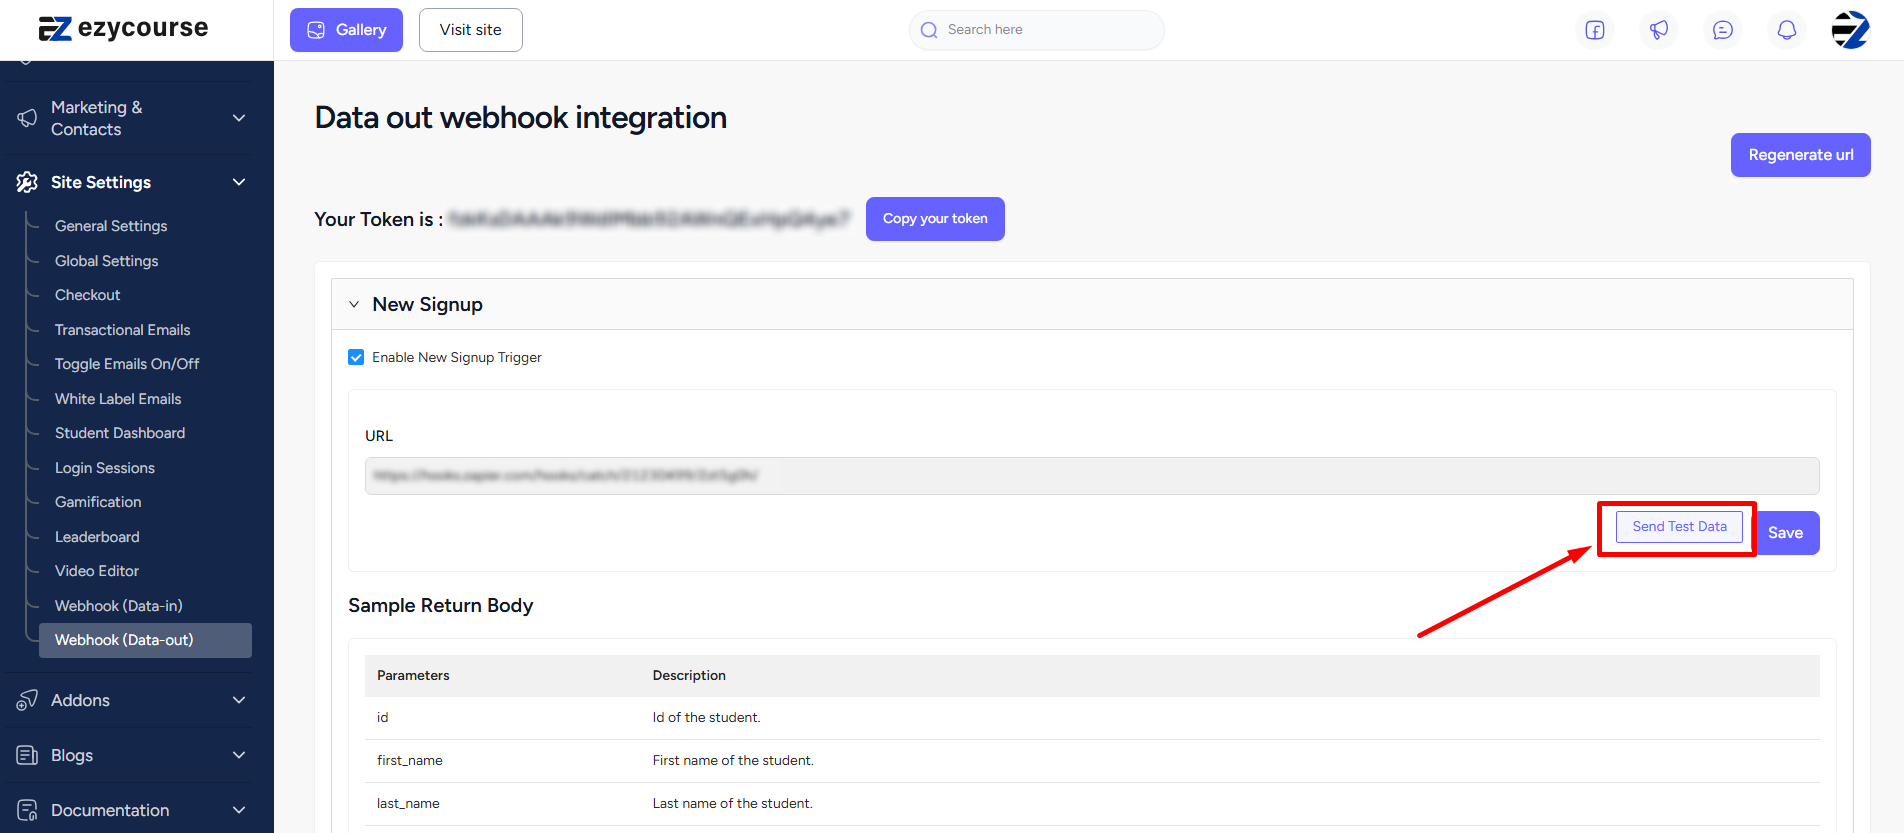
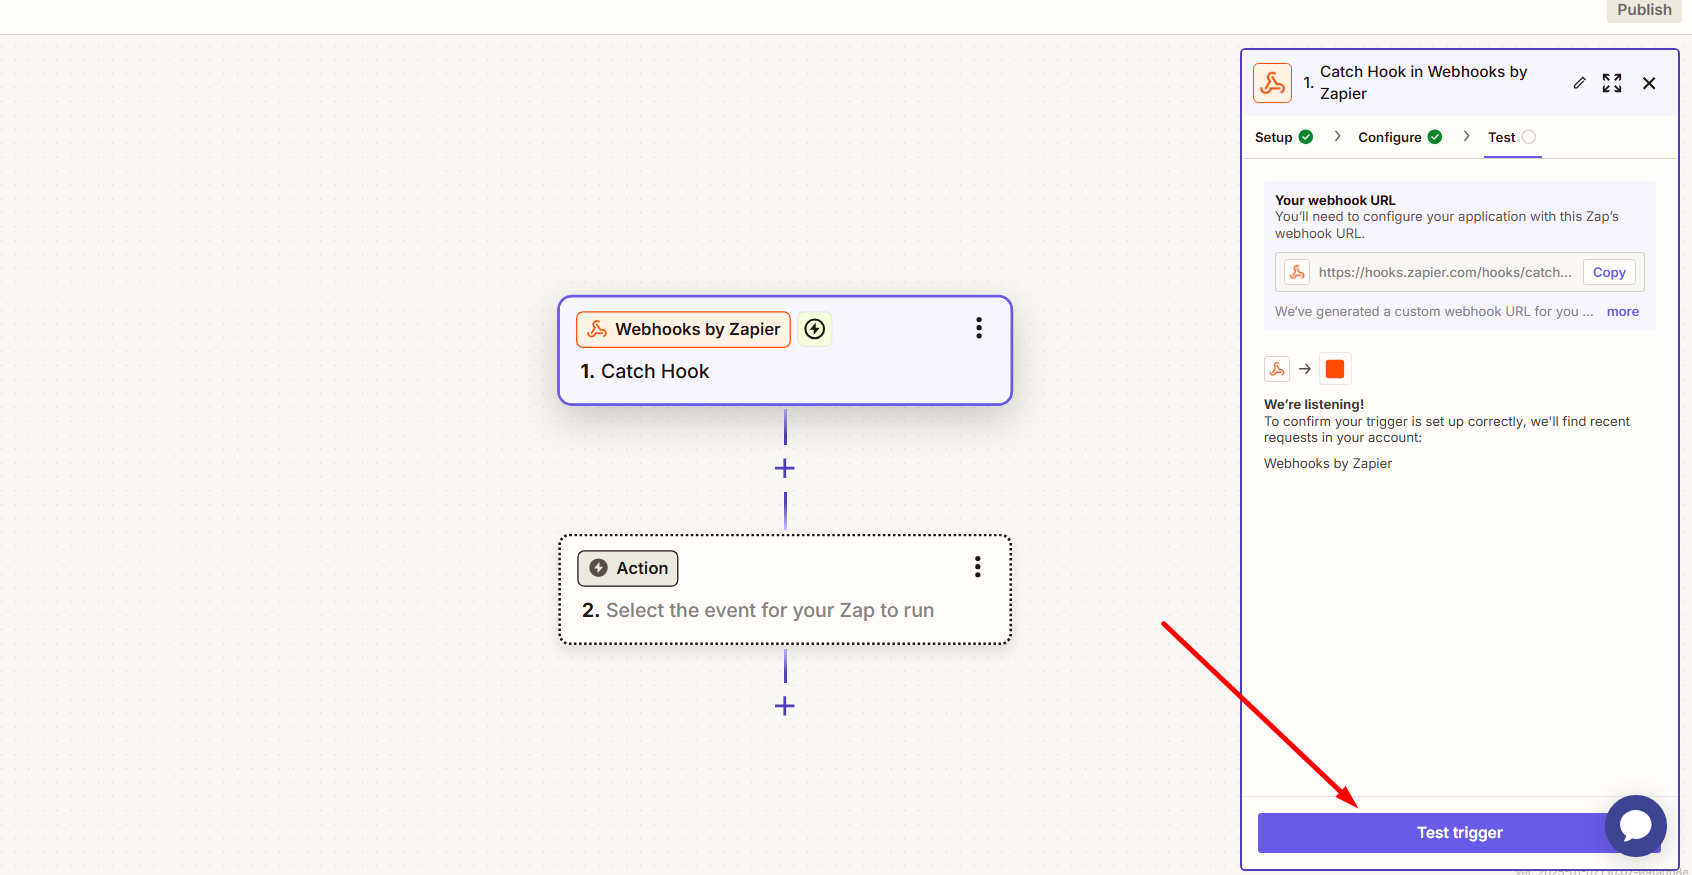
Click Test Trigger to see the sample data sent from your EzyCourse platform.
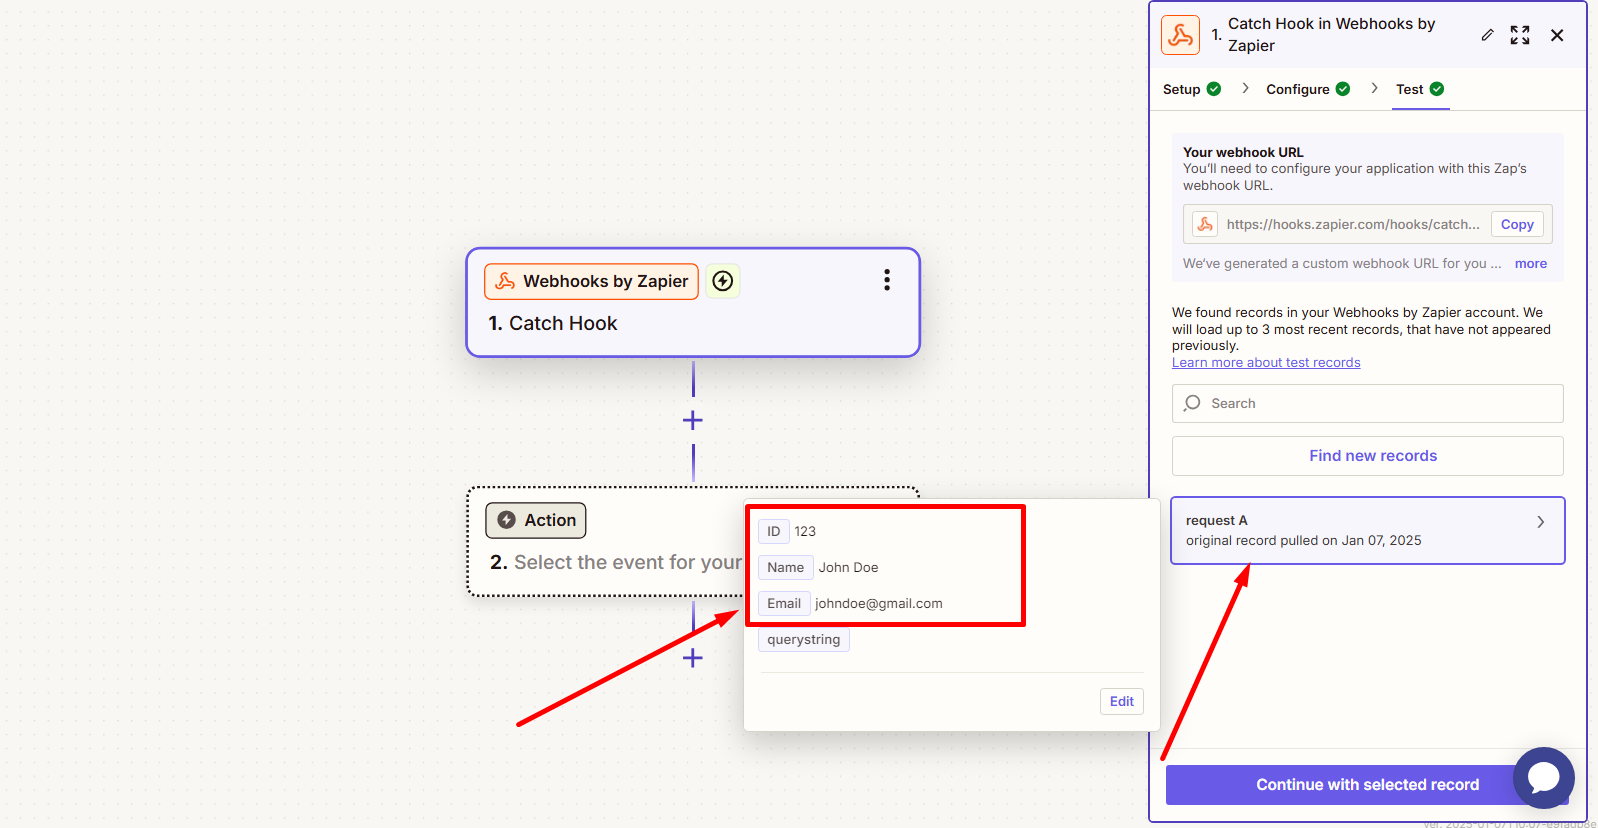
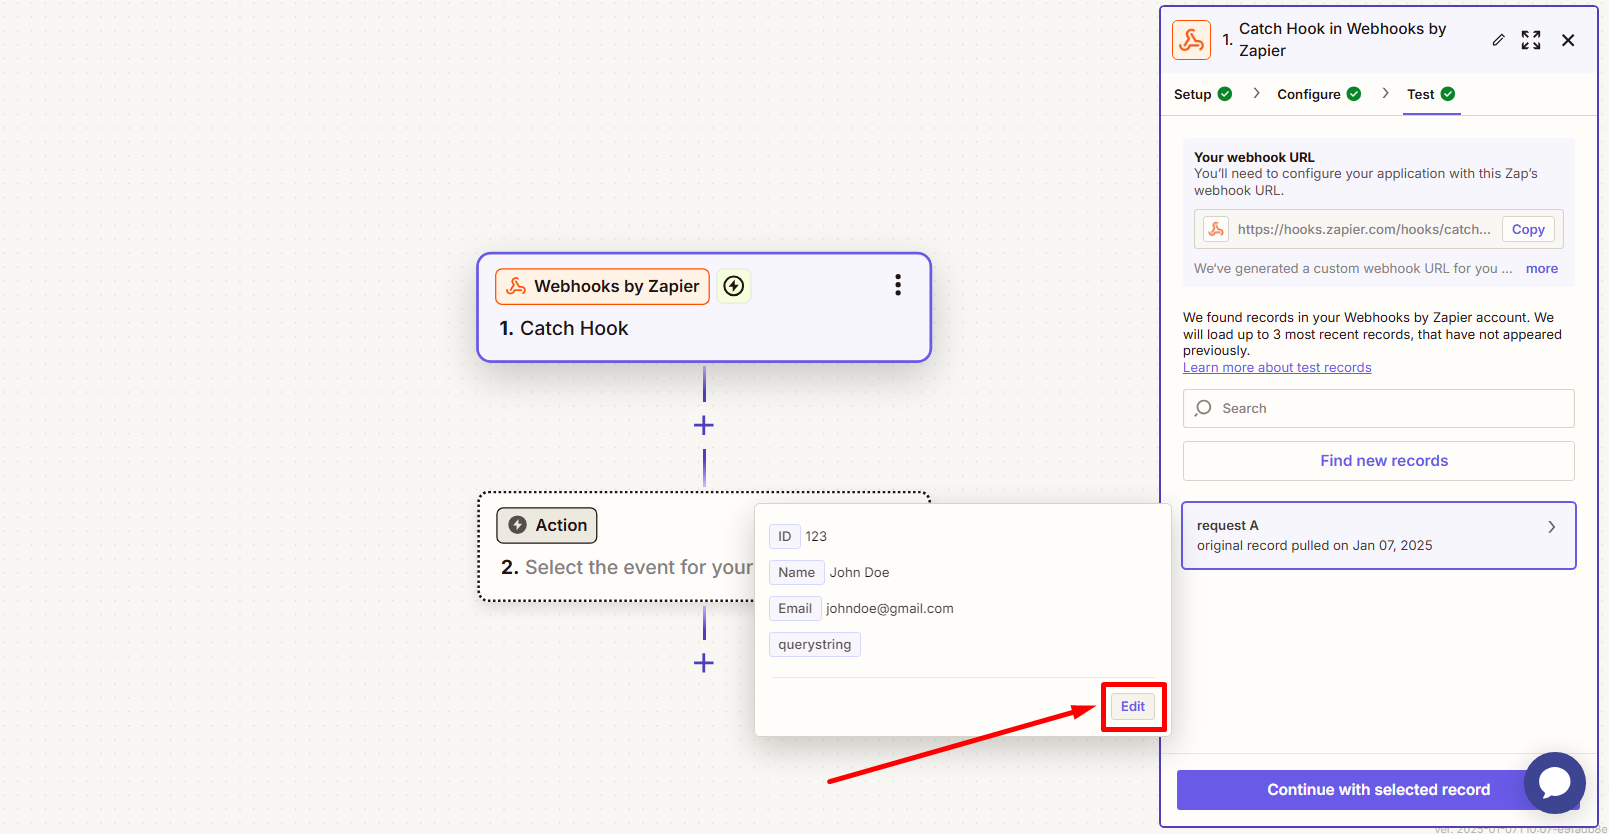
Click Edit to modify and update the data as you wish.
Now that the response from your EzyCourse platform is captured on Zapier, you can send the data to another platform using the Action section.
Data In
For receiving data from another app into your EzyCourse platform, you have to first capture the data from the other app using the Trigger section.
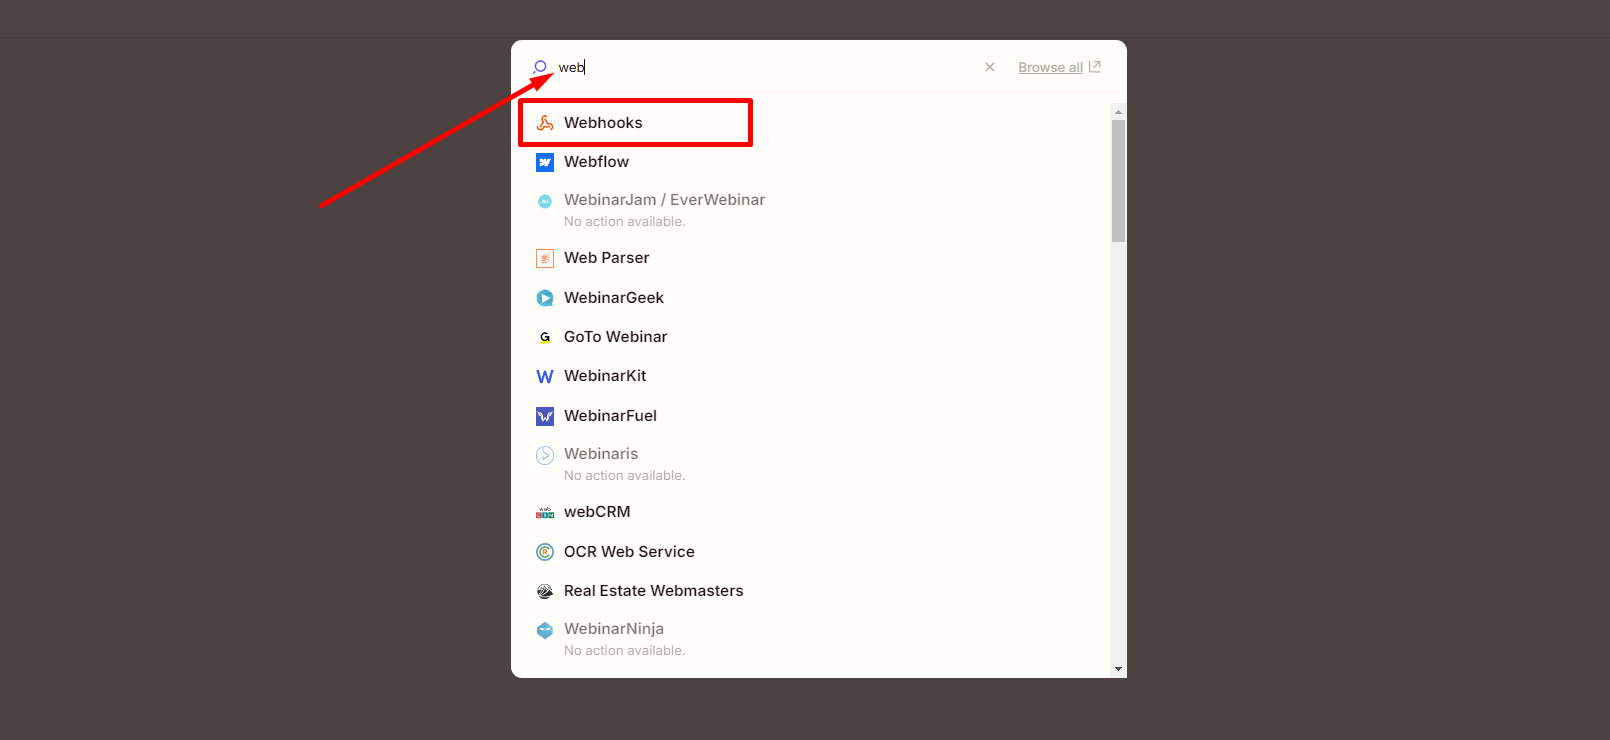
After capturing the data, click the Action section and then search and choose Webhooks.
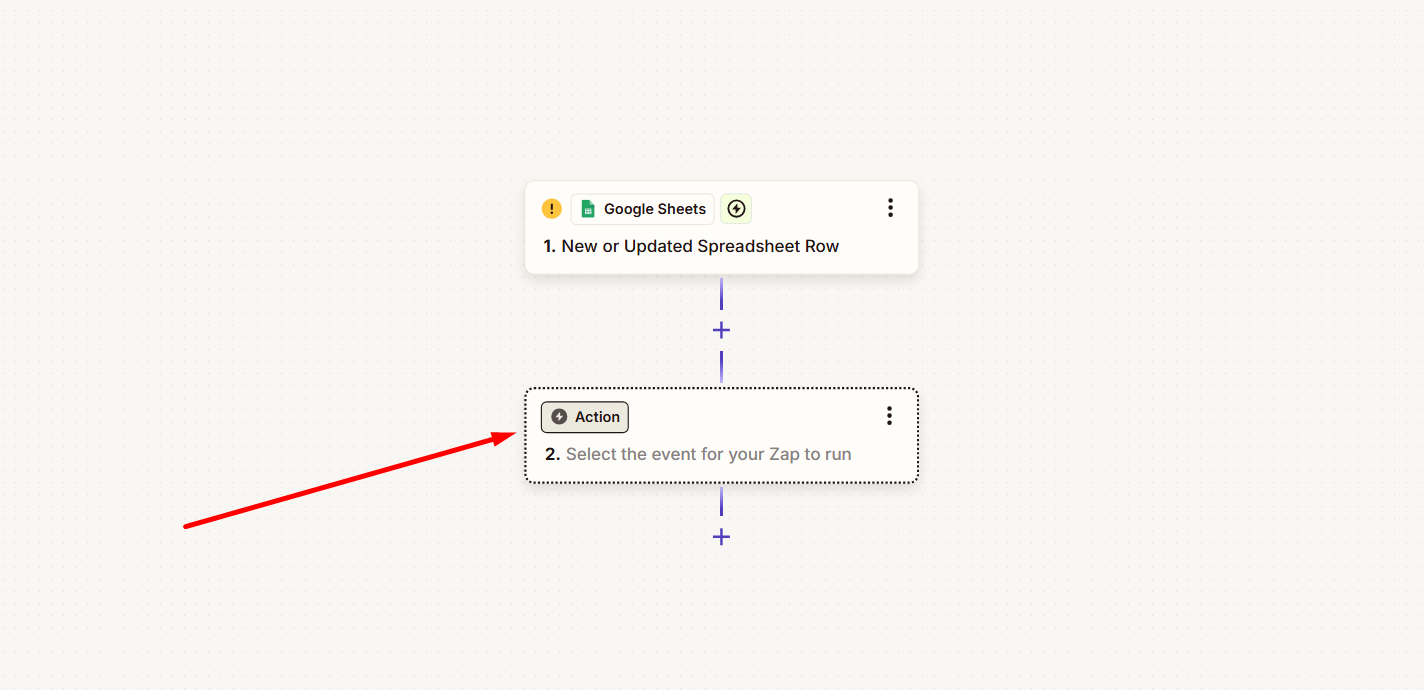
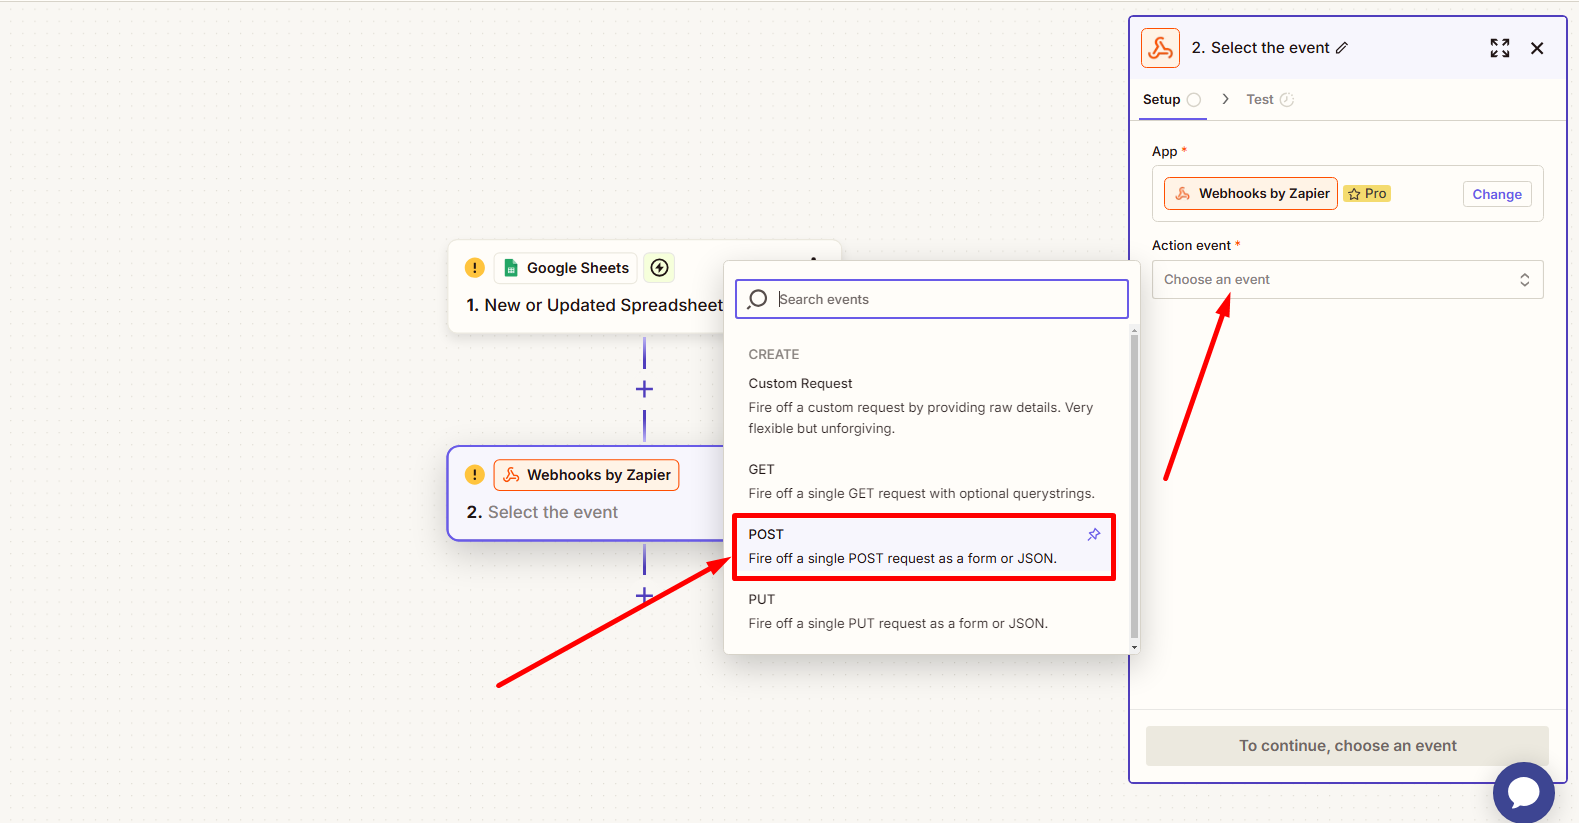
Select the event trigger to be POST.
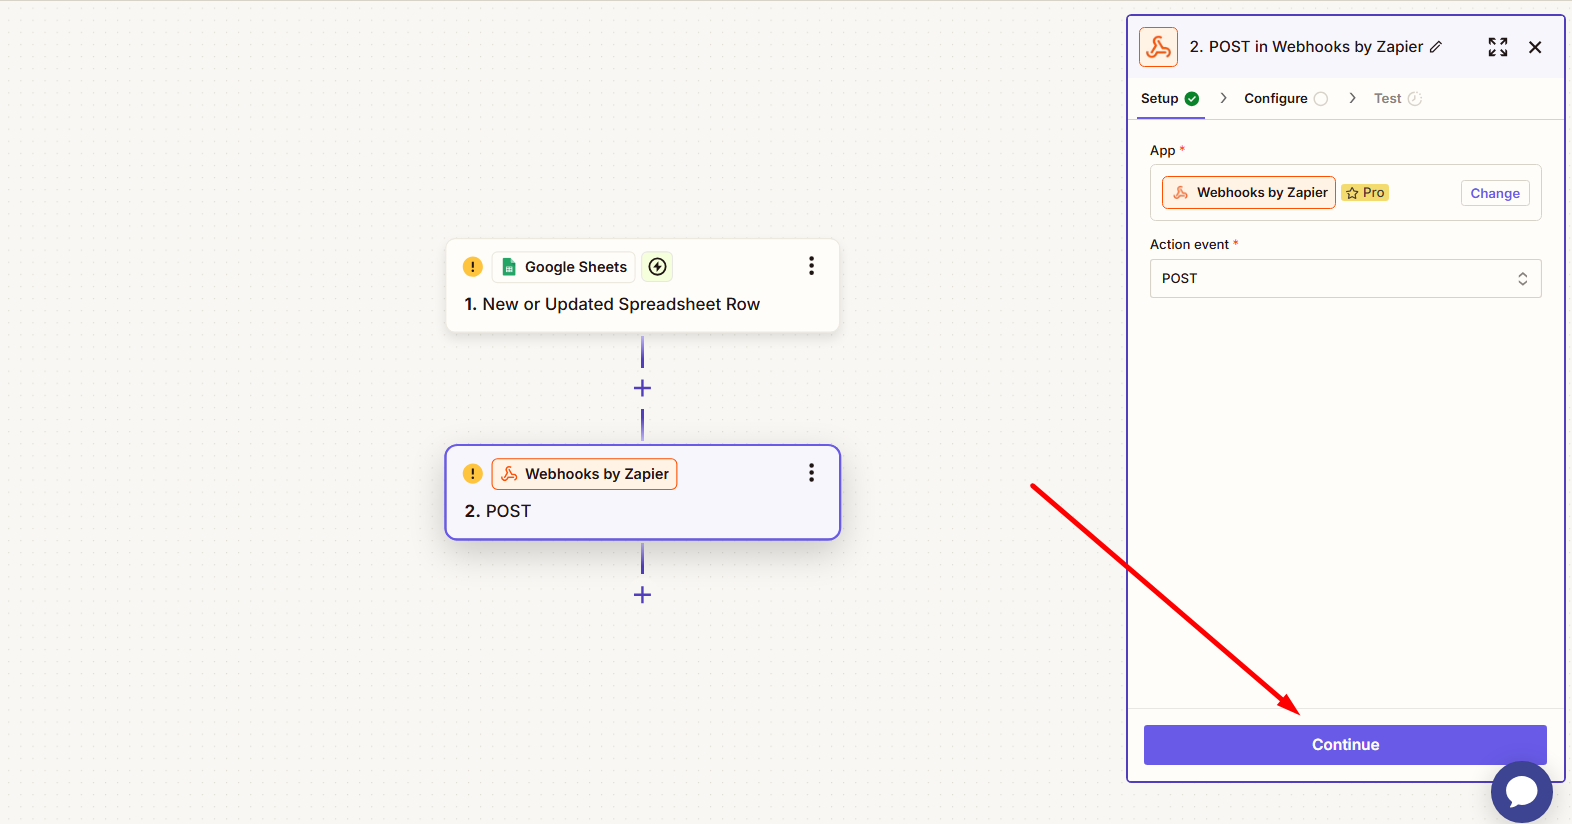
And then click the Continue button.
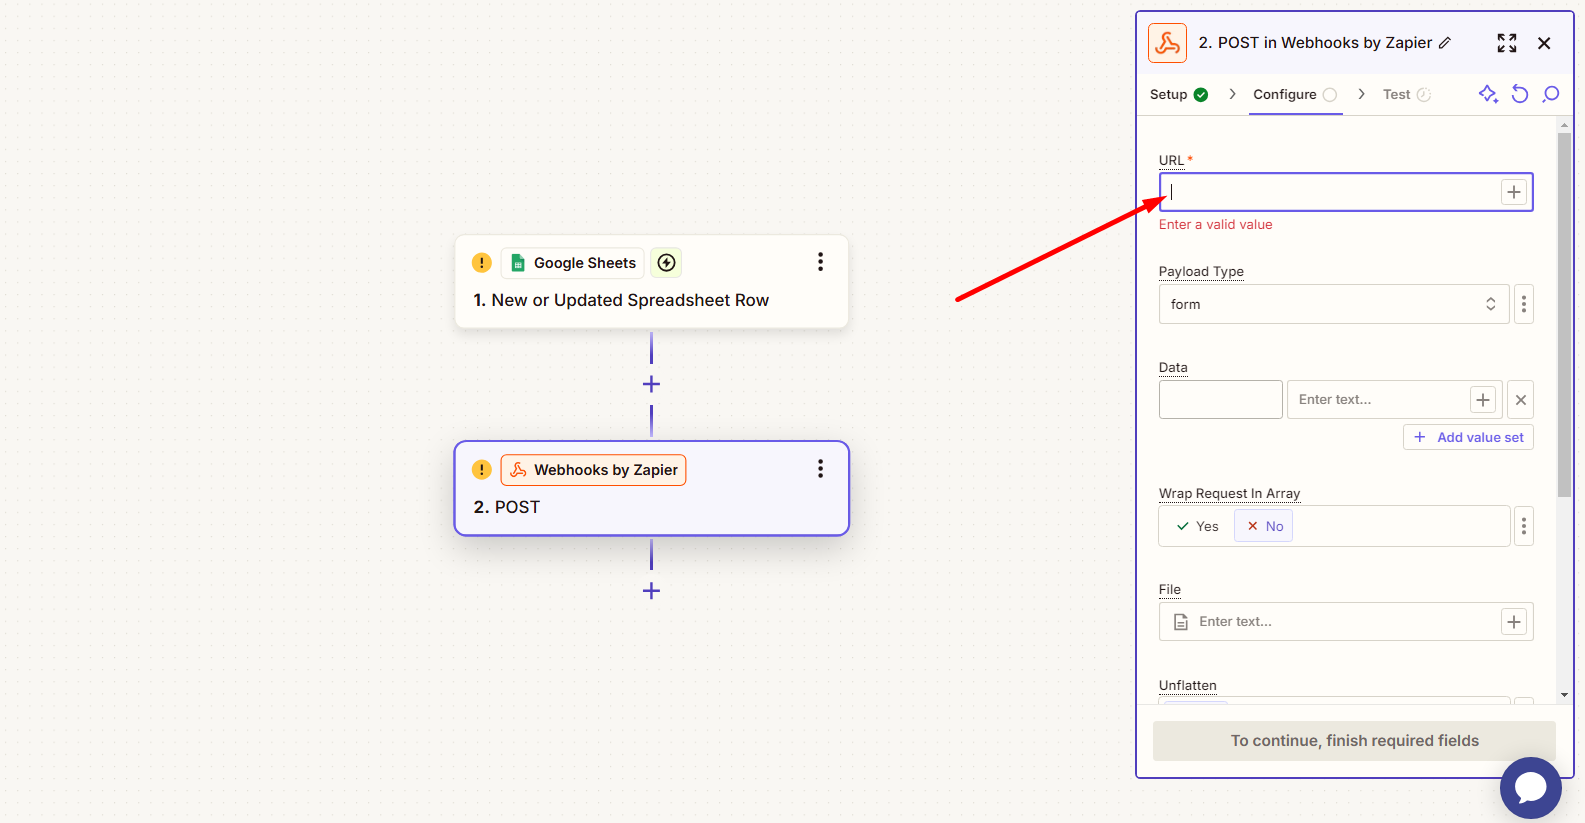
Now, you have to provide the URL available on your EzyCourse dashboard.
Find the URL from Site Settings -> Webhook (Data-in). Depending on what request you wish to perform, choose the URL and copy it. For the purpose of this tutorial, we’ll select the “Register student” URL.
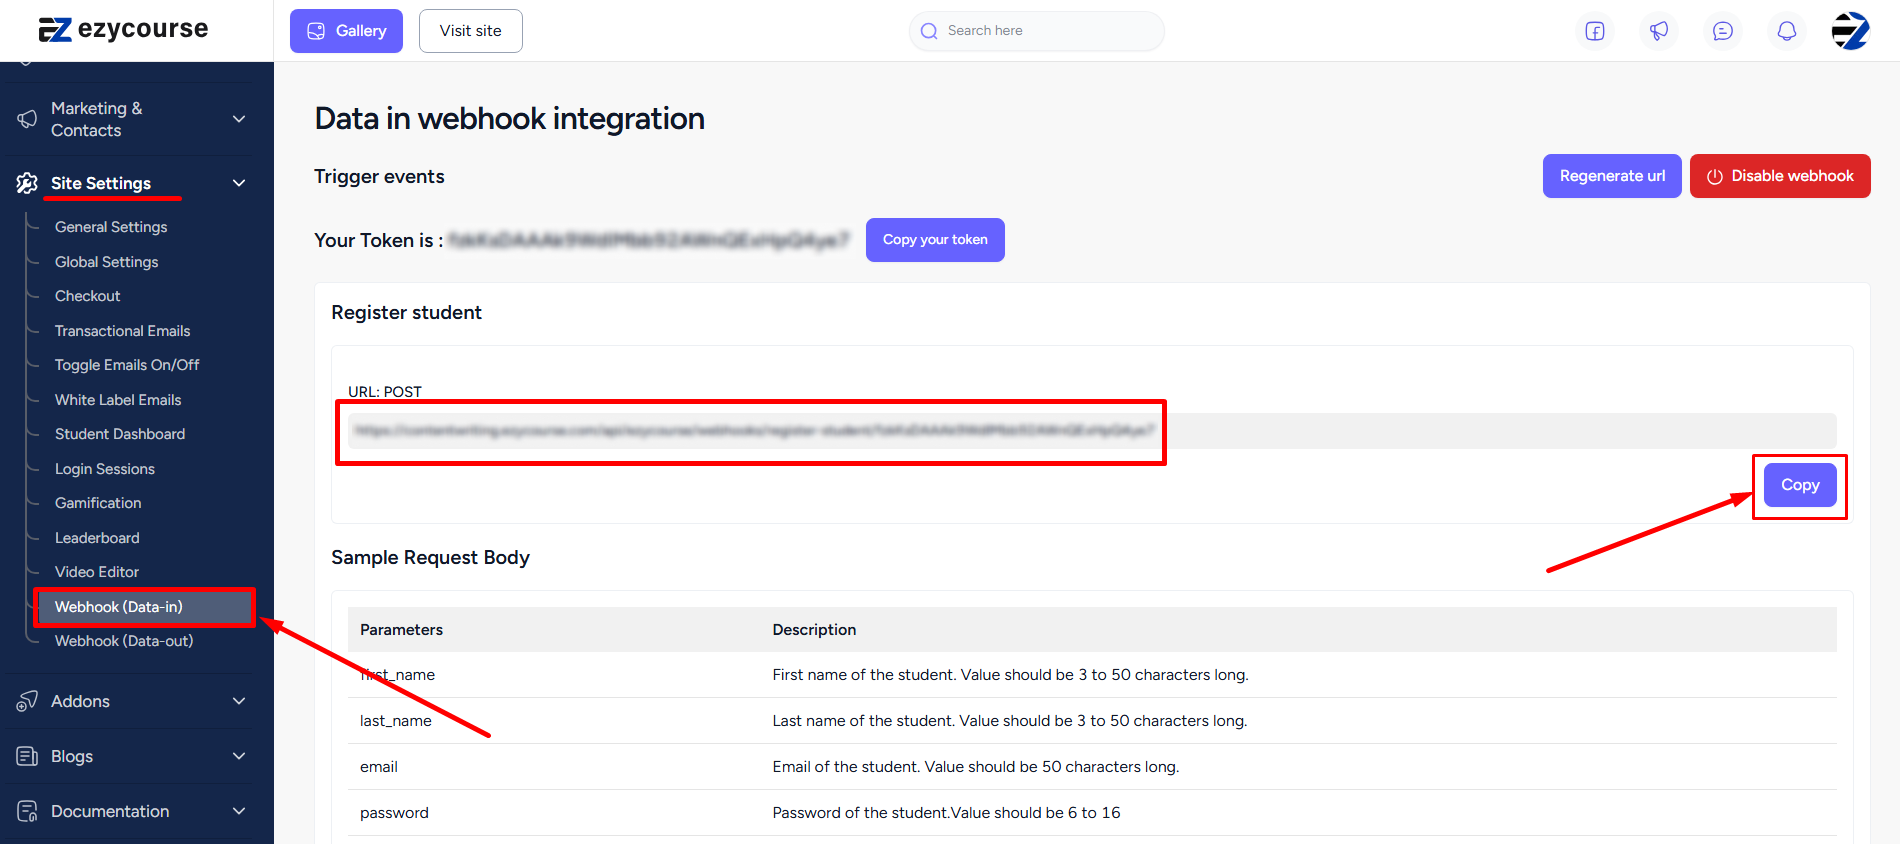
Paste the URL on the empty field.
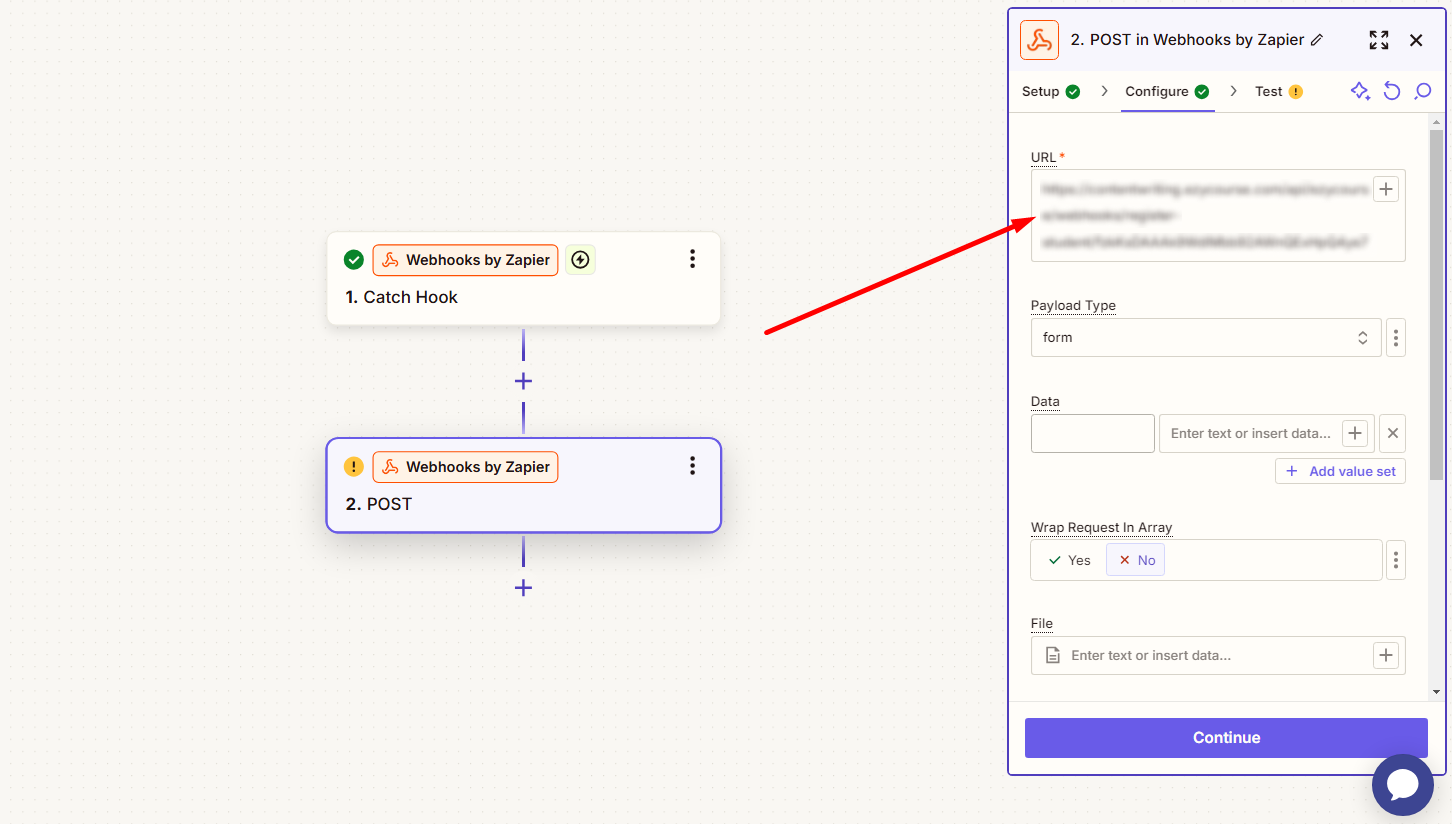
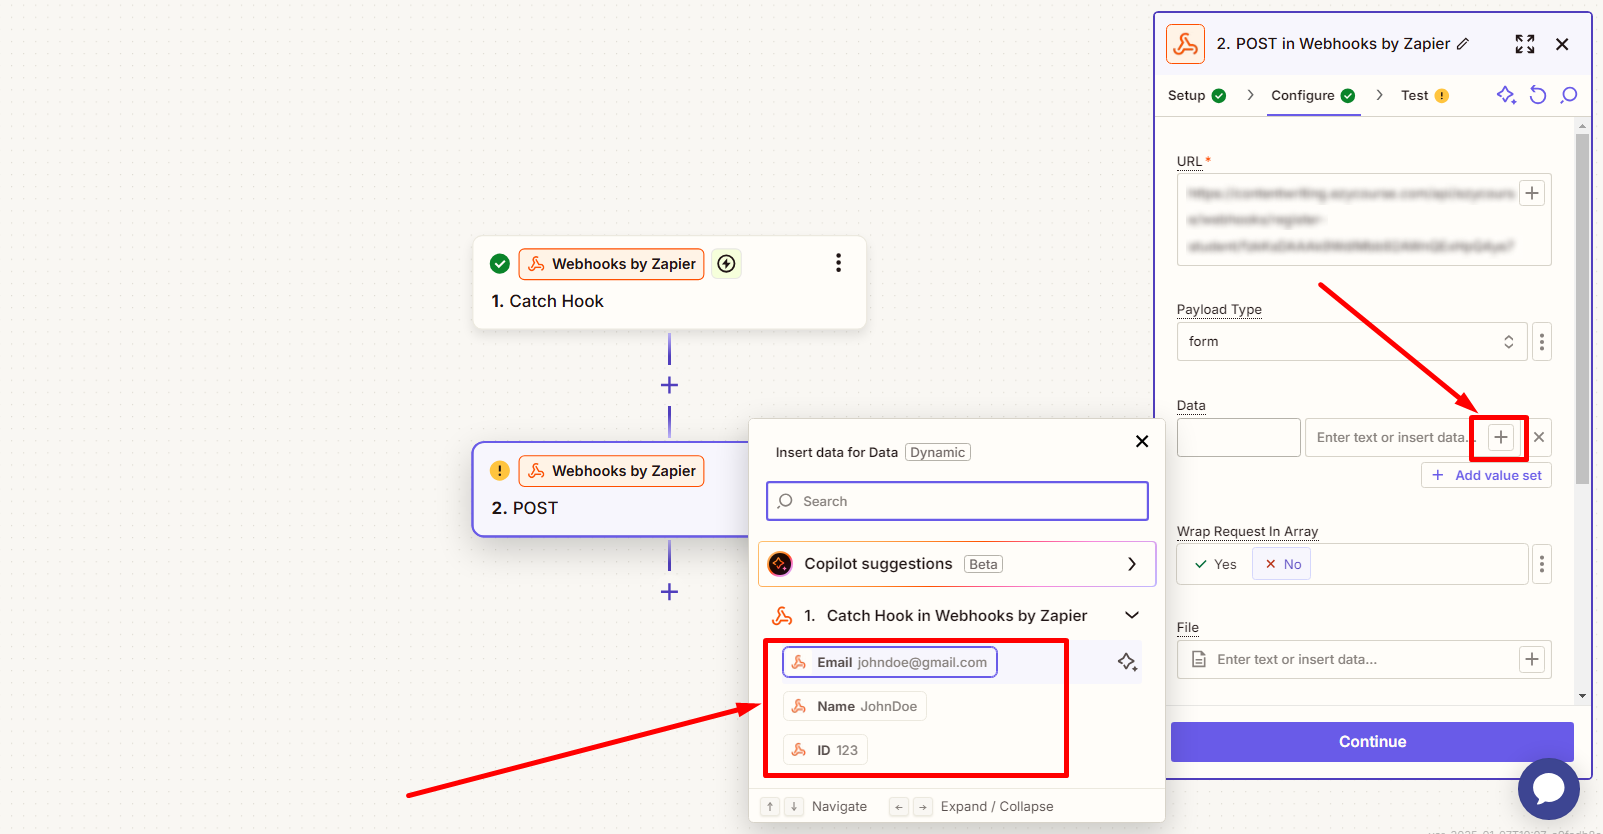
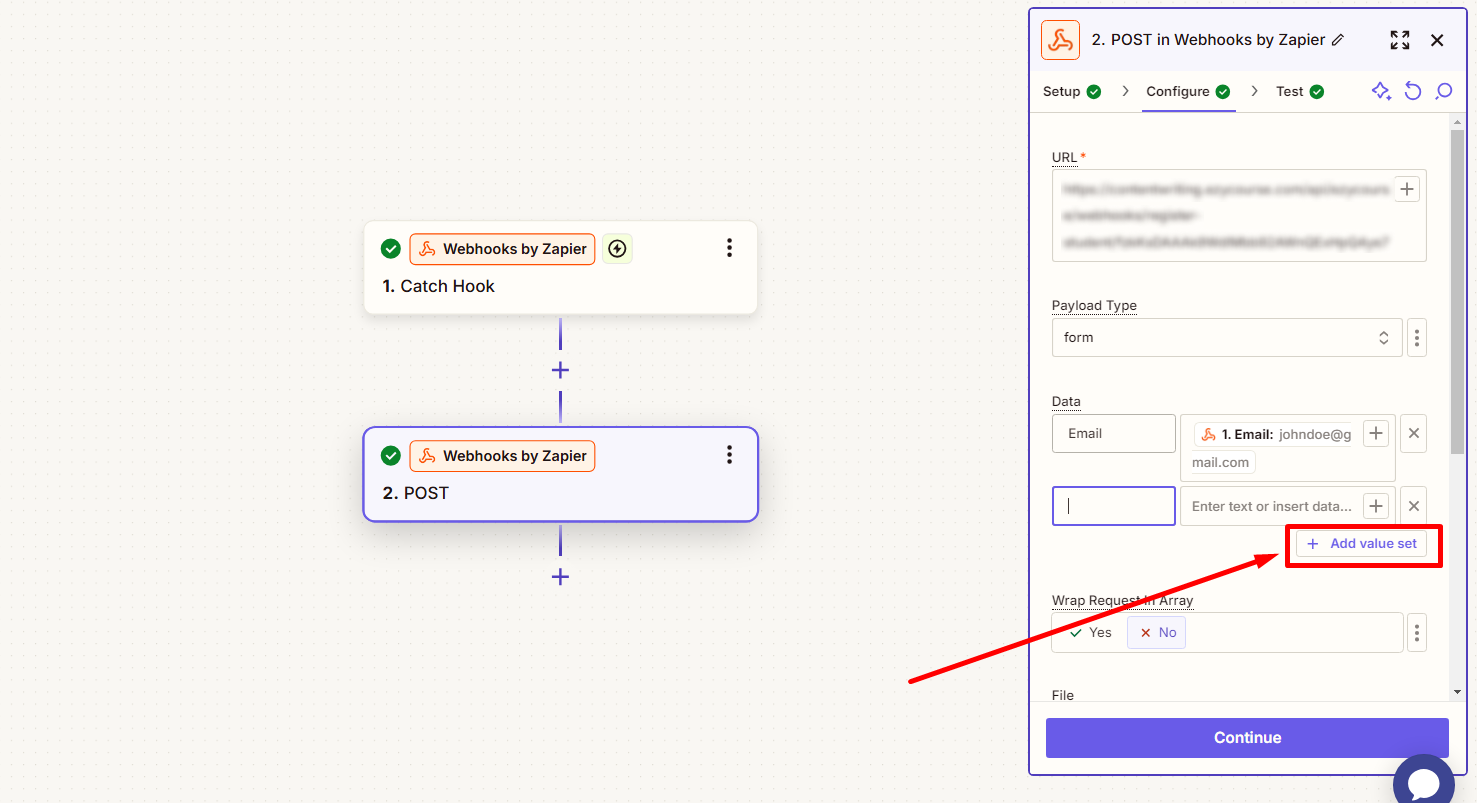
If you’ve captured data on the Trigger section, then you can click the (+) icon to select from the captured data. Here, the left column field is basically the field name and the right column field is where you put the value in.
[Note: Never keep any white spaces in the column fields. You can use underscore, for example, in between two words.]
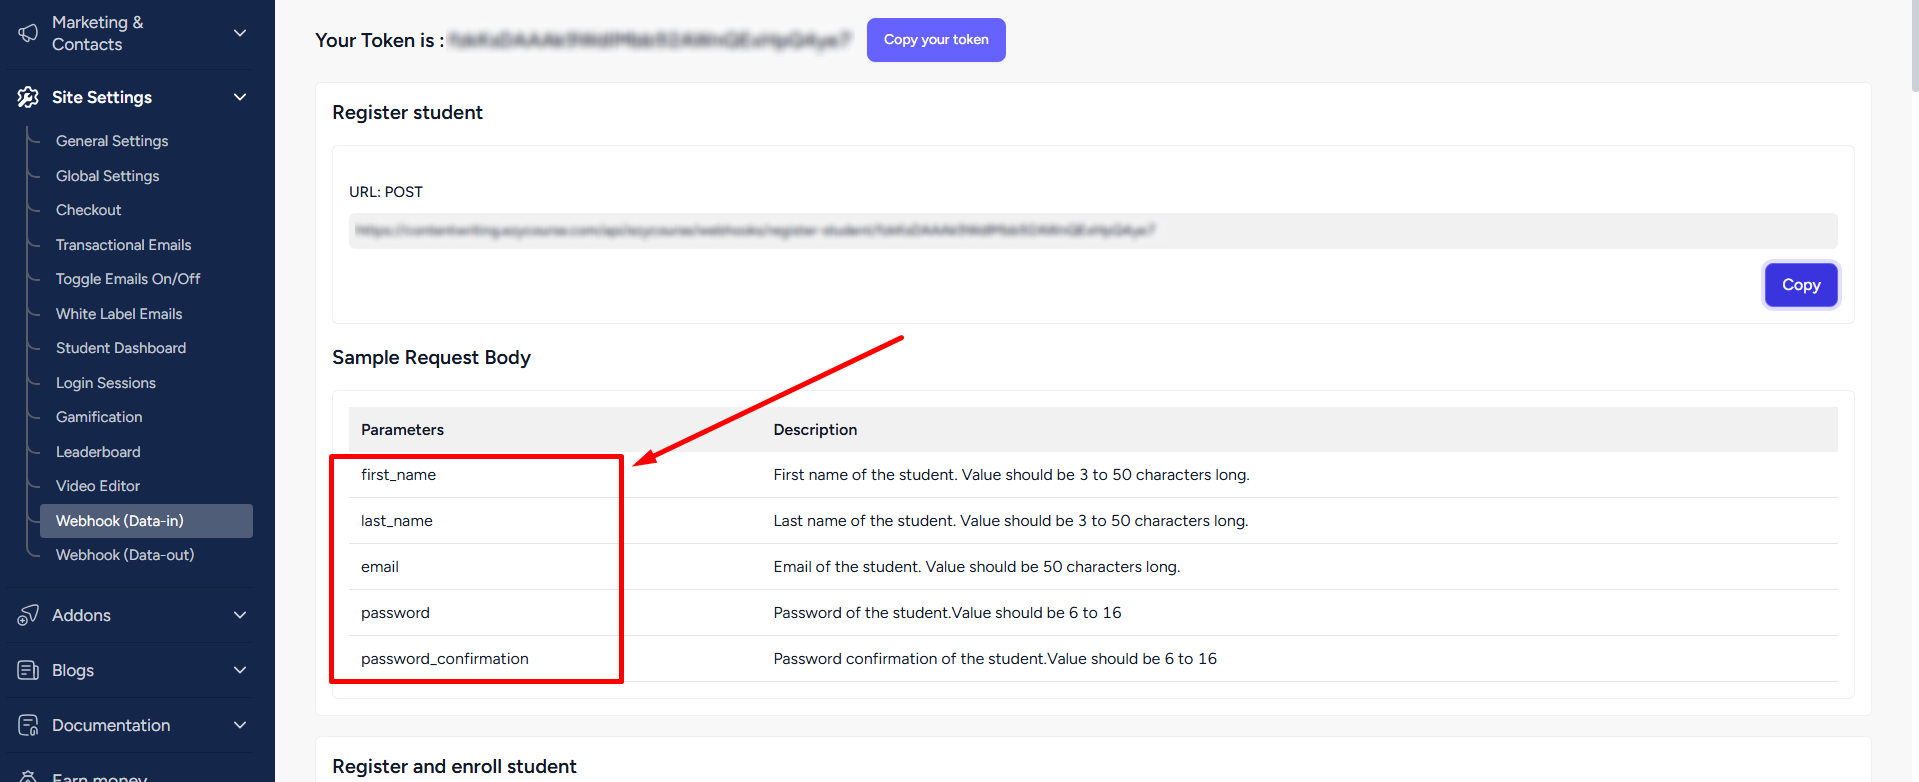
It is important to note that you need to match the data column names as given on your EzyCourse dashboard.
To add a new row, click the Add value set button.
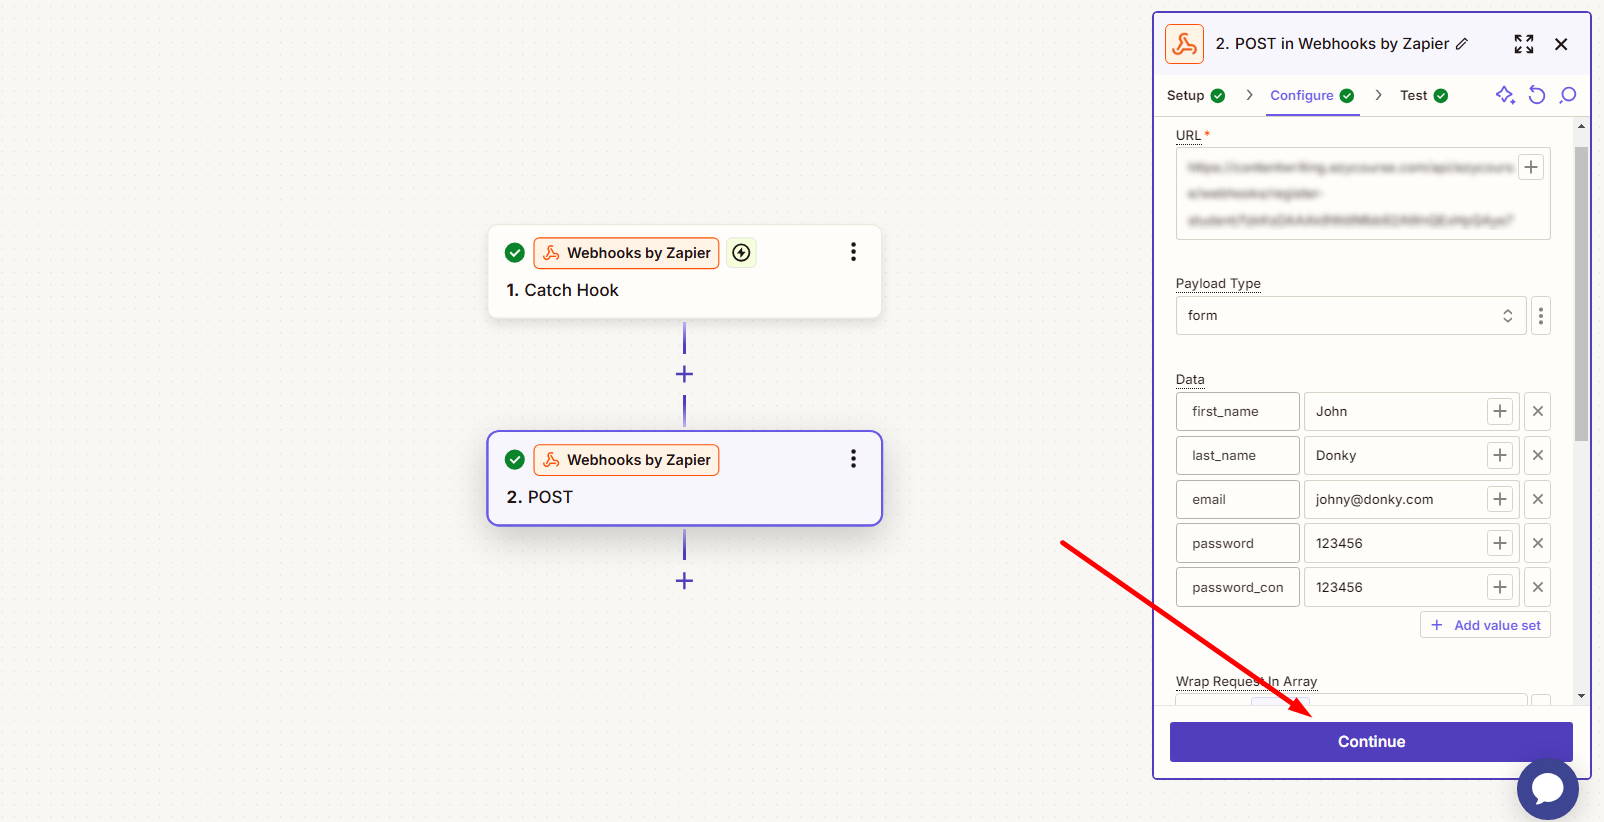
Once you’ve set the data, click the Continue button.
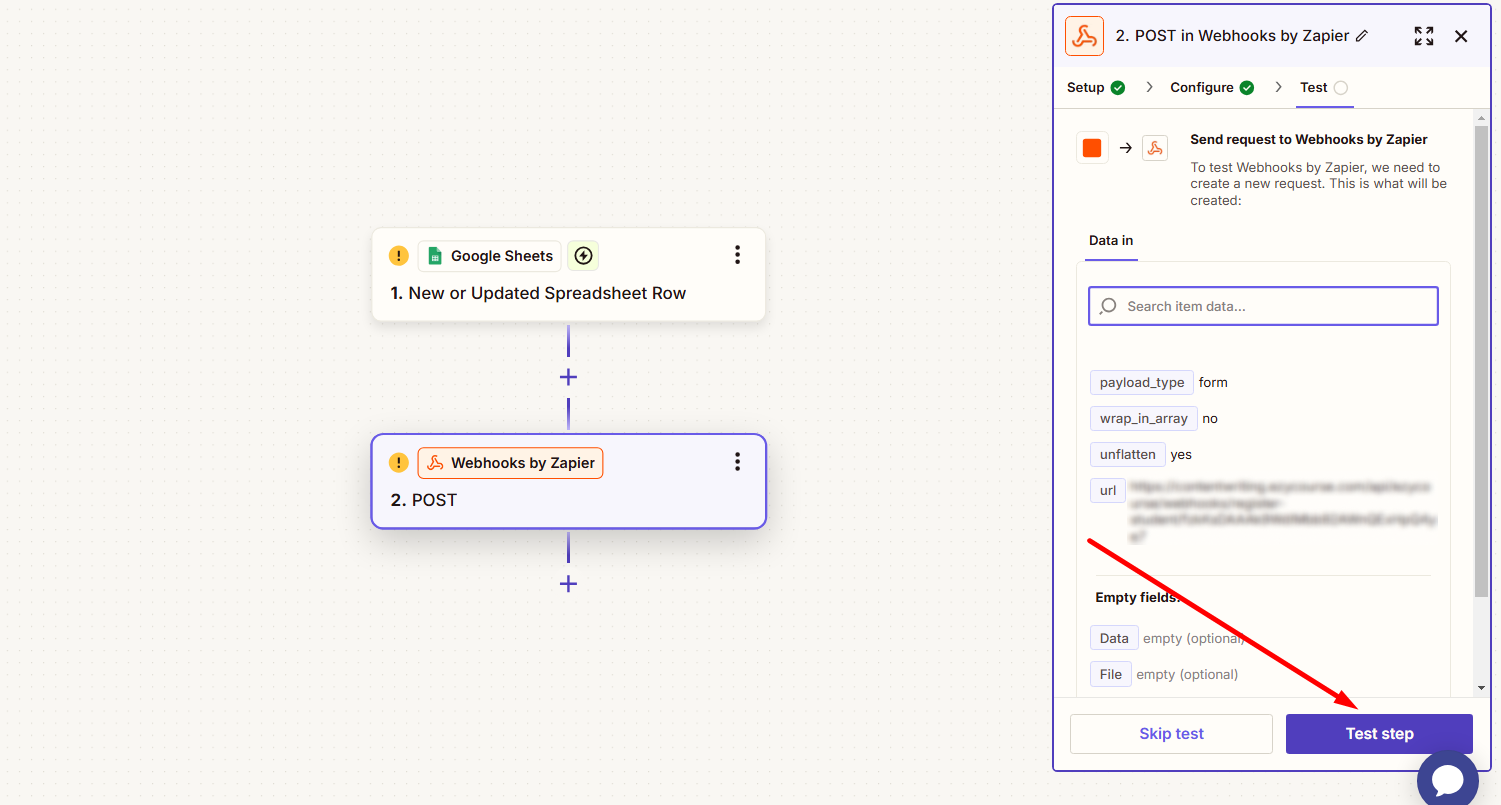
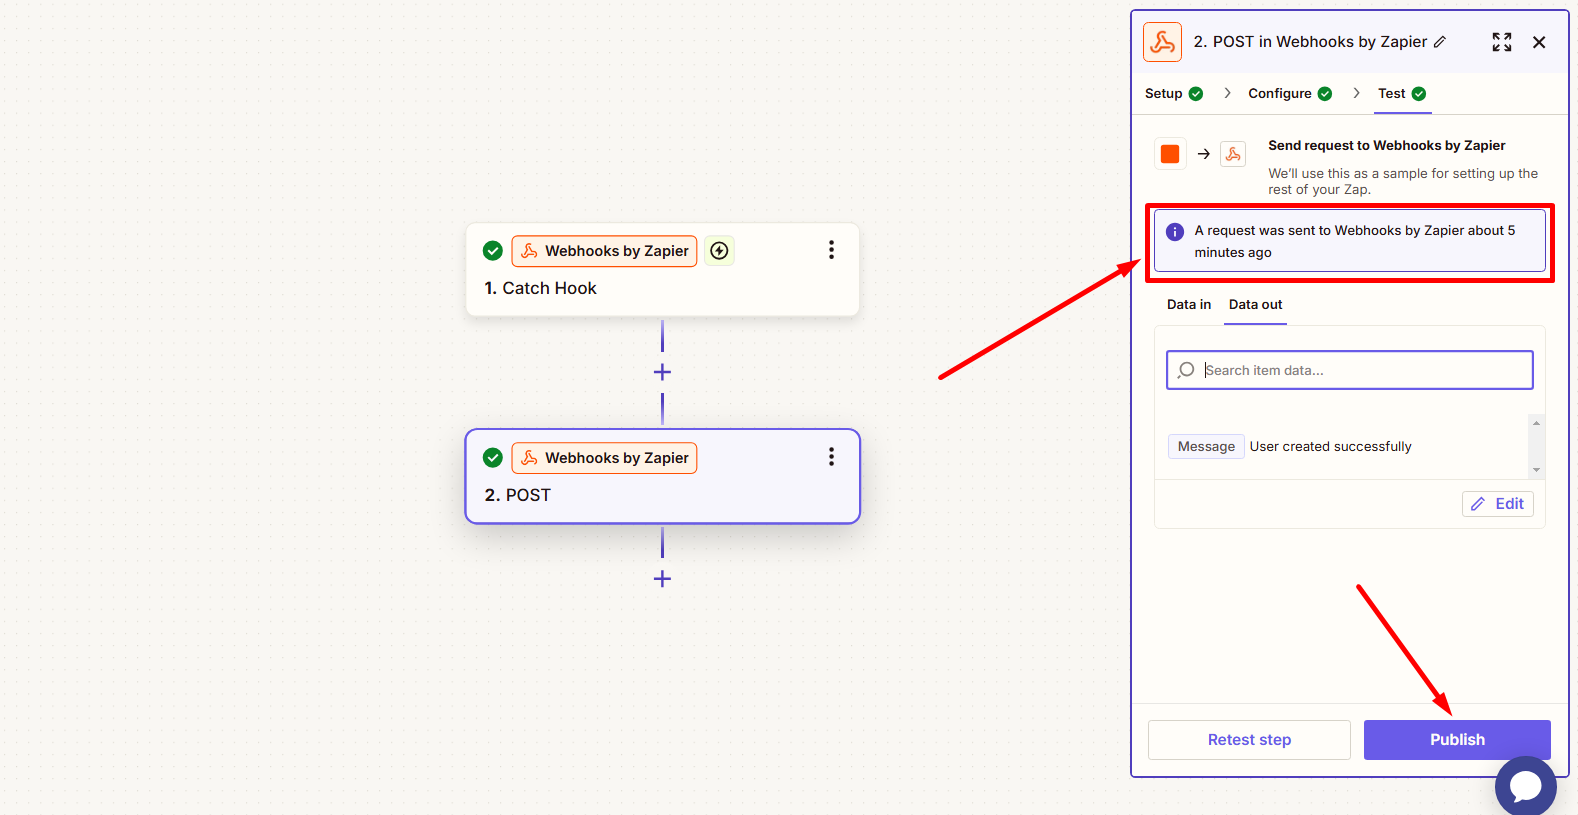
Click the Test Step button.
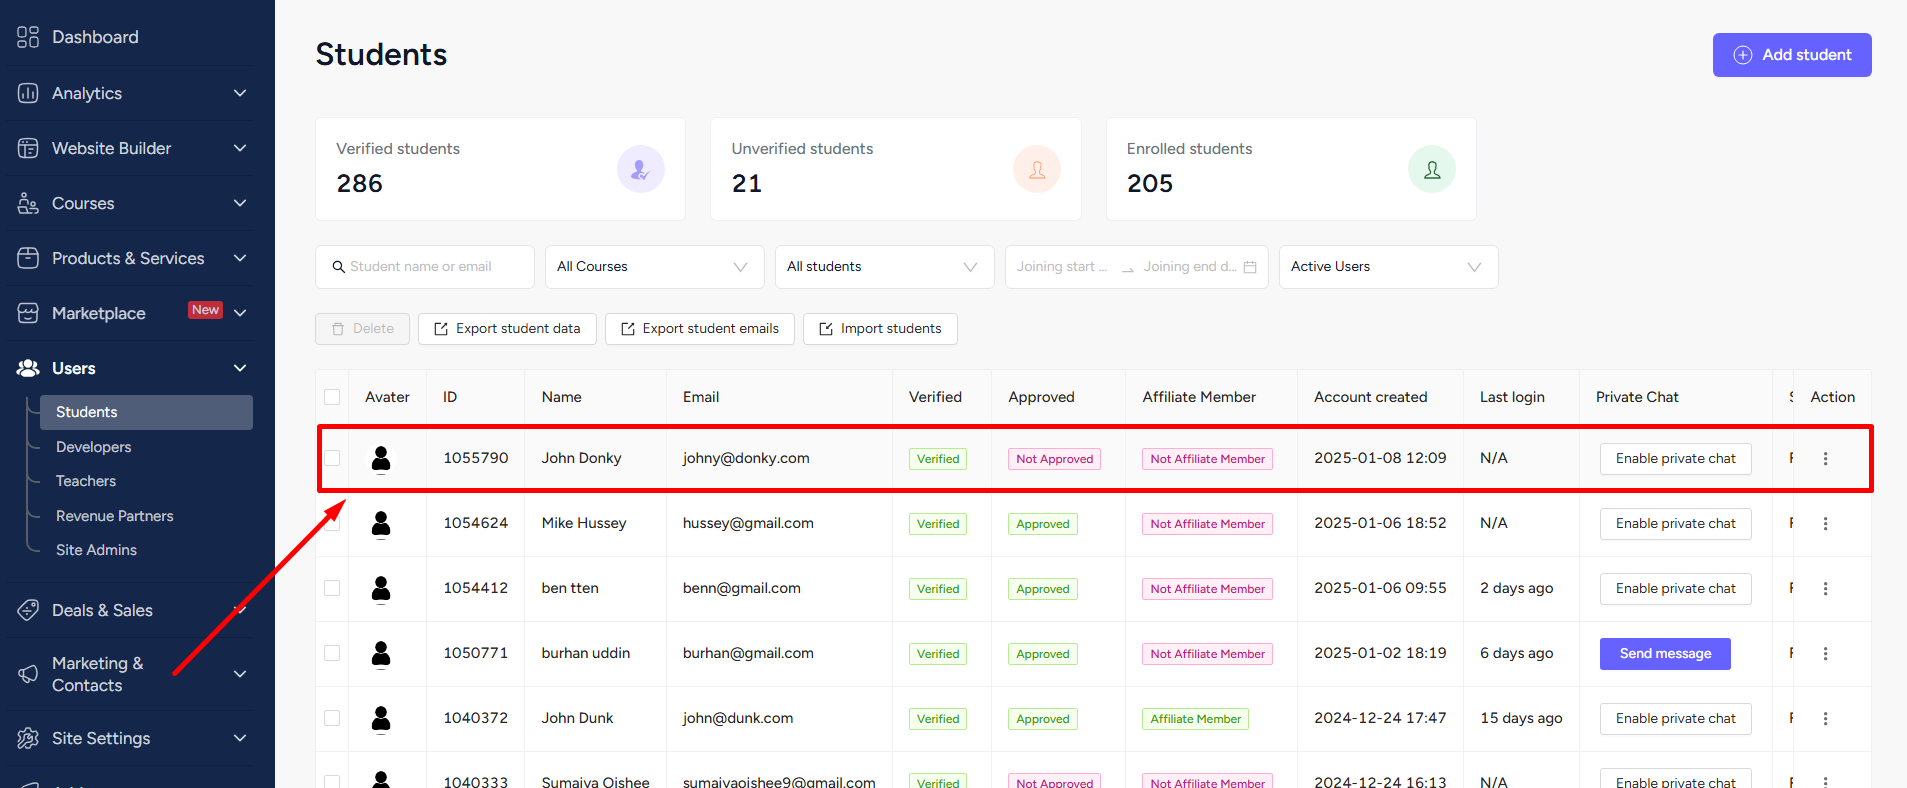
The request will automatically register the new student on your platform. Simply go to Users -> Students to see the newly registered student.
If the test runs okay and you face no errors, you can go ahead and publish the zap.
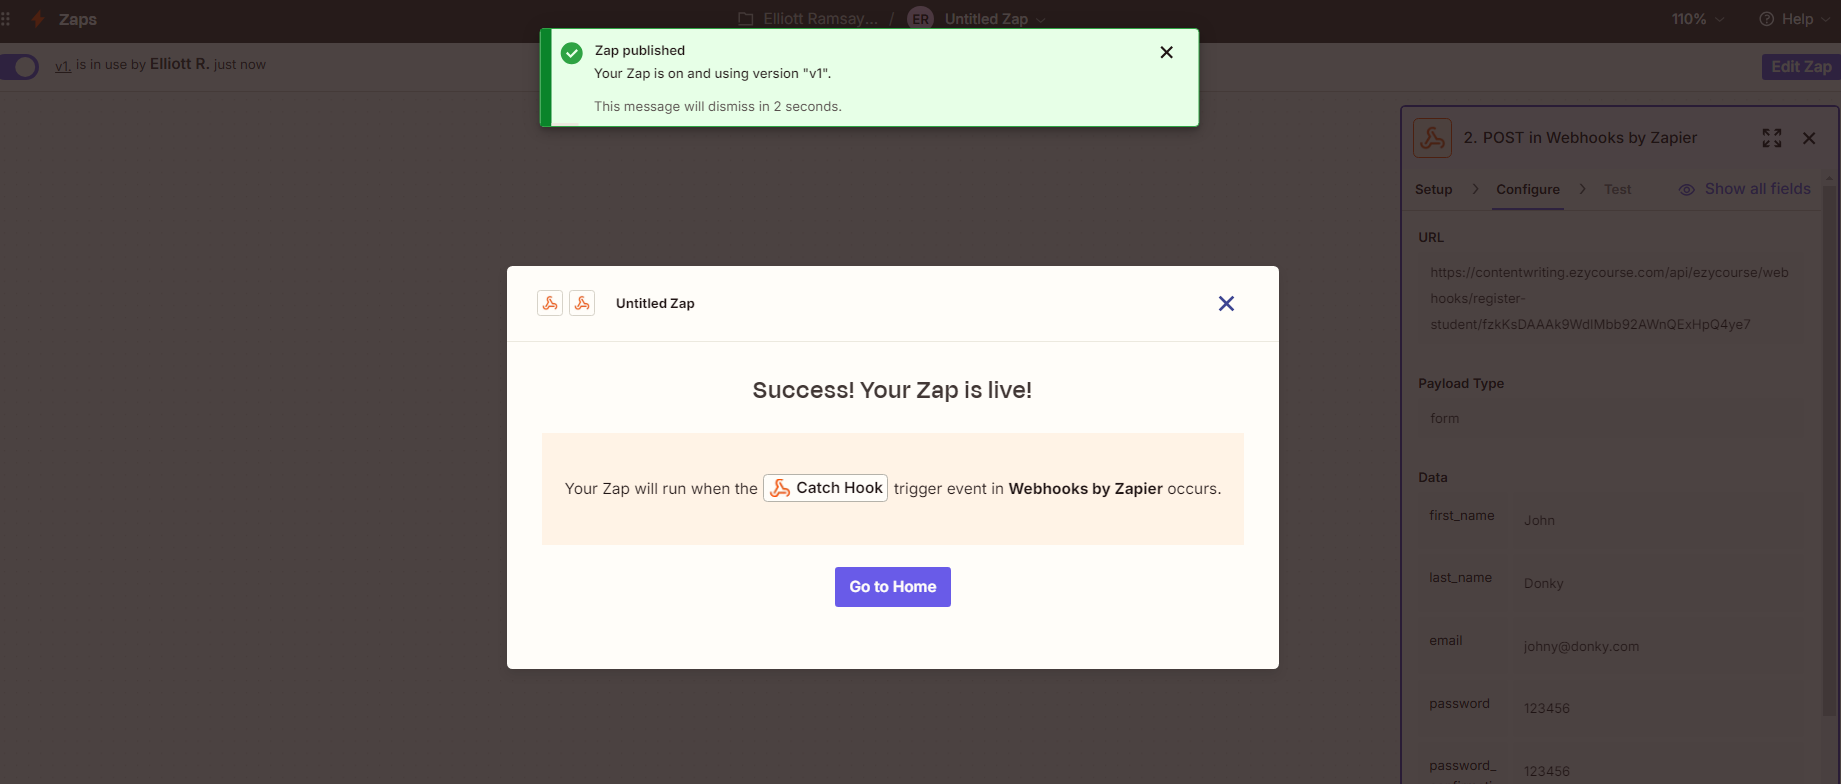
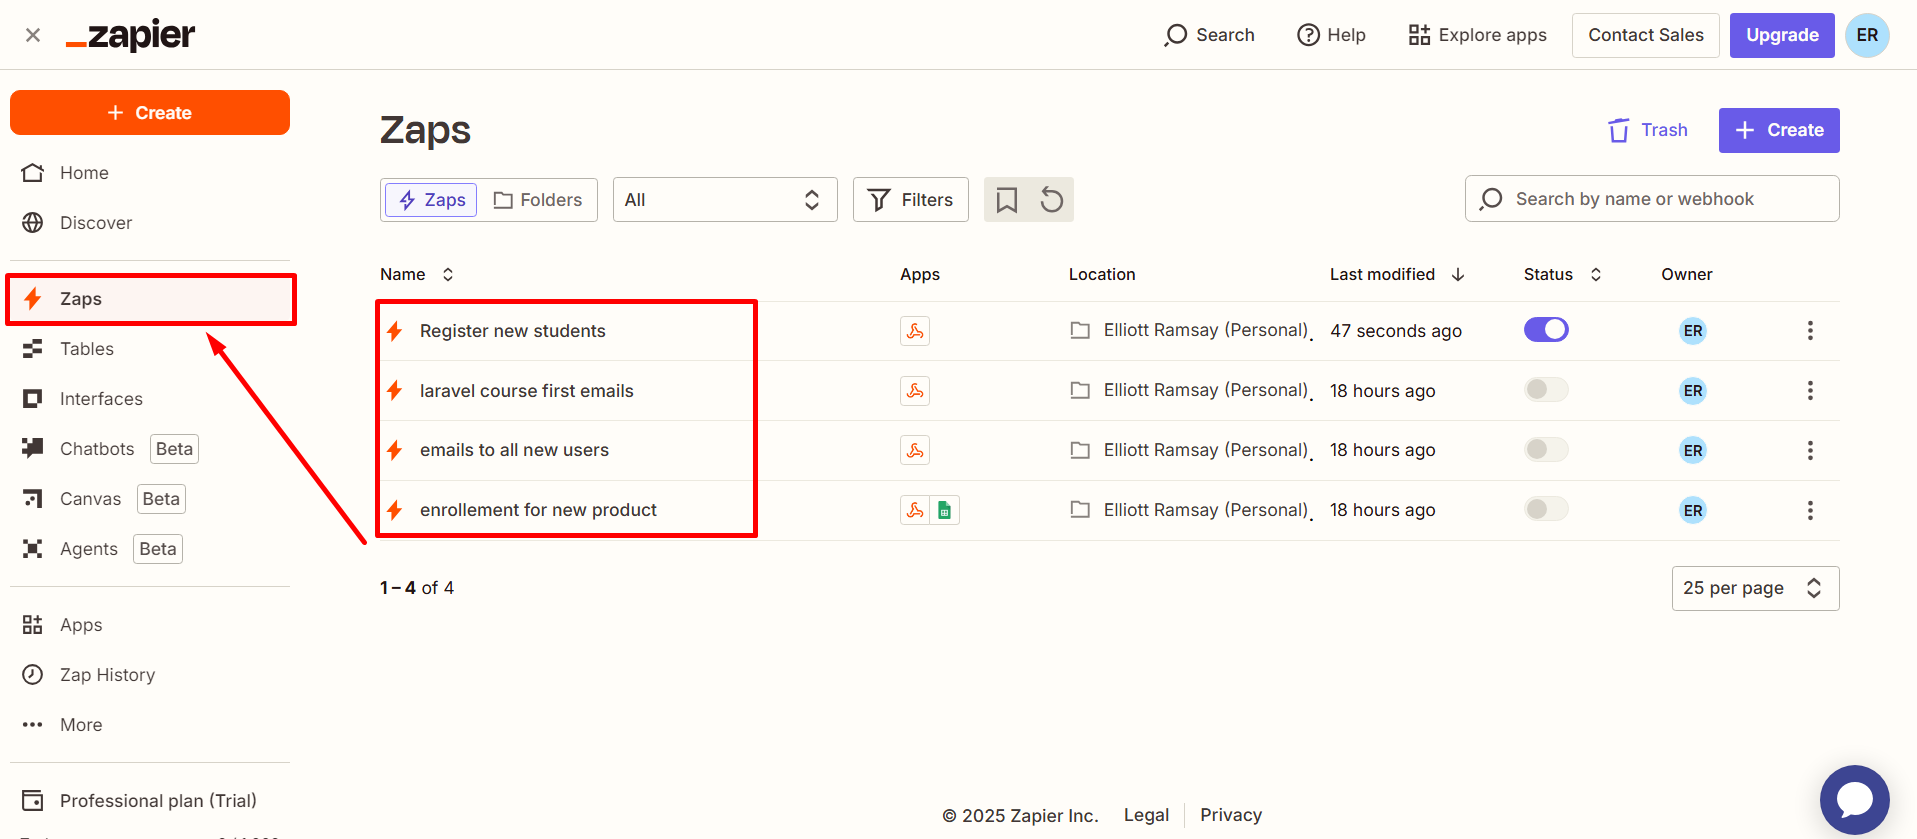
You can access all your existing requests from the “Zaps” menu.
