
Back
Auto-Enroll New Students Into Any Product w/ Pabbly
EzyCourse integrates with Pabbly, allowing you to easily use webhook to transfer data between your platform and other platforms.
In this article, you’ll see how to enroll a newly registered student into a product automatically. In other words, the student signs up at one school and automatically gets enrolled into a product of another school.
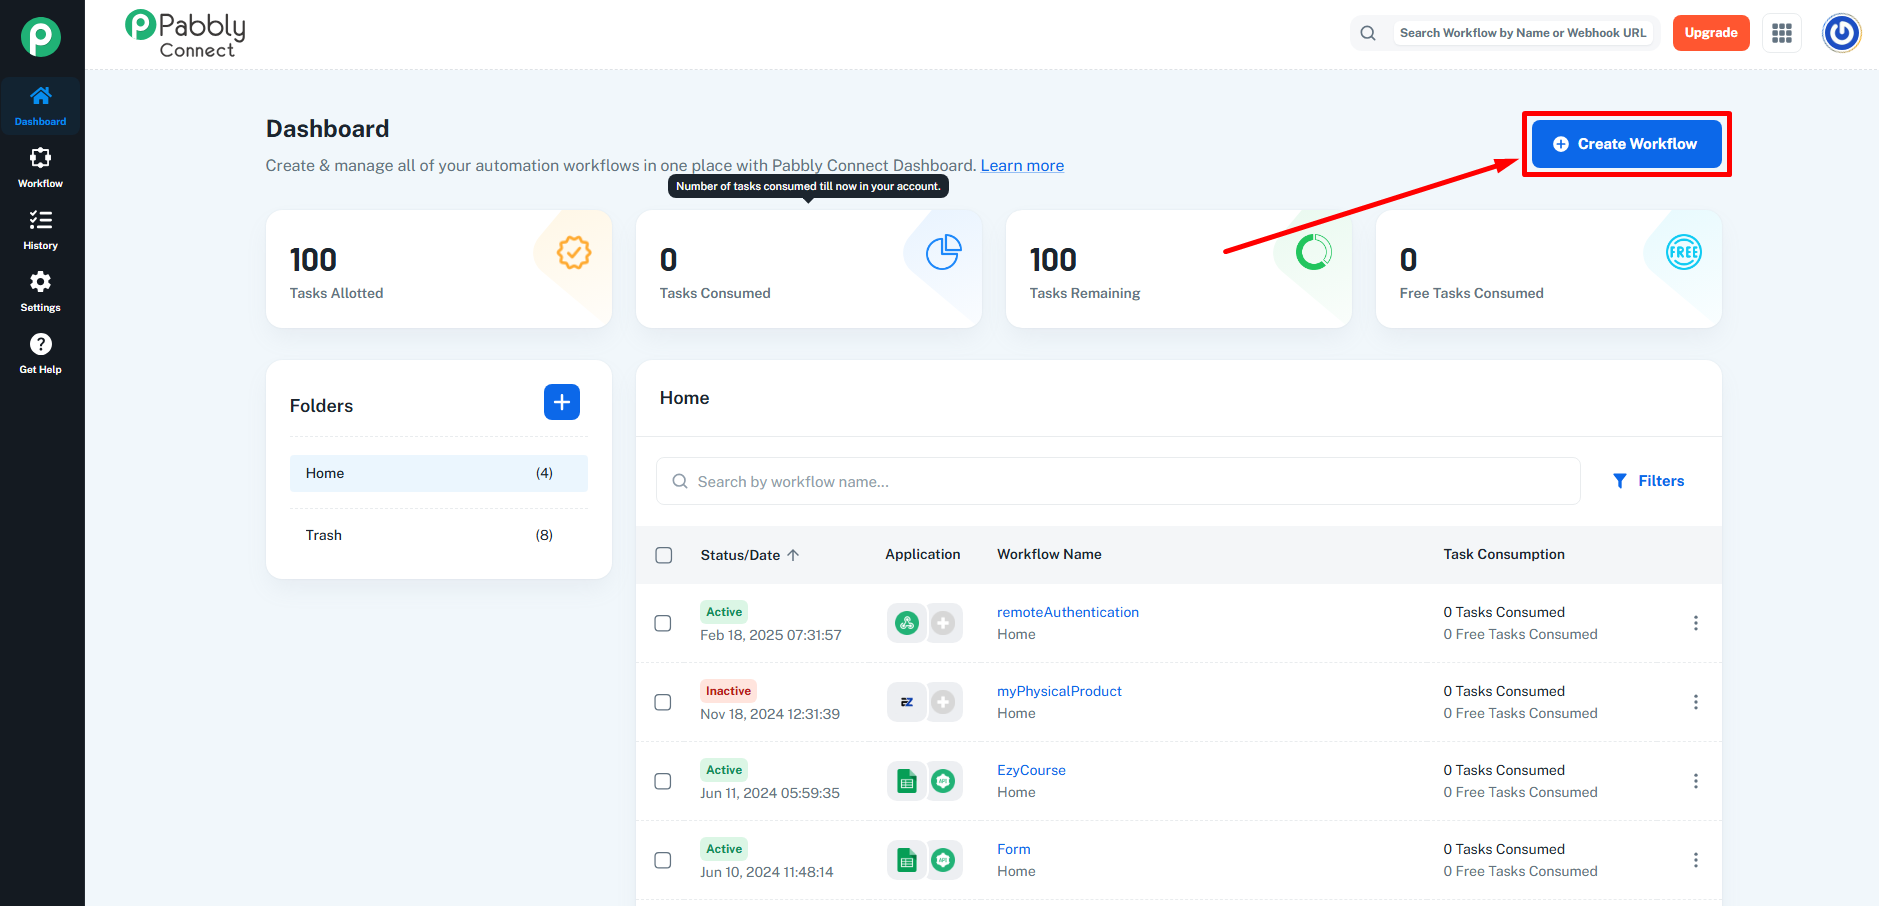
To begin, log in to your Pabbly Connect dashboard and create a new workflow.
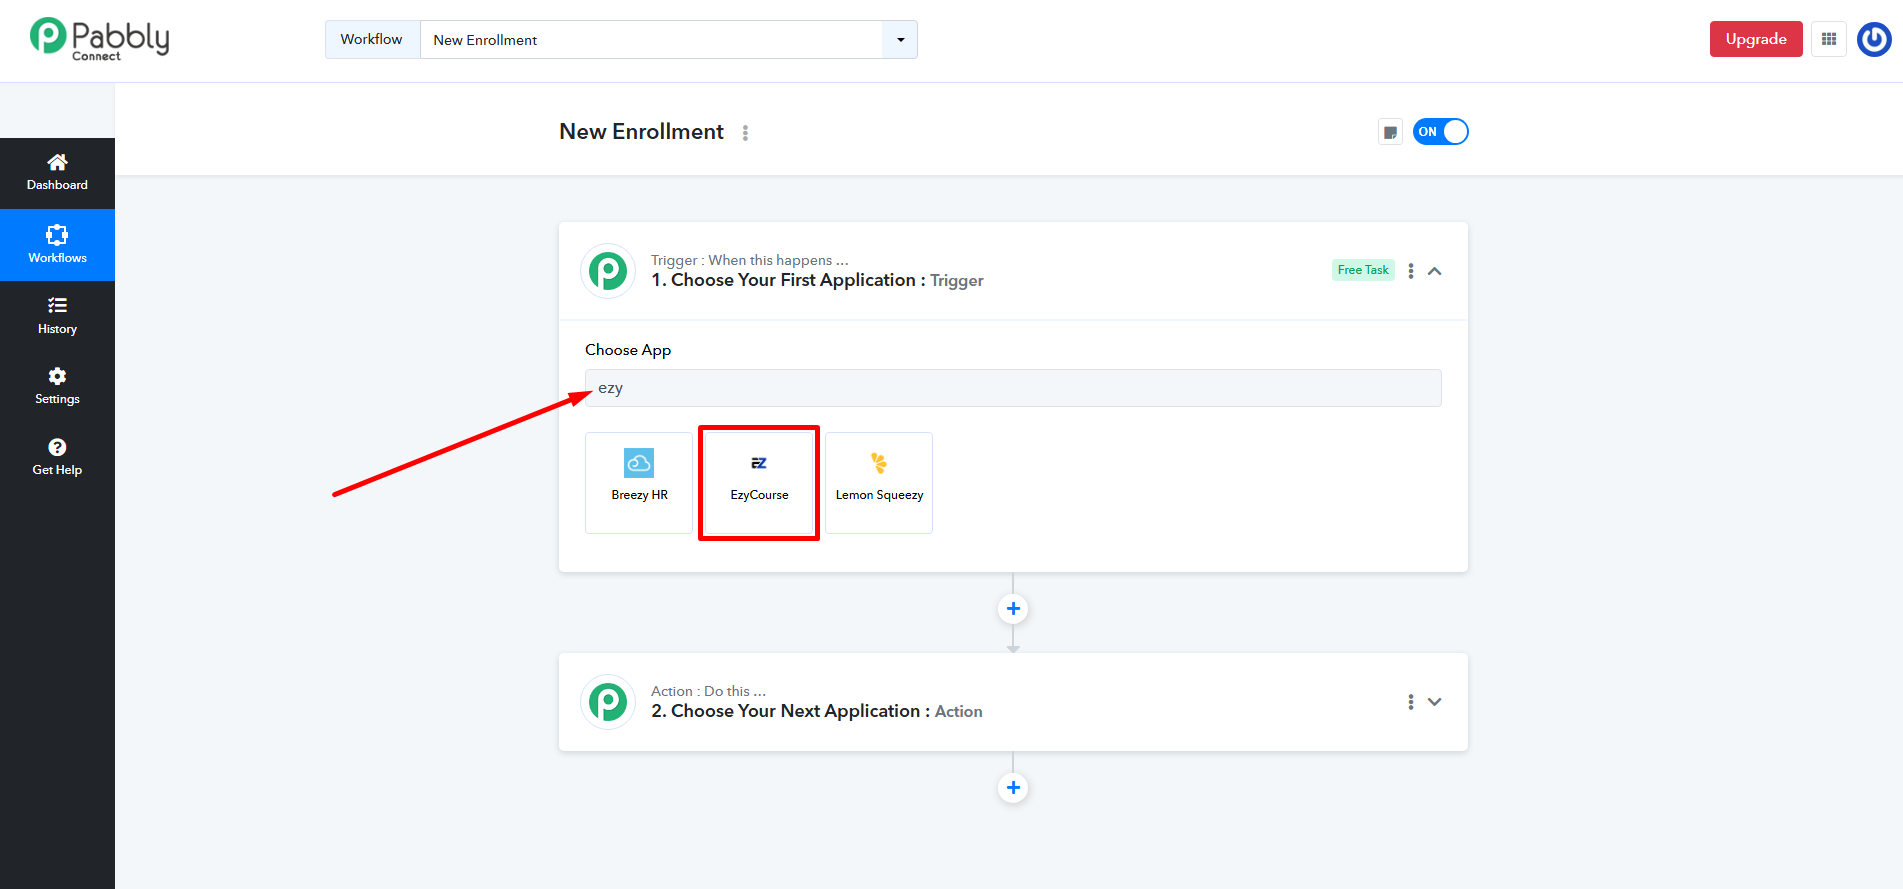
The trigger section is used for taking data out from a platform. In other words, you’d have to first capture the student sign up information in the trigger section. To do that, first search and select the EzyCourse app.
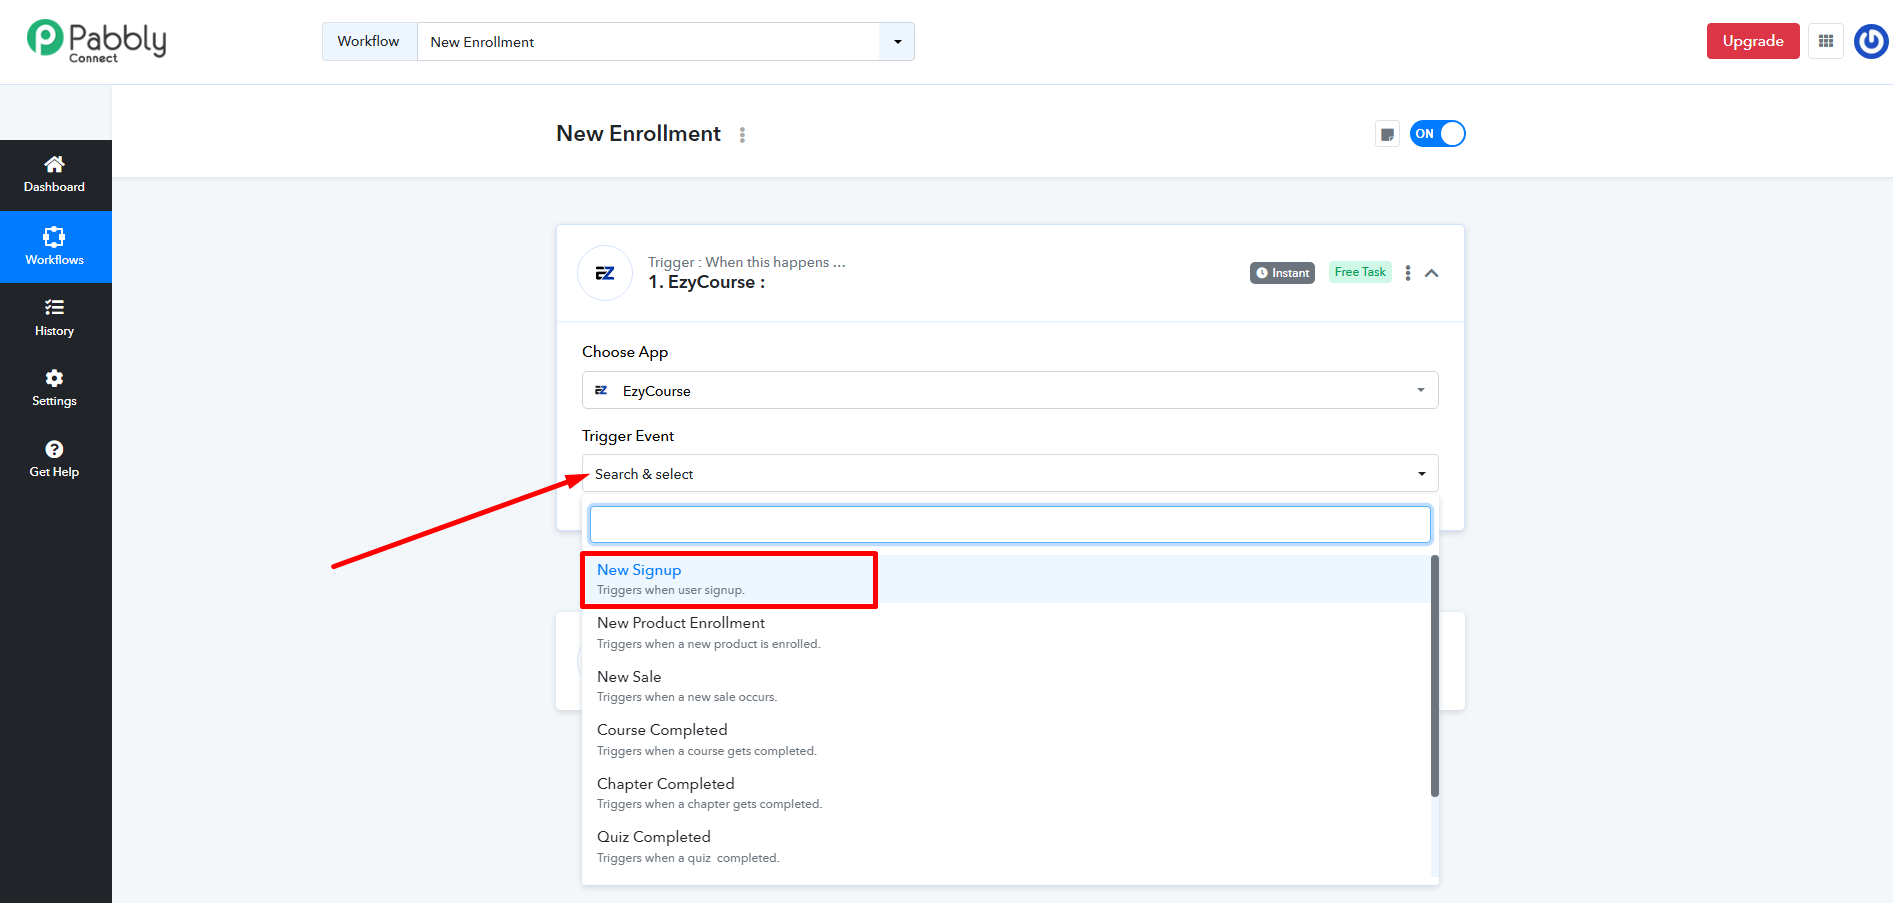
Select the trigger event to be New Signup.
[Note: If you are capturing data from any other app, then you’d have to select the trigger event in accordance with what’s offered with that app. For using webhook, select trigger event to be “Catch Webhook”.]
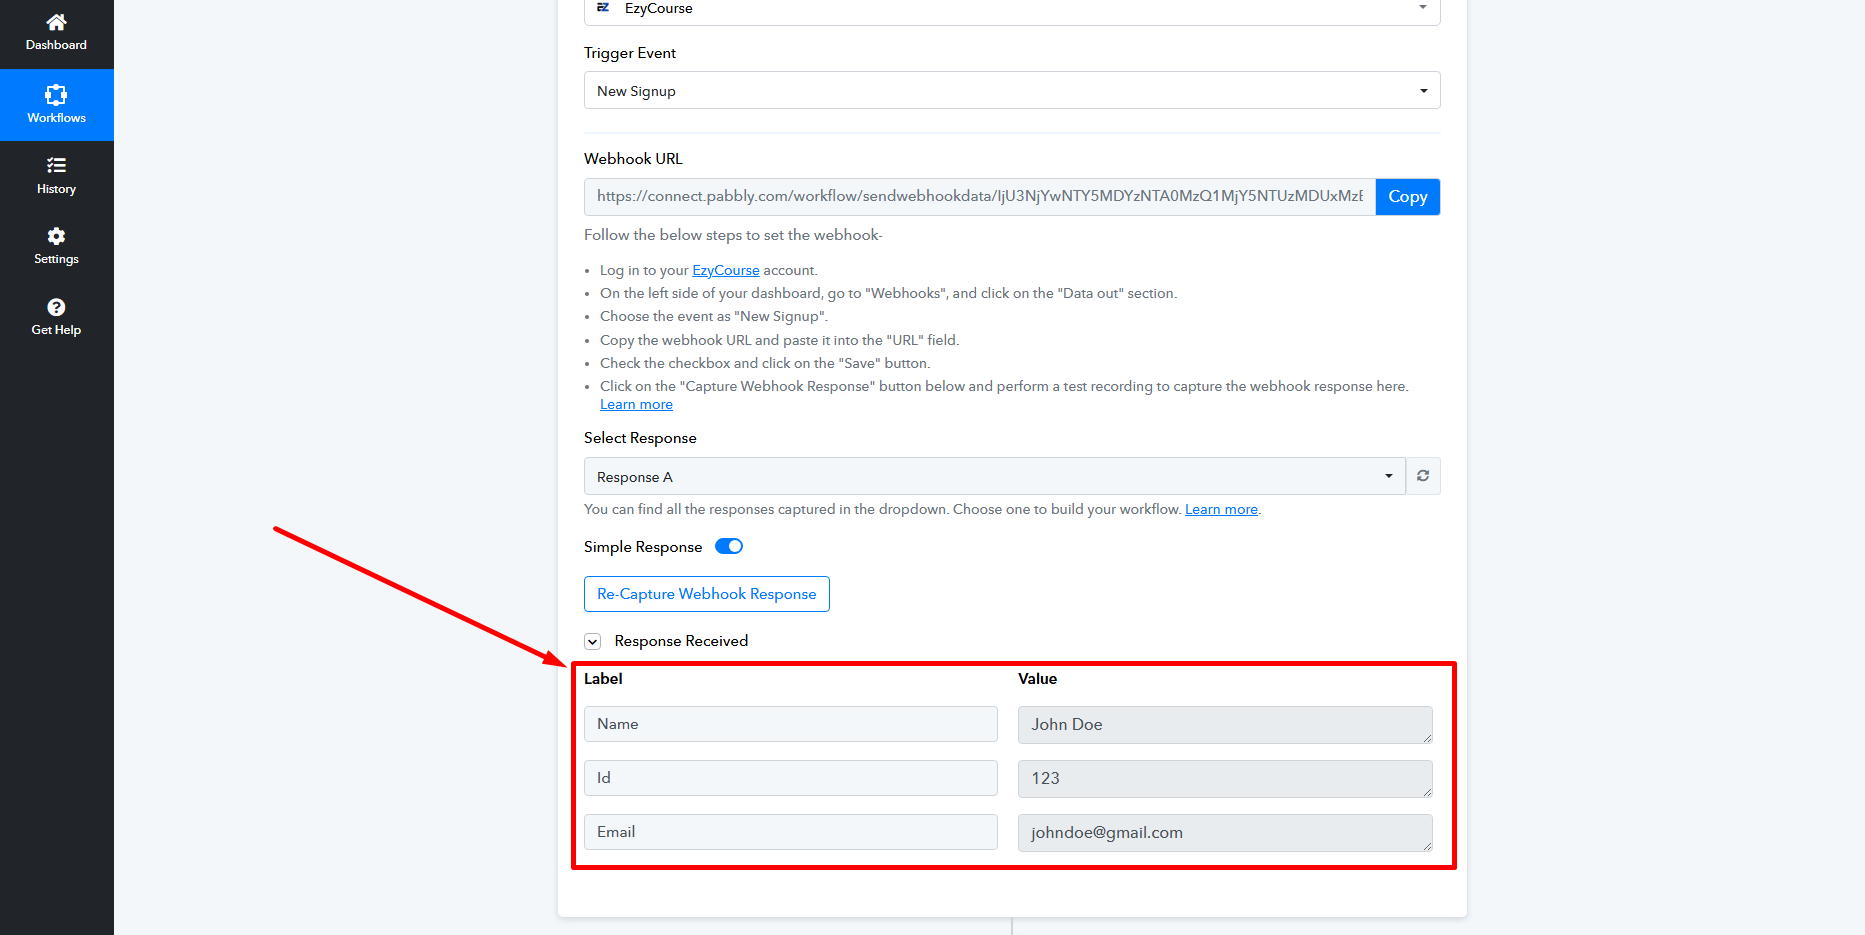
Choosing the trigger event will generate a webhook URL. Copy it.
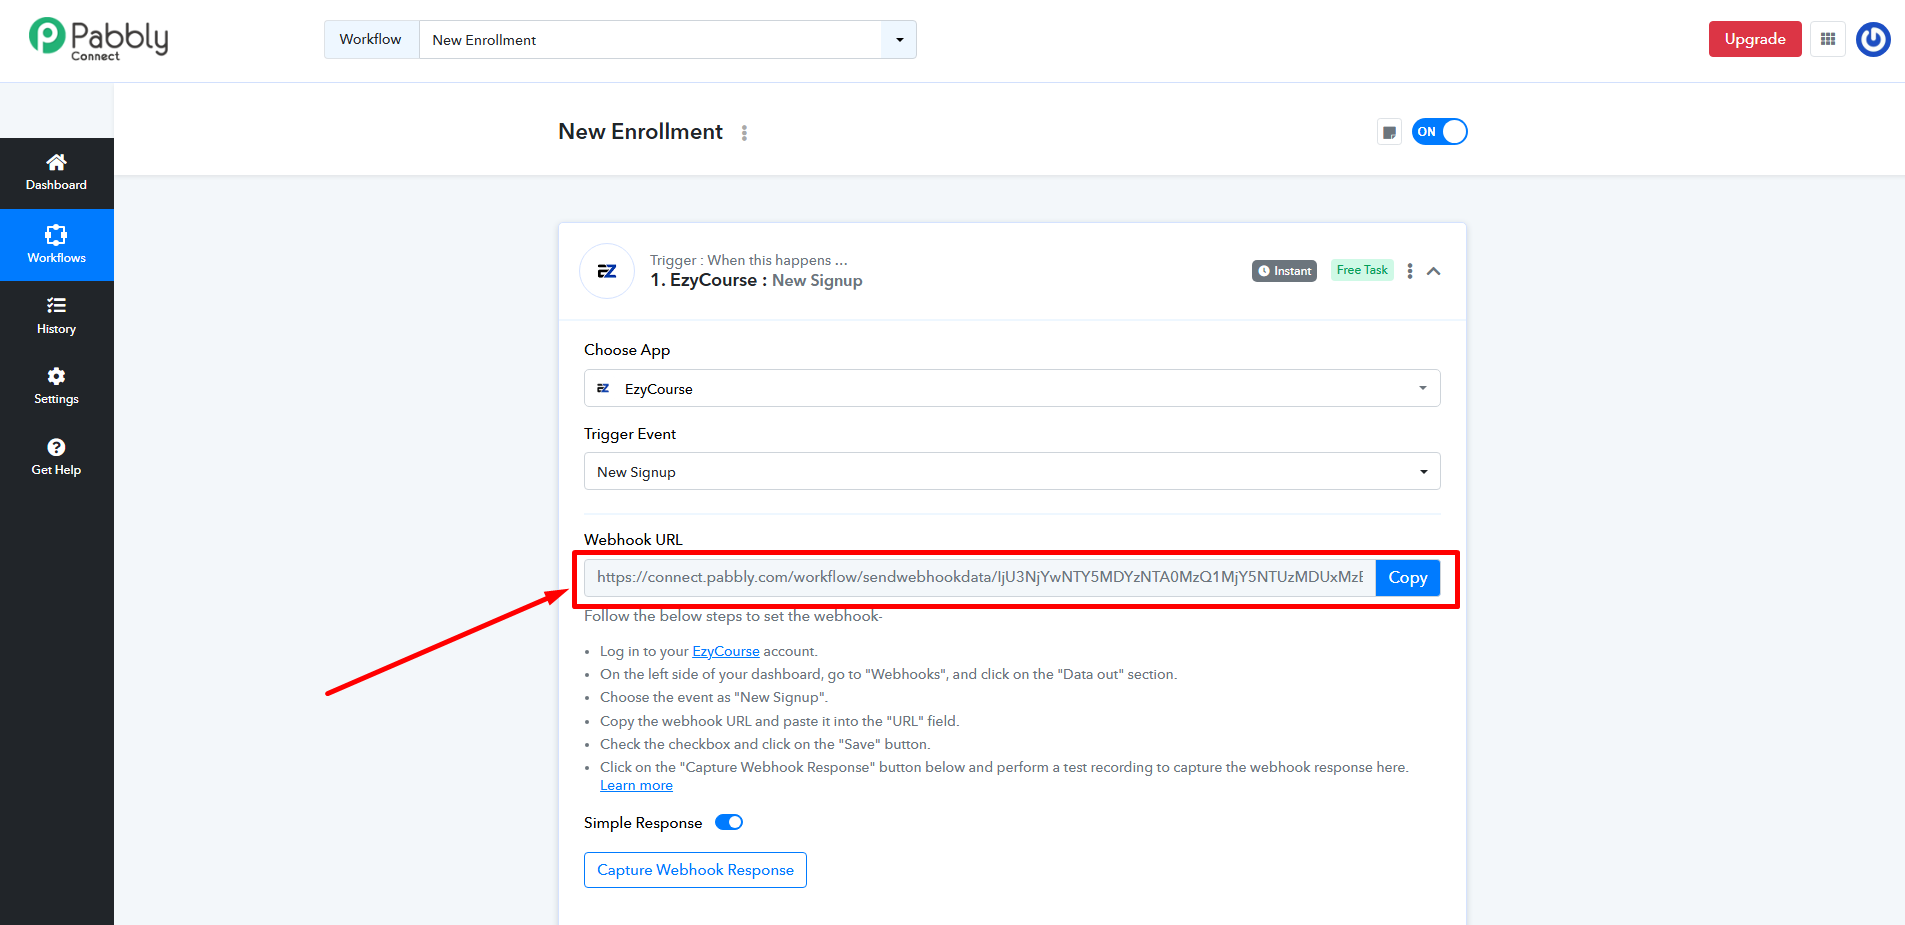
Now, head over to the EzyCourse school from where you want to capture the new student signup data. Navigate to Site Settings -> Webhook (Data-out).
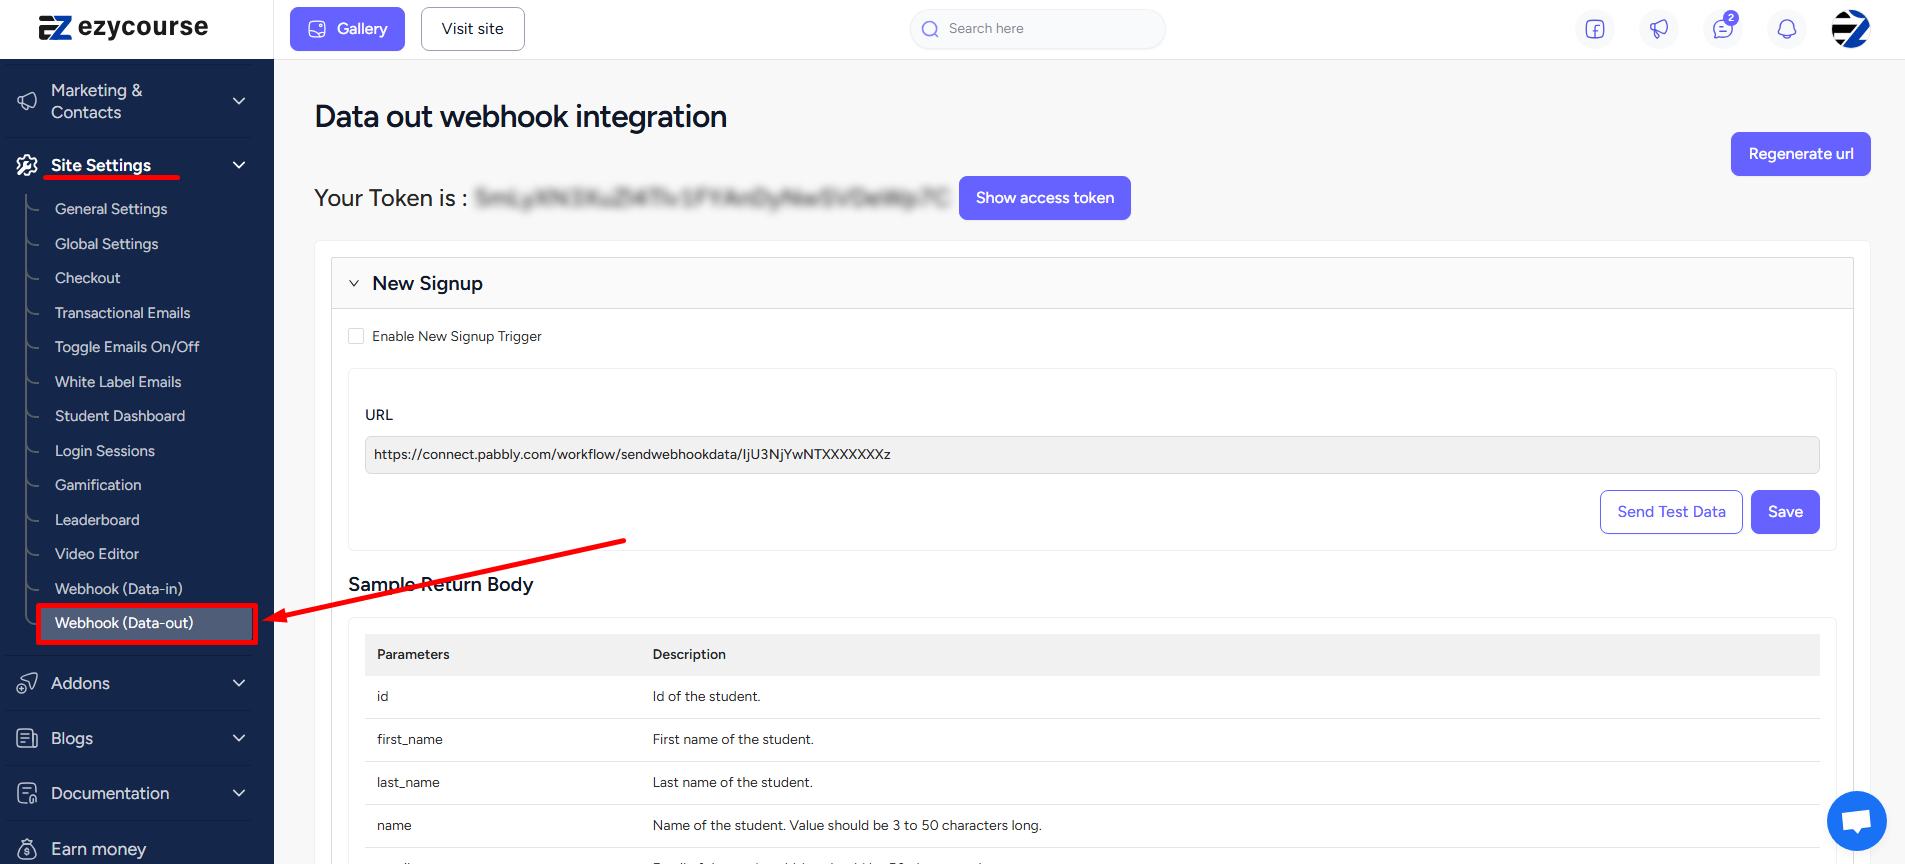
On the New Signup trigger, enable the checkbox, paste the webhook URL, and click Save.
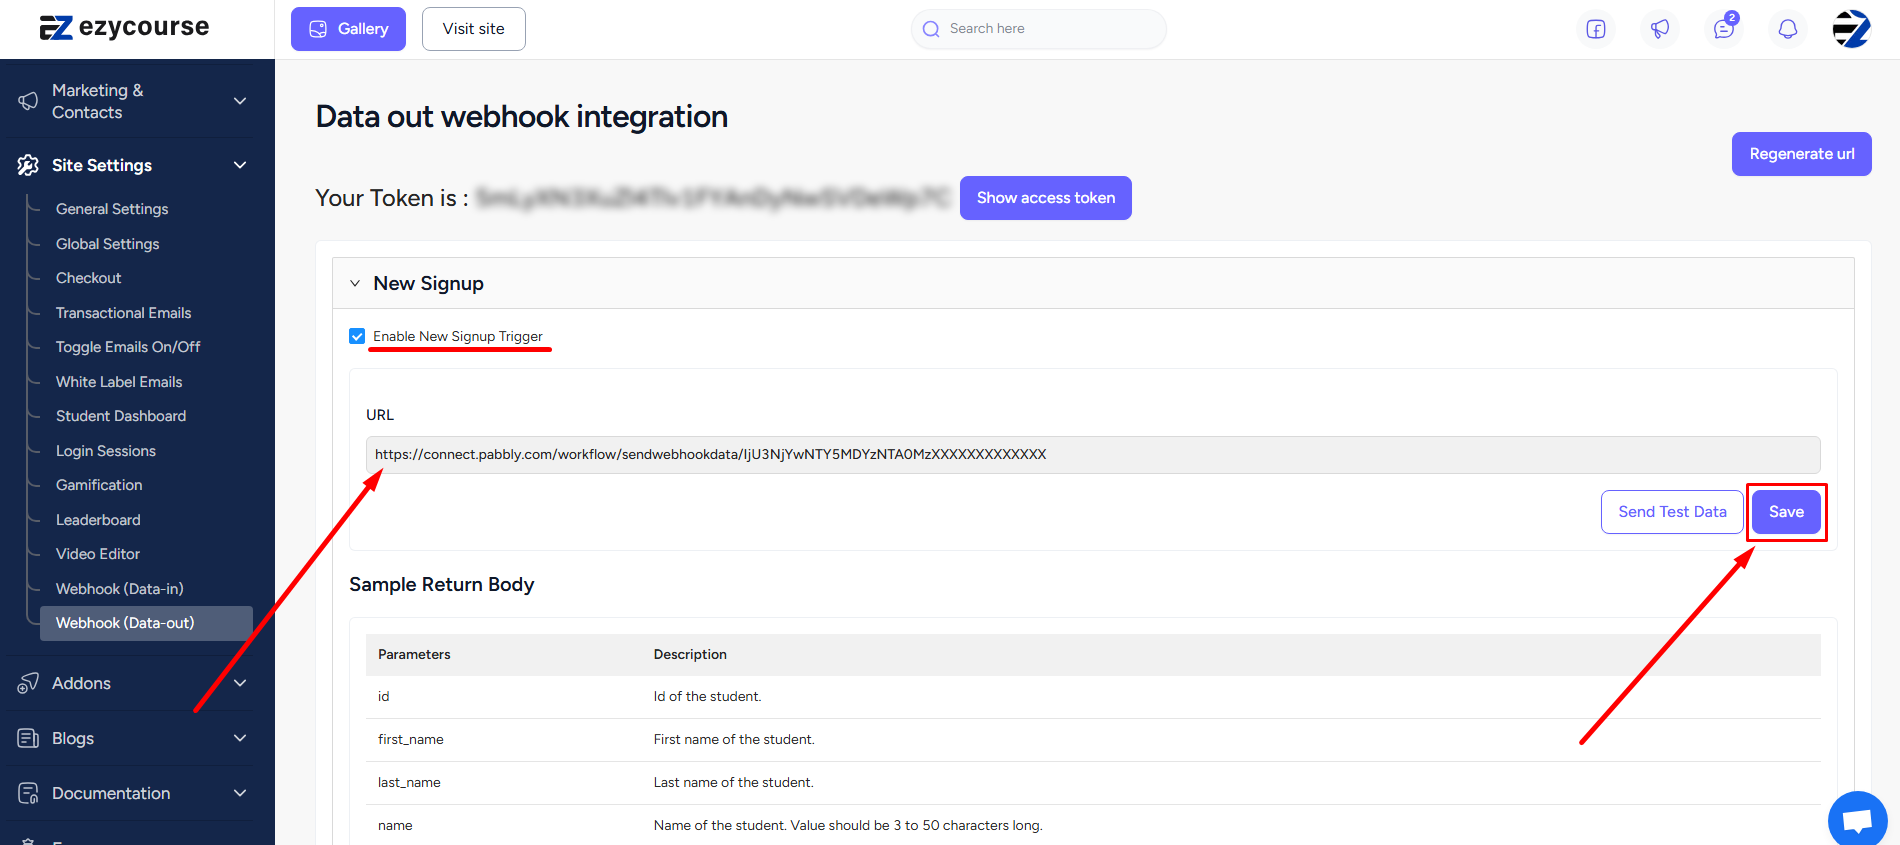
You can click the Sent Test Data button to send the “Sample Return Body” parameters to Pabbly, and allow webhook to capture the data automatically on the trigger section.
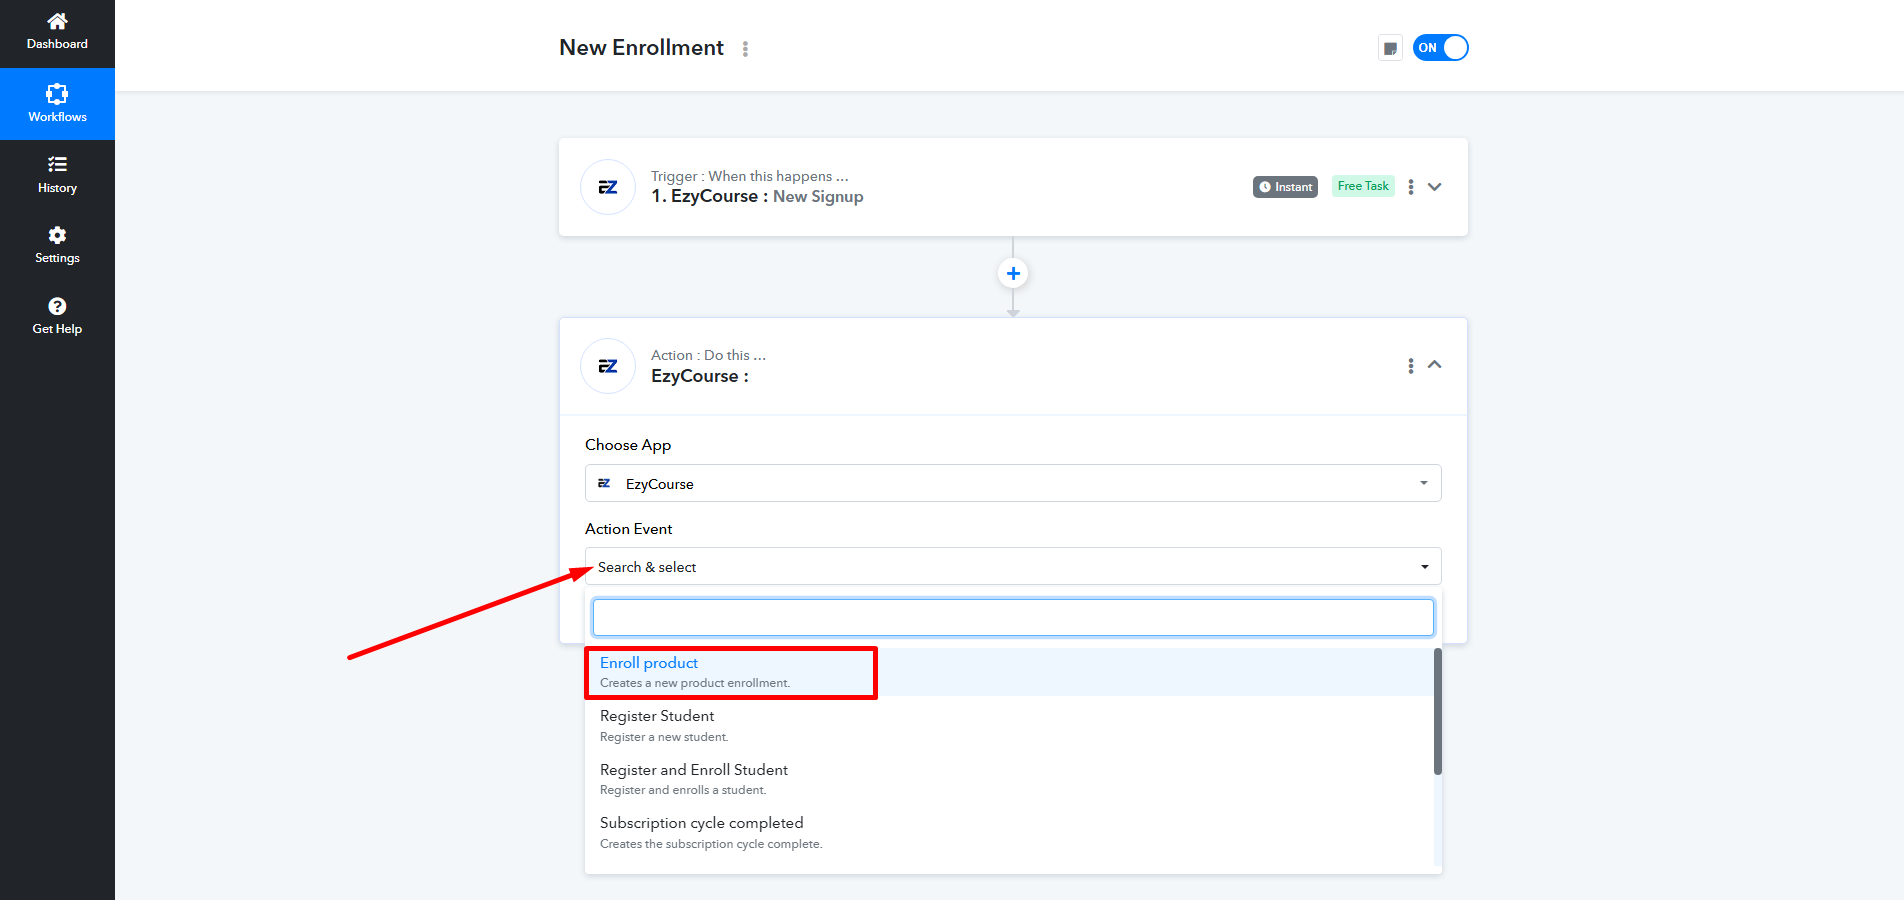
With data captured, you can now search and select the EzyCourse app on the Action section.
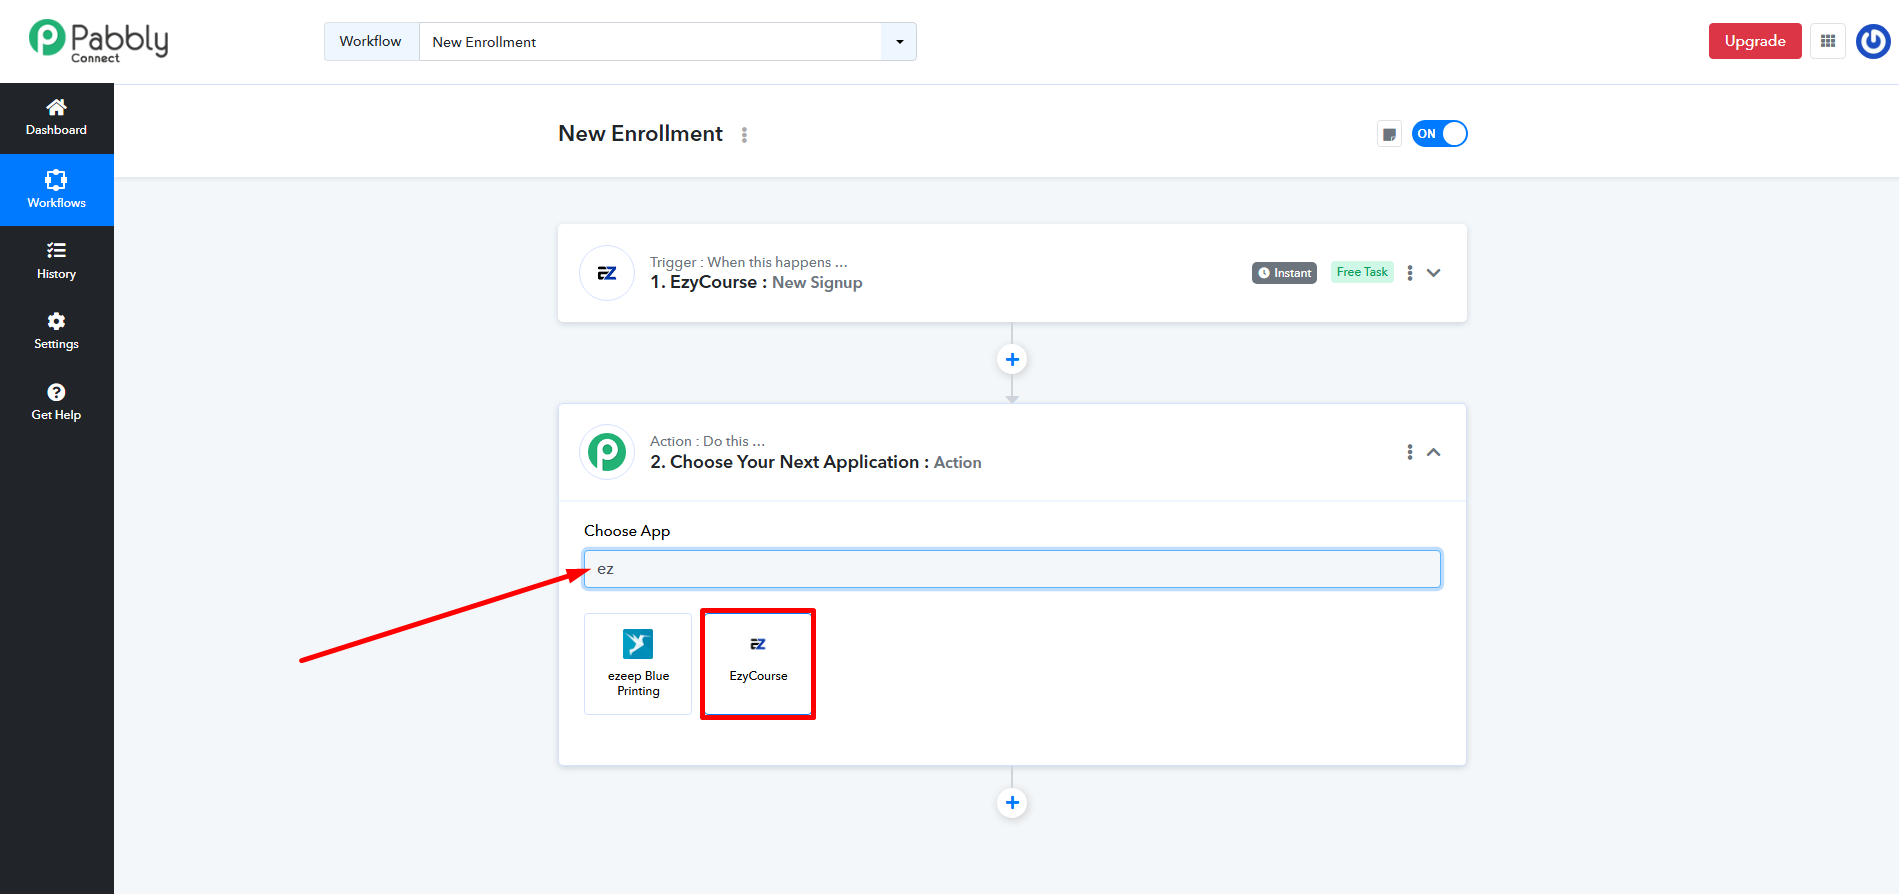
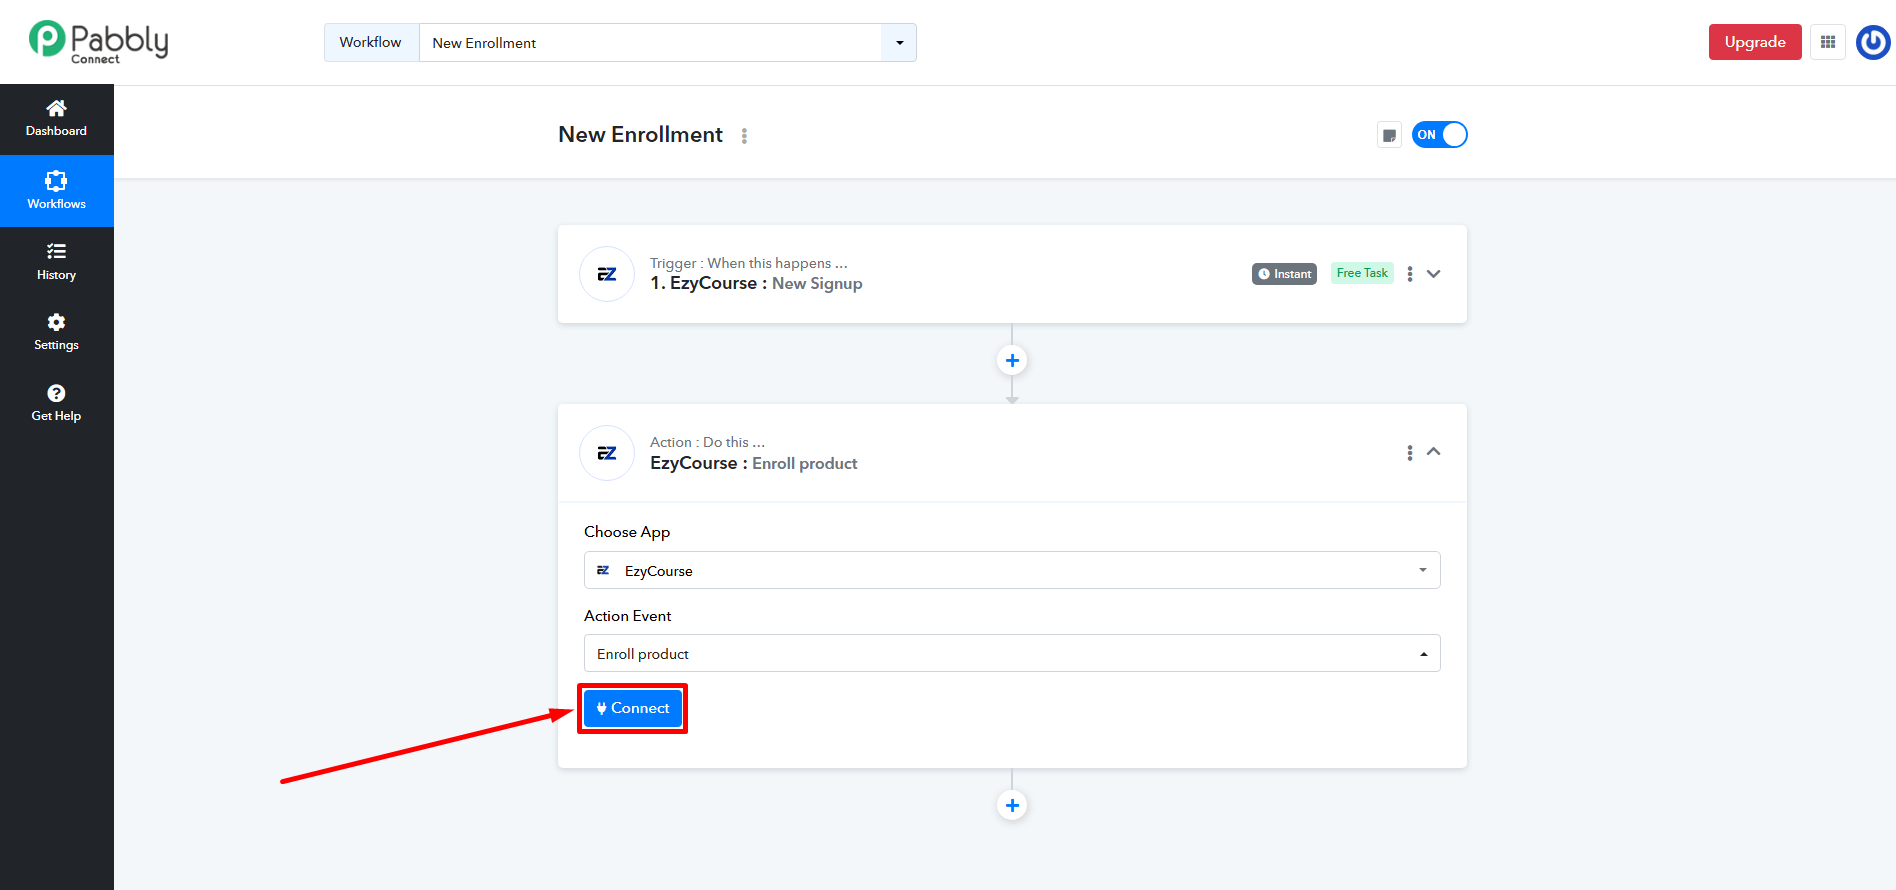
Choose the action event to be Enroll product and then click the Connect button.
[Note: You can use any other app or API (Pabbly) for transferring data into other apps. For API, you’d have to select the action event to be “Execute API Request”.]
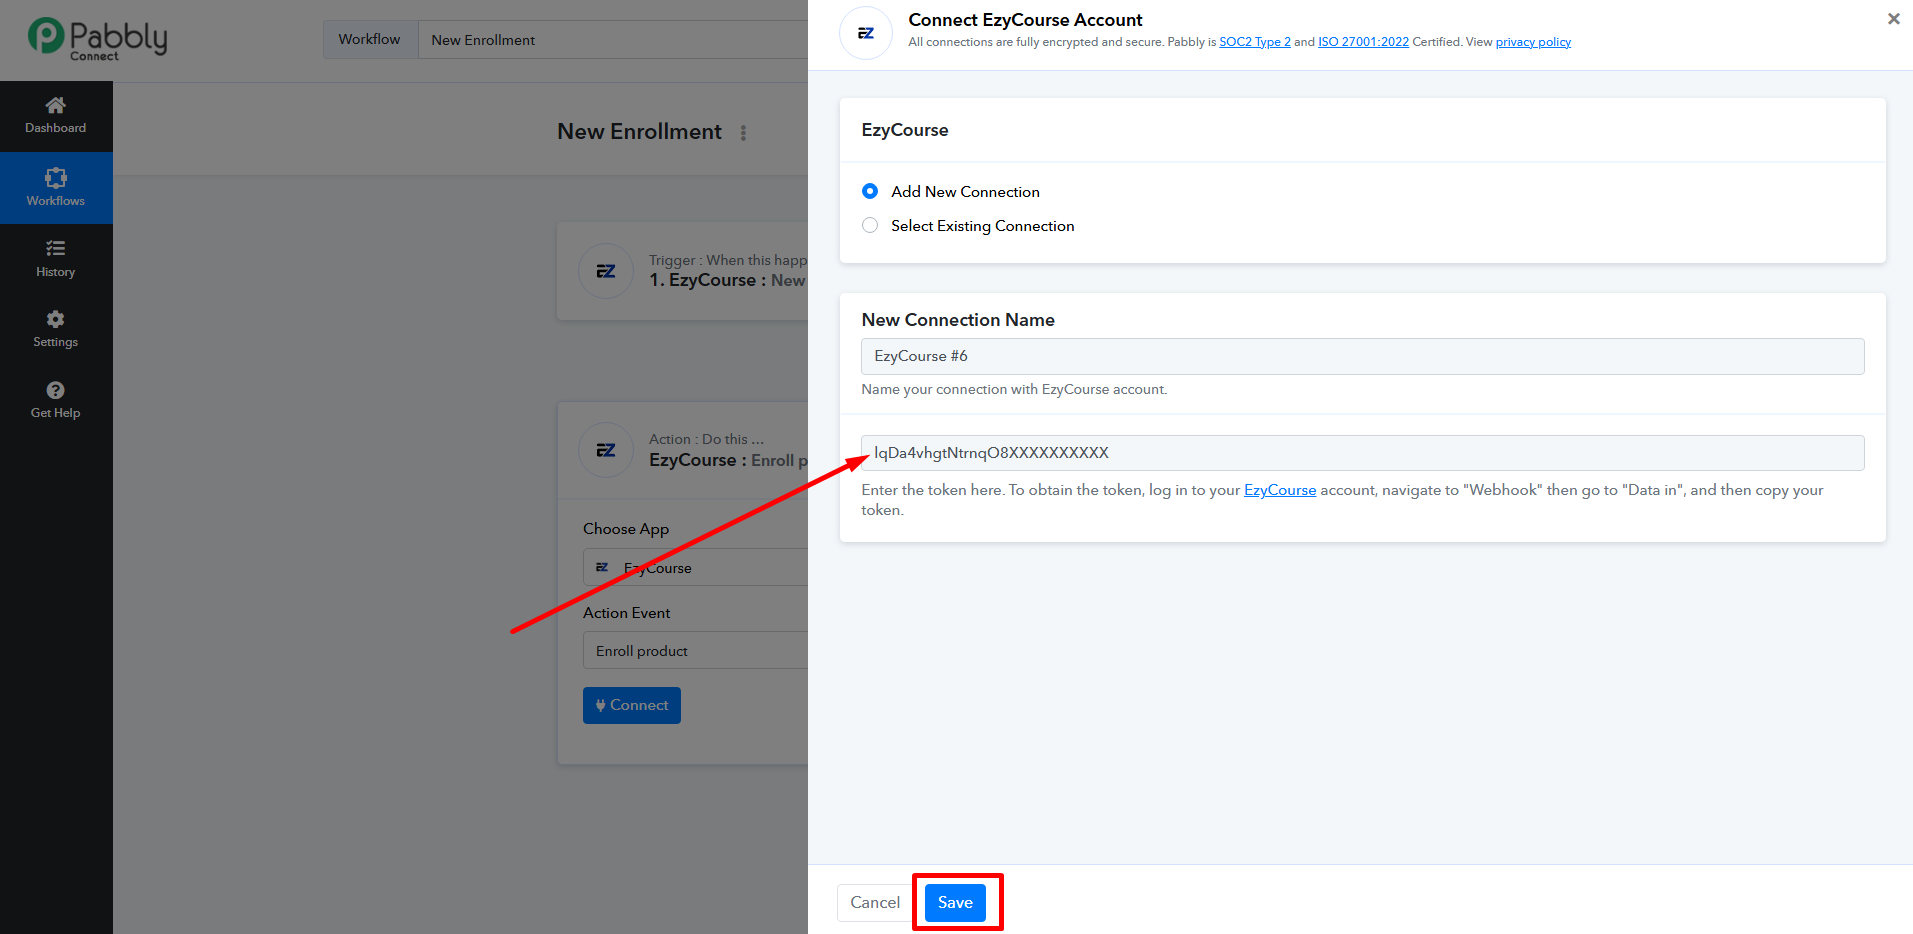
You’ll see a panel open from the right side of your screen as soon as you click connect. Here, you’ll have to give the token found on your EzyCourse dashboard.
So, log in to the EzyCourse school dashboard and navigate to Site Settings -> Webhook (Data-in) menu.
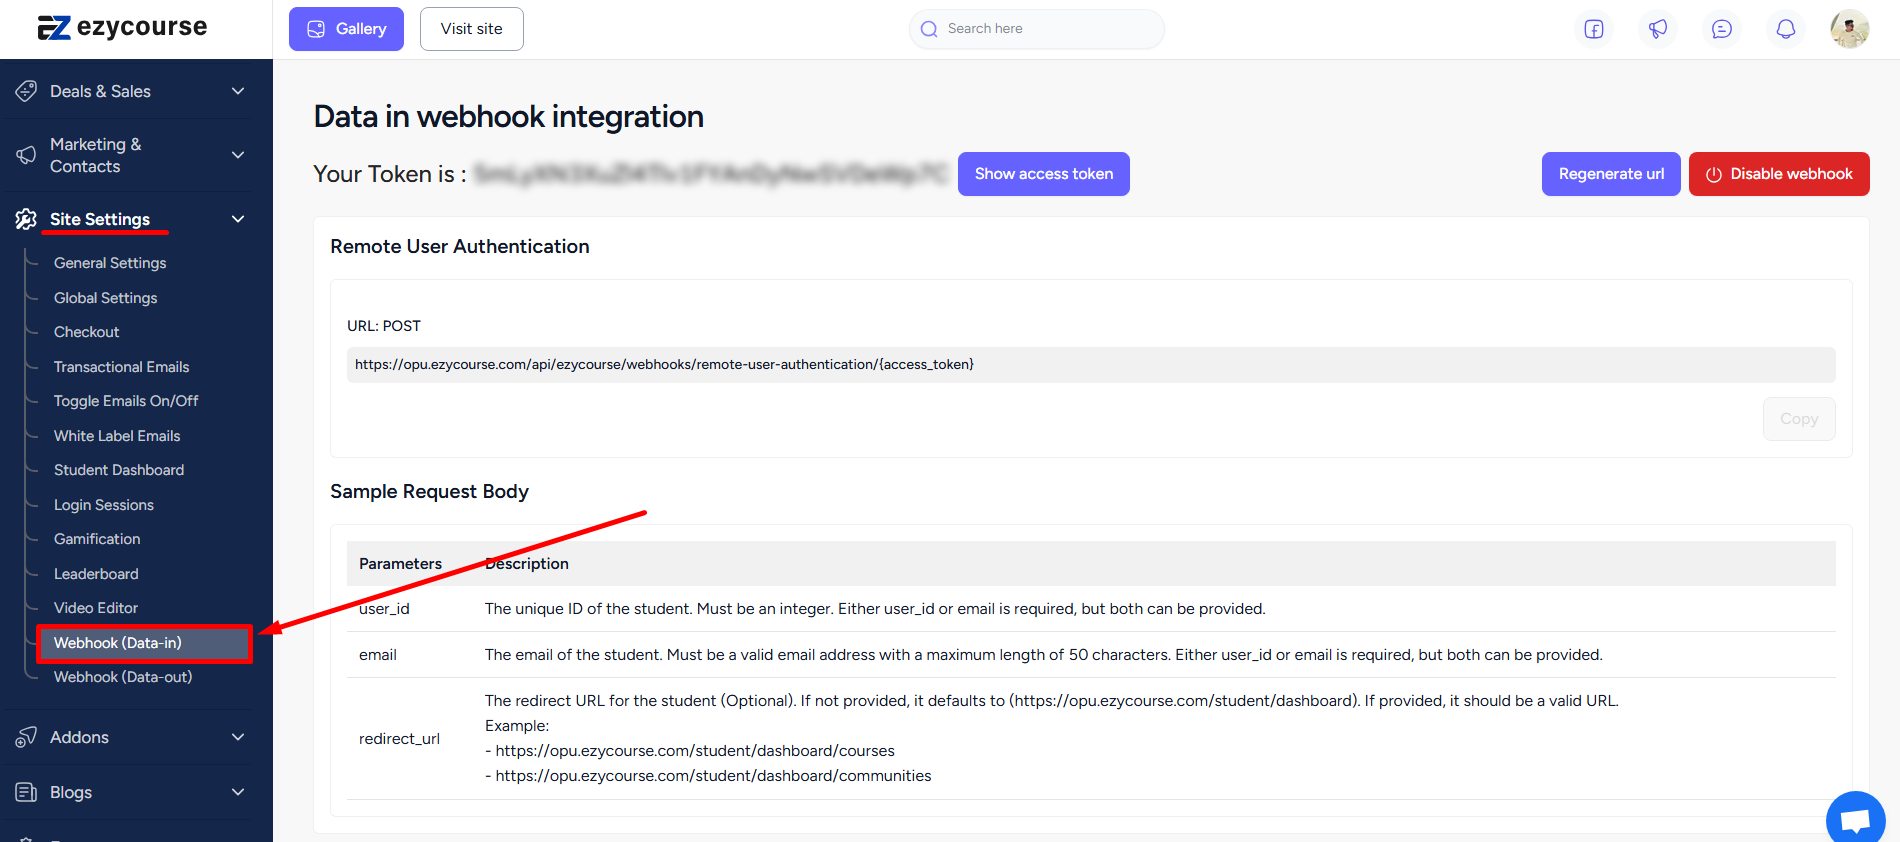
Click the Show access token button to reveal the token and then copy it.
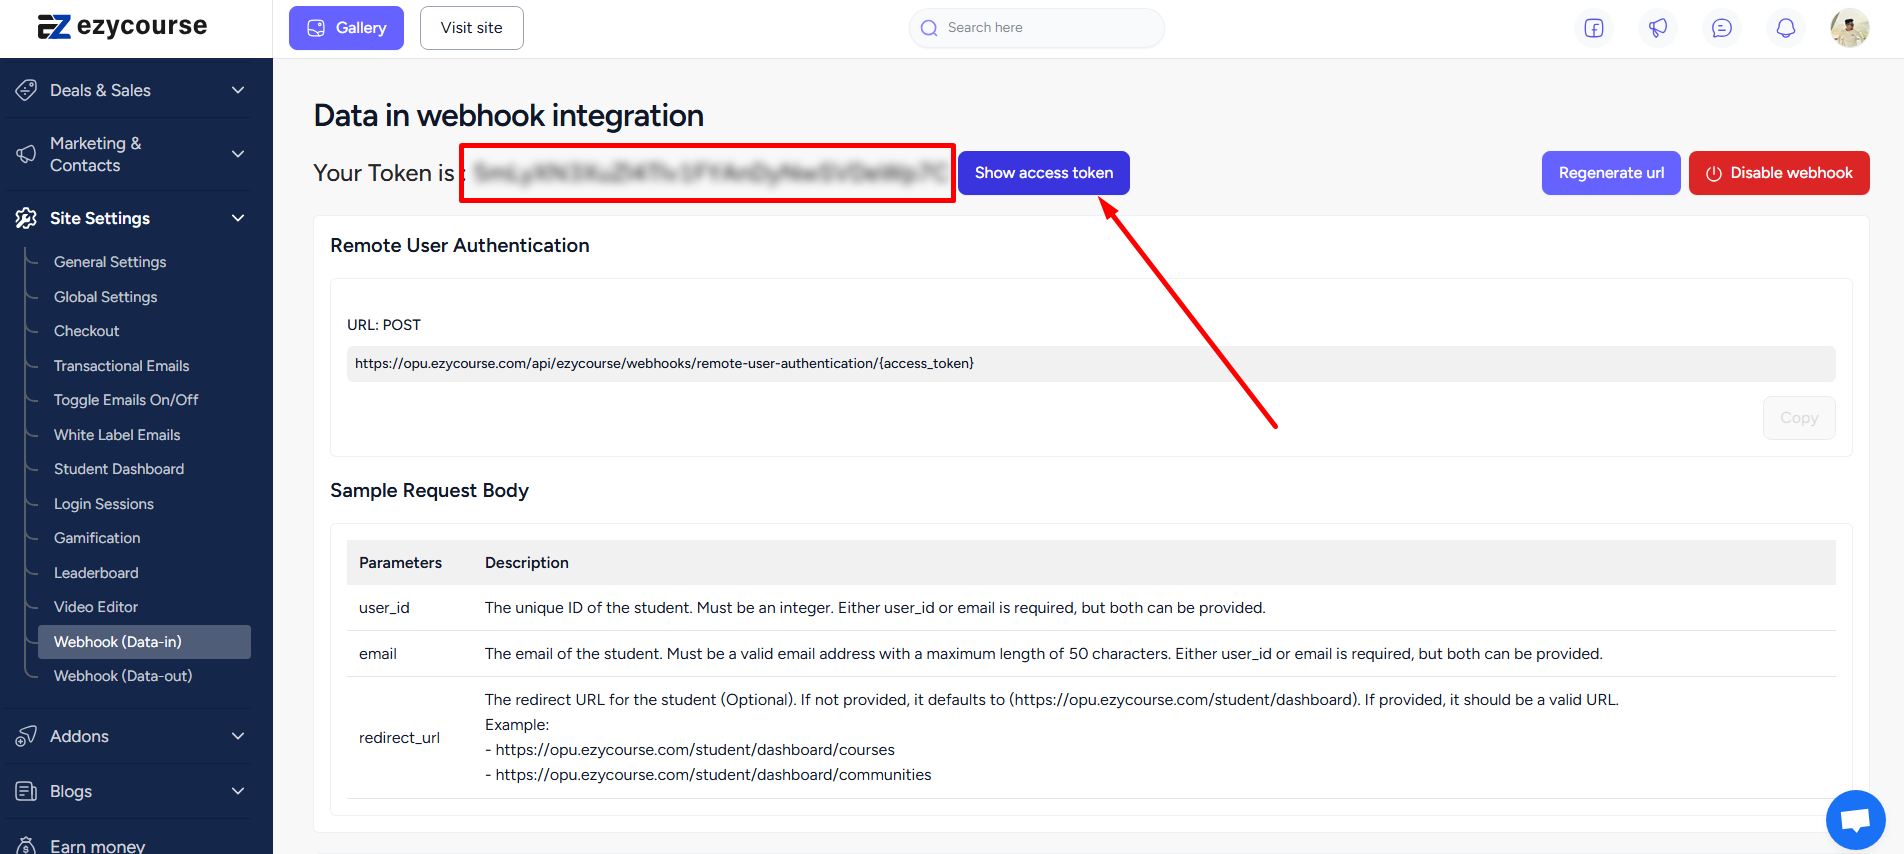
Now, paste the token on the given field on Pabbly and click Save.
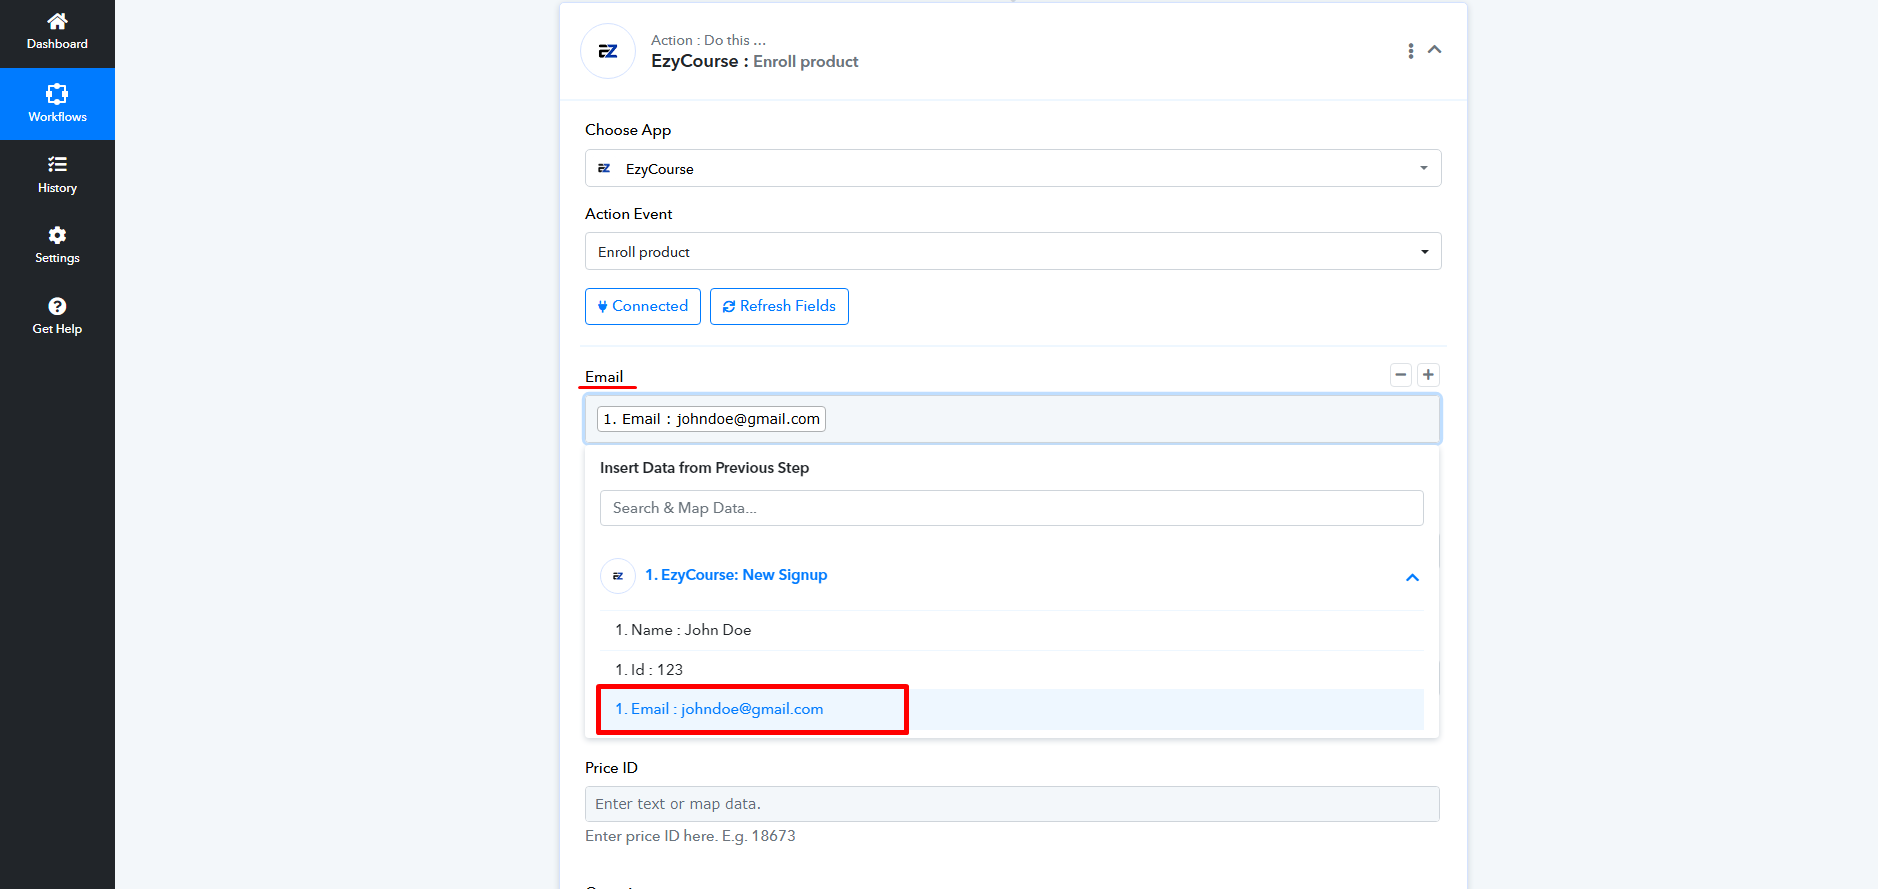
Since we’ve selected the action event to be Enroll product, you’ll see all the sample fields of that particular trigger appear as soon as you connect.
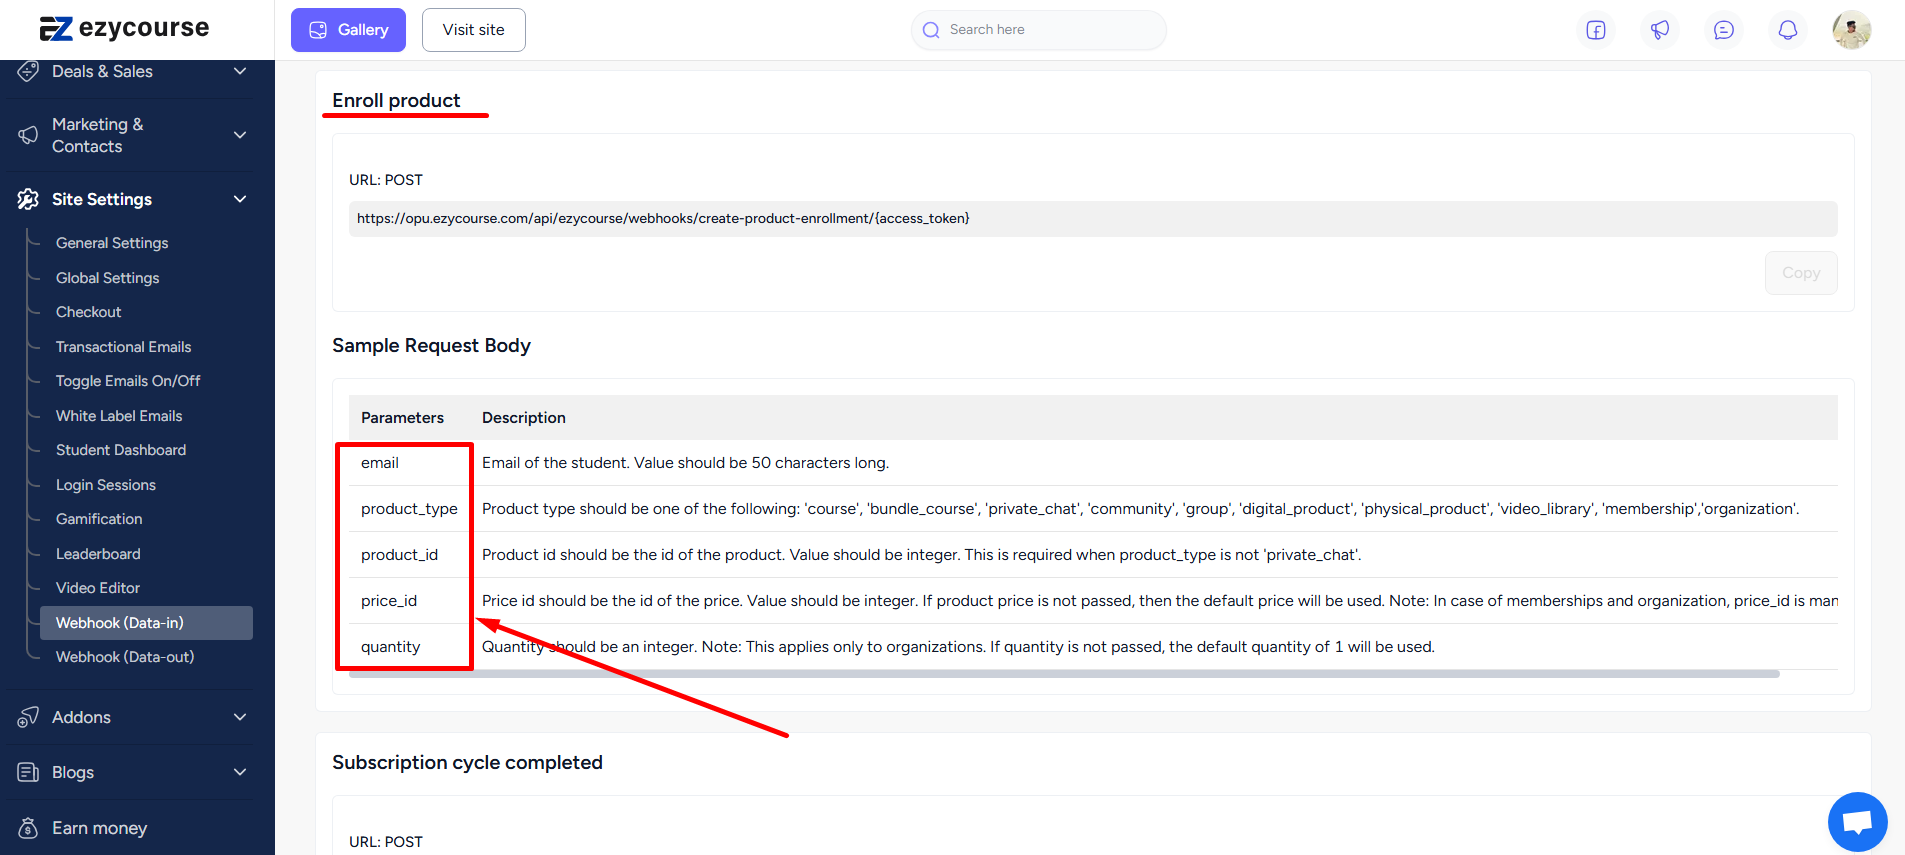
You can easily map the email of the student if it was captured on the trigger section.
Product type could be any product on your platform including course, membership, organization, physical_product, etc.
[Note: Ensure the syntax is correct when you are filling out the product type.]
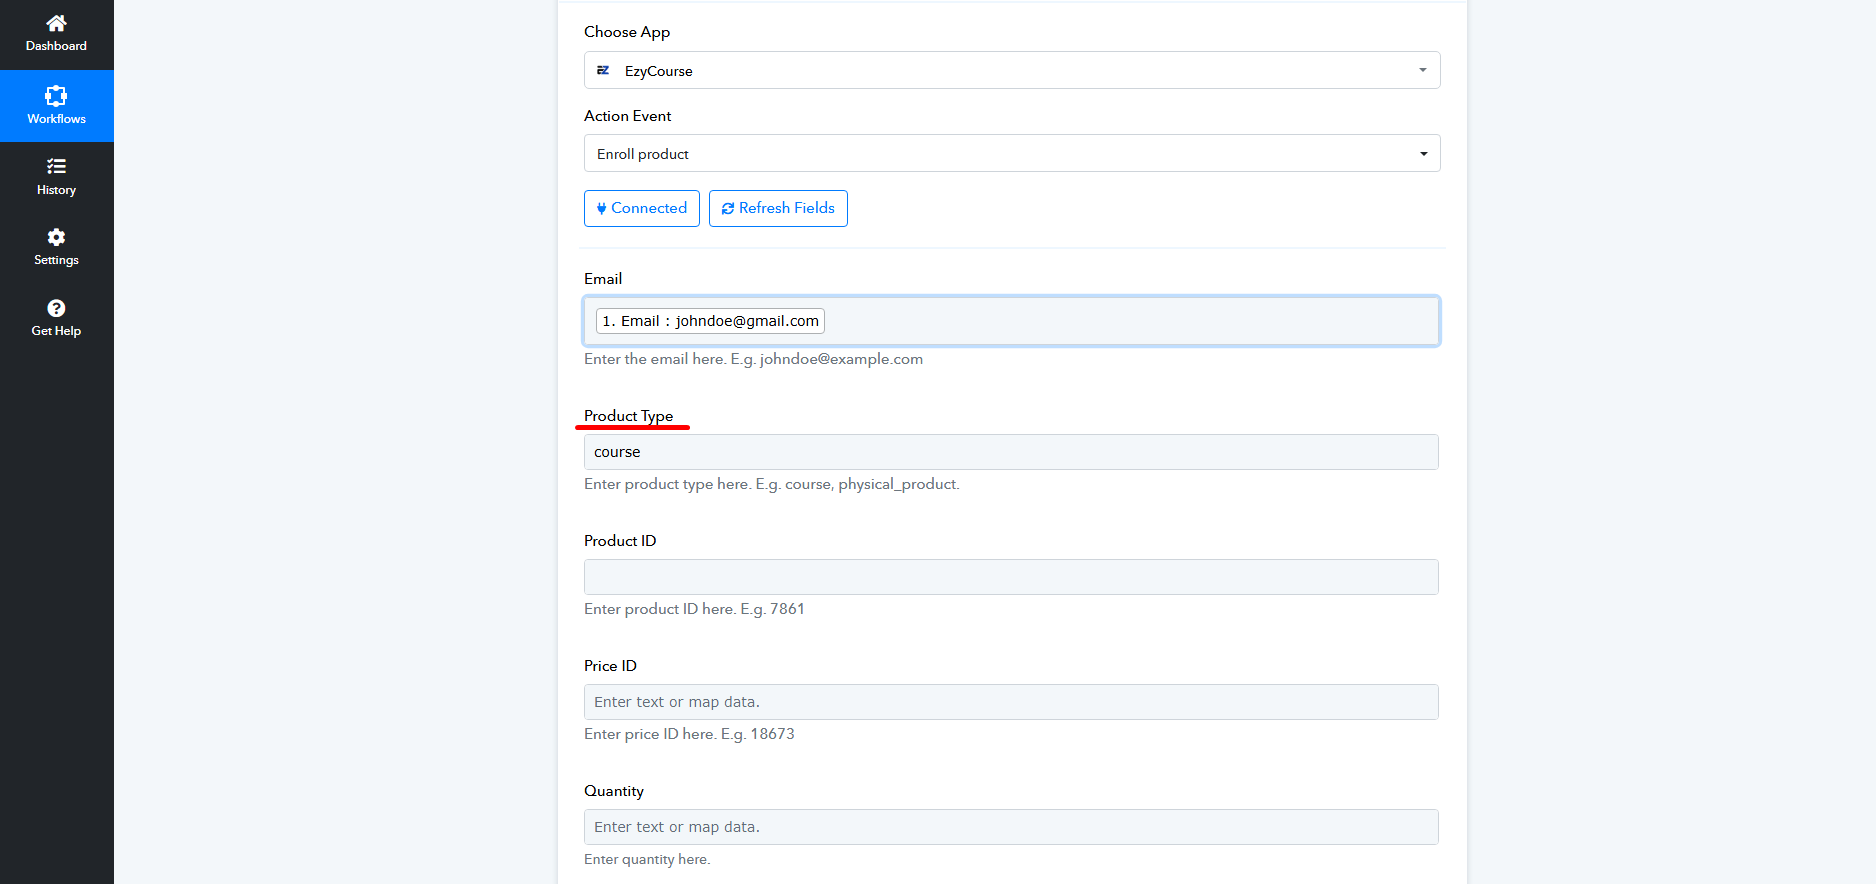
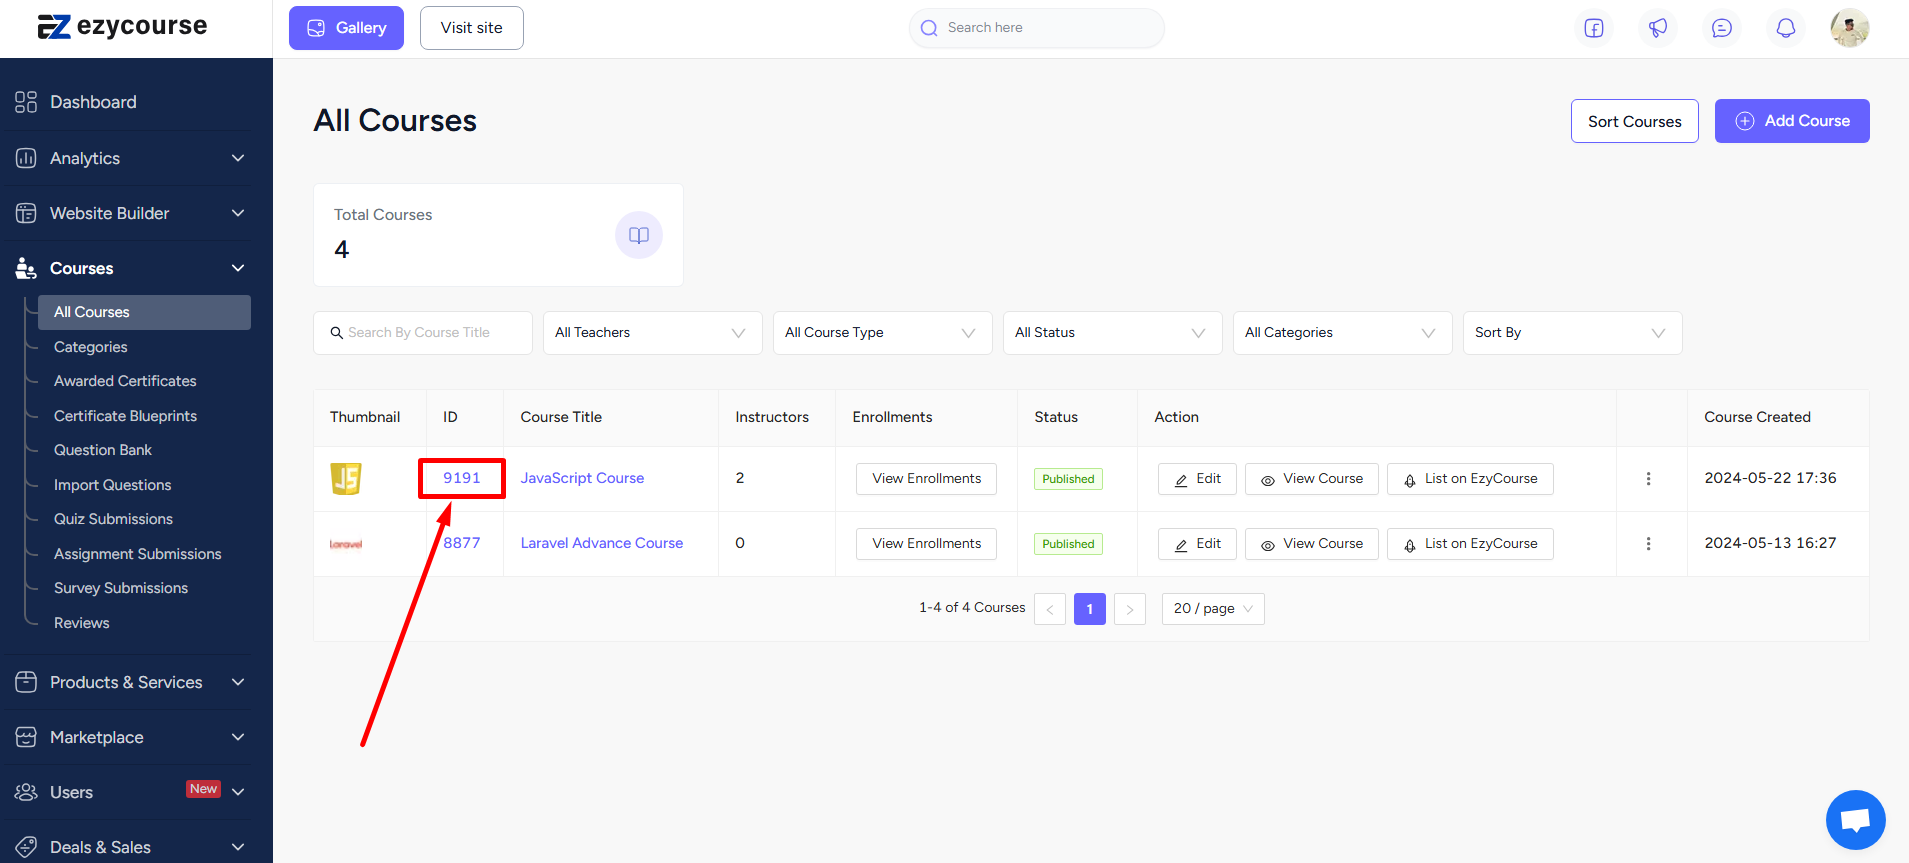
Next is Product ID and then Price ID. You’ll find the Product ID besides every product on the dashboard.
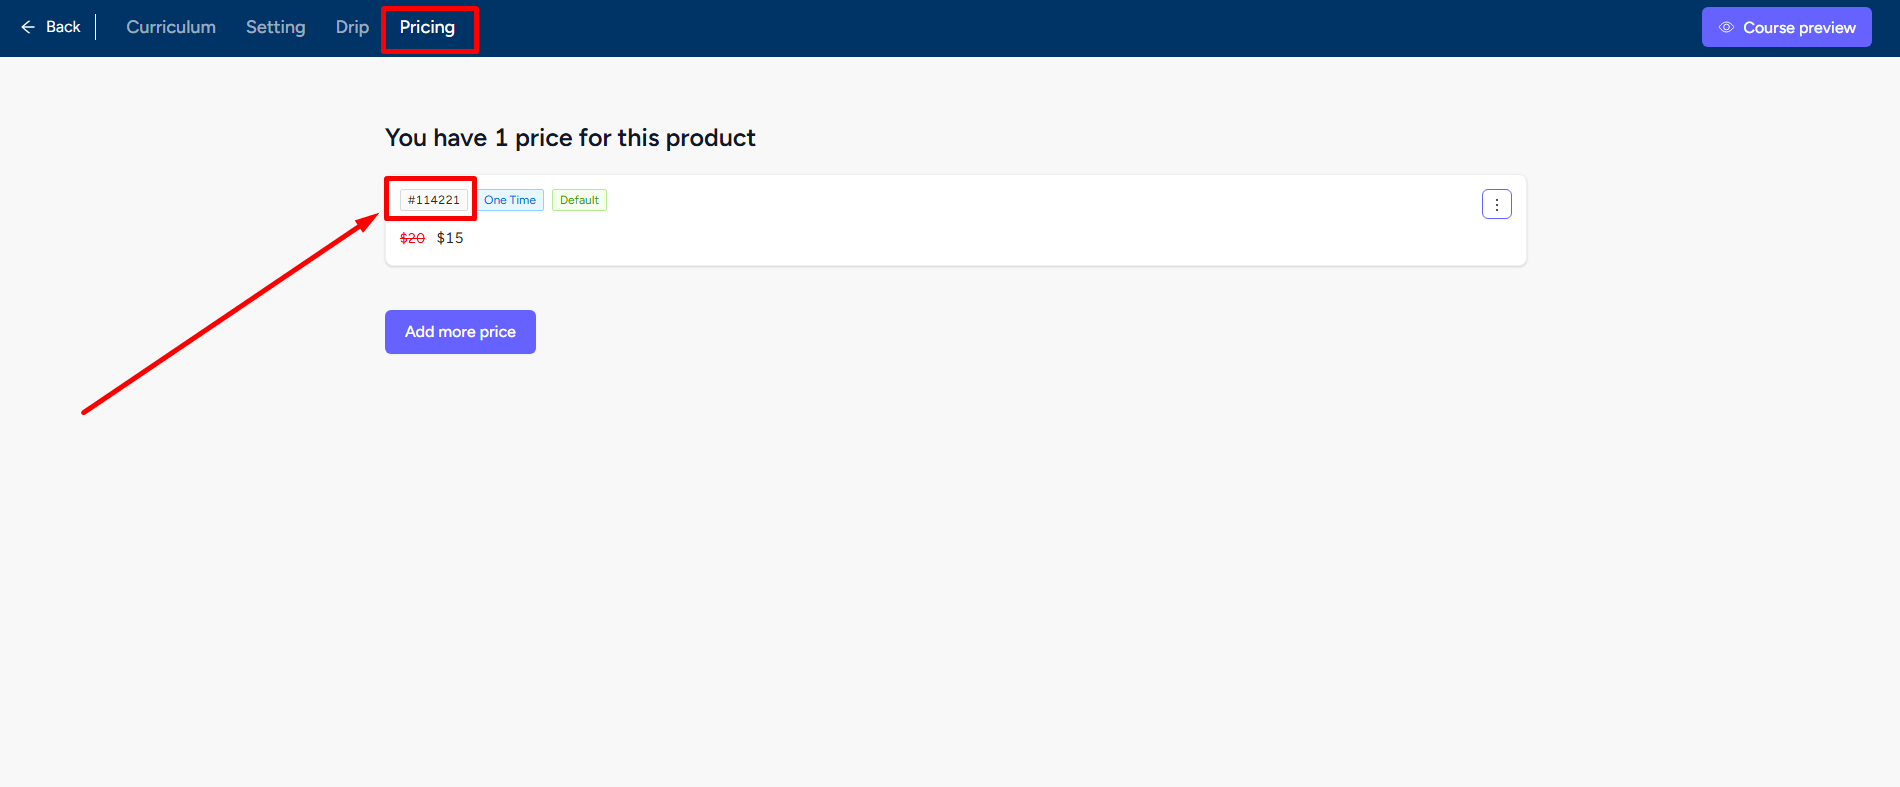
For Price ID, you can enter the specific product and then go to the Pricing tab to find it.
[Note: Price ID is only mandatory for business-to-business courses and memberships. For other products, skipping the Price ID will automatically select the default price.]
The Quantity field only applies to business-to-business or organization orders.
With the fields set, you can click the Save & Send Test Request button to see the workflow in action.

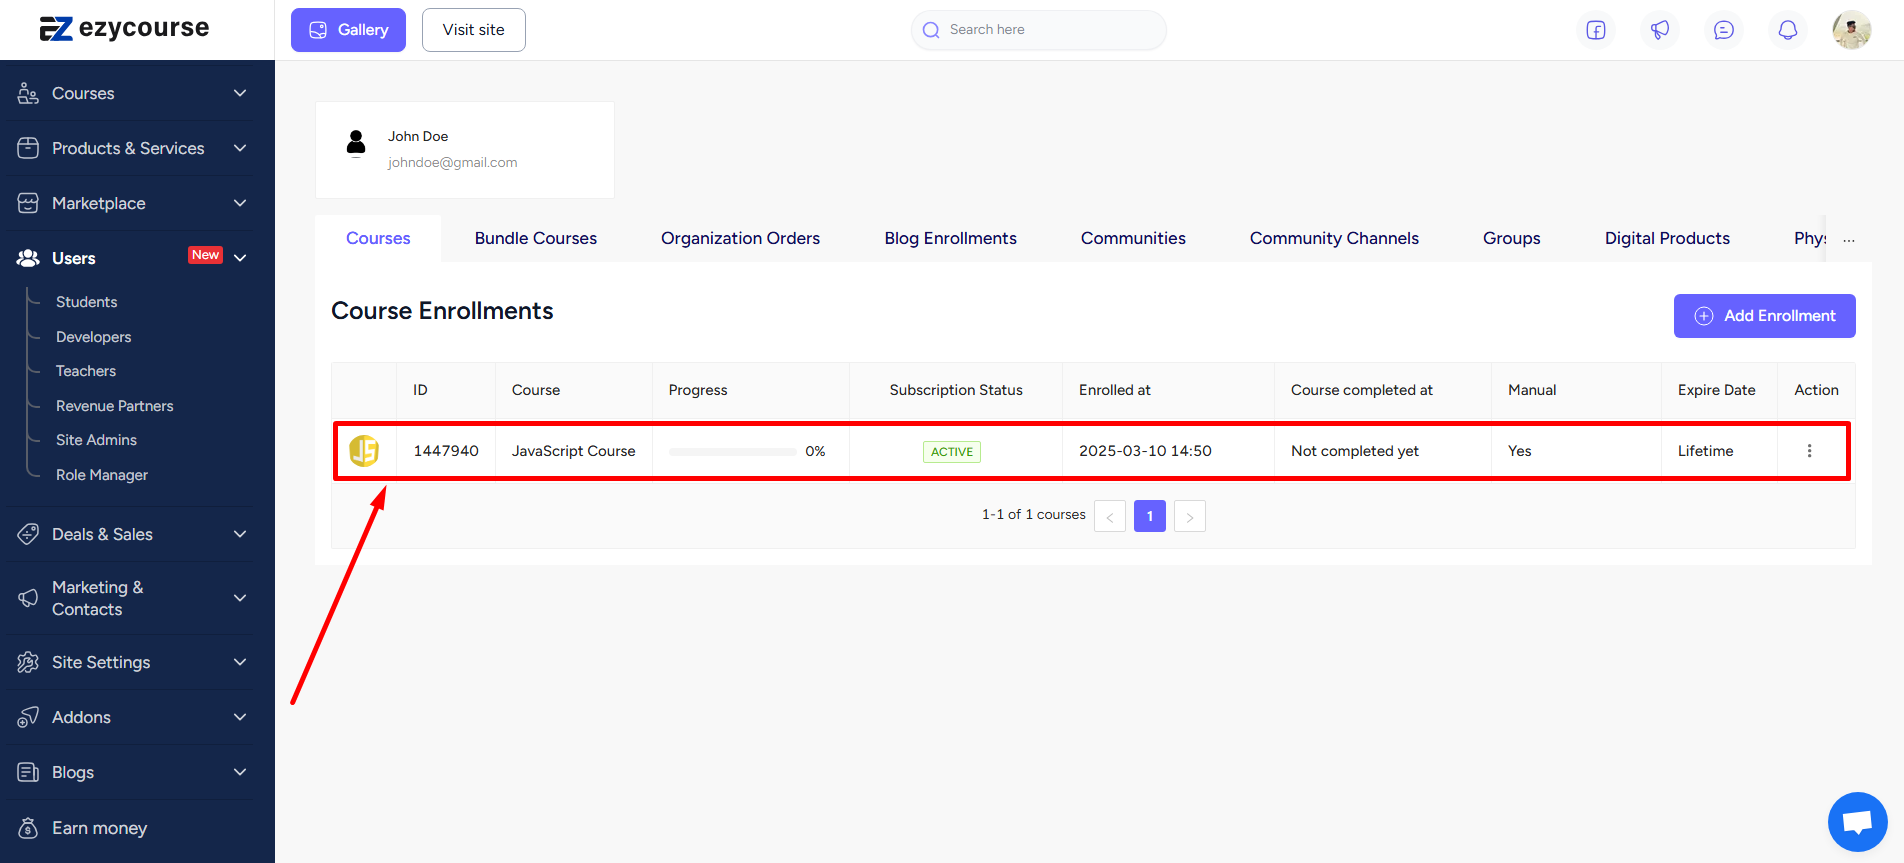
You can check and see whether the student got enrolled from Users -> Students menu.

You can also use Zapier to accomplish this automation task and easily enroll new students into any product.