Back
PPT Lessons
How to Create PPT Lessons
Powerpoint slides are a great way to give your students a visual aspect of the chapter. You can use any slide editor to create an animated slideshow and then add it as a PPT lesson. Learn how to create PPT lessons, see PPT lesson settings, and how your students interact with this lesson.
Create a New PPT Lesson
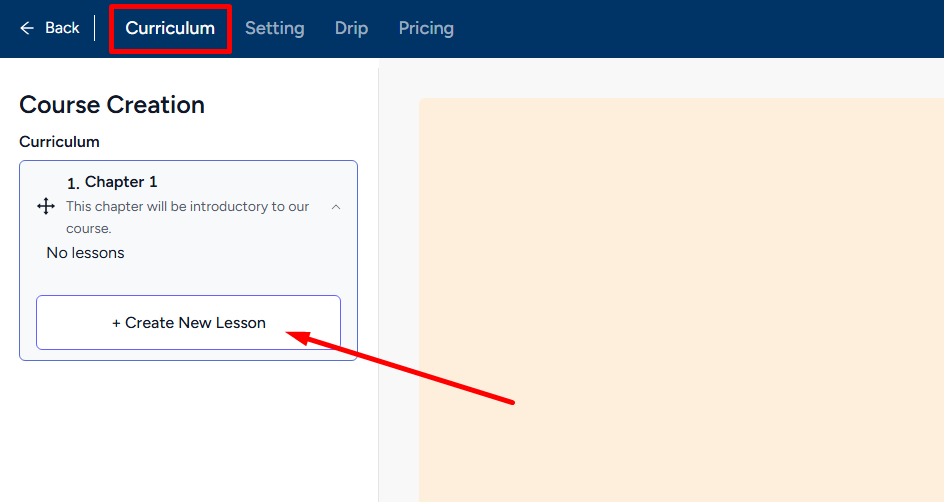
Go to the Curriculum tab inside your course, select the chapter you want to add a new lesson to, and click the Create New Lesson button.
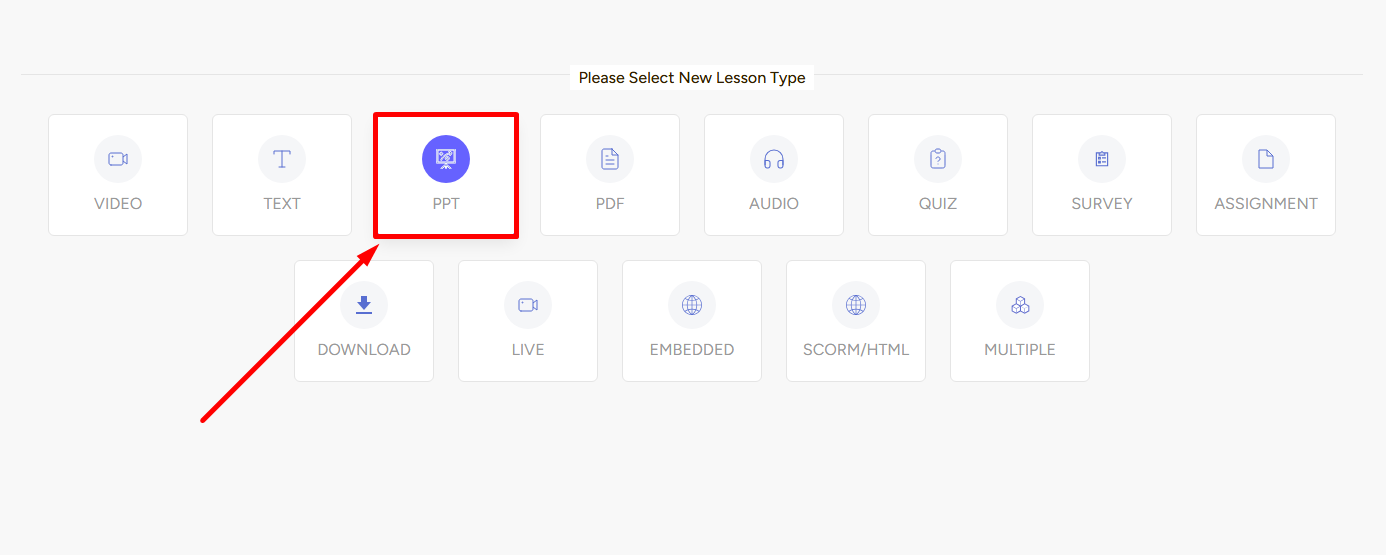
Now, click the PPT card to get started.
Once you click the PPT lesson card, you’ll see a form section in the middle of the screen and on the right section, Lesson Settings.
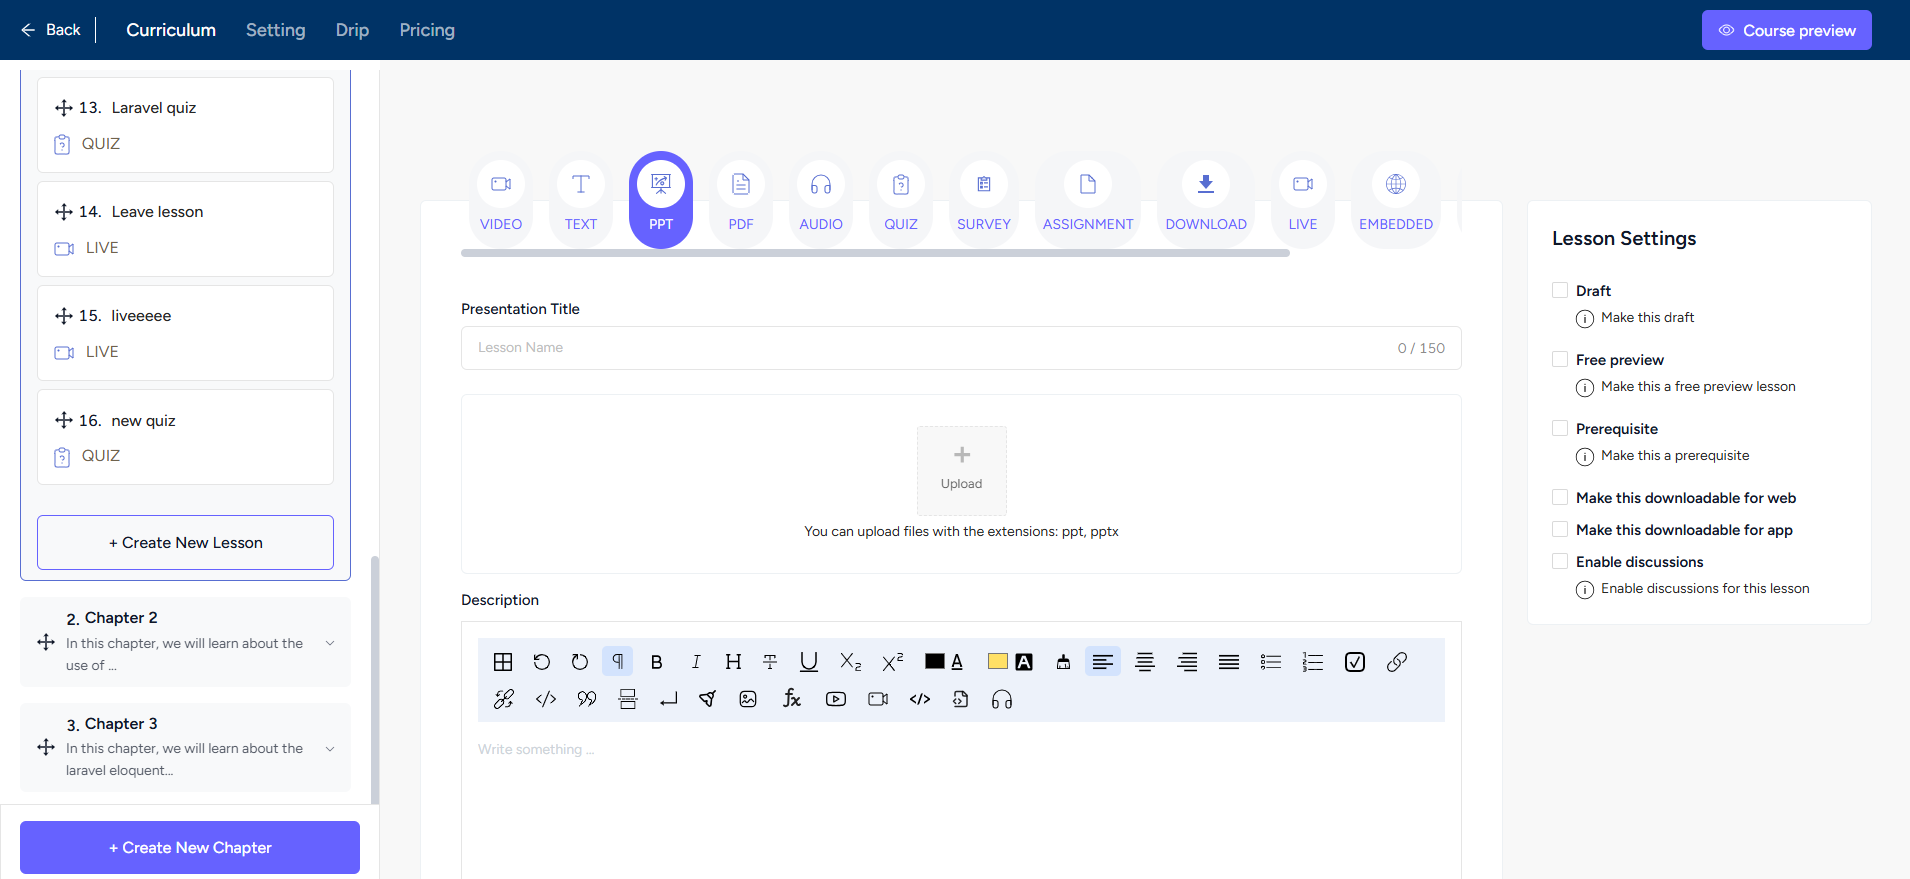
→ In the Form section, you have to give a presentation title and add a description. And of course, you have to upload a ppt or pptx file and also choose whether to include a downloadable zip file and motivational popup.
→ Draft, Prerequisite, and you can enable discussions for student engagement. The other thing you can do in Lesson Settings is make the ppt/pptx file downloadable. In addition, you can make this lesson a free preview which allows users to watch before enrollment
When you are done with the settings and filling up the form, click the Create button to create a PPT lesson.
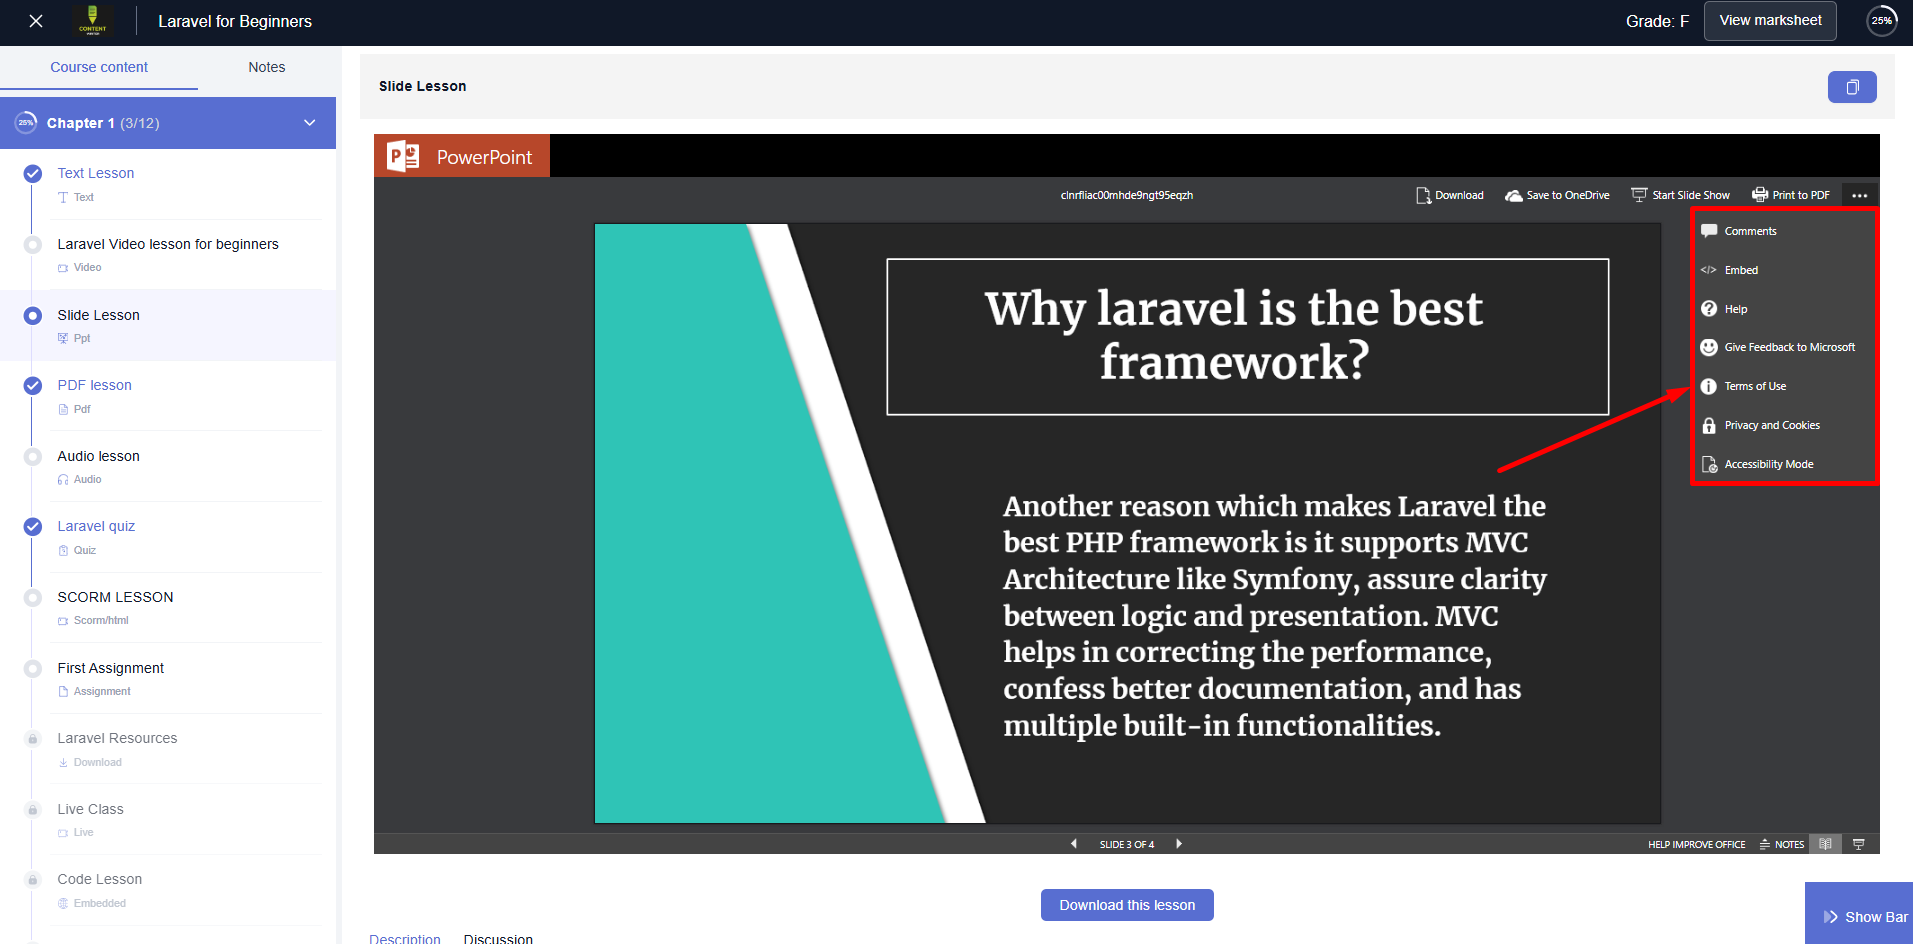
Student Perspective
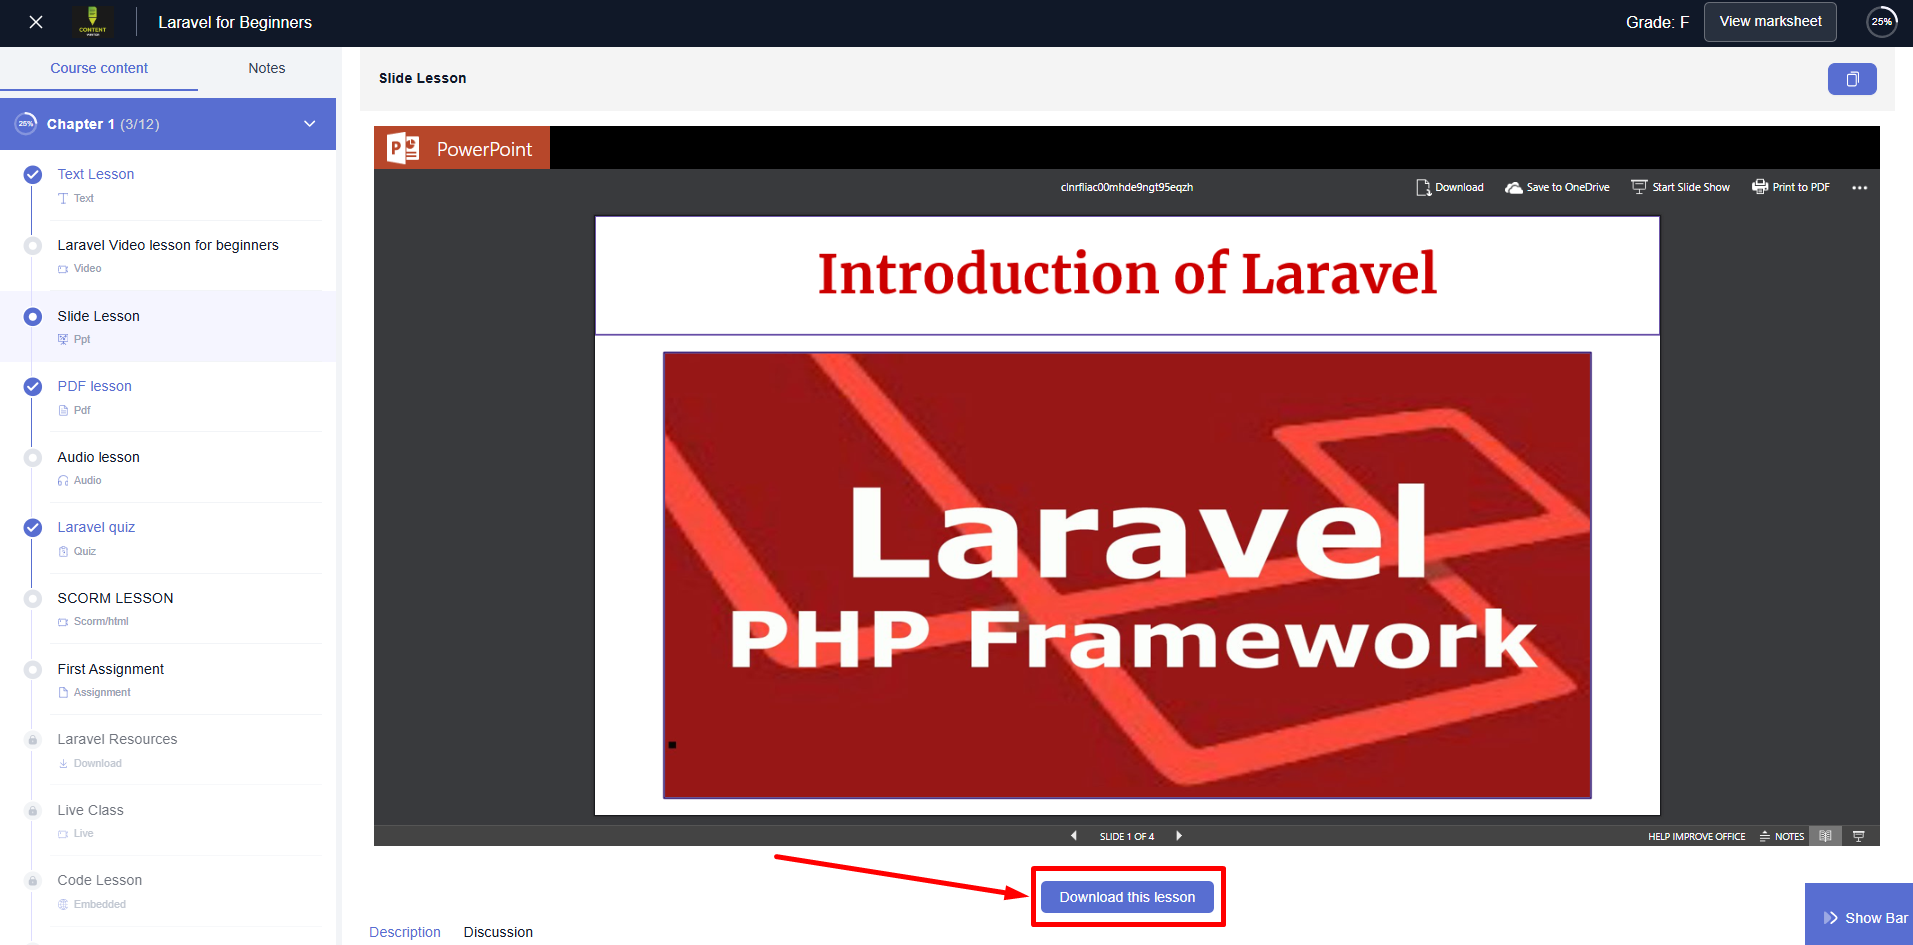
Students see the slides you’ve added on a PPT lesson. They have the option to watch the slides right inside the lesson or open in a new tab. There will be a download button just below the slides if you’ve set the download option.
They can click the Start Slide Show option to view the file in slideshow mode.
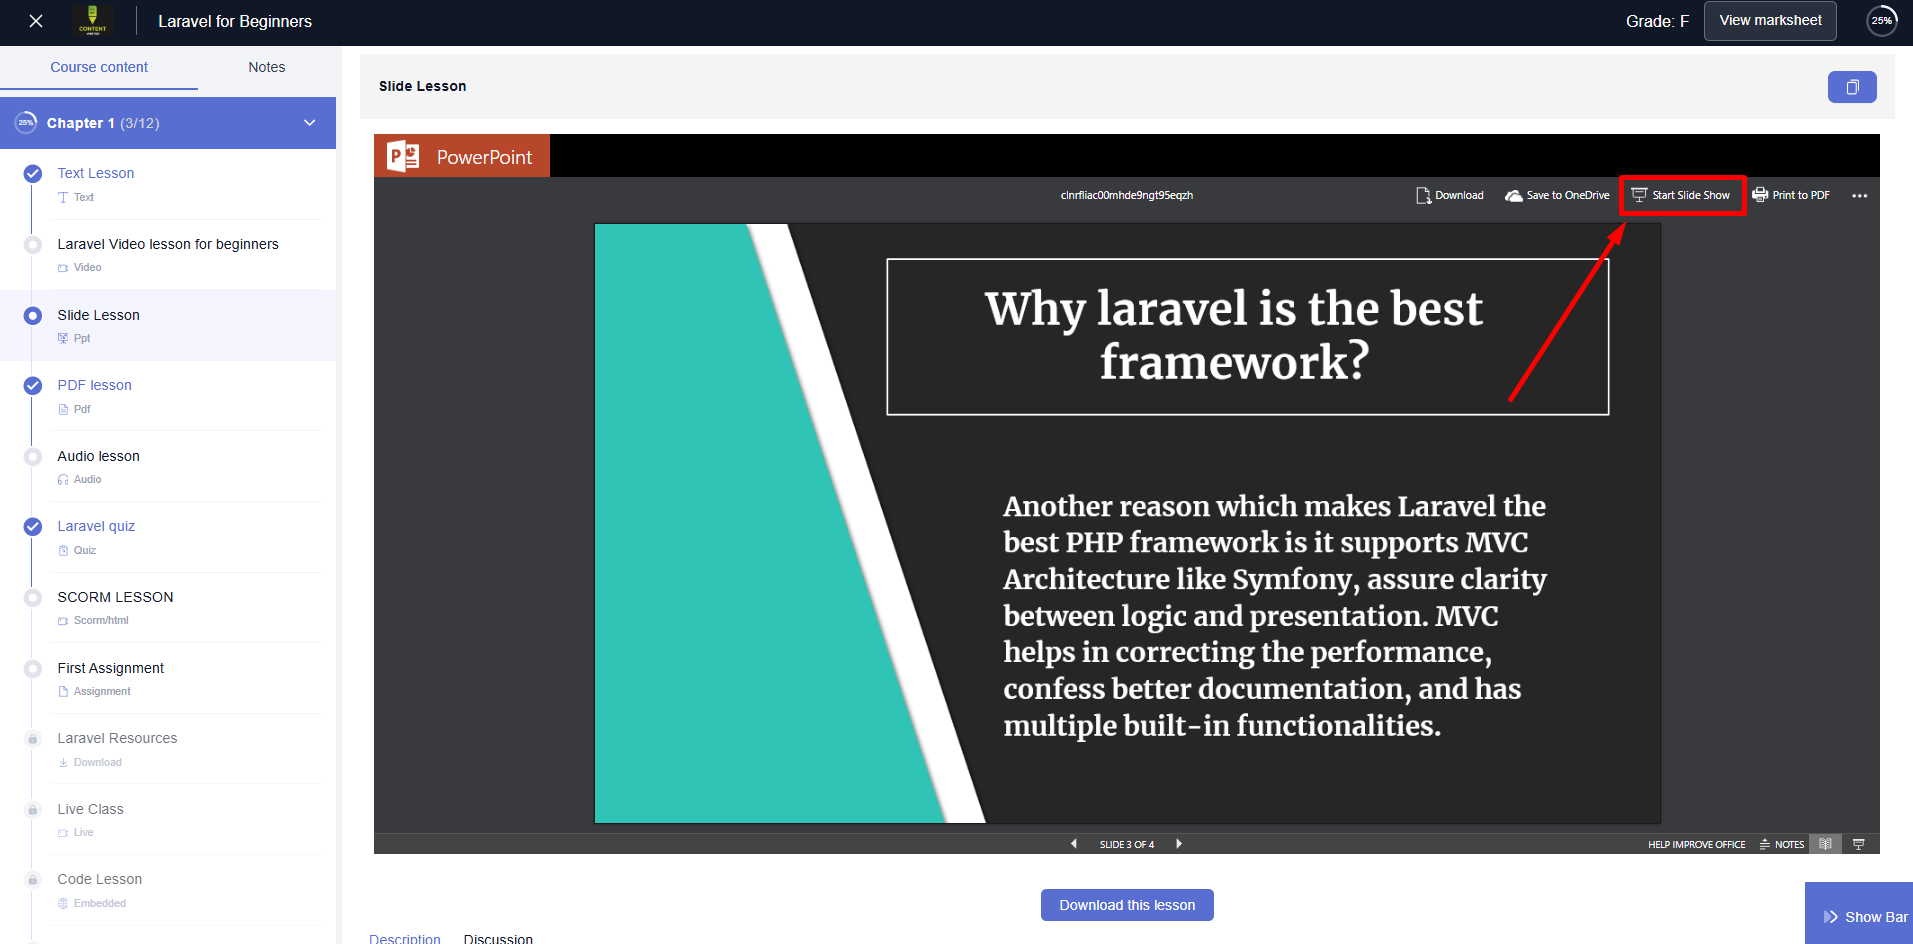
Other options include comments, embed code, accessibility mode, etc.