
Back
How to Create Event-based Campaign Trigger
What is it & why you need it
In the email campaign, previously you had no options to set campaign triggers for any particular event’s enrolled users.
With the latest update, it’s now possible to set an event-based campaign trigger. That means you can run personalized email campaigns targeting specific students who are enrolled in specific events.
How it works
The event-based campaign triggers help you to target specific audiences, particularly from your events. You can now send emails to people at specific events and run an email campaign for them.
How to get started using it
This is almost the same as the process of launching an email campaign as you could do before.
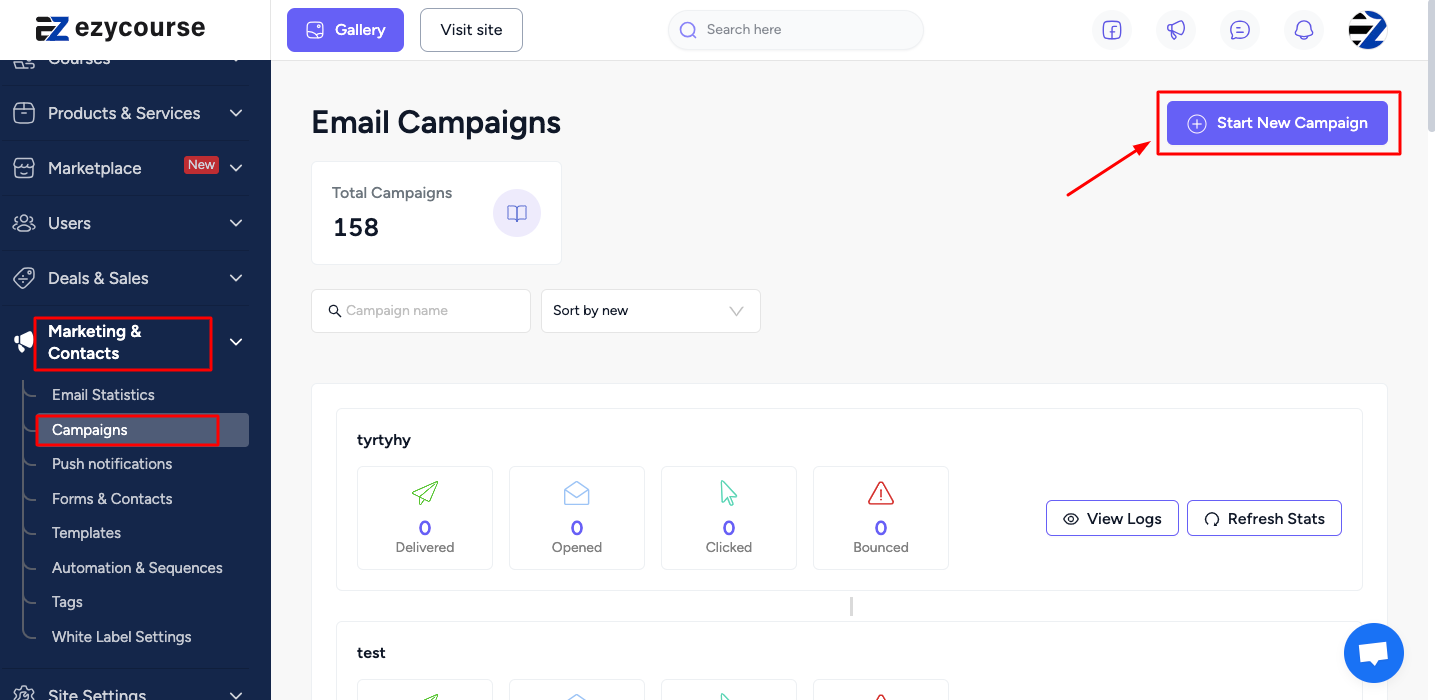
Step 1: Go to your dashboard. Then click on Marketing & Contacts > Campaigns > Start New Campaign.
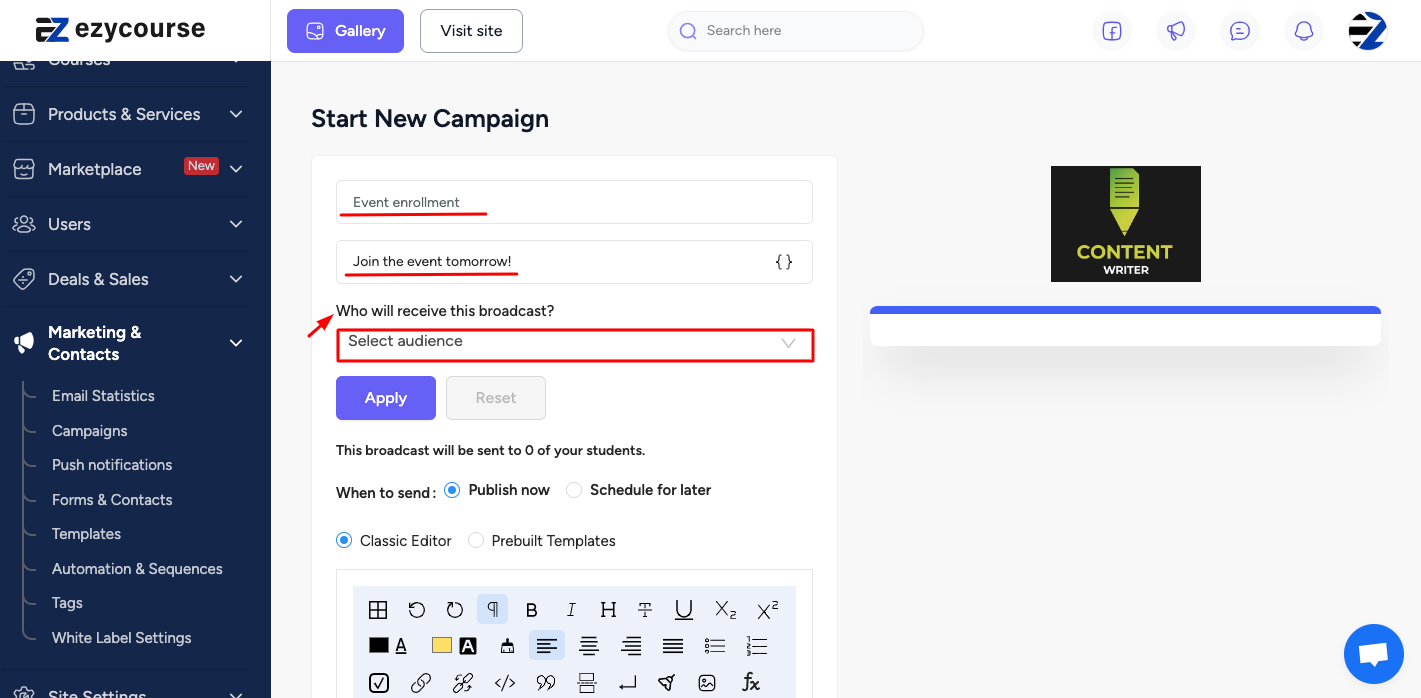
Step 2: You will see this interface. There you have to write a title, email subject, and other fields. Then ‘Select audience’ under the option ‘Who will receive this broadcast?’.

For example, here we are writing the email subject: ‘Join the event tomorrow!’.
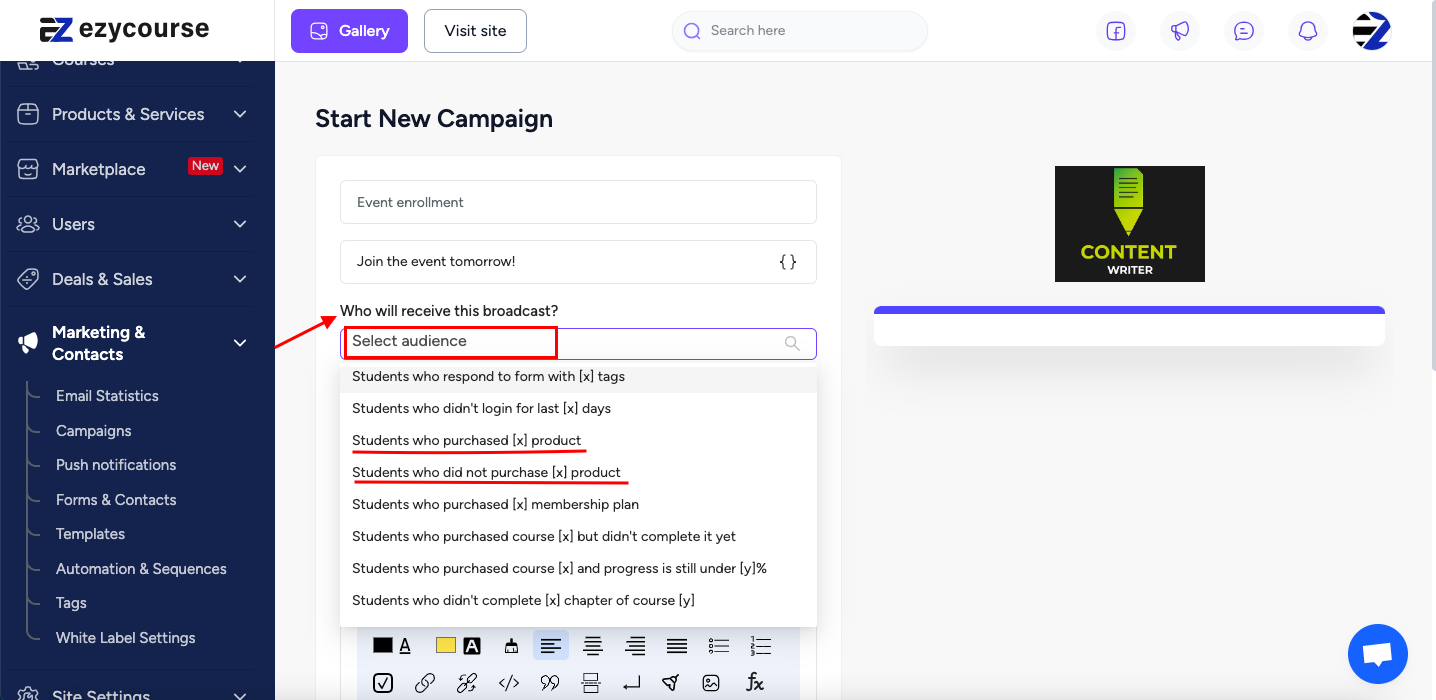
Step 3: Now select the audience. For event-based action, you have to either select -
Students who purchased [x] product or,
Students who did not purchase [x] product
Step 4: For example, we have chosen ‘Students who purchased [x] product’ from the options. Now you have to ‘Select products’.
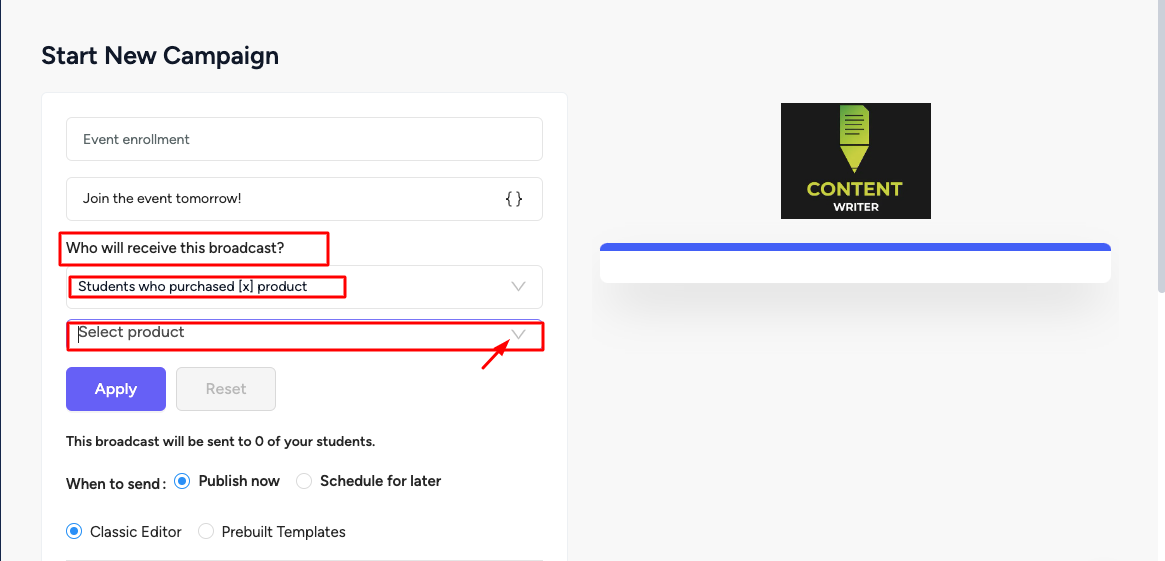
If you click on the ‘Select products’ dropdown, keep scrolling and you’ll see all the options-
Courses
Communities
Group
Digital products
Physical products
Events
Here’s the update! Previously, there were no options to select events and send campaigns to particular event registrants.
But with the update, you can select any event by scrolling from the products dropdown. Here we choose ‘Bi-weekly seminars’.
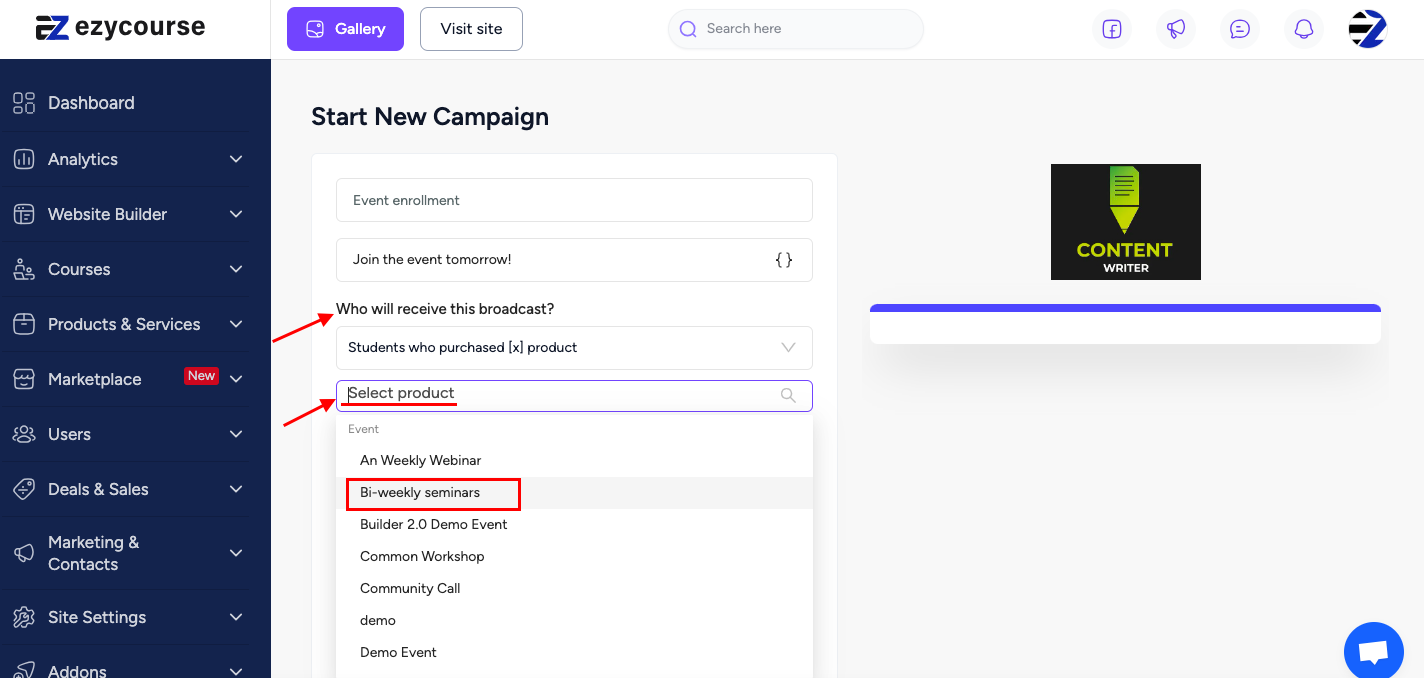
Once you have selected the event, click on the ‘Apply’ button.
You’ll also get a text like: ‘This broadcast will be sent to 5 of your students’.
There are 2 options to send the email:
Publish now
Schedule for later
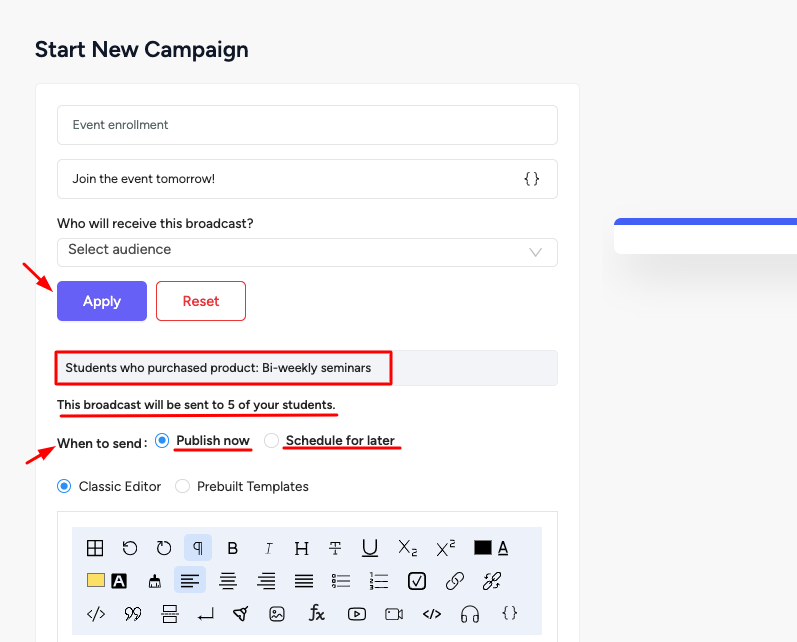
What’s more, you can use Classic Editor or Pre-built Templates.
For Classic Editor: You have to manually write and send emails like this -

Note: Write {{first_name}} tag for using the first name of your student/user.
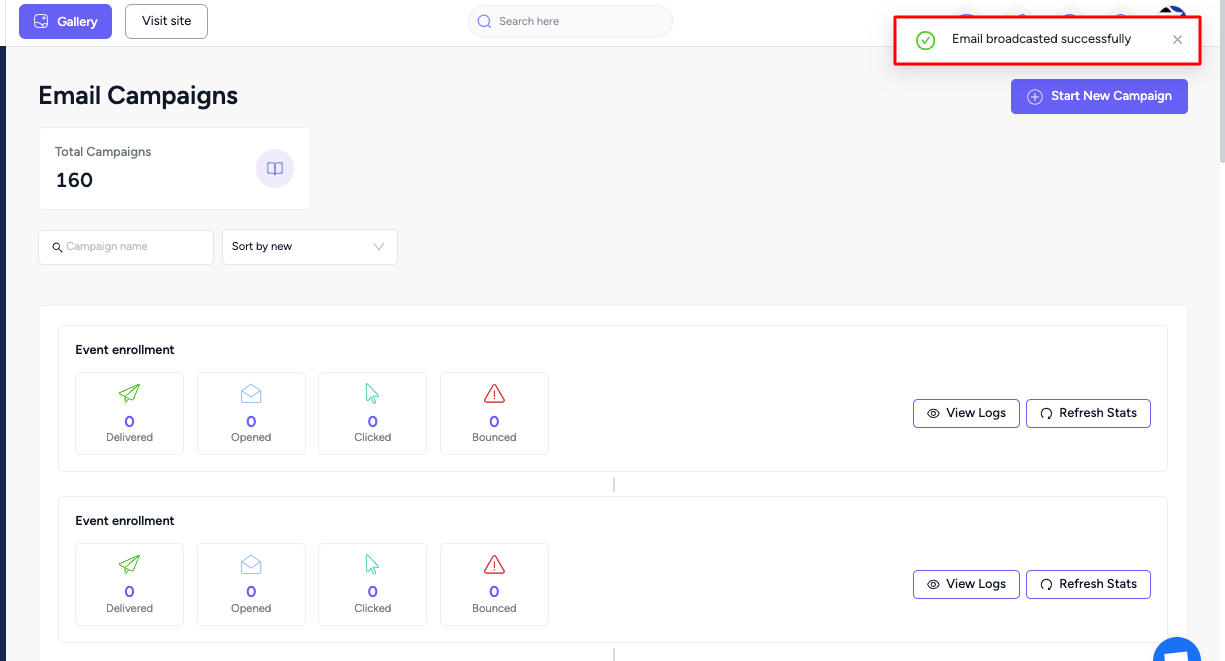
Once you click on the ‘Start Campaign’ button, you will now be taken to the page. Well done! Your email campaign has been broadcast successfully.
For Pre-built Templates:
You can choose by clicking on ‘Pre-built templates’ and choose any templates and edit your email.
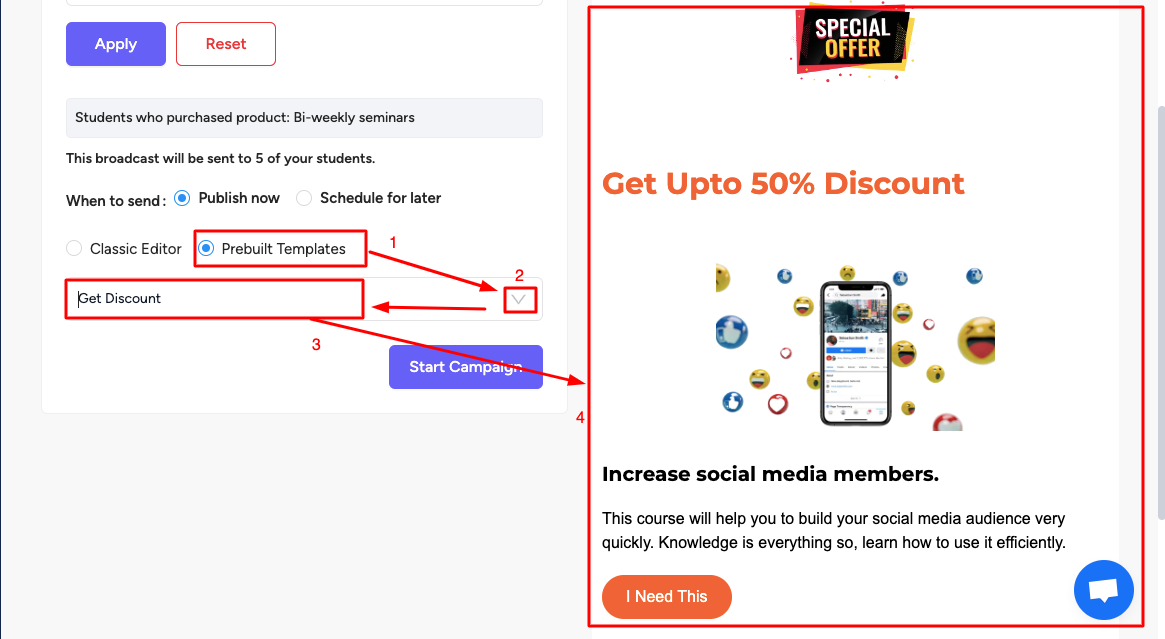
Also, you can design an email template. Here’s how you can design an email template in EzyCourse.
[Note: Here, we have shown the steps to running an email campaign for particular event registrants considering ‘Students who purchased [x] product’. At the same time, you can also select the option ‘Students who did not purchase [x] product’ as well if you want to run email campaigns for those who are not in that particular event.]
Related: Launch an Email Campaign