Back
Create an Appointment
How to Create an Appointment on EzyCourse
Learn to create an appointment event on the EzyCourse platform. Schedule and manage appointments directly from your dashboard.
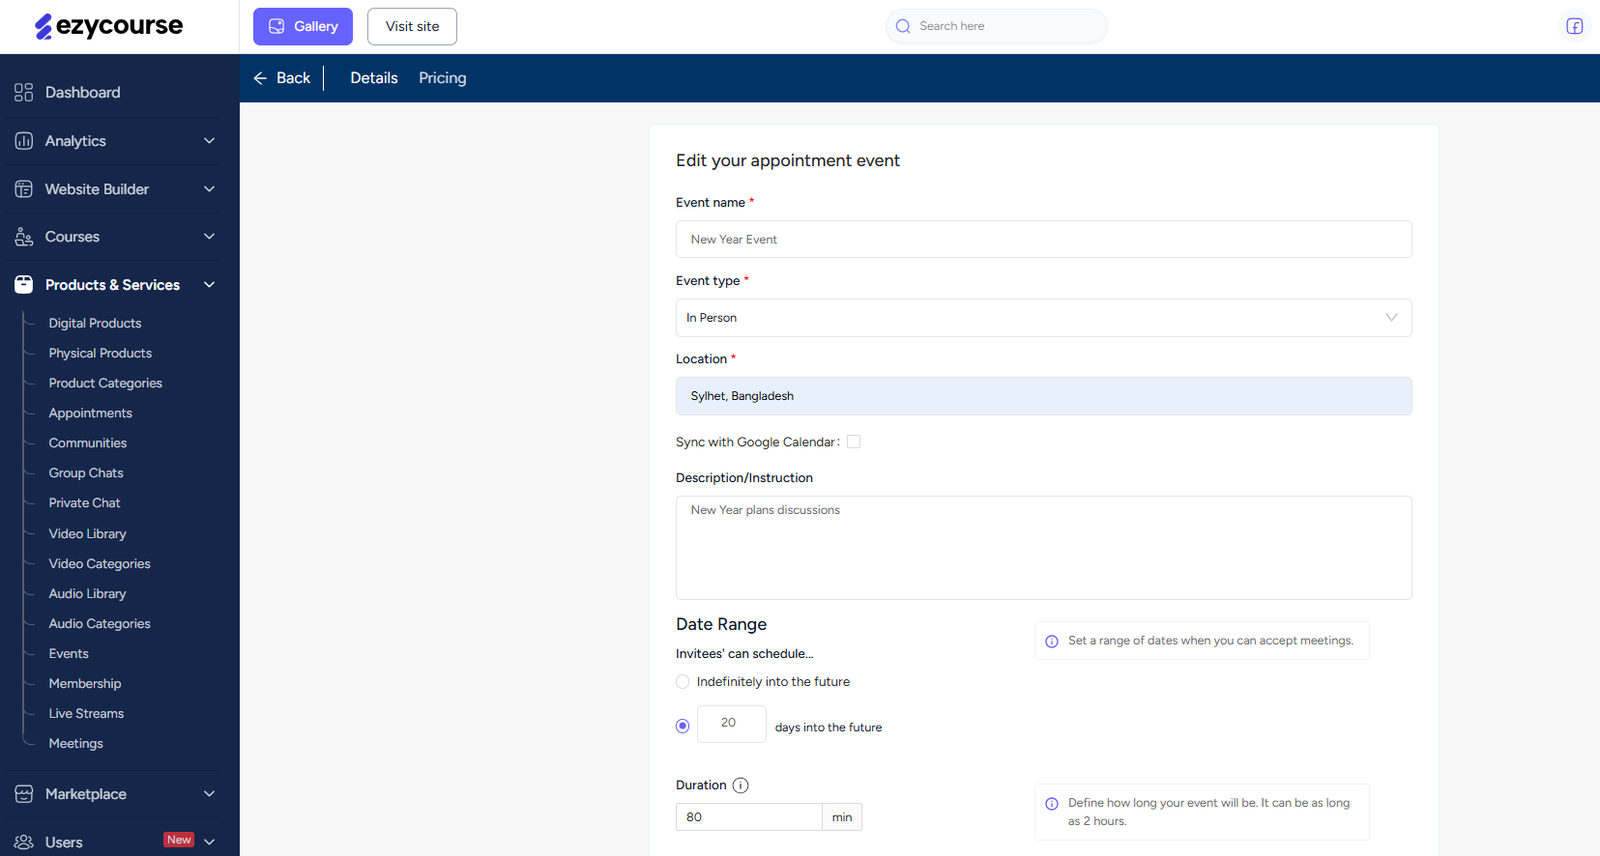
To create a new appointment, go to Products & Services -> Appointments. Here, you’ll see all the appointments you’ve created. Click the Create Appointment Event button on the top right corner of your screen.

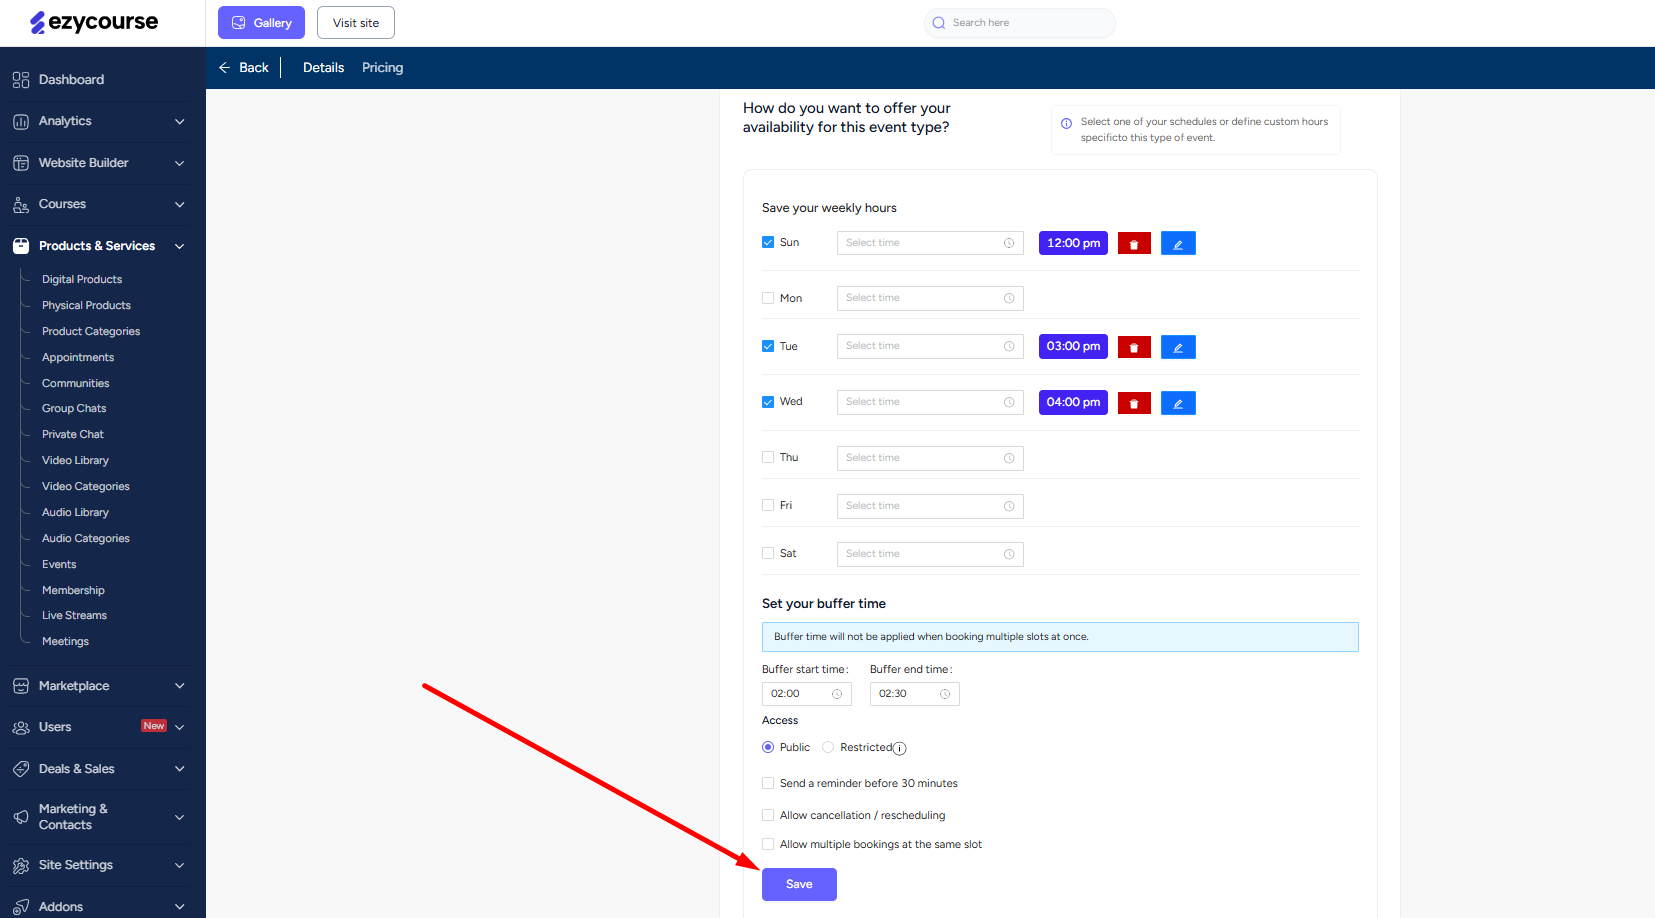
Now, choose the appointment type, schedule your available slots, and set some essential settings. And not only that, you can also set a buffer time for your appointment. Once you’re done, click the Save button and therefore a new appointment will be created successfully.


You can show an appointment on your website using the builder 2.0, and then users can book appointment slots from there.

On the checkout page, they’ll see the preview of the date and time slots being booked.

After checkout, users can view and join appointment sessions directly from the Appointments & Events Calendar on their dashboard.
