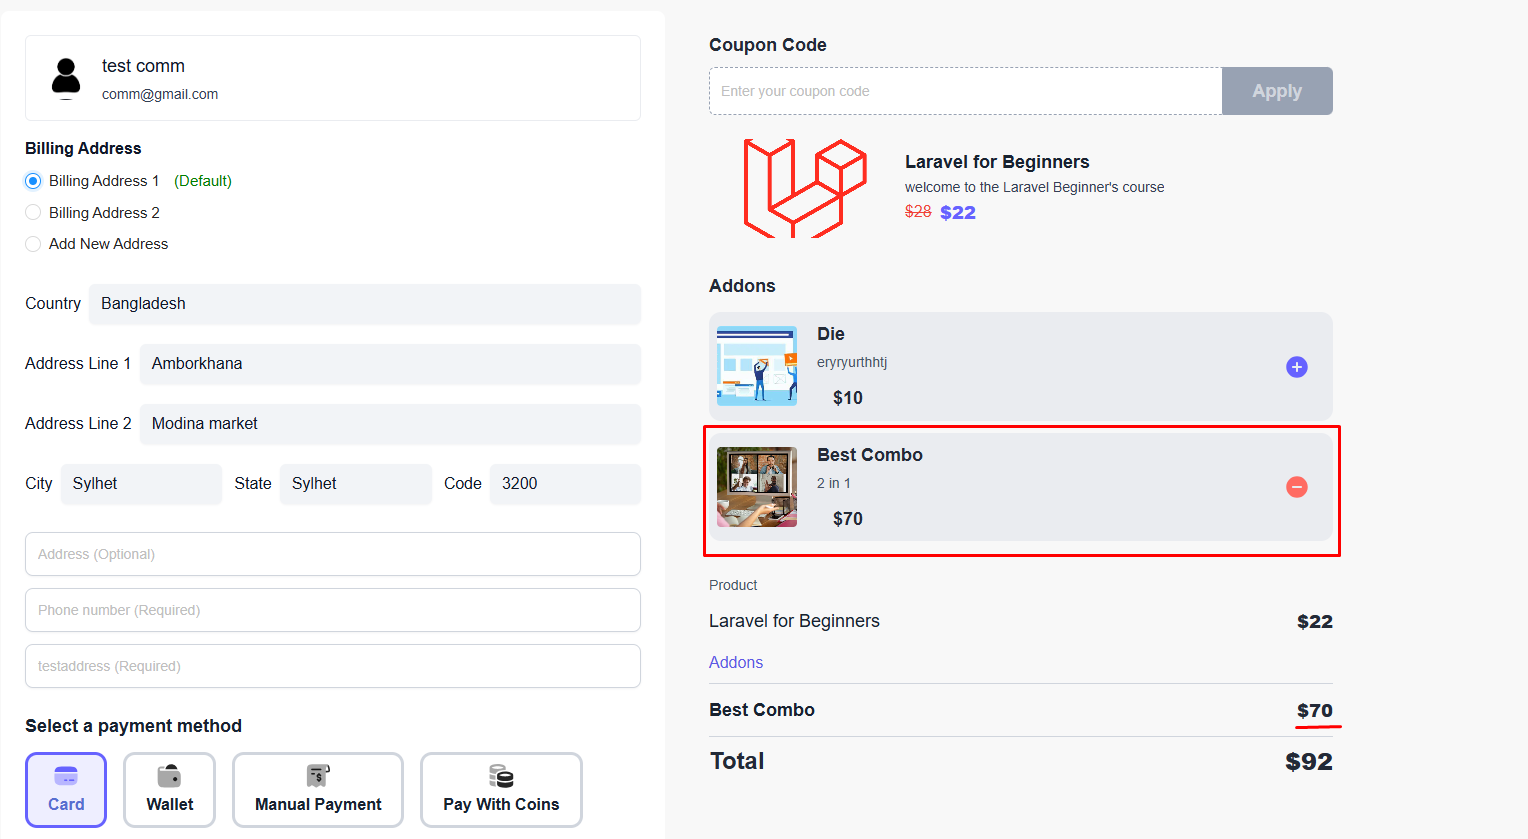
Back
EzyCourse Order Bumps
How to Create an Order Bump on EzyCourse
You can promote and suggest additional products on the checkout page of a product. Here, you’ll learn how to add an order bump to a primary product on the EzyCourse platform.
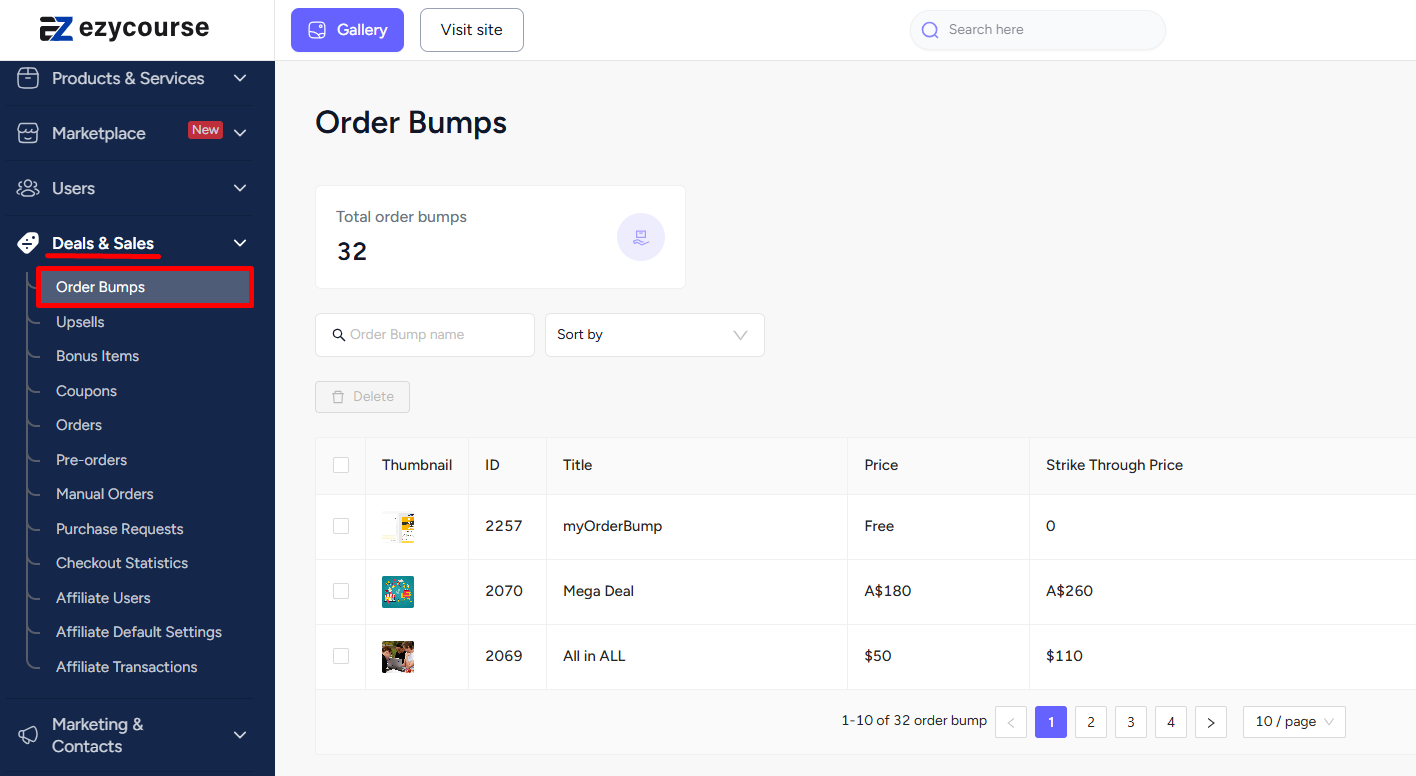
To begin, log in to your EzyCourse dashboard and go to Deals & Sales -> Order Bumps. Here, you’ll see all the order bumps on your platform.
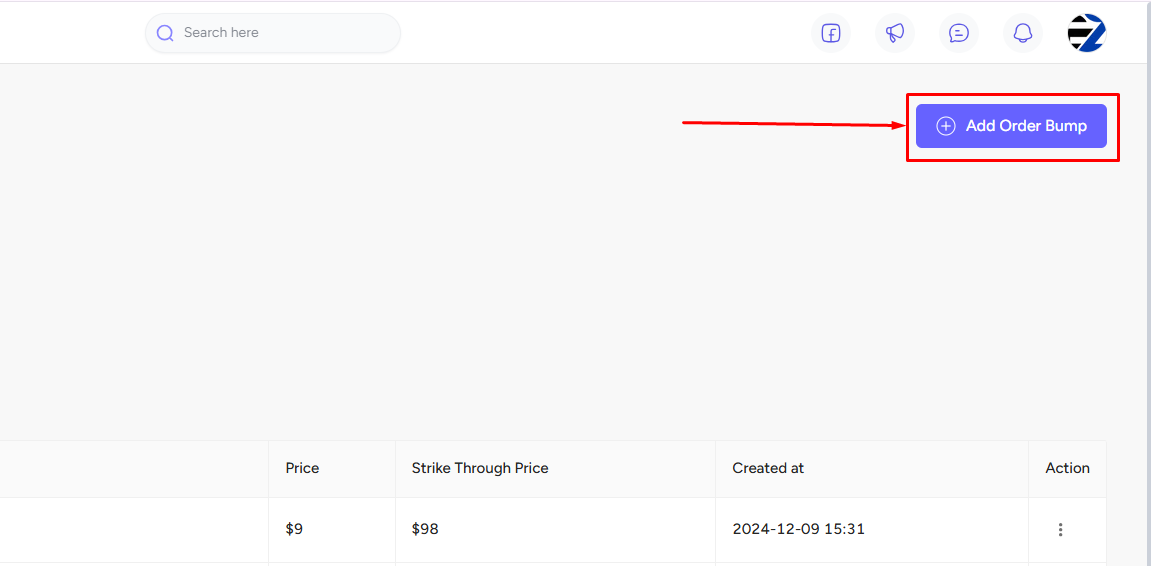
To create a new one, click the Add Order Bump button on the top right corner of the screen.
[Note: You have to set up a payment gateway in order to create an order bump.]
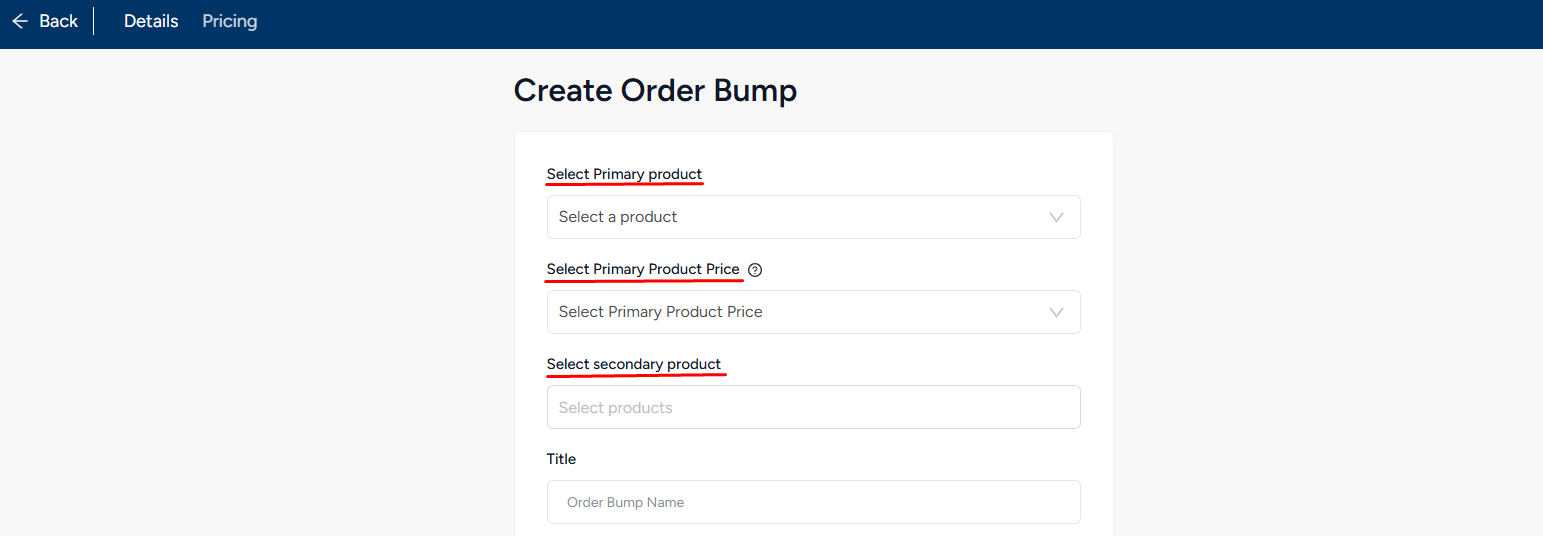
Now, you’ll have to select the primary product with which you want to show the order bump product(s). After that, choose the product price if you have set multiple prices for the product. The secondary product here refers to the order bump which can literally be any product on your platform. You can combine multiple products as an order bump.
[Note: You must update the order bump again if you ever change the primary product’s price.]
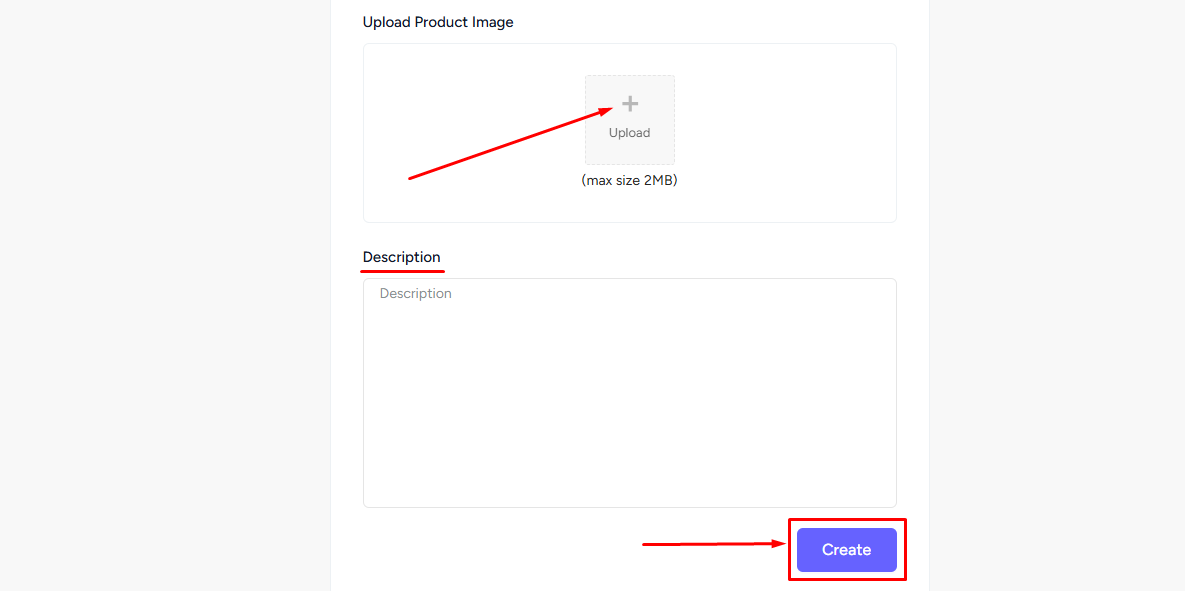
Give title, description, and upload product image. After that, click the Create button to complete creating the order bump.
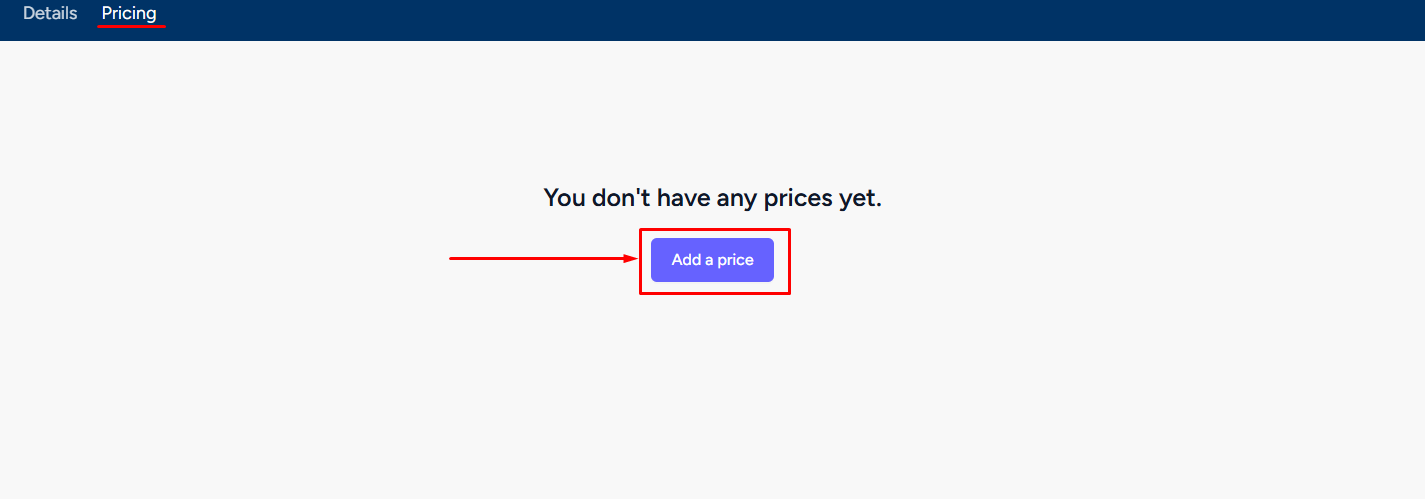
Once you create the order bump, click the Price tab on the top left corner and click the Add a price button to view further pricing features.
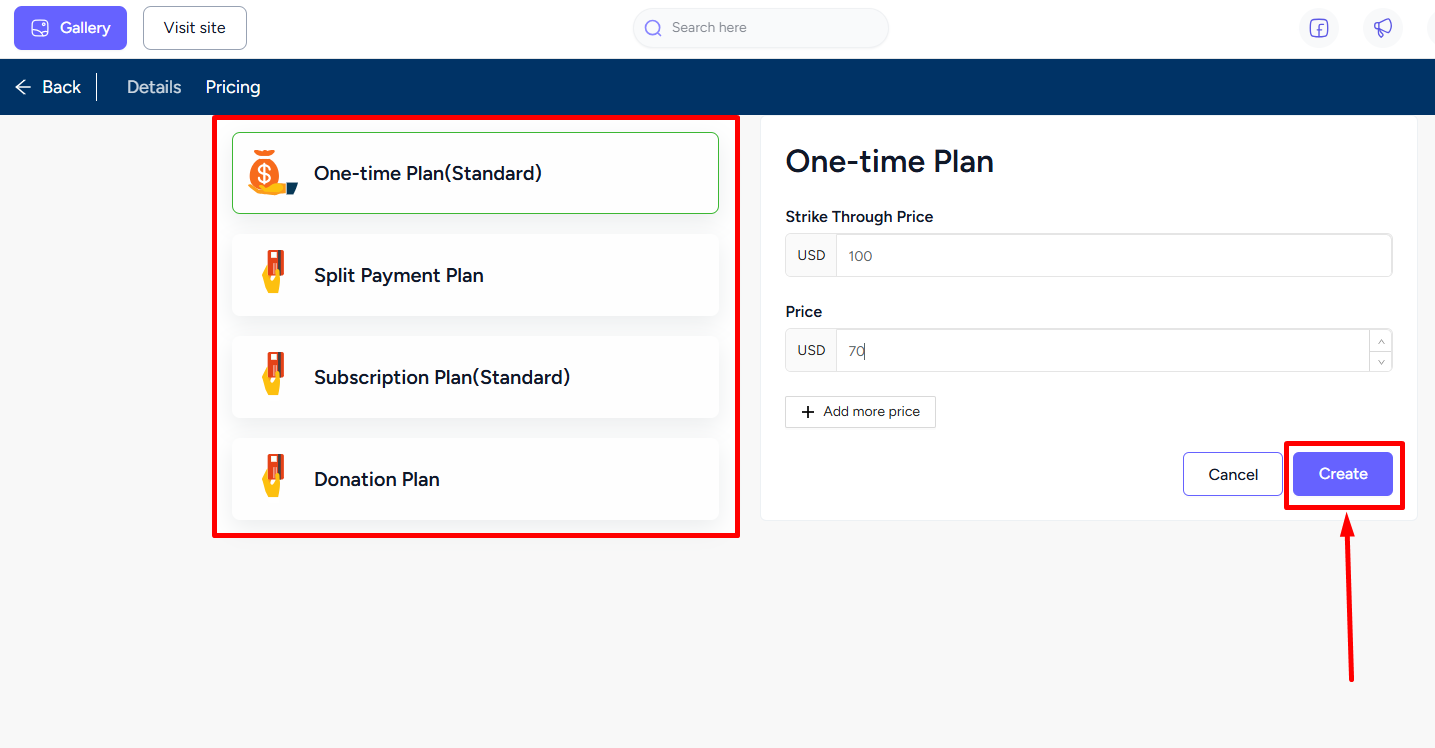
Here you can see 4 pricing options to choose from to set up your order bump pricing. You can also set it by using the Strike-Through Price option as well. At the end, click the Create button to finalize the process.
Now, when your students go to the checkout of the primary product, they’ll see the add-on. Of course, they have the option whether to buy the add-on or not.
