Back
After-Checkout Page for Events
What is it and why you need it
EzyCourse allows you to add an internal or custom after-checkout page for several products & services. With the latest feature update, you can now set an internal/external after-checkout page for Events.
Meaning when a student purchases an event, they will be redirected to the custom page you've set, rather than being taken directly to their dashboard.
This would be beneficial if you want to give pre-event instruction details to your students or encourage them to join any event-related community and take further action.
How to get started using it
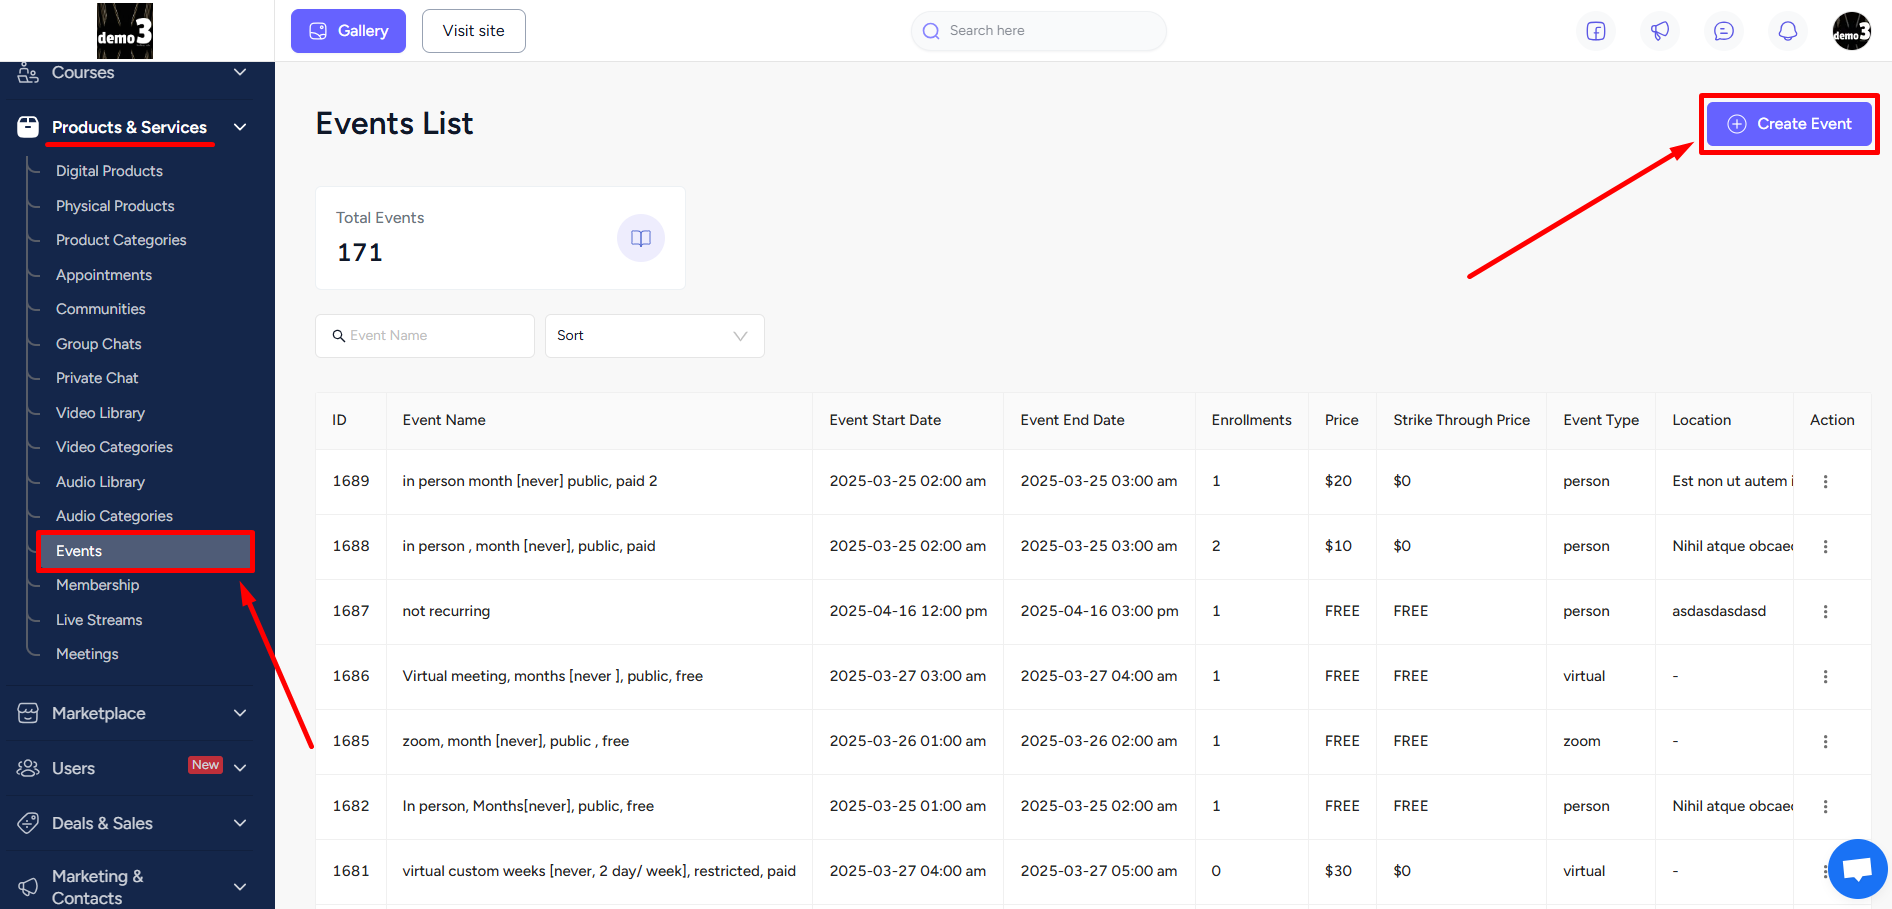
You can set the after-checkout page when creating or editing an event. To set an after-checkout page for a new event, go to Products & Services -> Events -> click the Create button.
[Note: The default after-checkout page for events is the Events section in the student dashboard.]
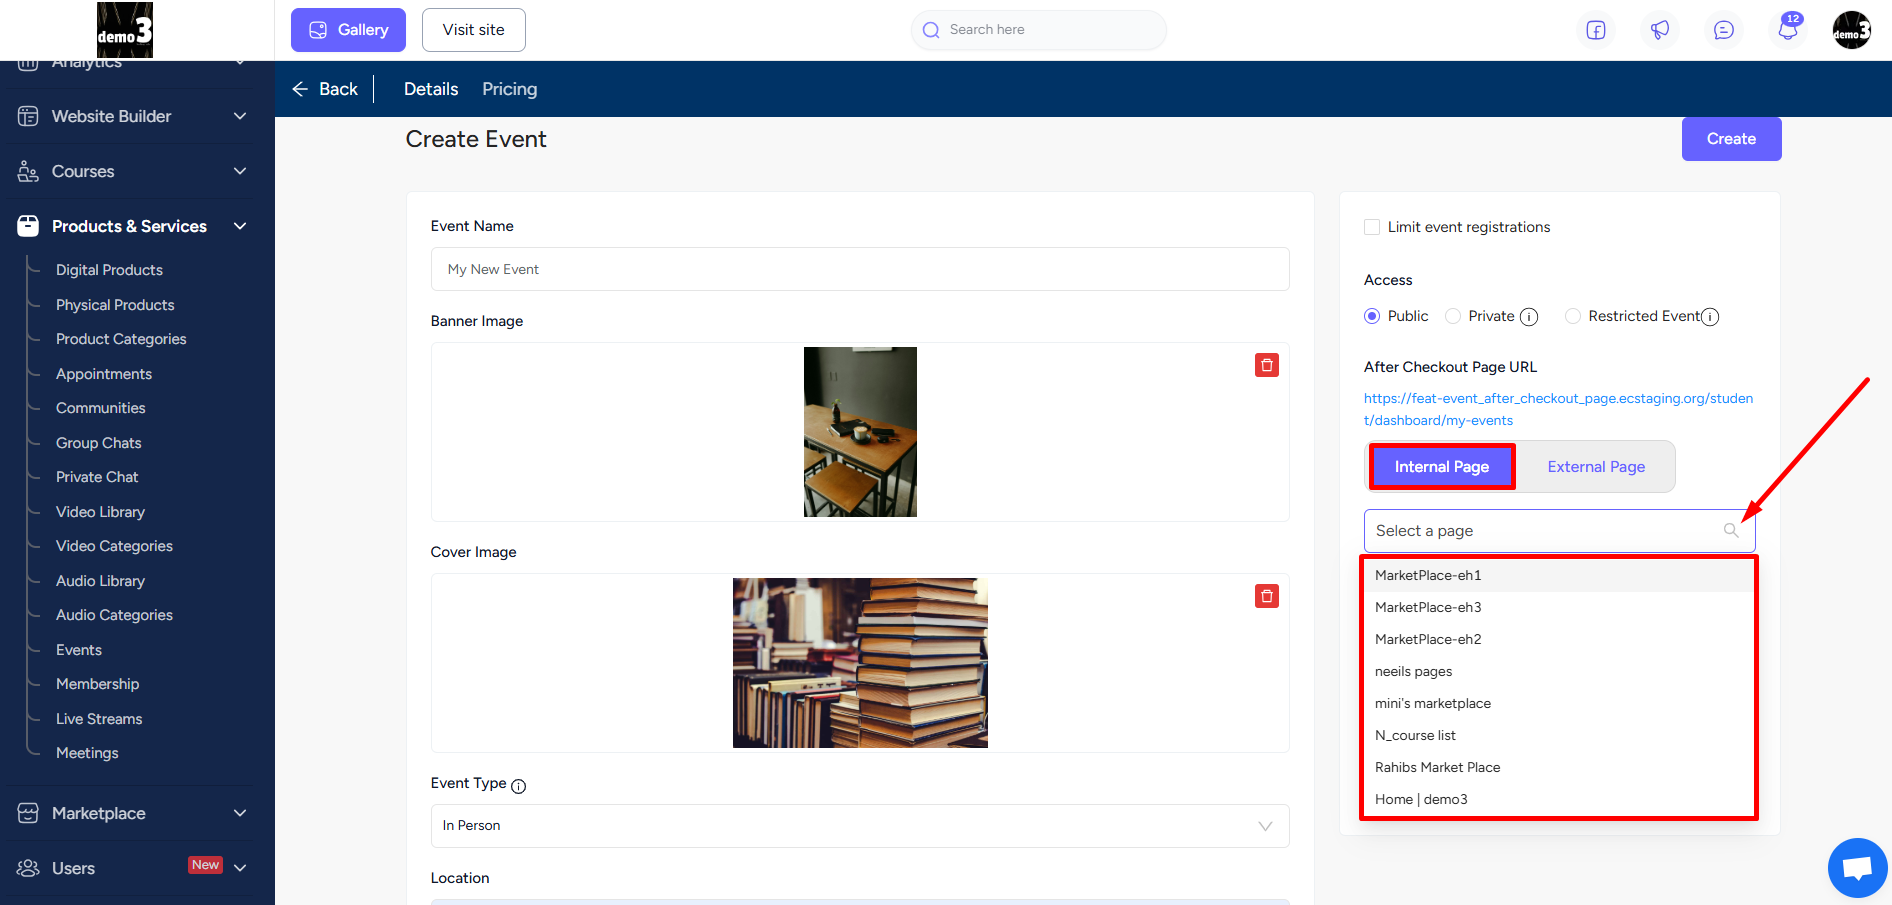
On the event creation page, locate the “After-Checkout Page URL” option on the right side of your screen. You can either choose Internal Page and use any of your existing page on the platform from the dropdown option.
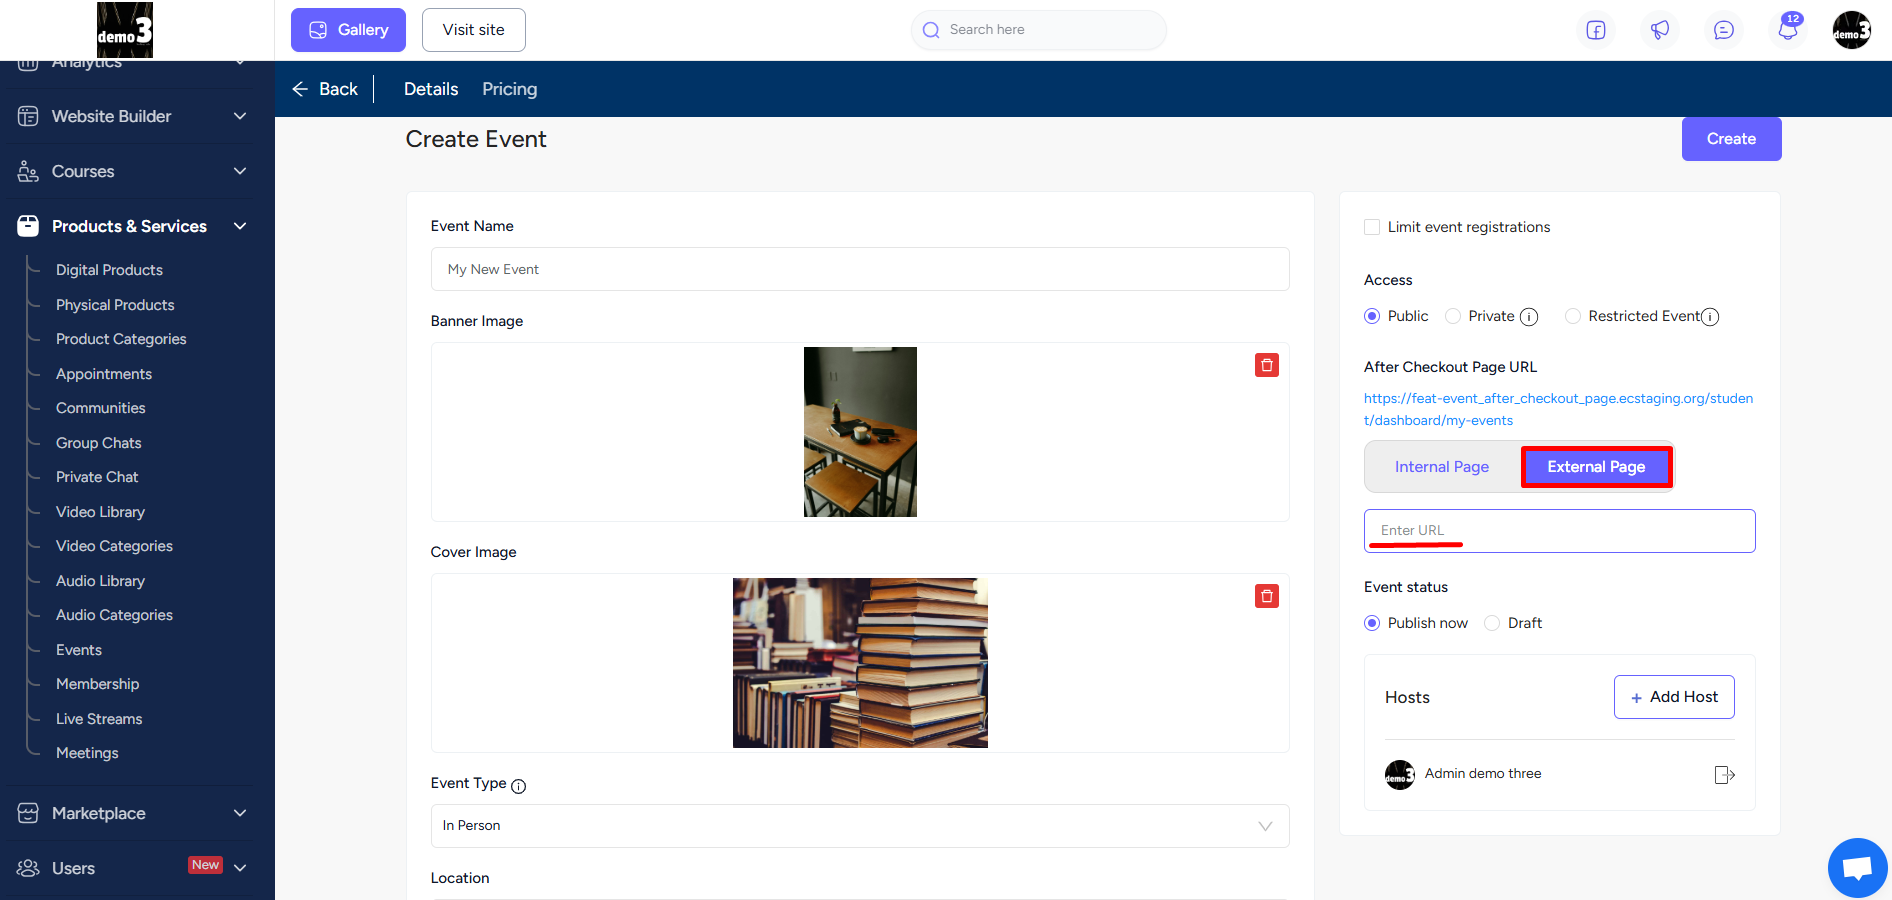
Or you can select External Page and use an external URL to redirect your students when they purchase this event. Once you’re done, click the Create button.
[Note: If you've made any changes to an existing internal page that’s set as the after-checkout page, remember to update it for the event as well.]
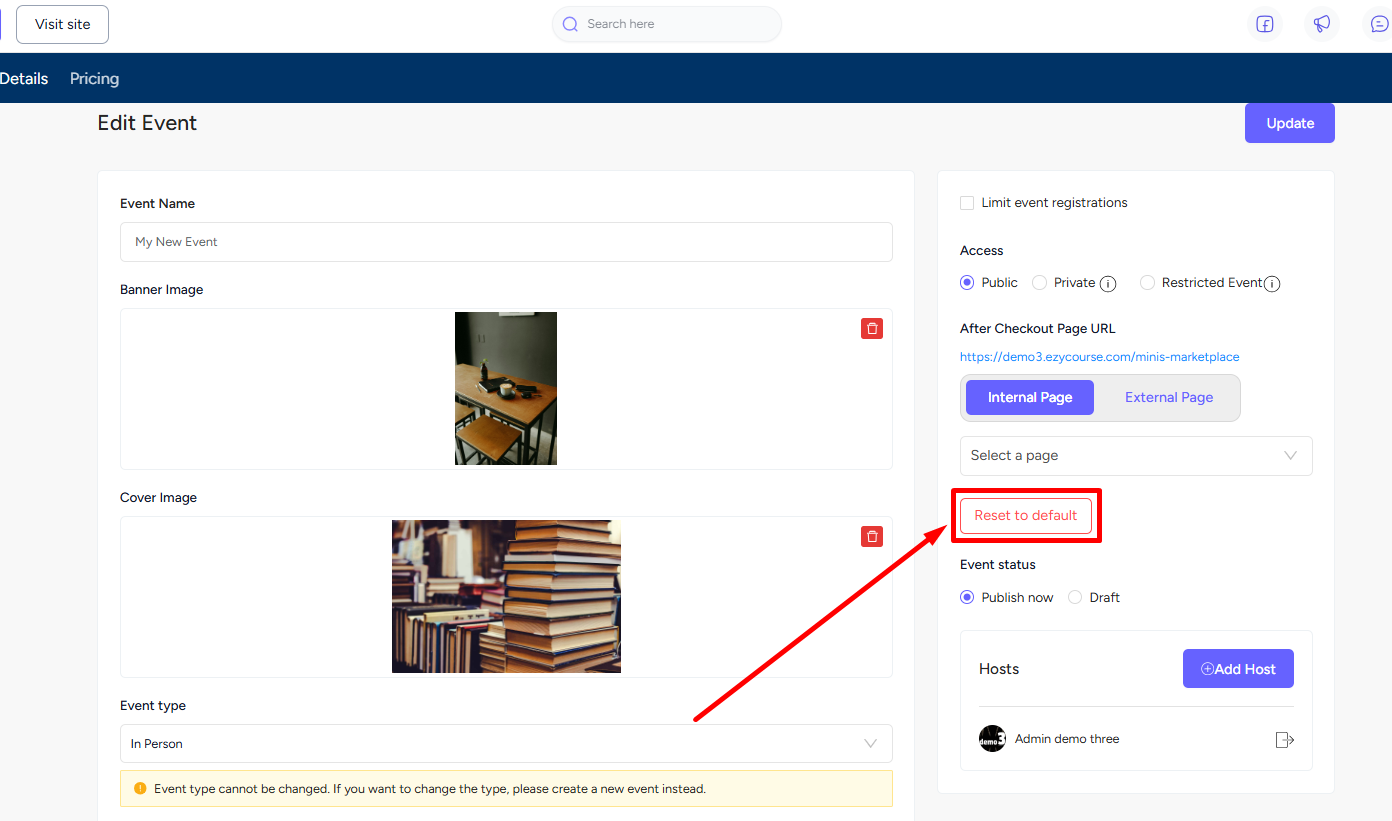
You also have the option to go back to the default checkout page anytime. To do that, simply click the Reset to default button.