
Back
How to Add a Carousel on EzyCourse Builder
You can add a carousel on a page using the EzyCourse Builder. No complicated coding needed!
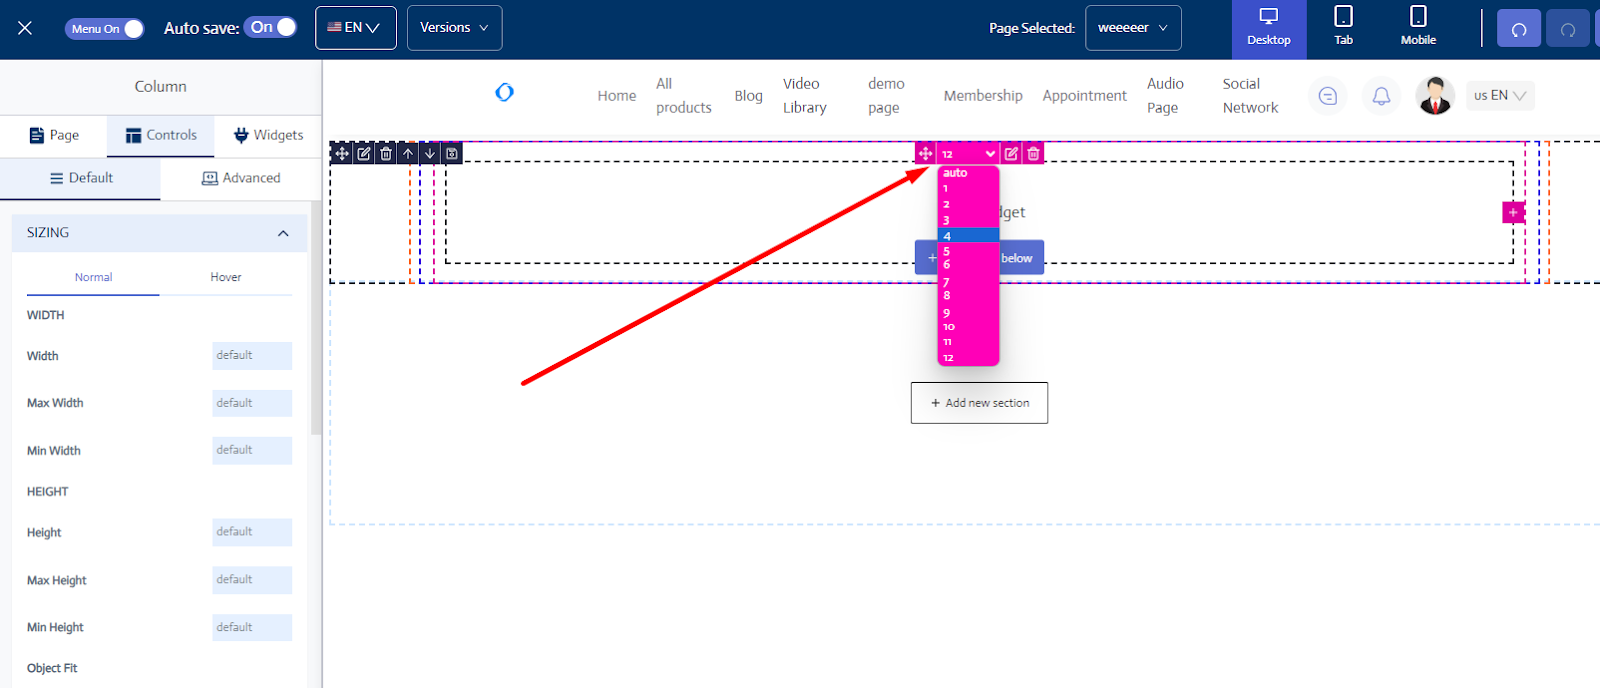
To begin, open any page in the builder and add a new section. Then choose the number of columns for the new section. This will determine how many sliders you can have in the carousel.
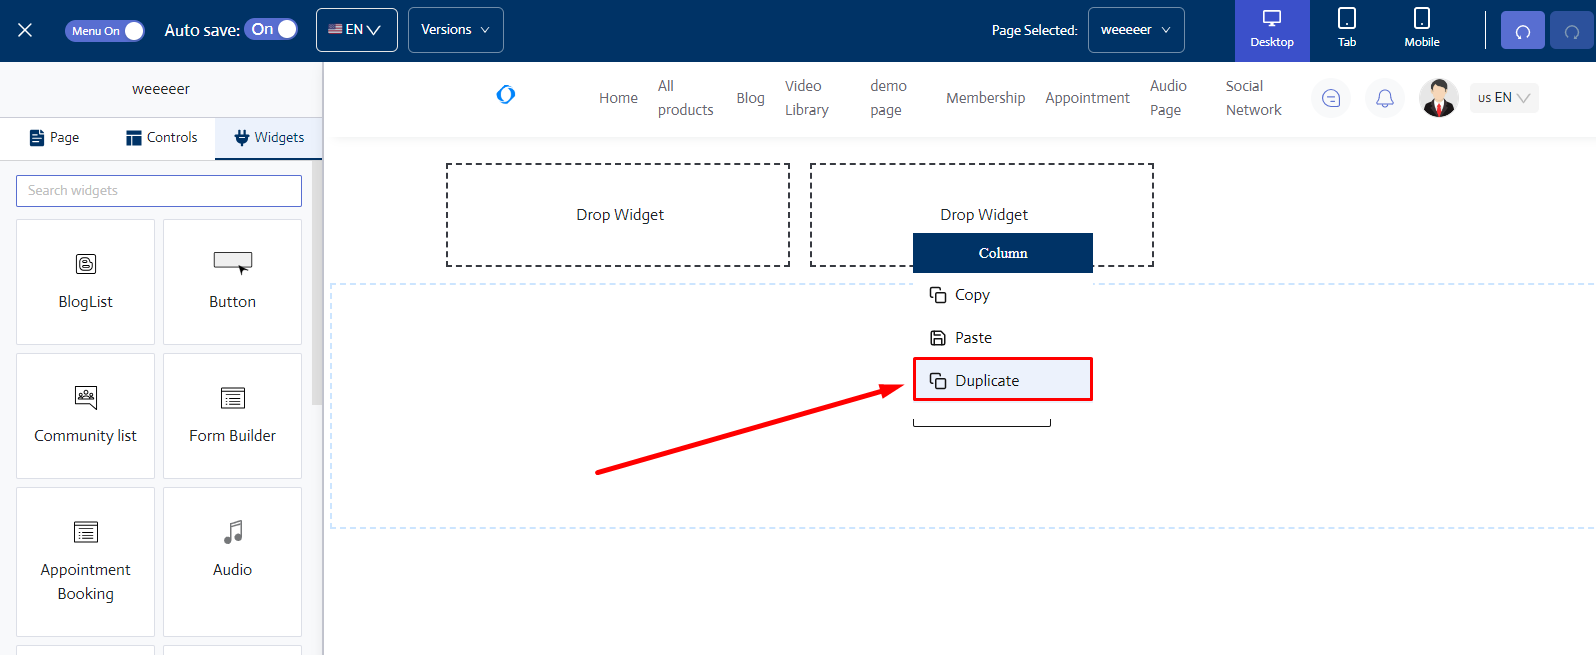
Now, duplicate the narrowed area where it says “Drop Widget”. To duplicate, simply right-click on the area and select the duplicate option. Create duplicates according to your needs i.e. according to how many sliders you want to add.
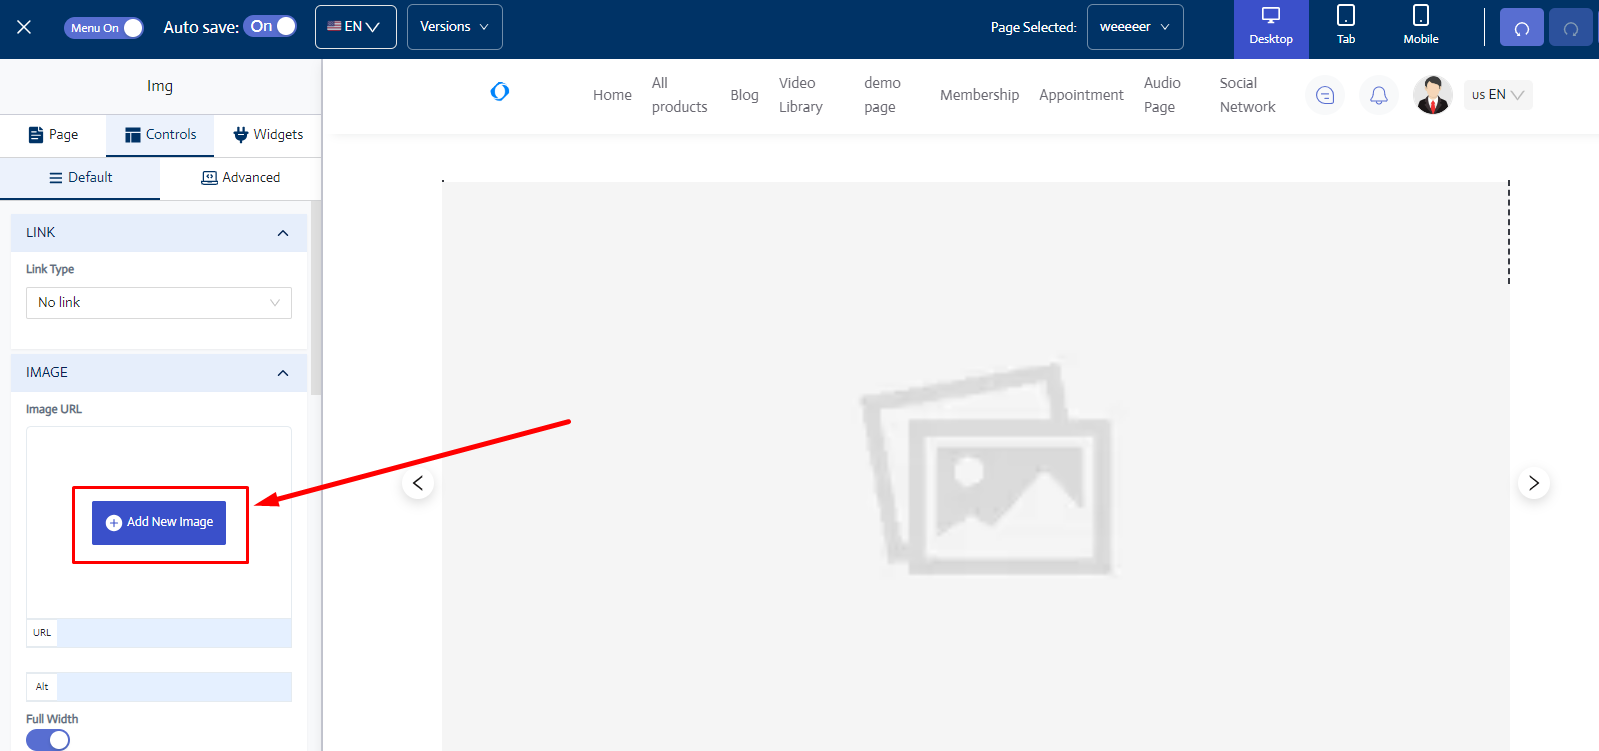
Now, drag and drop any widget on all the empty sections, one at a time. It could be a div, header text, etc.

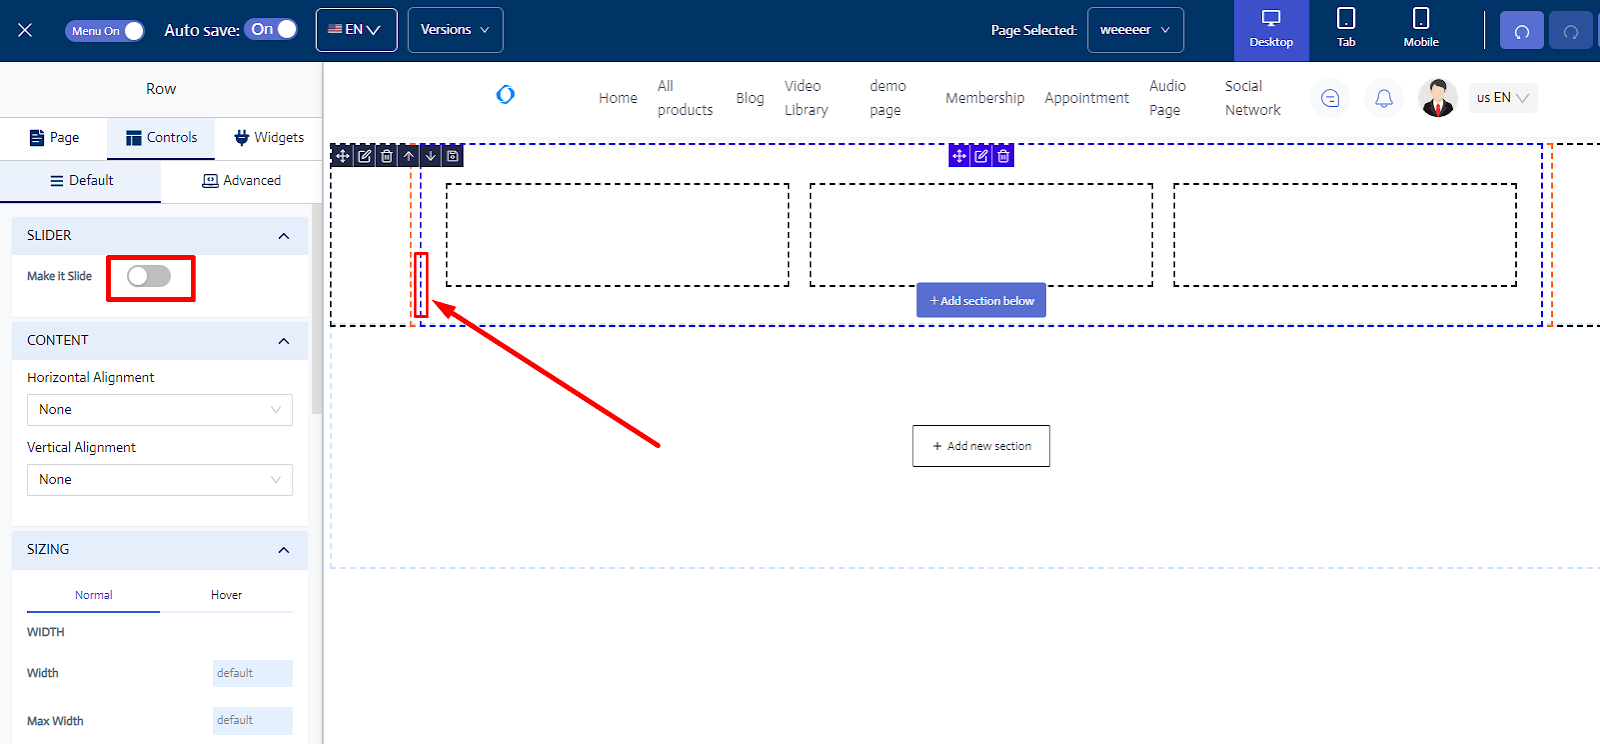
Then select the blue row border and enable the option Make it Slide from the left sidebar. Read about the default layout system on the builder to understand the row/column borders.
Now, you can use any widget to insert into the carousel. Simply drag and drop the widget on the empty sections.

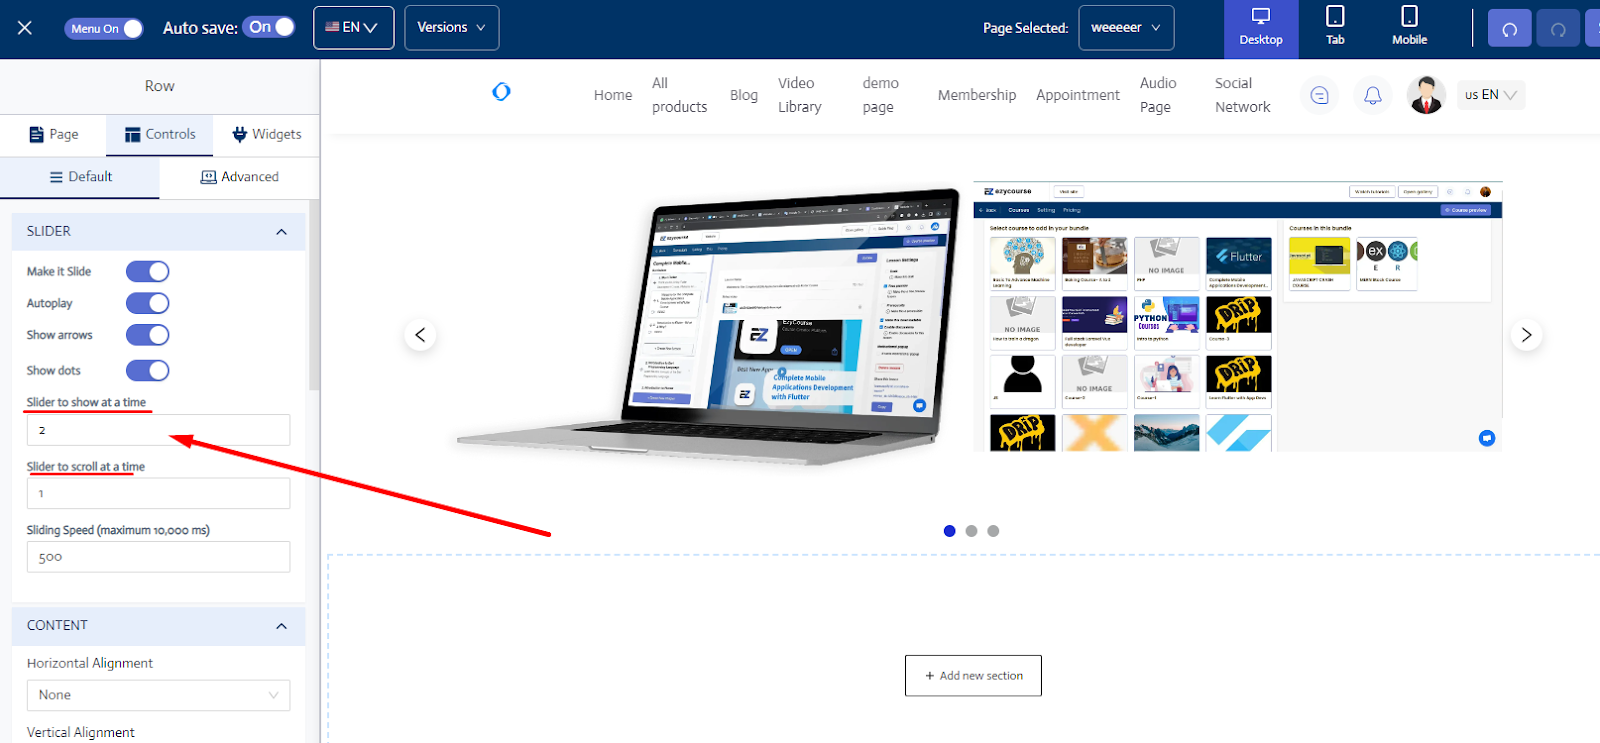
After you add the element, you can click on the blue row border again to change the carousel settings including autoplay, which makes the slider work automatically. You can also choose whether to show arrows and the dots.

Furthermore, you can control how many slides to show at a time and also choose how many sliders to skip at a time.
And then you will have a nice looking carousel on your website.
Also read: How to add custom CSS