
Back
Create and Edit a New Section
A section is a part of your page inside the Builder 2.0. It’s where you drop widgets, elements, and other items to build your page. Think of it as the main area or background body of your page.
In this article, you’ll learn how to create a new section, customize sections, and other section-related controls.
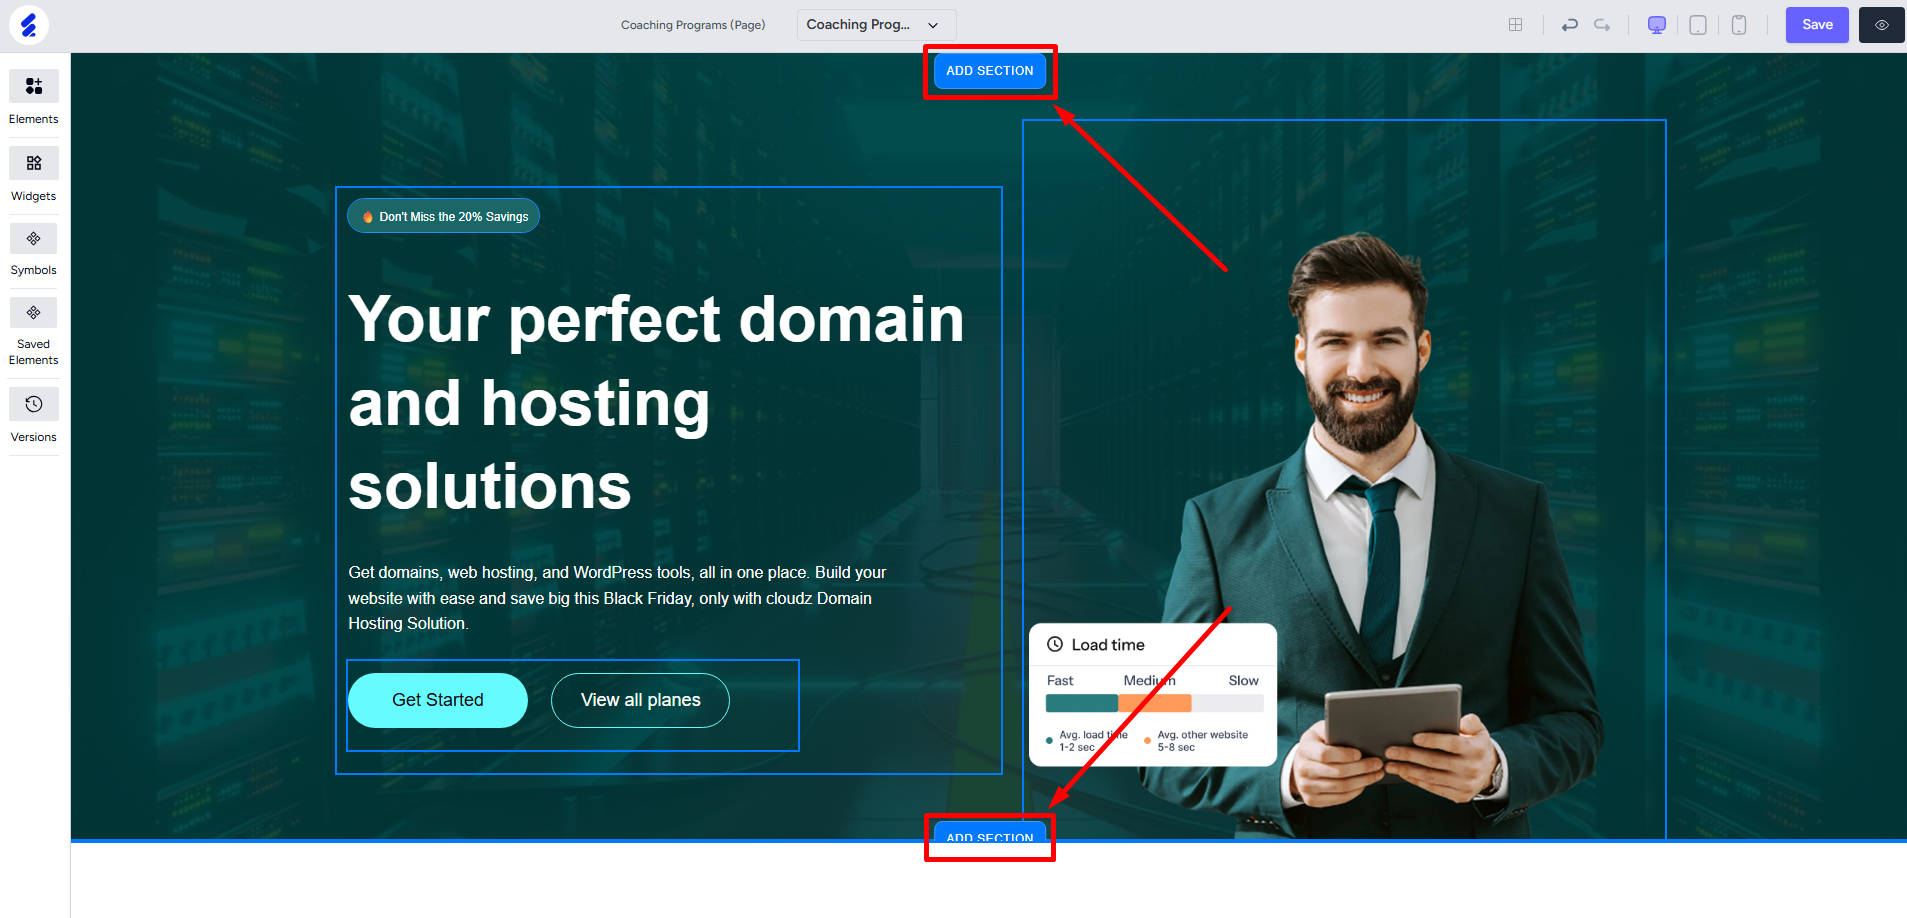
To create a new section, just hover over the builder body/a section and click the Add Section button on the page. You can add a new section on top of and below another section.
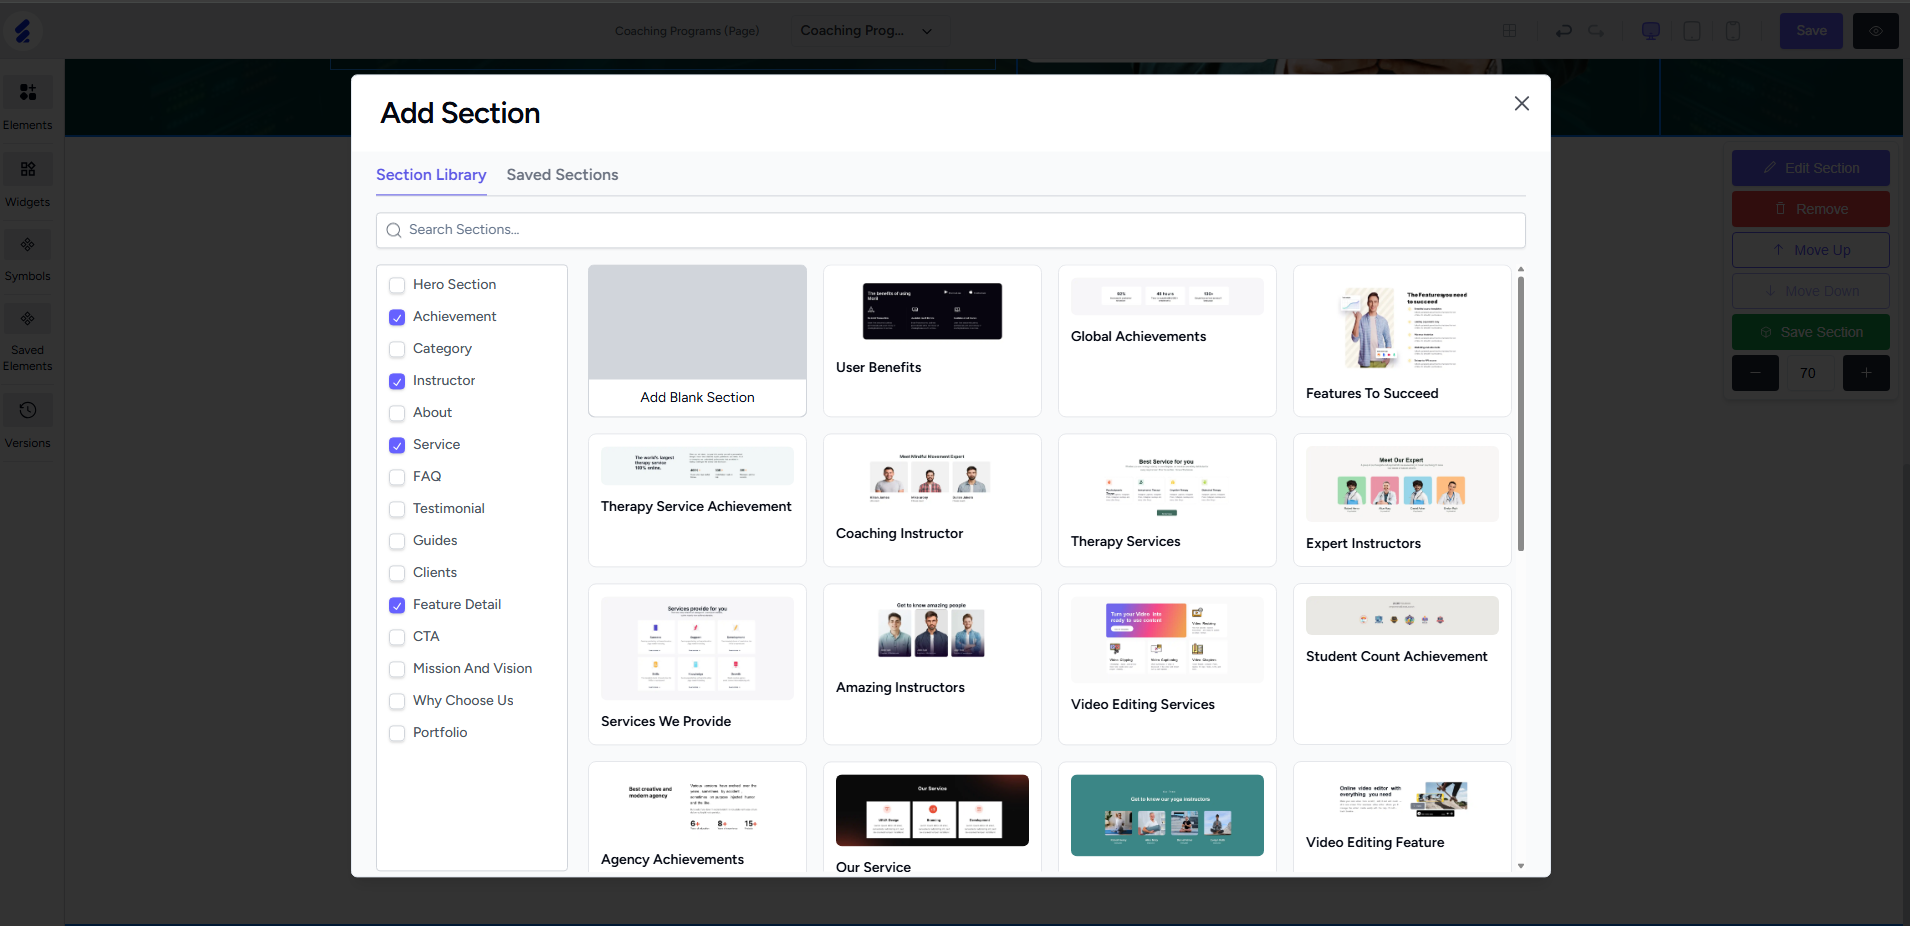
When you add a section, you’ll be prompted to choose a pre-built block. Blocks are the easiest way to have your entire section ready-made. There are countless blocks you can choose from and you can even filter the blocks to easily choose what suits best.
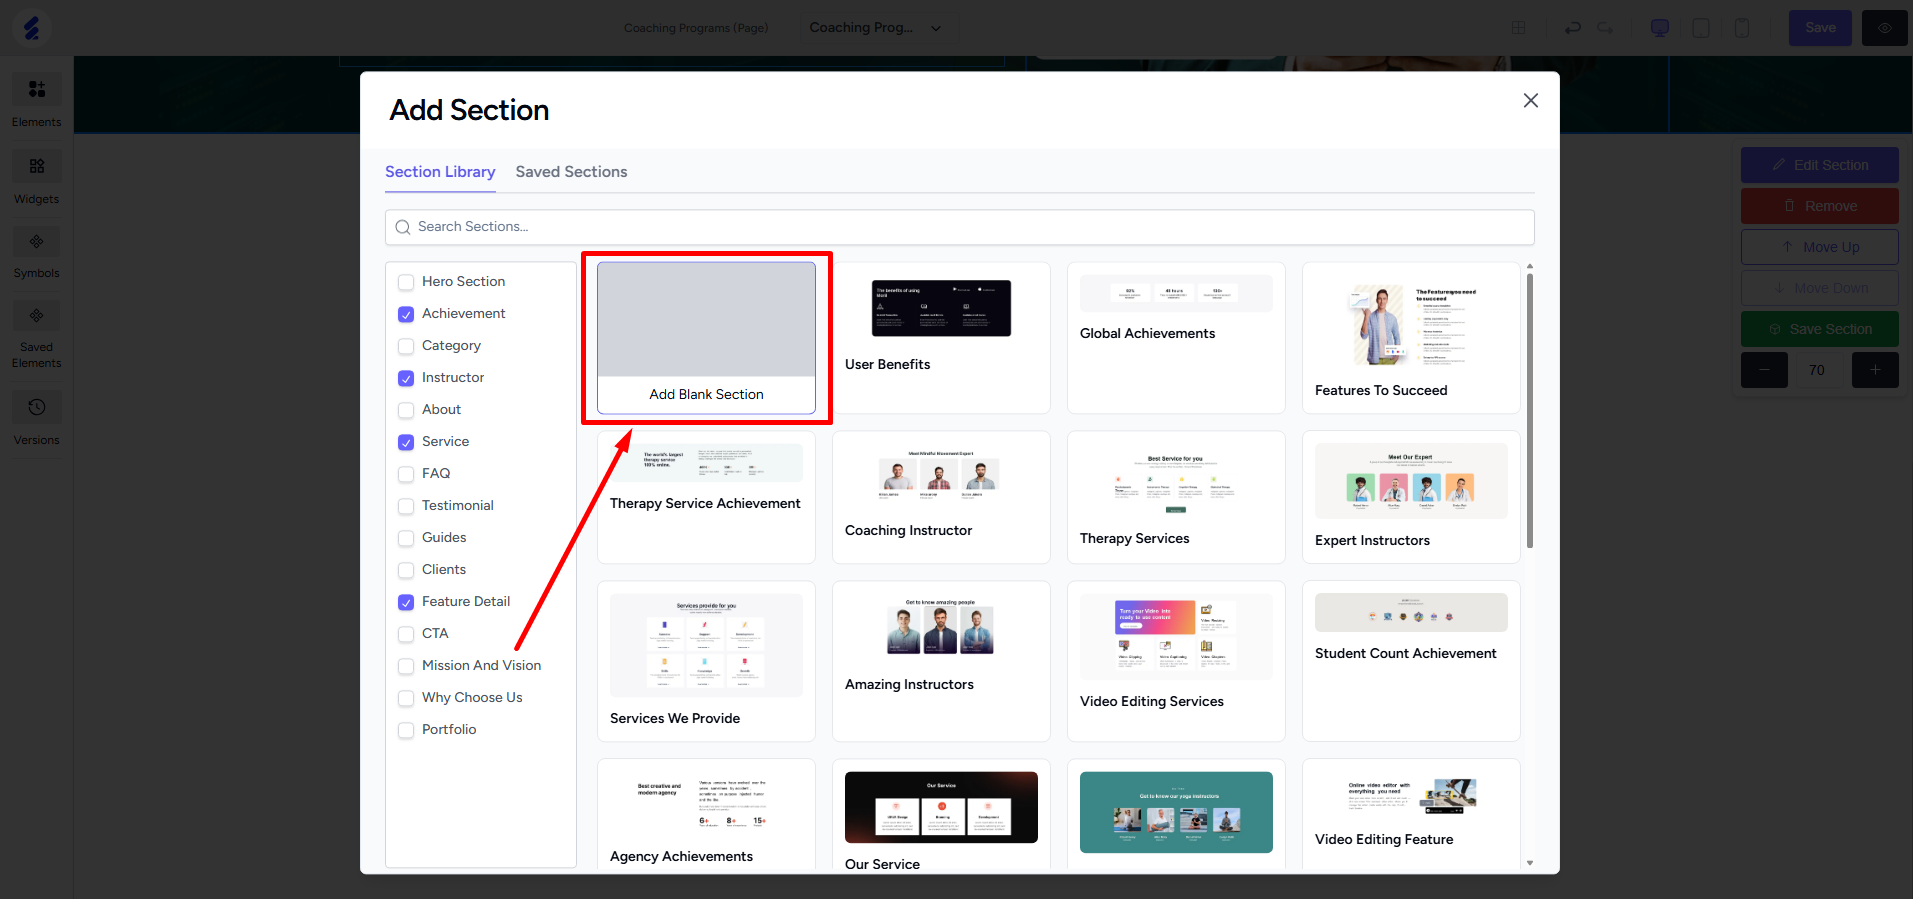
You can also start with a blank section to build it up from scratch using Elements and Widgets.
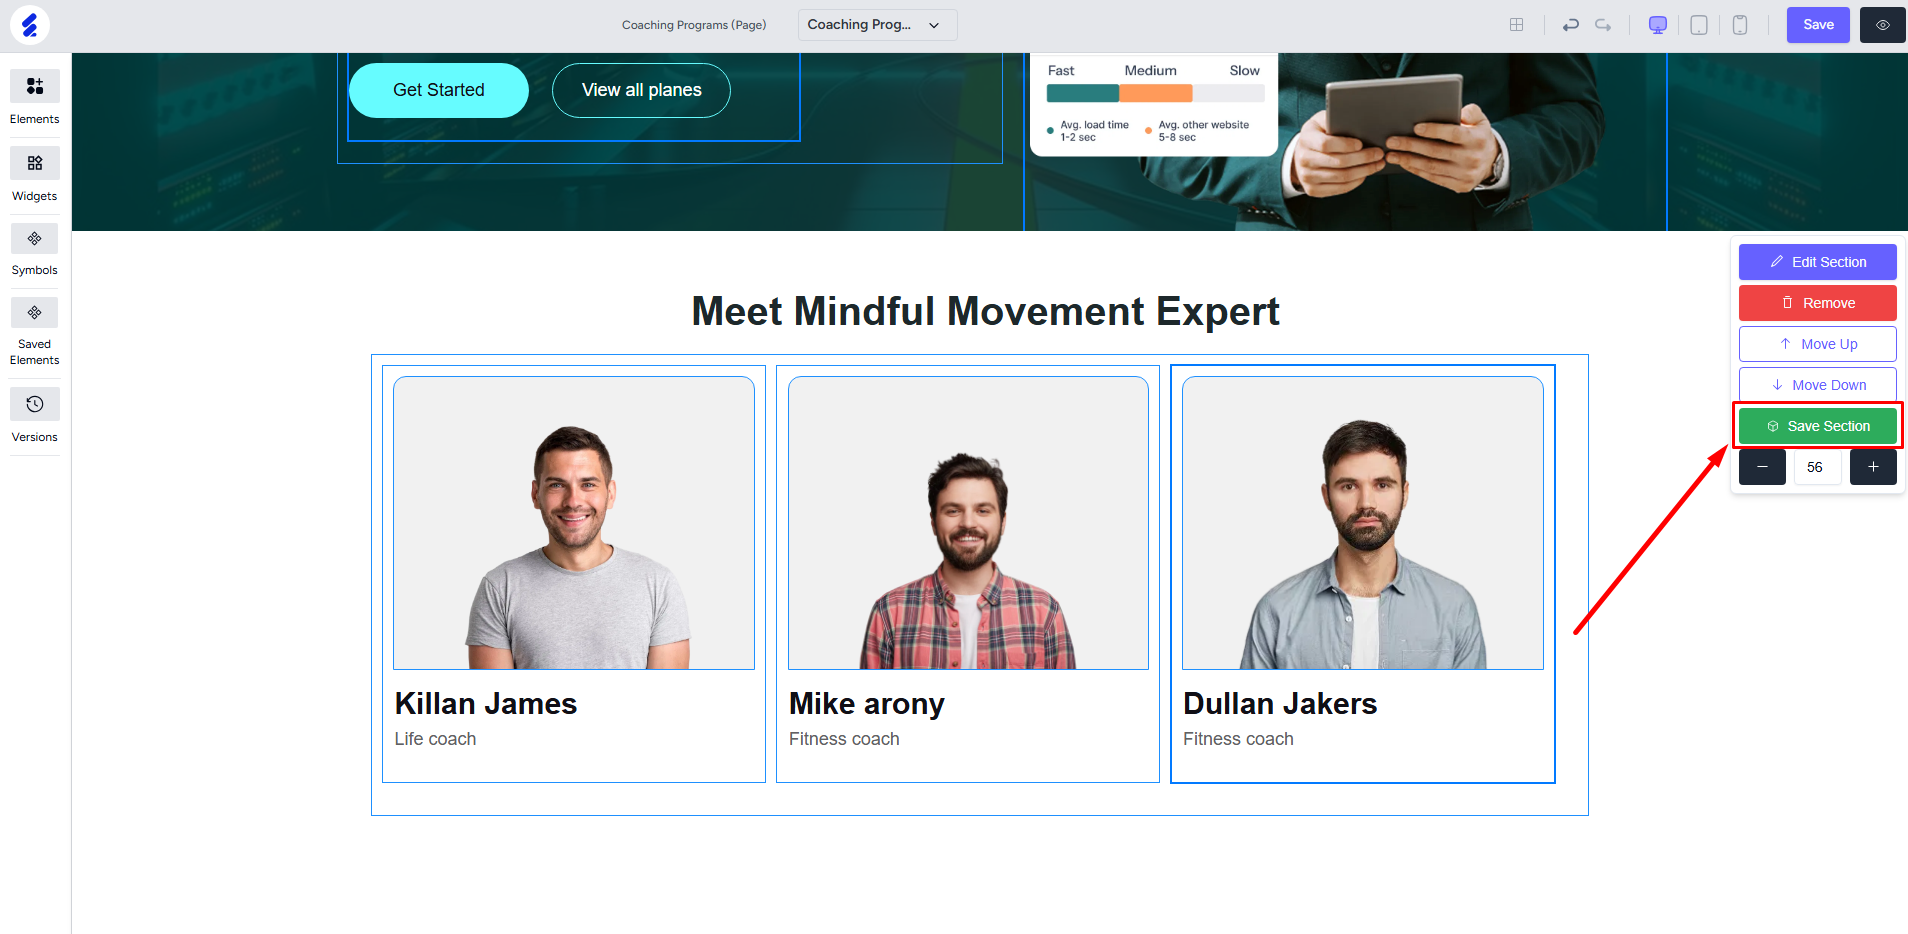
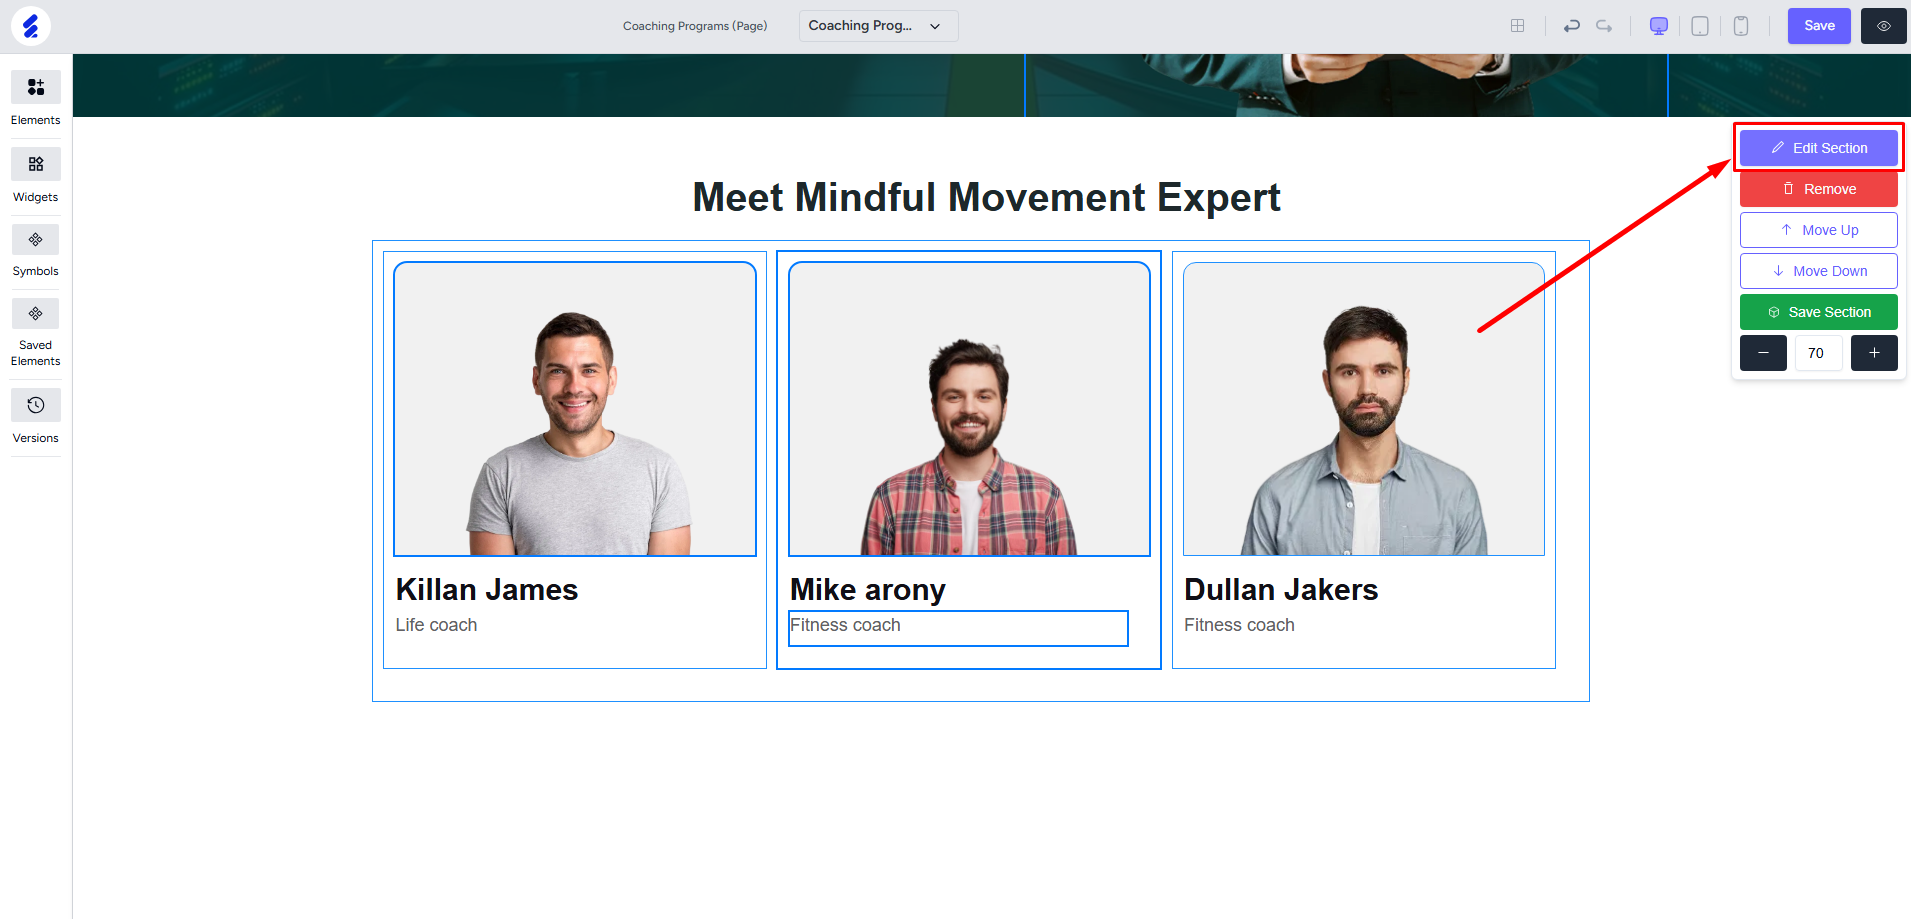
Left-click on the body of a section to open the section customization panel and see different operations you can perform. You can move the section up or down with a single click and even remove the section entirely.
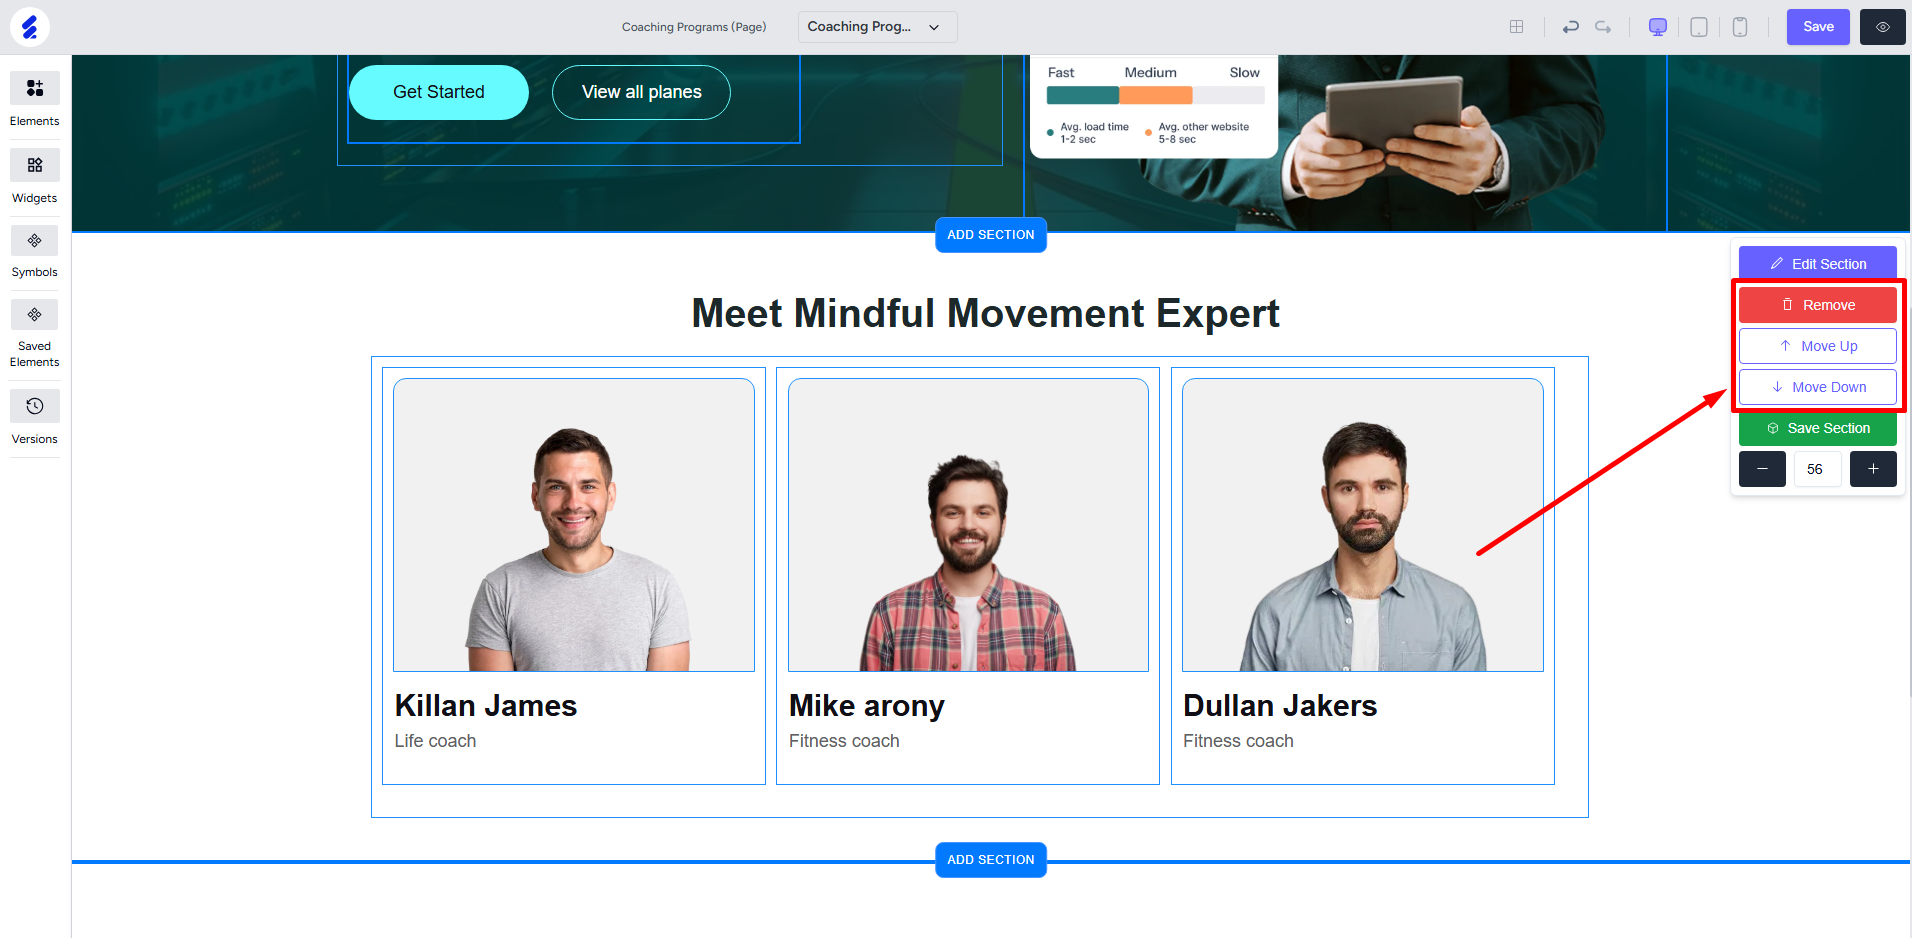
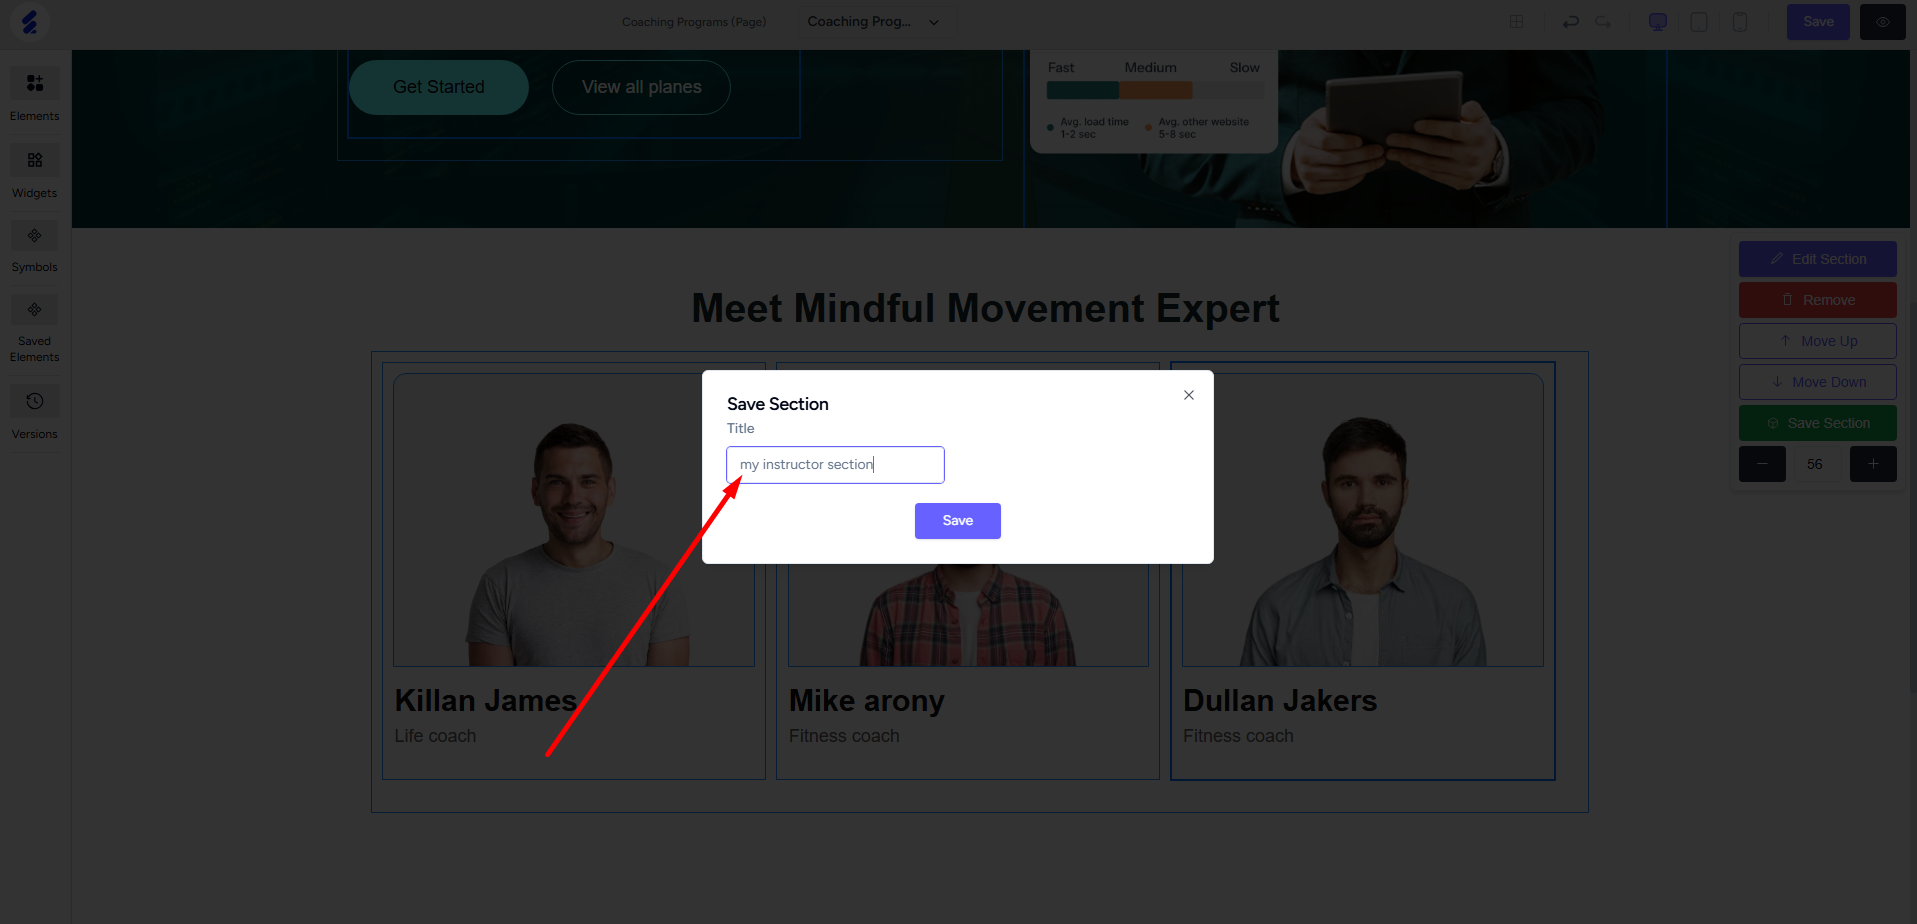
To save a section, click the Save Section option. And then give a name for the section.
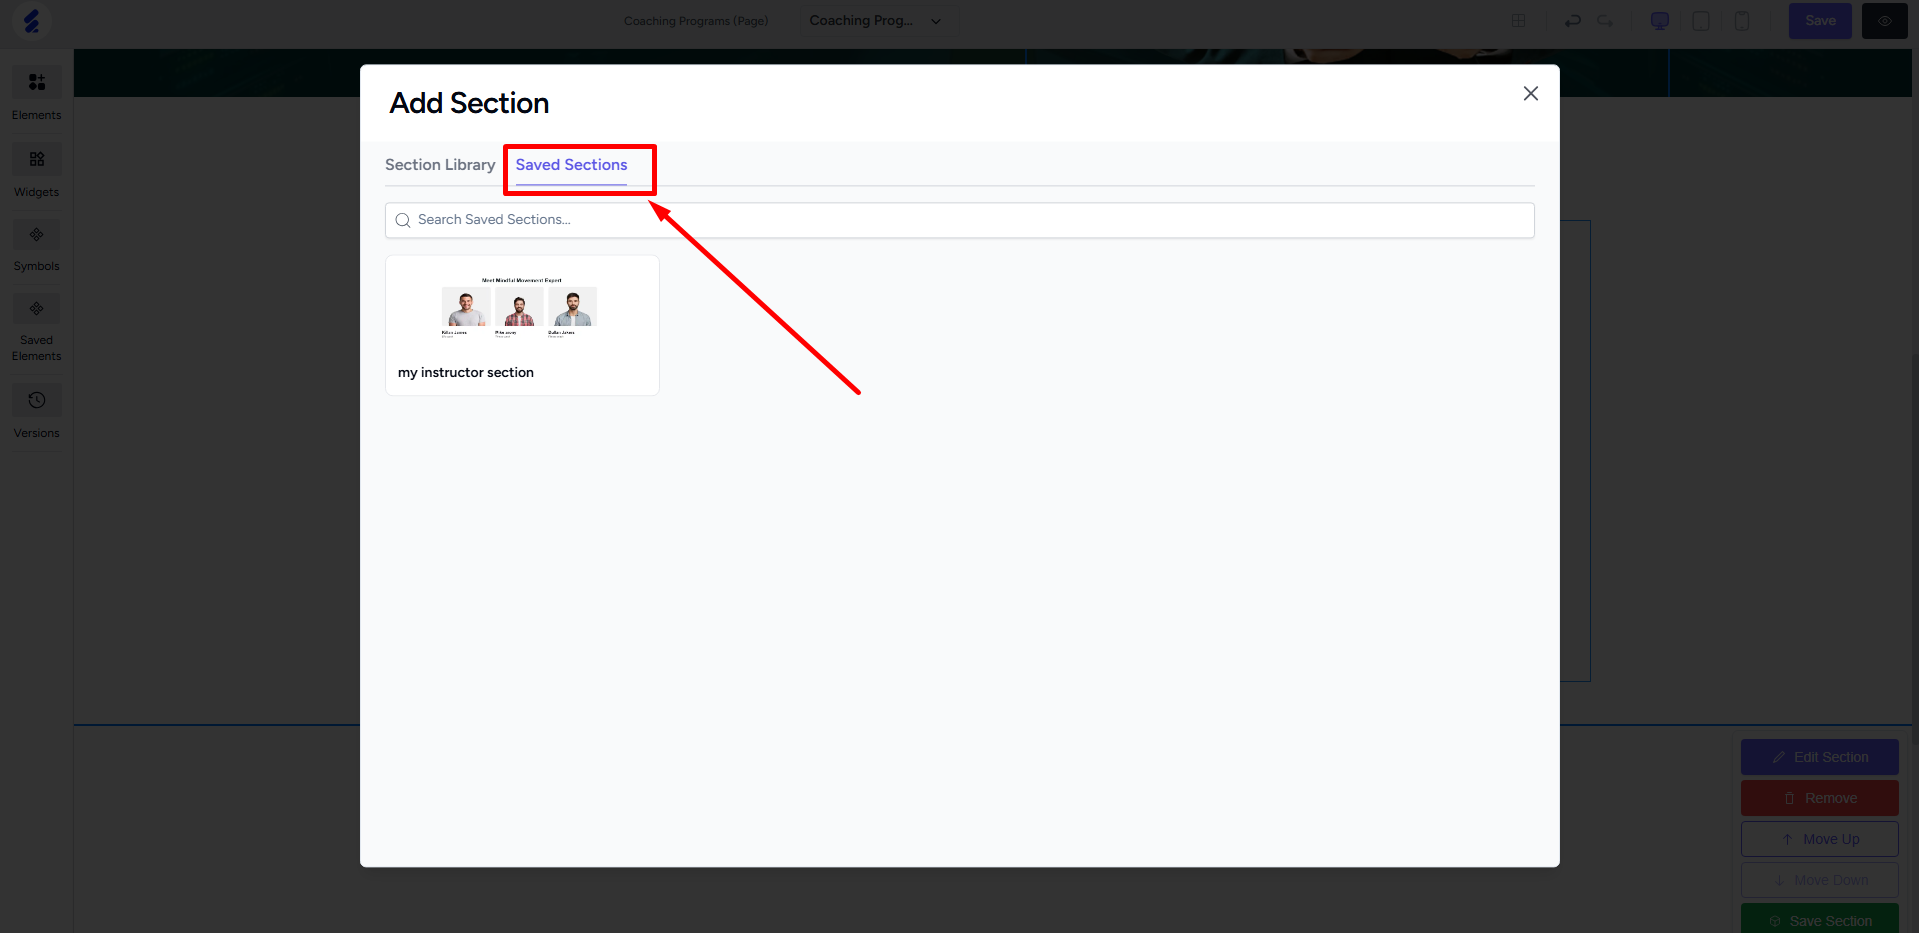
Saved sections are accessible on the “Saved Sections” tab when adding a new section. Once you save a section, you can use it anywhere on the same page or on any other pages.
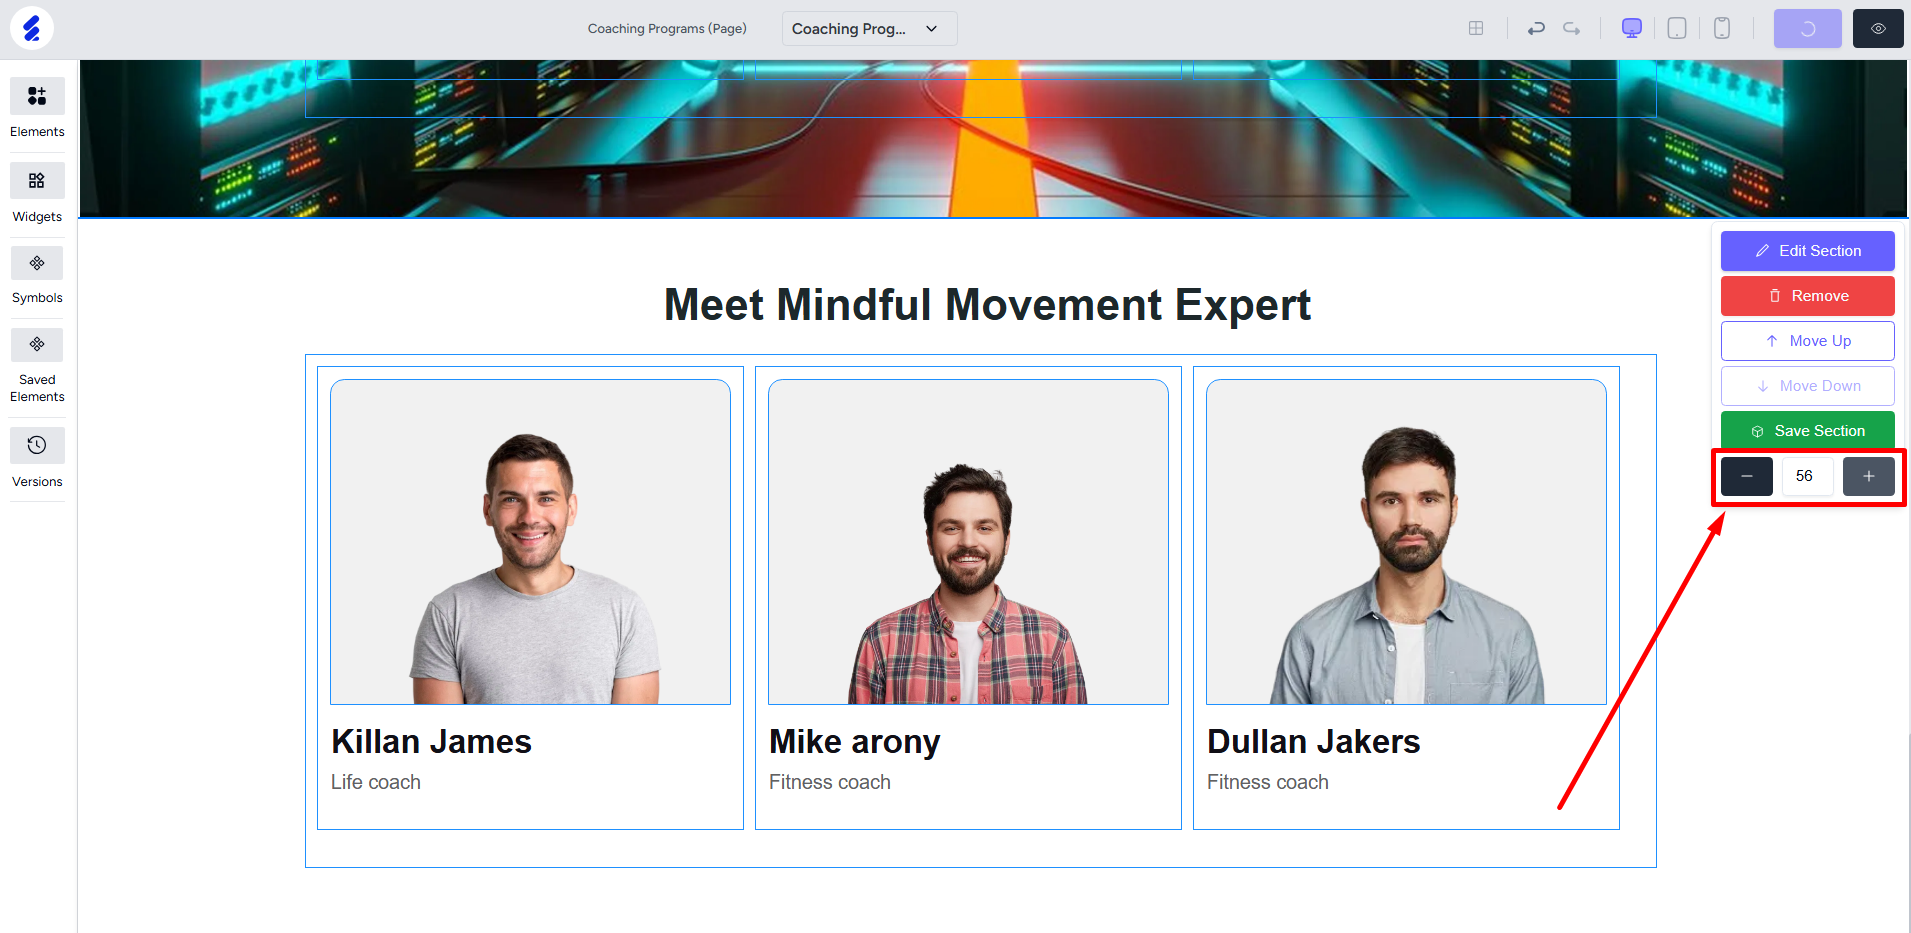
You can set the vertical space or row count of the section. This determines how much space the section takes in height.
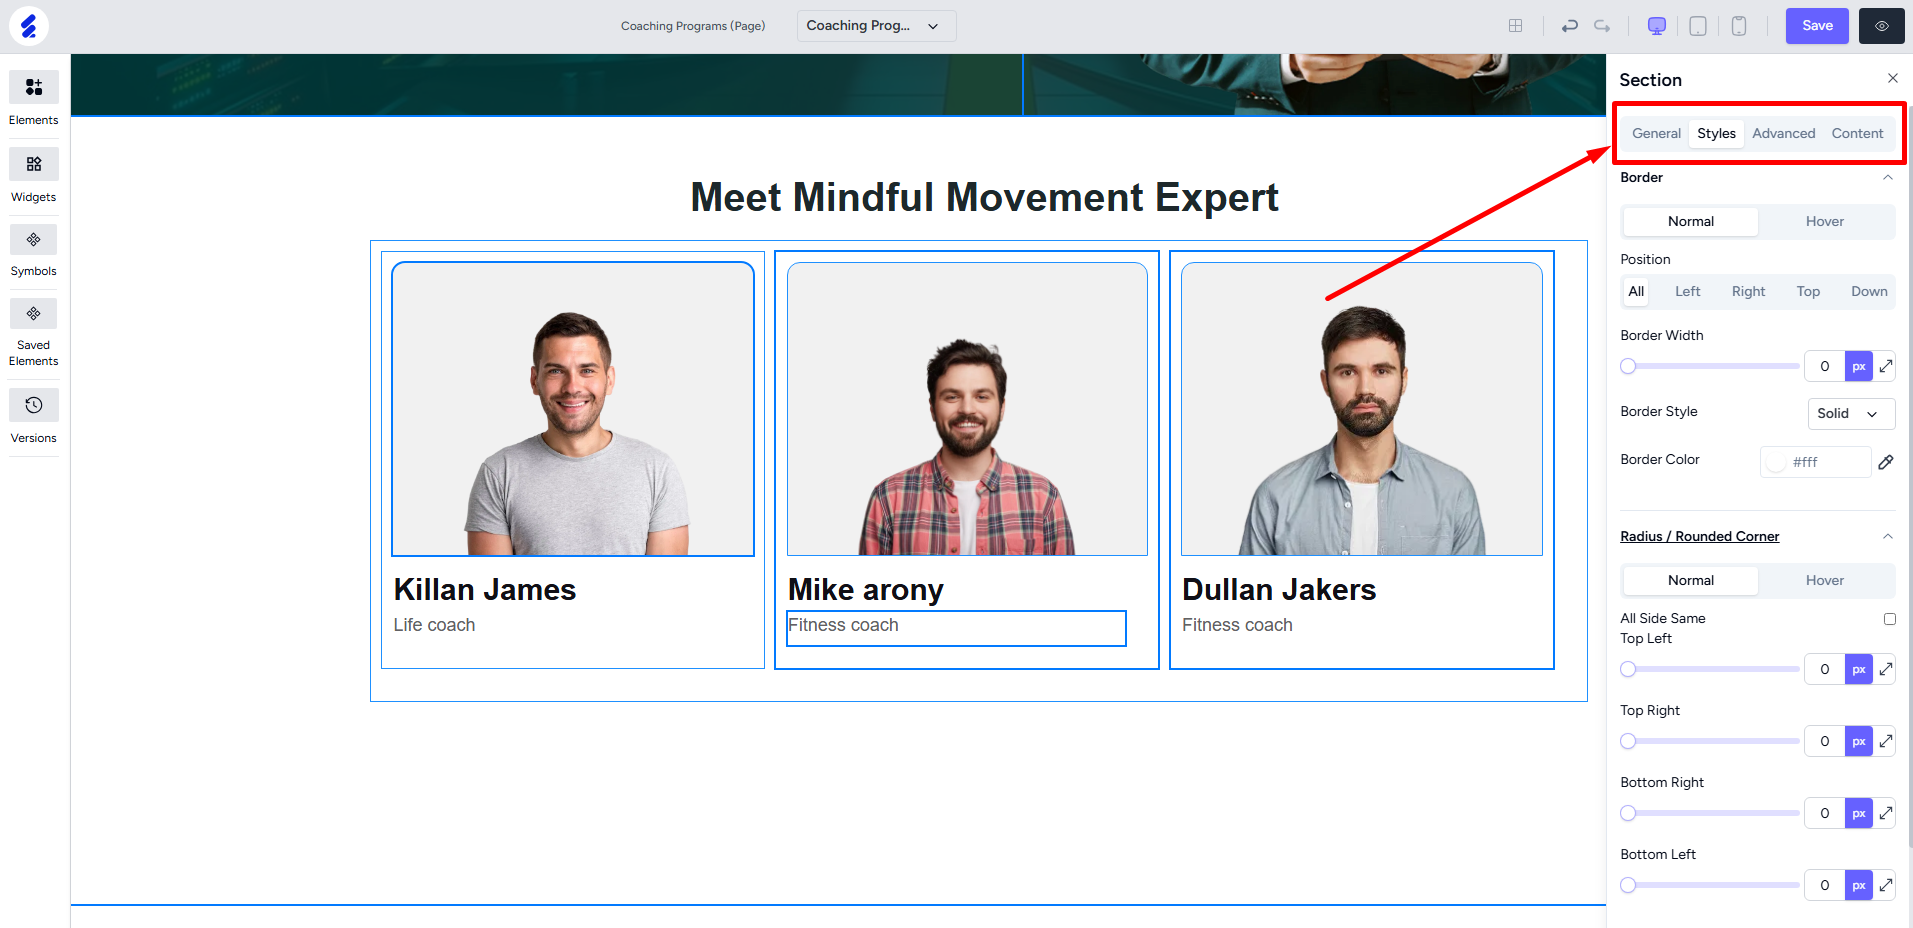
Finally, you can click the Edit option to customize different aspects of the section. Right-clicking the section body will also give you quick access to the editing panel.
You can customize various aspects of the section like section background, hover effects, borders, etc.
If you’re using the pre-built templates then you’ll find the whole page design splitted into sections. You can apply all the section-related settings to pre-built templates too.