
Back
Advanced Design with Non-Grid Element and Empty Div
You can use the Empty Div element or use the non-grid element property to make unique and advanced designs on the builder 2.0. In this article, we will show how you can put content outside the normal grid layout area and design beautiful sections.
Using Empty Div Element
The builder 2.0 normally has a grid layout and you cannot put anything outside of this layout. But, the Empty Div element is an exception to this rule. You can position it anywhere on the screen and it does not depend on the grid layout.
For the purpose of this tutorial, we already have a section designed with a background video and a box content in the middle.
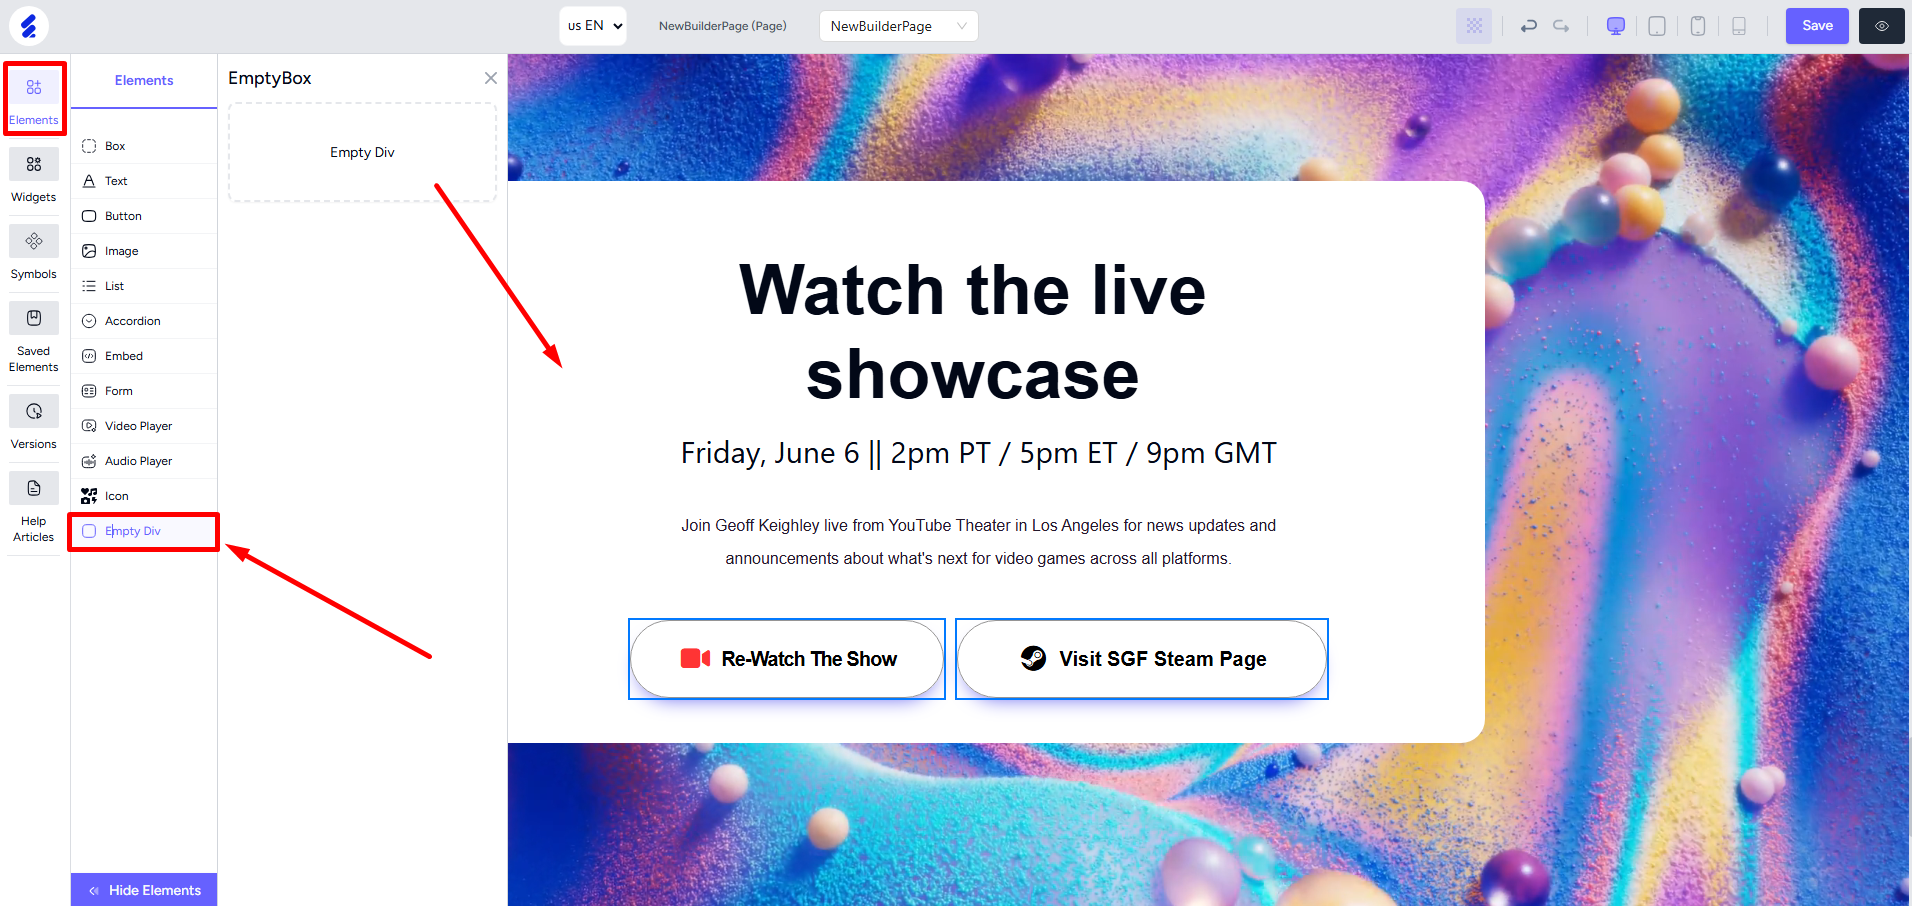
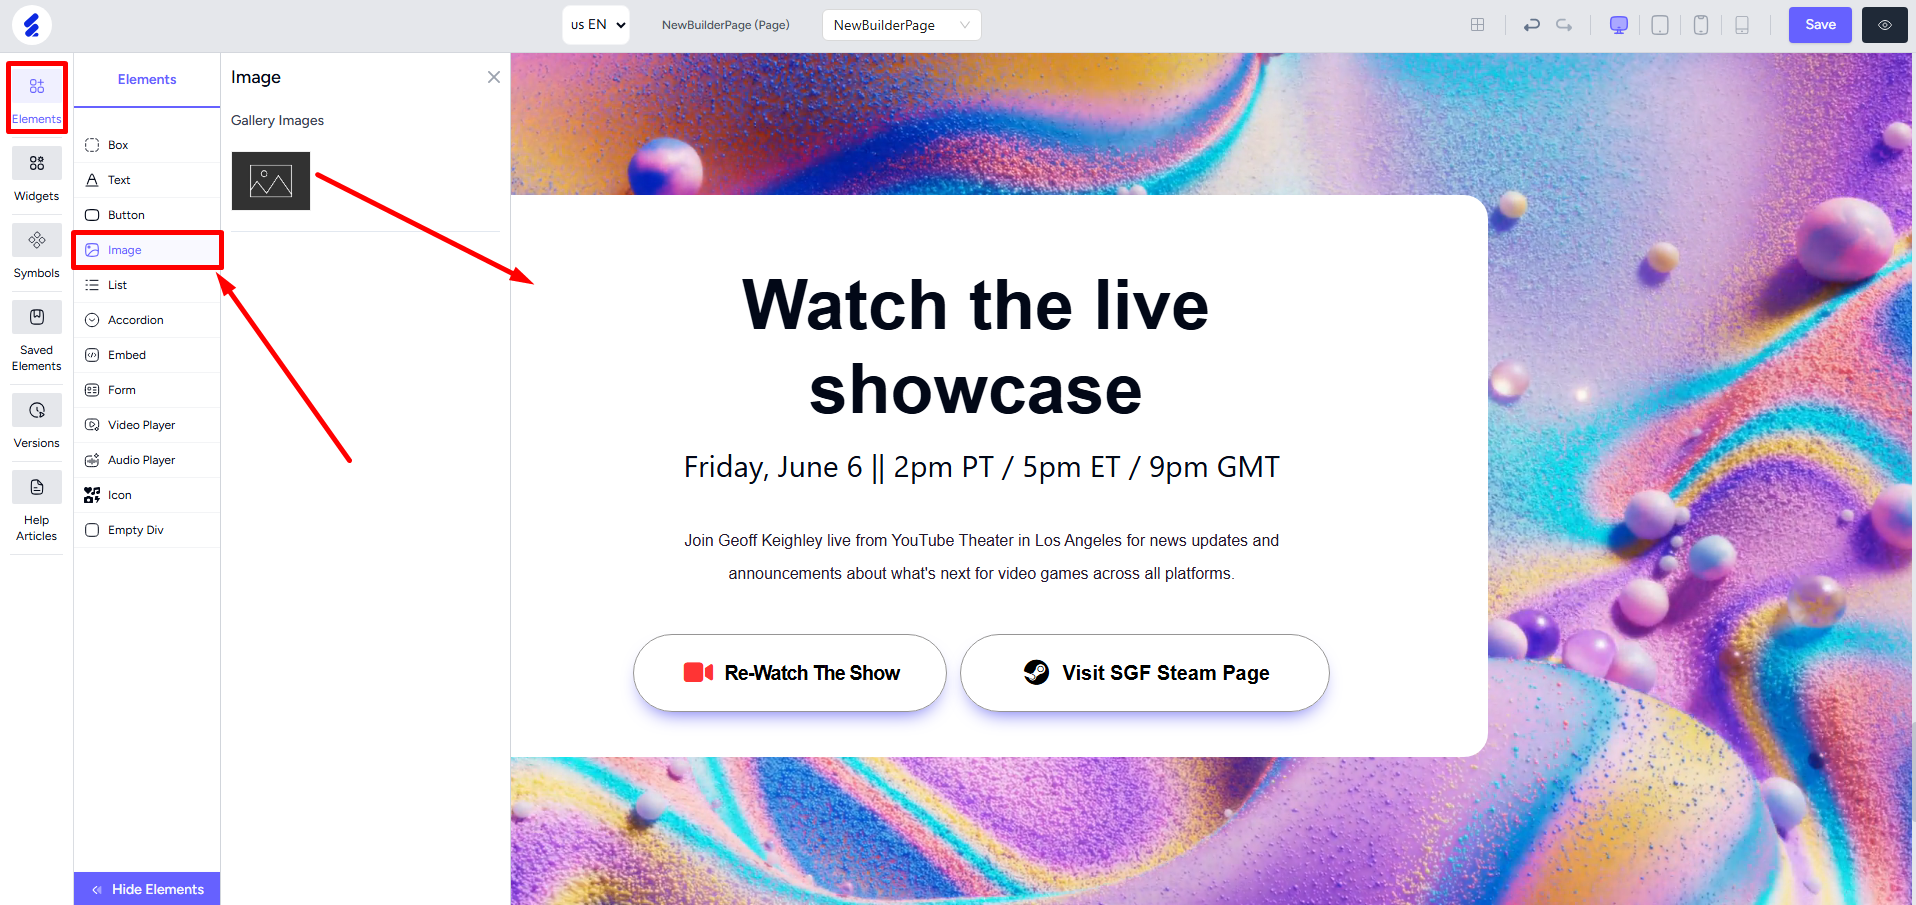
To use the empty div, open the Elements panel from the left sidebar. Click on the Empty Div option and then drag and drop the empty div on the builder.
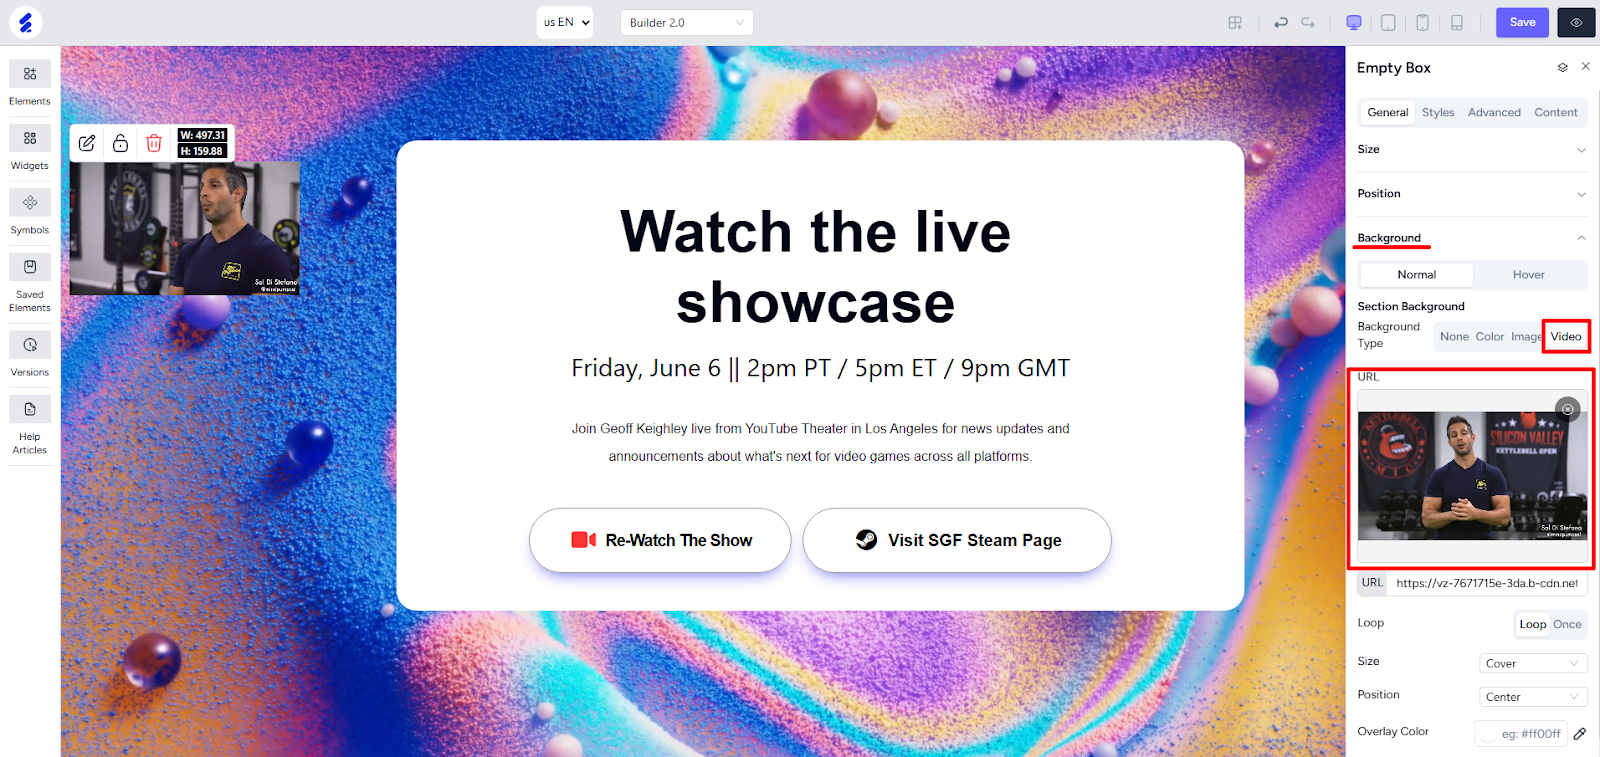
Right-click on the div to open the editing panel. You can use the background property to show an image, video, or simply a color to make some eye-catchy designs. Let’s use a video for the purpose of this tutorial.
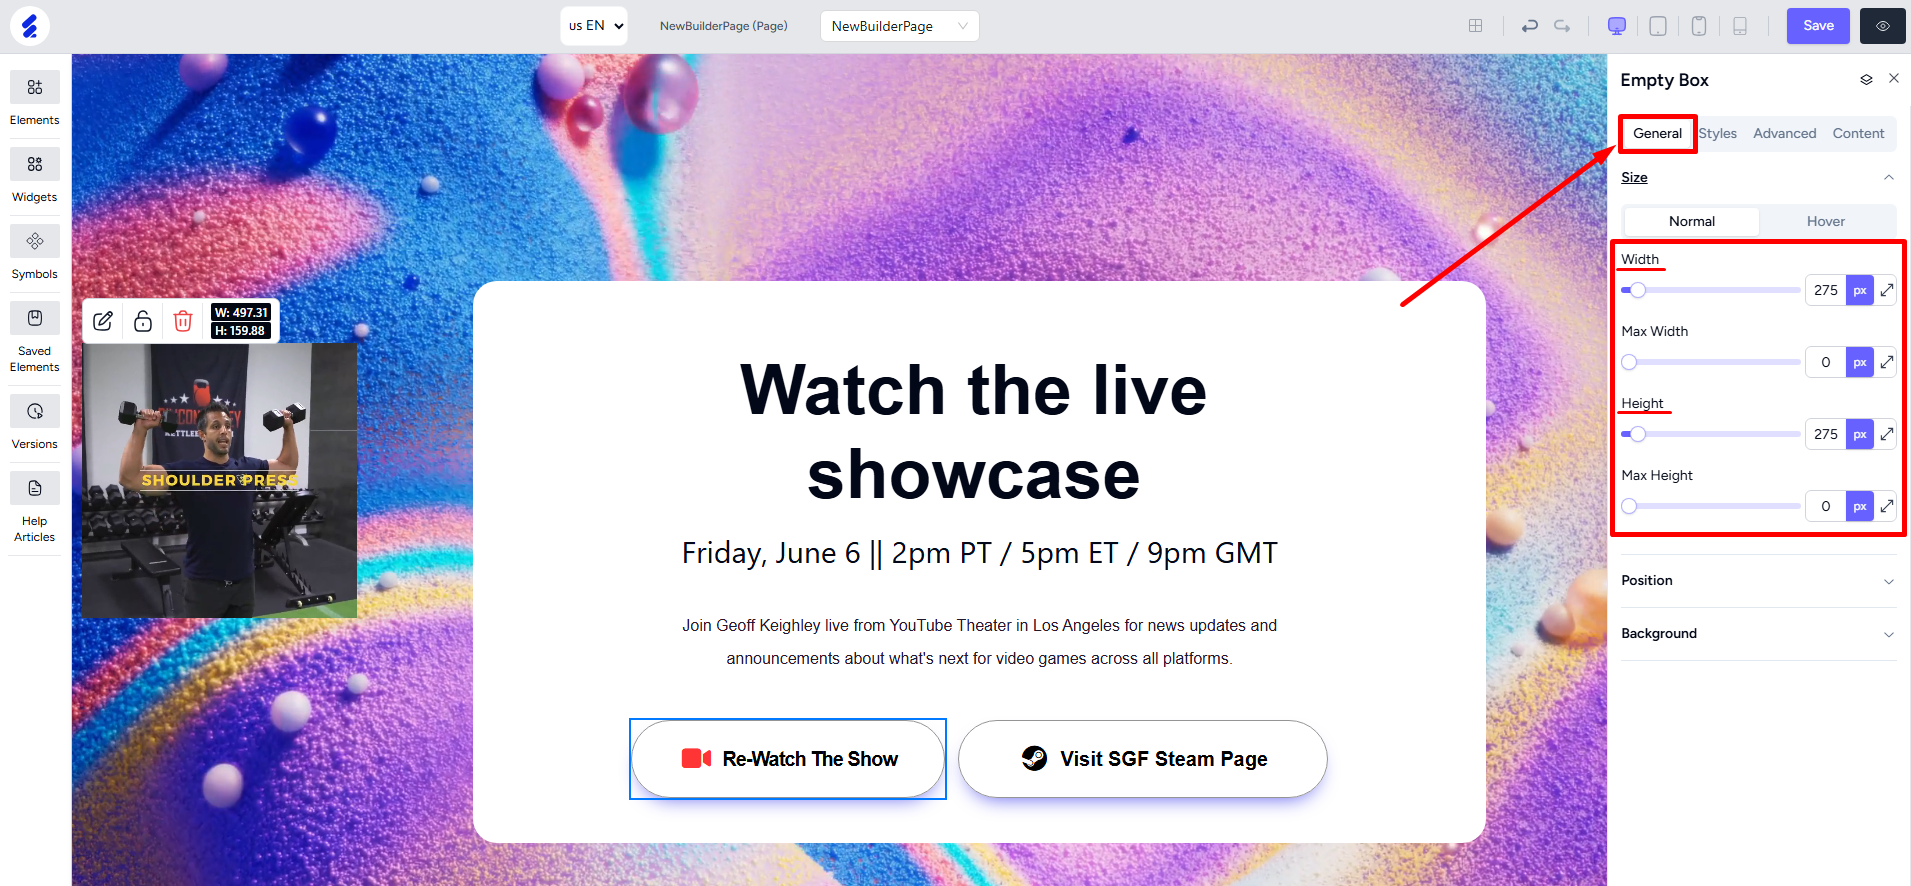
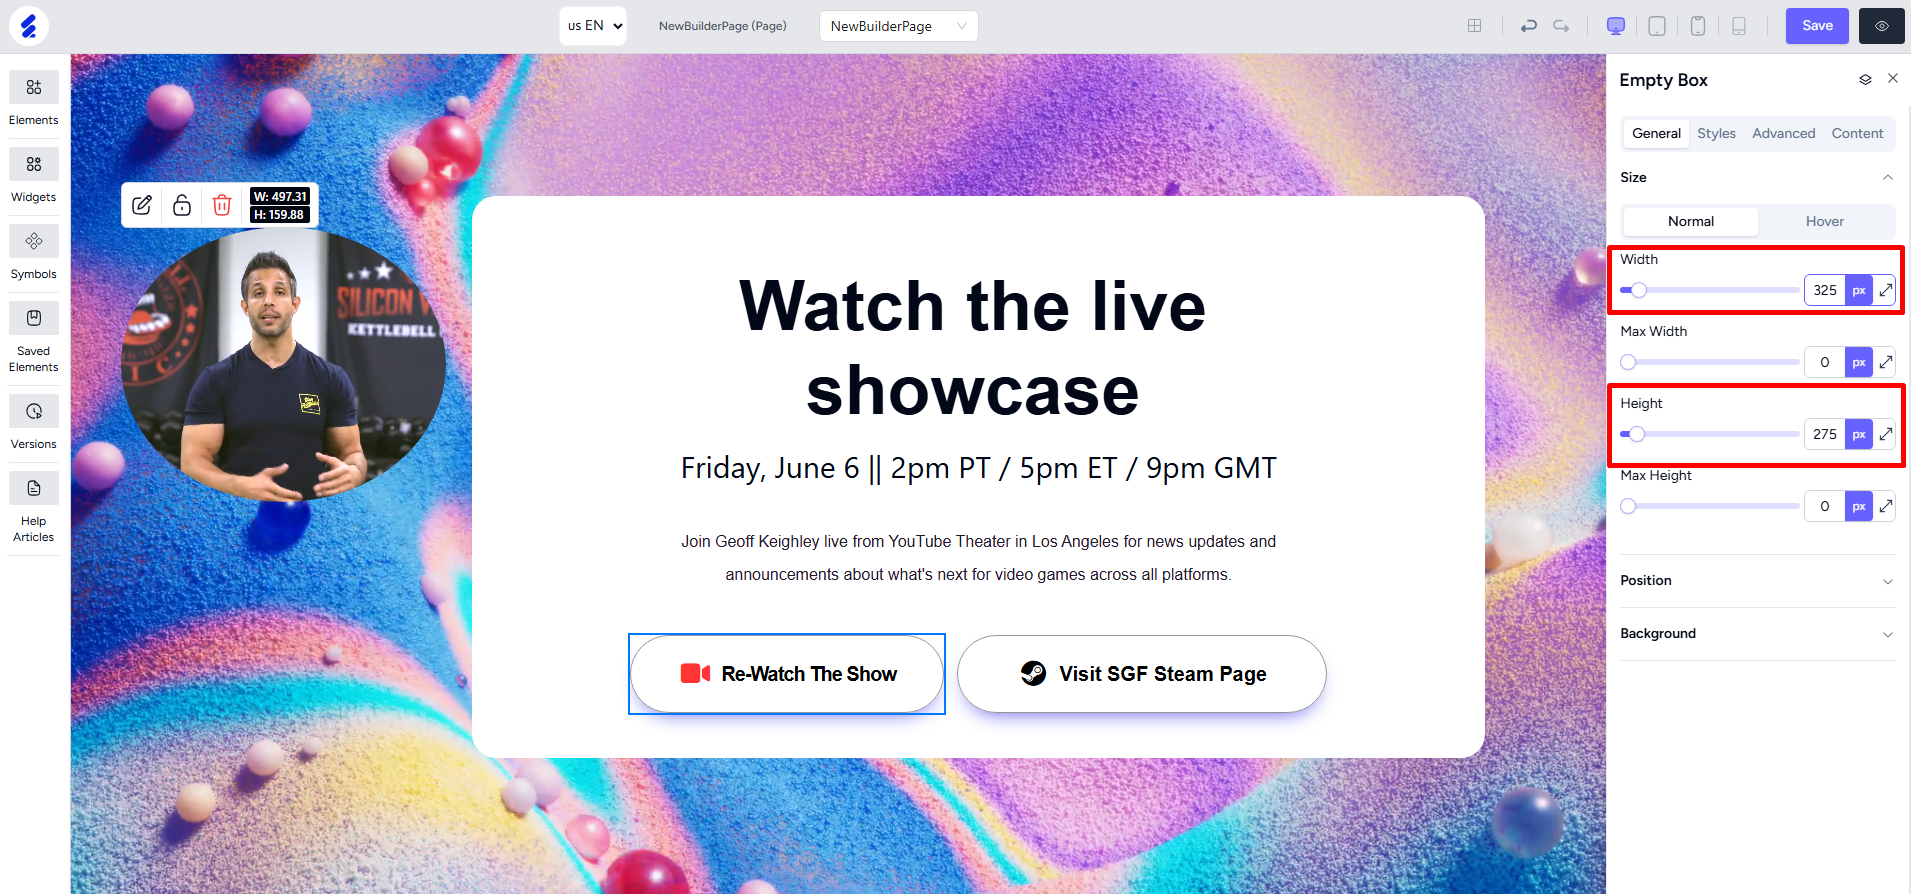
To adjust the size of the div or the video, you can change the width and height.
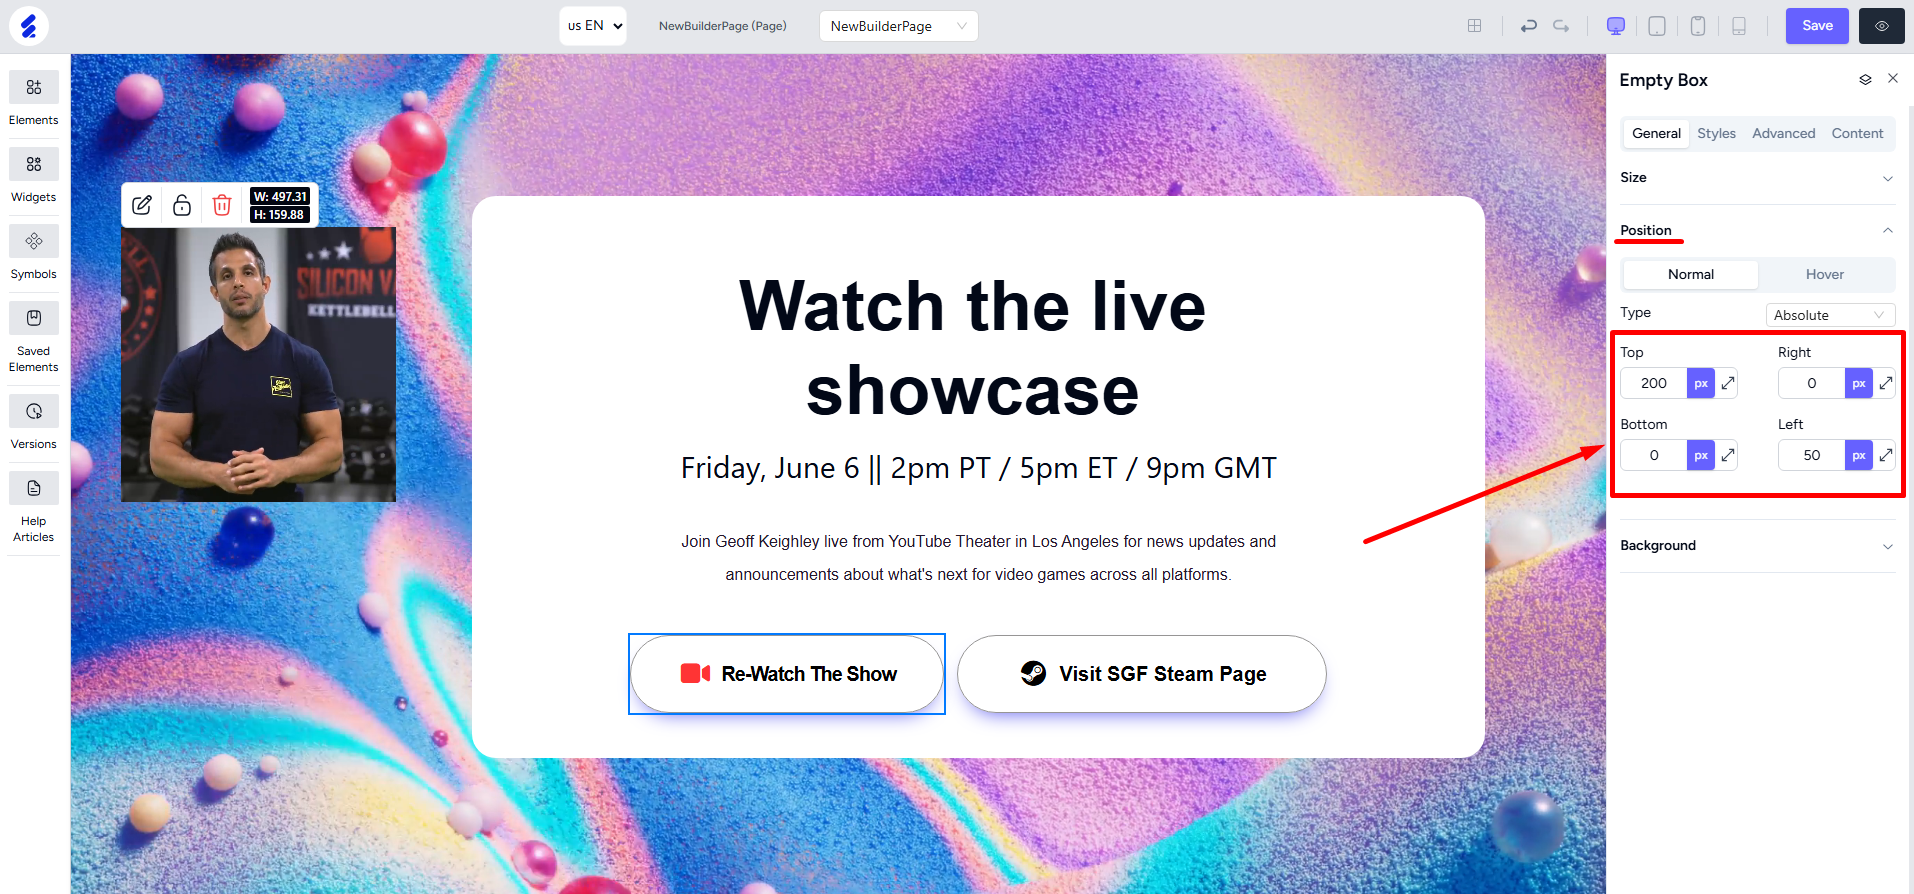
Notice that it is already positioned outside the usual grid layout part of the builder. You can position it freely using the top, right, bottom, and left properties. Put negative values to shift the div in the opposite direction.
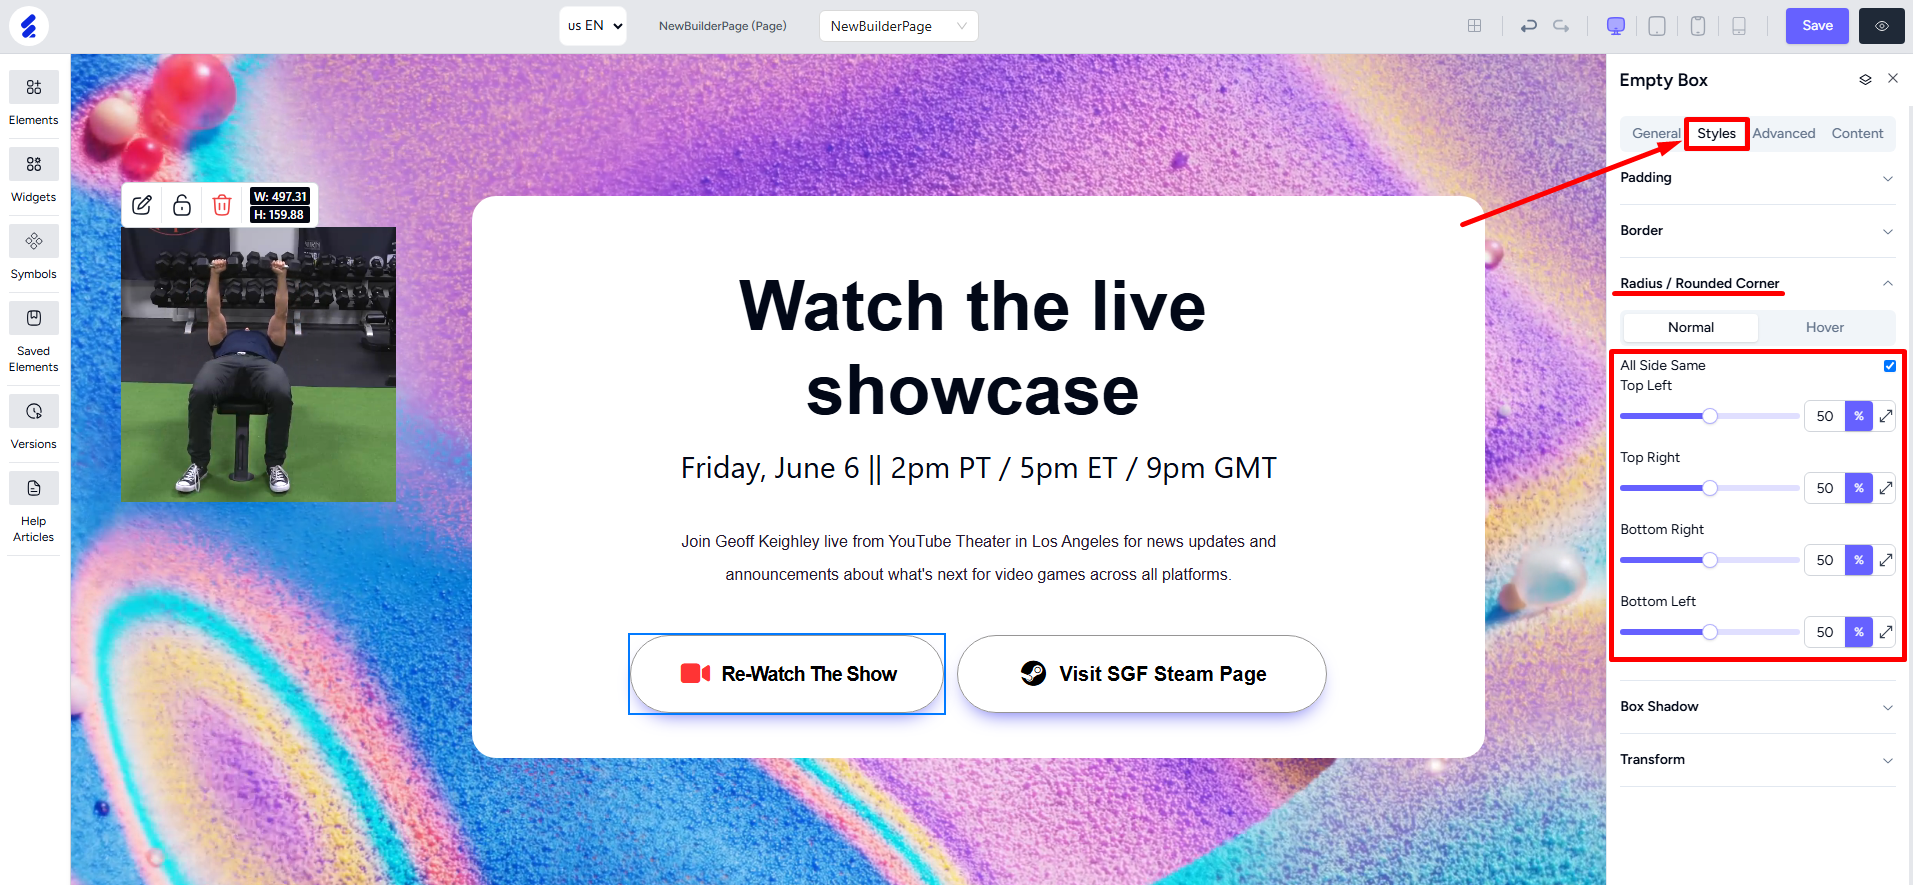
To change the shape, first go to Styles tab and set all radius sides as 50%.
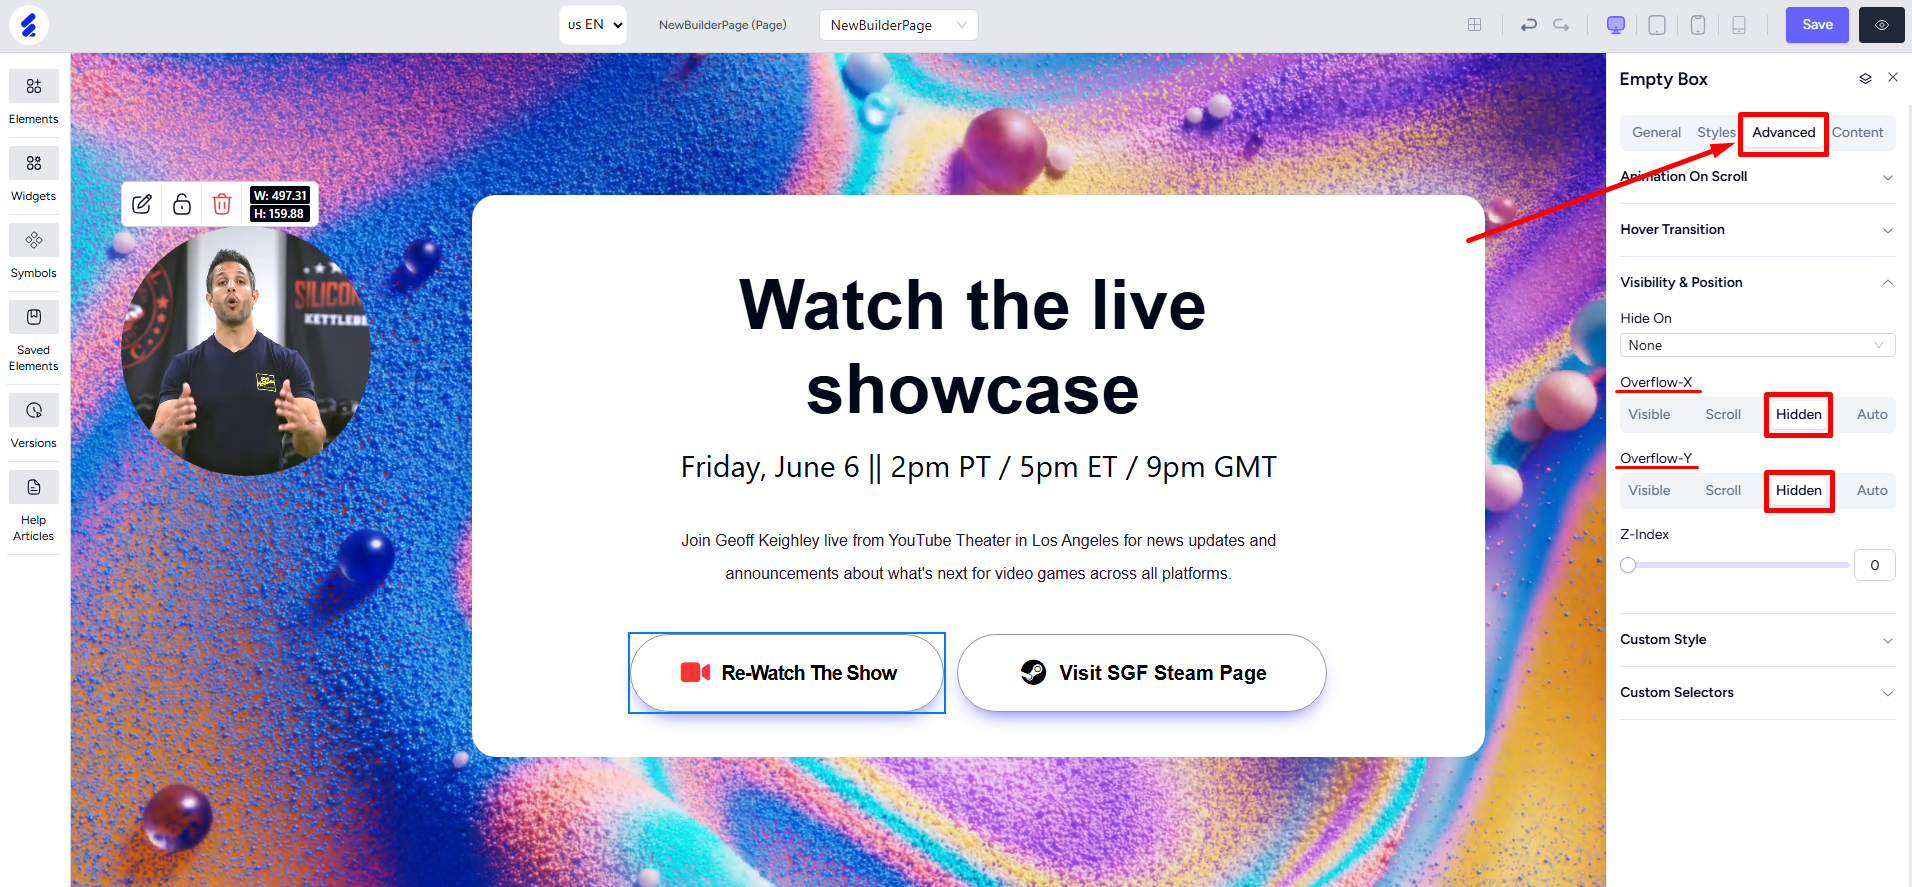
From the Advanced tab, set both the Overflow-X and Overflow-Y options as hidden. This will make the div circular. And since we've used the same width and height value, we’ll get a perfect circle.
Try changing the width and the height to get different shapes.
Using Elements with Non-Grid Property
You can do advanced designs and position elements anywhere on the screen using the non-grid property. Here, we’ll use an image element.
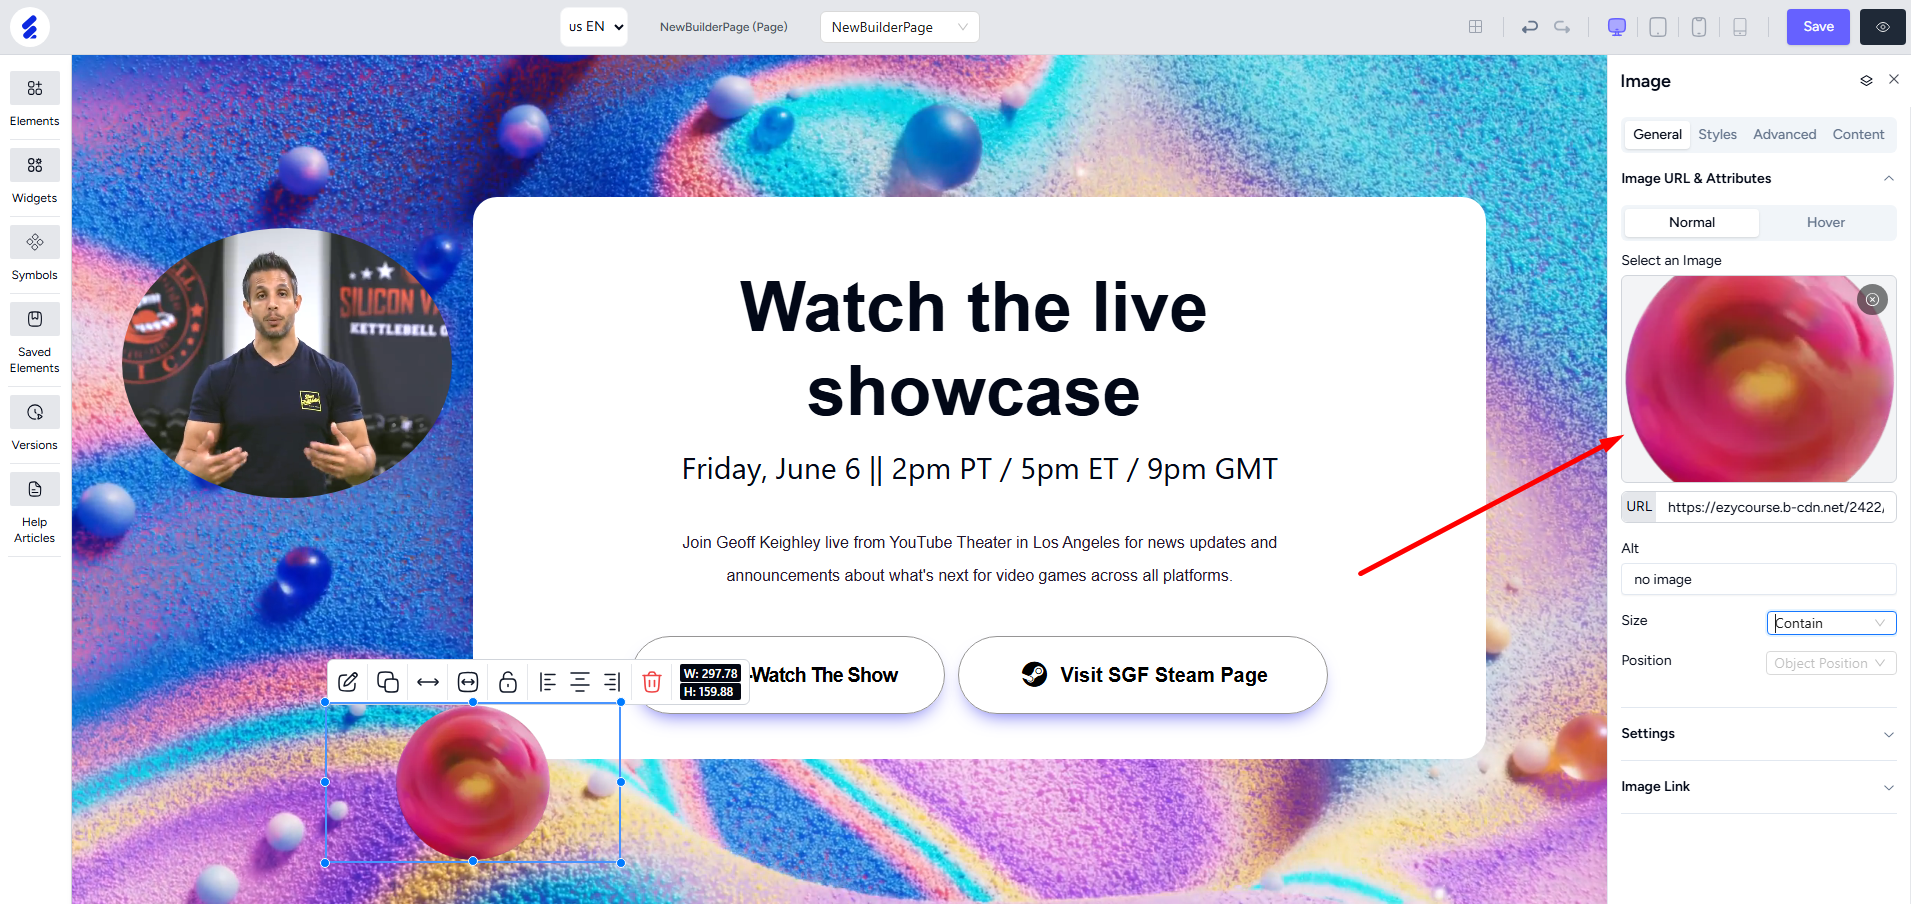
First, open the Elements panel -> click Image -> drag and drop the image element.
Right-click on the element to open the editing panel and then upload an image.
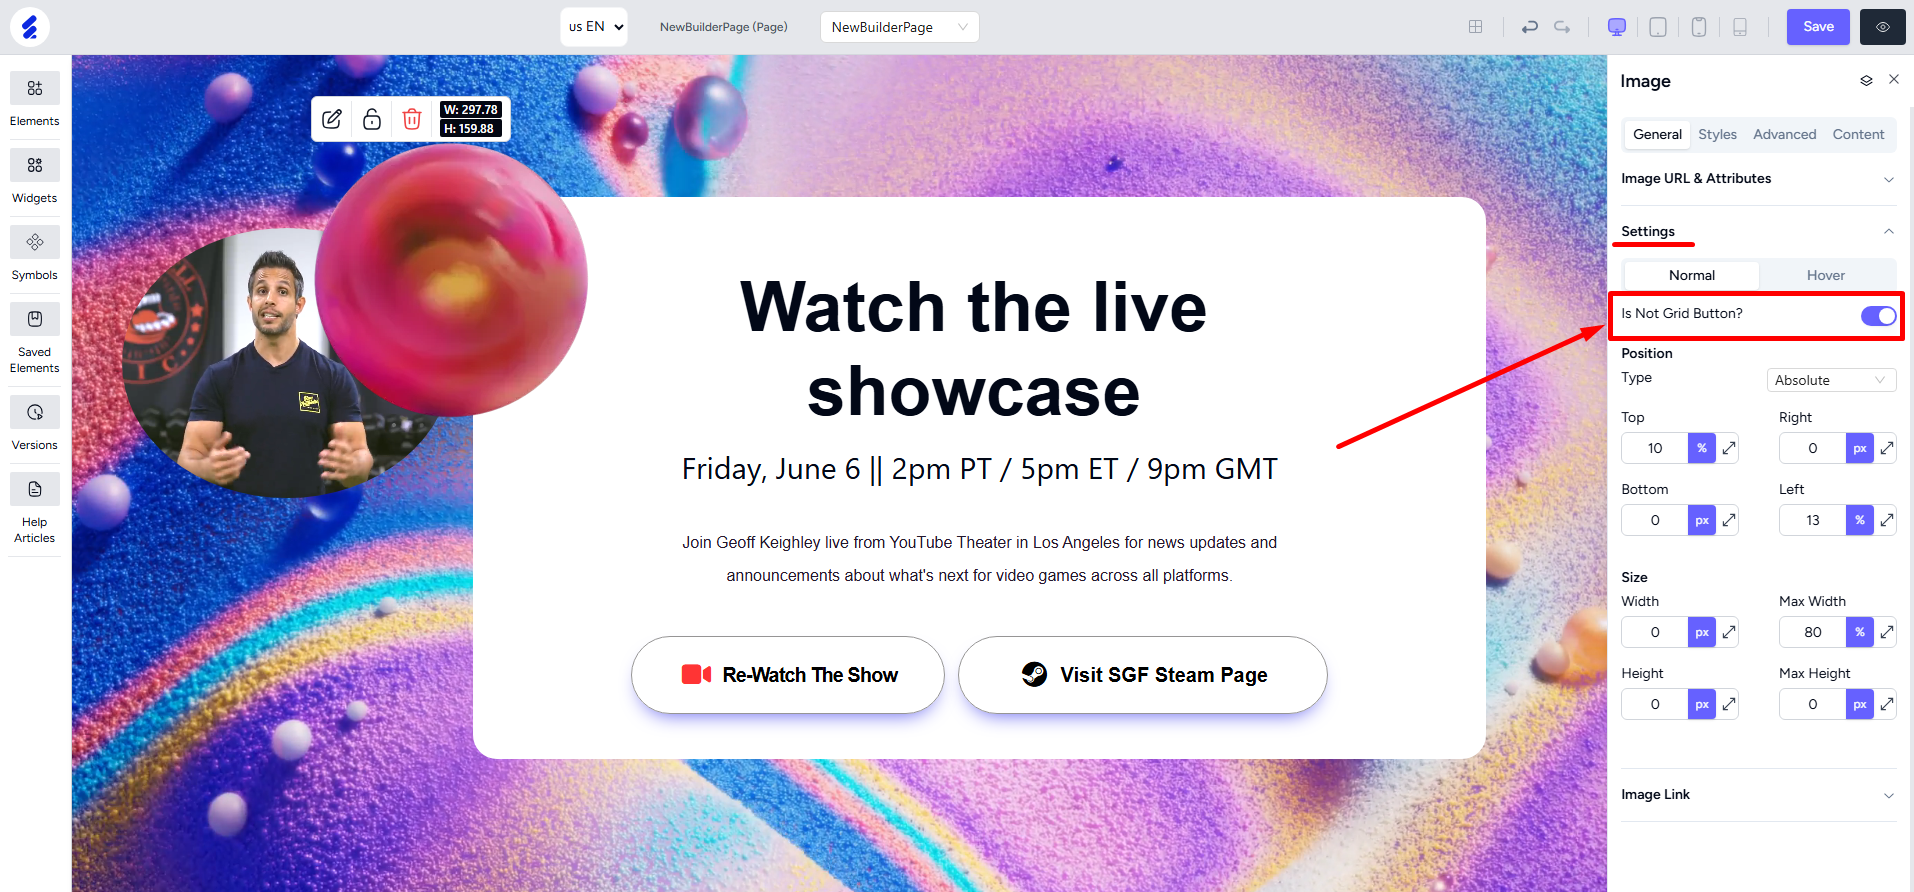
Turn on the non-grid option from Settings and then you can position it freely, even outside the grid layout.
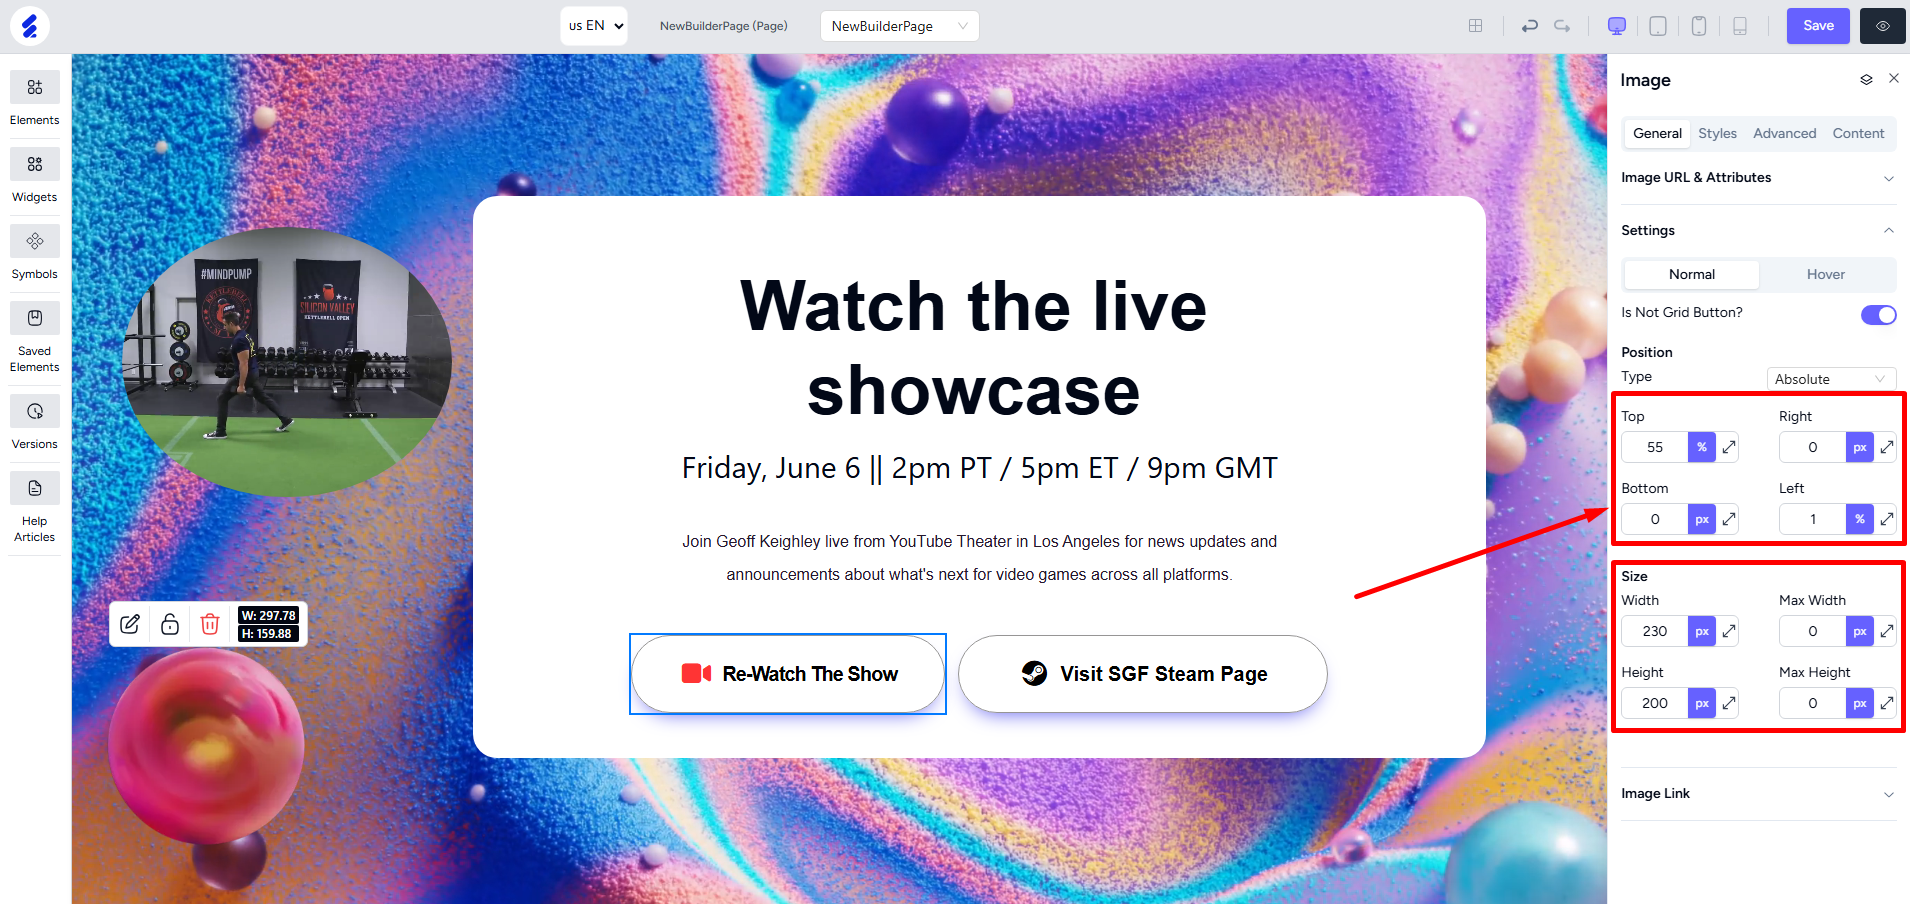
You can position it freely using the top, right, bottom, and left properties. Put negative values to shift the box in the opposite direction. You can also adjust the size of the image from here using the width and the height properties.
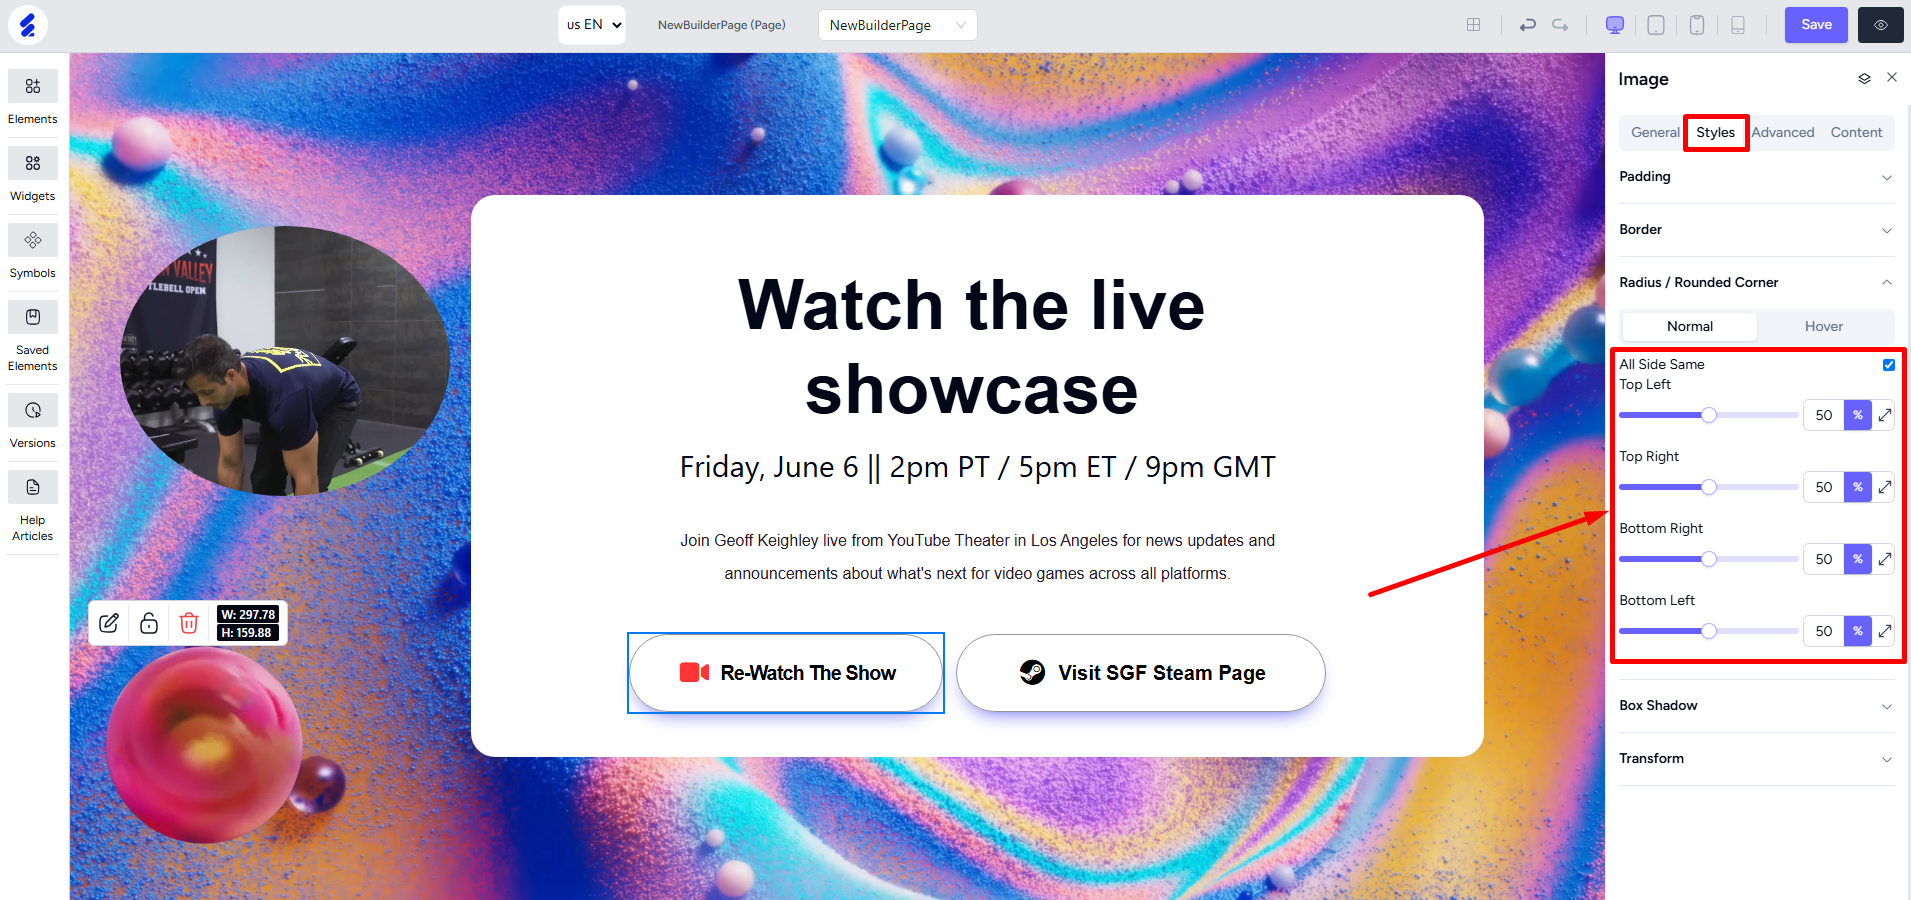
If your image is not rounded already, you can adjust the radius of the image to achieve different kinds of designs such as a perfect circle.
Use box shadows, animations, and even custom code to create more advanced designs with the builder 2.0.